


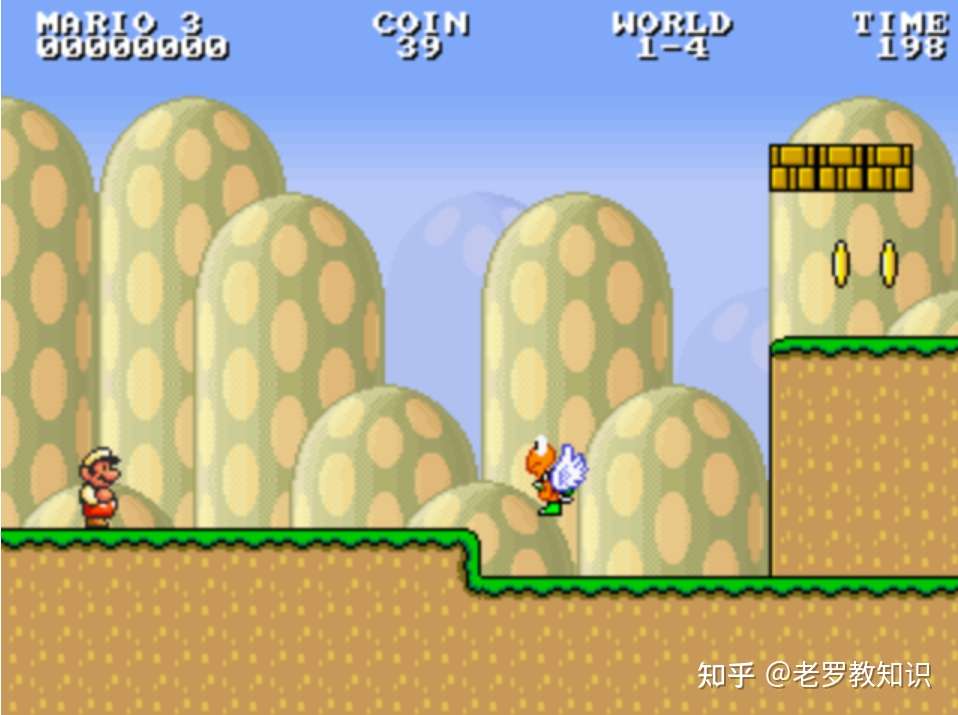
前端的朋友们,福利来了,今天小编给大家带来了一款经典的H5实现的超级马里奥源码,绝对是童年经典的回忆请看图:
测试视频
H5+JS实现的游戏:超级马里奥
游戏运行
直接运行main.html即可
项目截图
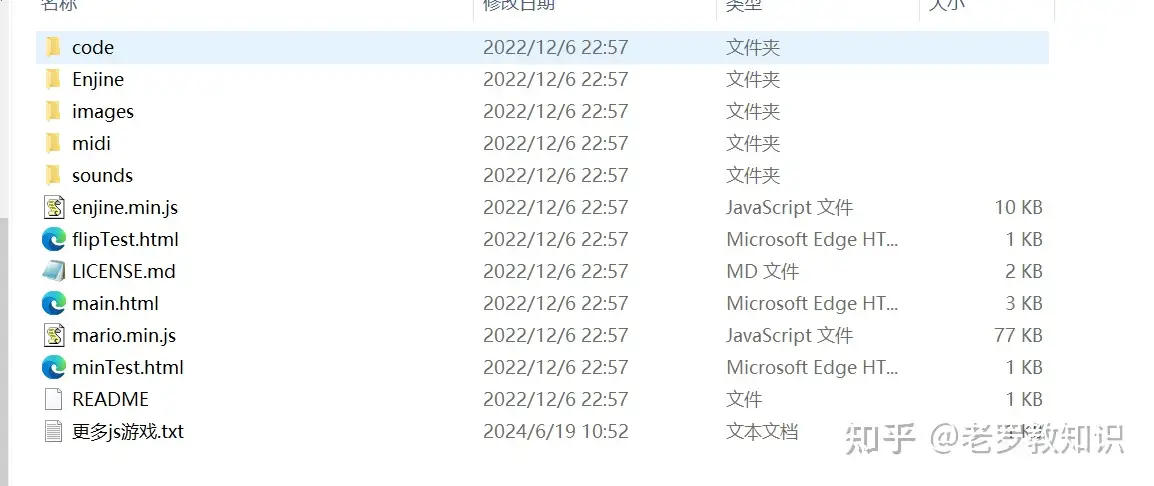
部分js代码
Mario.BackgroundGenerator = function(width, height, distant, type) {
    this.Width = width;
    this.Height = height;
    this.Distant = distant;
    this.Type = type;
};

Mario.BackgroundGenerator.prototype = {
    SetValues: function(width, height, distant, type) {
        this.Width = width;
        this.Height = height;
        this.Distant = distant;
        this.Type = type;
    },

    CreateLevel: function() {
        var level = new Mario.Level(this.Width, this.Height);
        switch (this.Type) {
            case Mario.LevelType.Overground:
                this.GenerateOverground(level);
                break;
            case Mario.LevelType.Underground:
                this.GenerateUnderground(level);
                break;
            case Mario.LevelType.Castle:
                this.GenerateCastle(level);
                break;
        }
        return level;
    },

    GenerateOverground: function(level) {
        var range = this.Distant ? 4 : 6;
        var offs = this.Distant ? 2 : 1;
        var oh = Math.floor(Math.random() * range) + offs;
        var h = Math.floor(Math.random() * range) + offs;

        var x = 0, y = 0, h0 = 0, h1 = 0, s = 2;
        for (x = 0; x < this.Width; x++) {
            oh = h;
            while (oh === h) {
                h = Math.floor(Math.random() * range) + offs;
            }

            for (y = 0; y < this.Height; y++) {
                h0 = (oh < h) ? oh : h;
                h1 = (oh < h) ? h : oh;
                s = 2;
                if (y < h0) {
                    if (this.Distant){
                        s = 2;
                        if (y < 2) { s = y; }
                        level.SetBlock(x, y, 4 + s * 8);
                    } else {
                        level.SetBlock(x, y, 5);
                    }
                } else if (y === h0) {
                    s = h0 === h ? 0 : 1;
                    s += this.Distant ? 2 : 0;
                    level.SetBlock(x, y, s);
                } else if (y === h1) {
                    s = h0 === h ? 0 : 1;
                    s += this.Distant ? 2 : 0;
                    level.SetBlock(x, y, s + 16);
                } else {
                    s = (y > h1) ? 1 : 0;
                    if (h0 === oh) { s = 1 - s; }
                    s += this.Distant ? 2 : 0;
                    level.SetBlock(x, y, s + 8);
                }
            }
        }
    },

    GenerateUnderground: function(level) {
        var x = 0, y = 0, t = 0, yy = 0;
        if (this.Distant) {
            var tt = 0;
            for (x = 0; x < this.Width; x++) {
                if (Math.random() < 0.75) { tt = 1 - tt; }

                for (y = 0; y < this.Height; y++) {
                    t = tt;
                    yy = y - 2;

                    if (yy < 0 || yy > 4) {
                        yy = 2;
                        t = 0;
                    }
                    level.SetBlock(x, y, (4 + t + (3 + yy) * 8));
                }
            }
        } else {
            for (x = 0; x < this.Width; x++) {
                for (y = 0; y < this.Height; y++) {
                    t = x % 2;
                    yy = y - 1;
                    if (yy < 0 || yy > 7) {
                        yy = 7;
                        t = 0;
                    }
                    if (t === 0 && yy > 1 && yy < 5) {
                        t = -1;
                        yy = 0;
                    }

                    level.SetBlock(x, y, (6 + t + yy * 8));
                }
            }
        }
    },

    GenerateCastle: function(level) {
        var x = 0, y = 0, t = 0, yy = 0;
        if (this.Distant) {
            for (x = 0; x < this.Width; x++) {
                for (y = 0; y < this.Height; y++) {
                    t = x % 2;
                    yy = y - 1;

                    if (yy > 2 && yy < 5) {
                        yy = 2;
                    } else if (yy >= 5) {
                        yy -= 2;
                    }

                    if (yy < 0) {
                        t = 0;
                        yy = 5;
                    } else if (yy > 4) {
                        t = 1;
                        yy = 5;
                    } else if (t < 1 && yy === 3) {
                        t = 0;
                        yy = 3;
                    } else if (t < 1 && yy > 0 && yy < 3) {
                        t = 0;
                        yy = 2;
                    }

                    level.SetBlock(x, y, (1 + t + (yy + 4) * 8));
                }
            }
        } else {
            for (x = 0; x < this.Width; x++) {
                for (y = 0; y < this.Height; y++) {
                    t = x % 3;
                    yy = y - 1;

                    if (yy > 2 && yy < 5) {
                        yy = 2;
                    } else if (yy >= 5) {
                        yy -= 2;
                    }

                    if (yy < 0) {
                        t = 1;
                        yy = 5;
                    } else if (yy > 4) {
                        t = 2;
                        yy = 5;
                    } else if (t < 2 && yy === 4) {
                        t = 2;
                        yy = 4;
                    } else if (t < 2 && yy > 0 && yy < 4) {
                        t = 4;
                        yy = -3;
                    }

                    level.SetBlock(x, y, (1 + t + (yy + 3) * 8));
                }
            }
        }
    }
    // code download : gitee.com/hadluo/html_code.git
};
完整全部文件找小编
结尾语
我是分享好物+教程+源码的老罗,欢迎关注!


 1万+
1万+

 被折叠的 条评论
为什么被折叠?
被折叠的 条评论
为什么被折叠?
 到【灌水乐园】发言


