


利用python语言实现多张图像拼接
主要参考上述博文,只是对于复现过程遇到的小问题的解决做一些补充。
拼接程序:
from pylab import *
from numpy import *
from PIL import Image

# If you have PCV installed, these imports should work
from PCV.geometry import homography, warp
from PCV.localdescriptors import sift

"""
This is the panorama example from section 3.3.
"""


featname = ['D:/pythonCode/test/data/testimages/' + str(i + 1) + '.sift' for i in range(5)]   //需要根据自己的图像地址和图像数量修改地址和循环次数
imname = ['D:/pythonCode/test/data/testimages/' + str(i + 1) + '.jpg' for i in range(5)]
# extract features and m
# match
l = {}
d = {}
for i in range(5):    //循环次数=图像数量
    sift.process_image(imname[i], featname[i])
    l[i], d[i] = sift.read_features_from_file(featname[i])

matches = {}
for i in range(4):    //循环次数=图像数量-1
    matches[i] = sift.match(d[i + 1], d[i])

# visualize the matches (Figure 3-11 in the book)
for i in range(4):    //循环次数=图像数量-1
    im1 = array(Image.open(imname[i]))
    im2 = array(Image.open(imname[i + 1]))
    figure()
    sift.plot_matches(im2, im1, l[i + 1], l[i], matches[i], show_below=True)


# function to convert the matches to hom. points
# 将匹配转换成齐次坐标点的函数
def convert_points(j):
    ndx = matches[j].nonzero()[0]
    fp = homography.make_homog(l[j + 1][ndx, :2].T)
    ndx2 = [int(matches[j][i]) for i in ndx]
    tp = homography.make_homog(l[j][ndx2, :2].T)

    # switch x and y - TODO this should move elsewhere
    fp = vstack([fp[1], fp[0], fp[2]])
    tp = vstack([tp[1], tp[0], tp[2]])
    return fp, tp


# estimate the homographies
# 估计单应性矩阵
model = homography.RansacModel()

fp, tp = convert_points(1)
H_12 = homography.H_from_ransac(fp, tp, model)[0]  # im 1 to 2

fp, tp = convert_points(0)
H_01 = homography.H_from_ransac(fp, tp, model)[0]  # im 0 to 1

tp, fp = convert_points(2)  # NB: reverse order
H_32 = homography.H_from_ransac(fp, tp, model)[0]  # im 3 to 2

tp, fp = convert_points(3)  # NB: reverse order
H_43 = homography.H_from_ransac(fp, tp, model)[0]  # im 4 to 3

# 扭曲图像
delta = 100  # 用于填充和平移 for padding and translation

im1 = array(Image.open(imname[1]), "uint8")
im2 = array(Image.open(imname[2]), "uint8")
im_12 = warp.panorama(H_12, im1, im2, delta, delta)

im1 = array(Image.open(imname[0]), "f")
im_02 = warp.panorama(dot(H_12, H_01), im1, im_12, delta, delta)

im1 = array(Image.open(imname[3]), "f")
im_32 = warp.panorama(H_32, im1, im_02, delta, delta)

im1 = array(Image.open(imname[4]), "f")
im_42 = warp.panorama(dot(H_32, H_43), im1, im_32, delta, 2 * delta)

figure()
imshow(array(im_42, "uint8"))
axis('off')
show()
先了解下拼接的相关理论,将代码复制到Python中复现,对遇到的问题逐一解决
1、需要安装PCV包
参考手把手解决解决Python安装PCV
2、代码中的读取图像,无.sift文件
imname使我们要拼接的原图
featname是sift文件,这个文件是需要根据原图进行生成的
具体代码参考
# -*- coding: utf-8 -*-
from PIL import Image
from pylab import *
from PCV.localdescriptors import sift
from PCV.localdescriptors import harris

# 添加中文字体支持
from matplotlib.font_manager import FontProperties
font = FontProperties(fname=r"c:/windows/fonts/SimSun.ttc", size=14)

imname = 'D:/ComputerVision_code/img/sdl11.jpg'   //需要拼接的图像的位置
im = array(Image.open(imname).convert('L'))
sift.process_image(imname, 'empire.sift')        //生成名称为empire的sift文件
l1, d1 = sift.read_features_from_file('empire.sift')

figure()
gray()
subplot(121)
sift.plot_features(im, l1, circle=False)
title(u'SIFT特征',fontproperties=font)

# 检测harris角点
harrisim = harris.compute_harris_response(im)

subplot(122)
filtered_coords = harris.get_harris_points(harrisim, 6, 0.1)
imshow(im)
plot([p[1] for p in filtered_coords], [p[0] for p in filtered_coords], '*')
axis('off')
title(u'Harris角点',fontproperties=font)

show()
报错:empire.sift not found
原因:未修改PCV文件夹下的sift.py中的process_image函数。
解决方案:下载VLFeat0.9.20的版本,将三个相关的文件复制到自己项目环境中,再将Anaconda中sift.py的文件打开地址修改一下就可以了
主要参考:【python】 OSError:sift not found 问题解决
博主讲的很详细,我就不画蛇添足了。
3、成功生成了sift文件,可以继续运行图像拼接程序,报错did not meet fit acceptance criteria
原因:图片问题,输入的图片太暗或太糊,导致系统无法进行特征提取。
主要参考:python计算机视觉常见报错及解决方案(不断更新中)
个人感受:采用上述方式进行图像拼接,需要图像特征点较多并明显才能达到好的拼接效果,否则要么特征点太少程序无法运行,要么拼接效果很差。
我的图像的特征点较少,并且位移信息基本已知,我打算通过平移叠加进行拼图,在想是直接用PS拼(真香),还是再找找新的图像处理方法[哭笑不得]
快看我美丽的拼接成果。
如果大家对Python感兴趣,这套python学习资料一定对你有用
对于0基础小白入门:
如果你是零基础小白,想快速入门Python是可以考虑的。
一方面是学习时间相对较短,学习内容更全面更集中。
二方面是可以根据这些资料规划好学习计划和方向。
包括:Python激活码+安装包、Python web开发,Python爬虫,Python数据分析,人工智能、机器学习、Python量化交易等习教程。带你从零基础系统性的学好Python!
零基础Python学习资源介绍
① Python所有方向的学习路线图,清楚各个方向要学什么东西
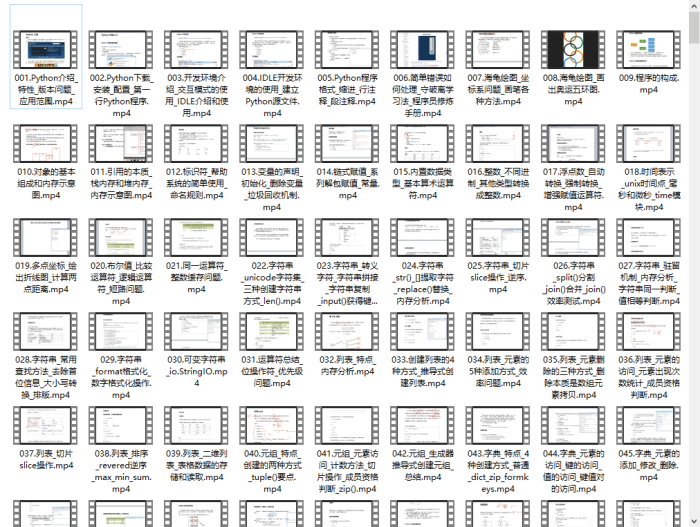
② 600多节Python课程视频,涵盖必备基础、爬虫和数据分析
③ 100多个Python实战案例,含50个超大型项目详解,学习不再是只会理论
④ 20款主流手游迫解 爬虫手游逆行迫解教程包
⑤ 爬虫与反爬虫攻防教程包,含15个大型网站迫解
⑥ 爬虫APP逆向实战教程包,含45项绝密技术详解
⑦ 超300本Python电子好书,从入门到高阶应有尽有
⑧ 华为出品独家Python漫画教程,手机也能学习
⑨ 历年互联网企业Python面试真题,复习时非常方便

👉Python学习路线汇总👈
Python所有方向的技术点做的整理,形成各个领域的知识点汇总,它的用处就在于,你可以按照上面的知识点去找对应的学习资源,保证自己学得较为全面。(全套教程文末领取哈)

👉Python必备开发工具👈

温馨提示:篇幅有限,已打包文件夹,获取方式在:文末
👉Python学习视频600合集👈
观看零基础学习视频,看视频学习是最快捷也是最有效果的方式,跟着视频中老师的思路,从基础到深入,还是很容易入门的。
👉实战案例👈
光学理论是没用的,要学会跟着一起敲,要动手实操,才能将自己的所学运用到实际当中去,这时候可以搞点实战案例来学习。

👉100道Python练习题👈
检查学习结果。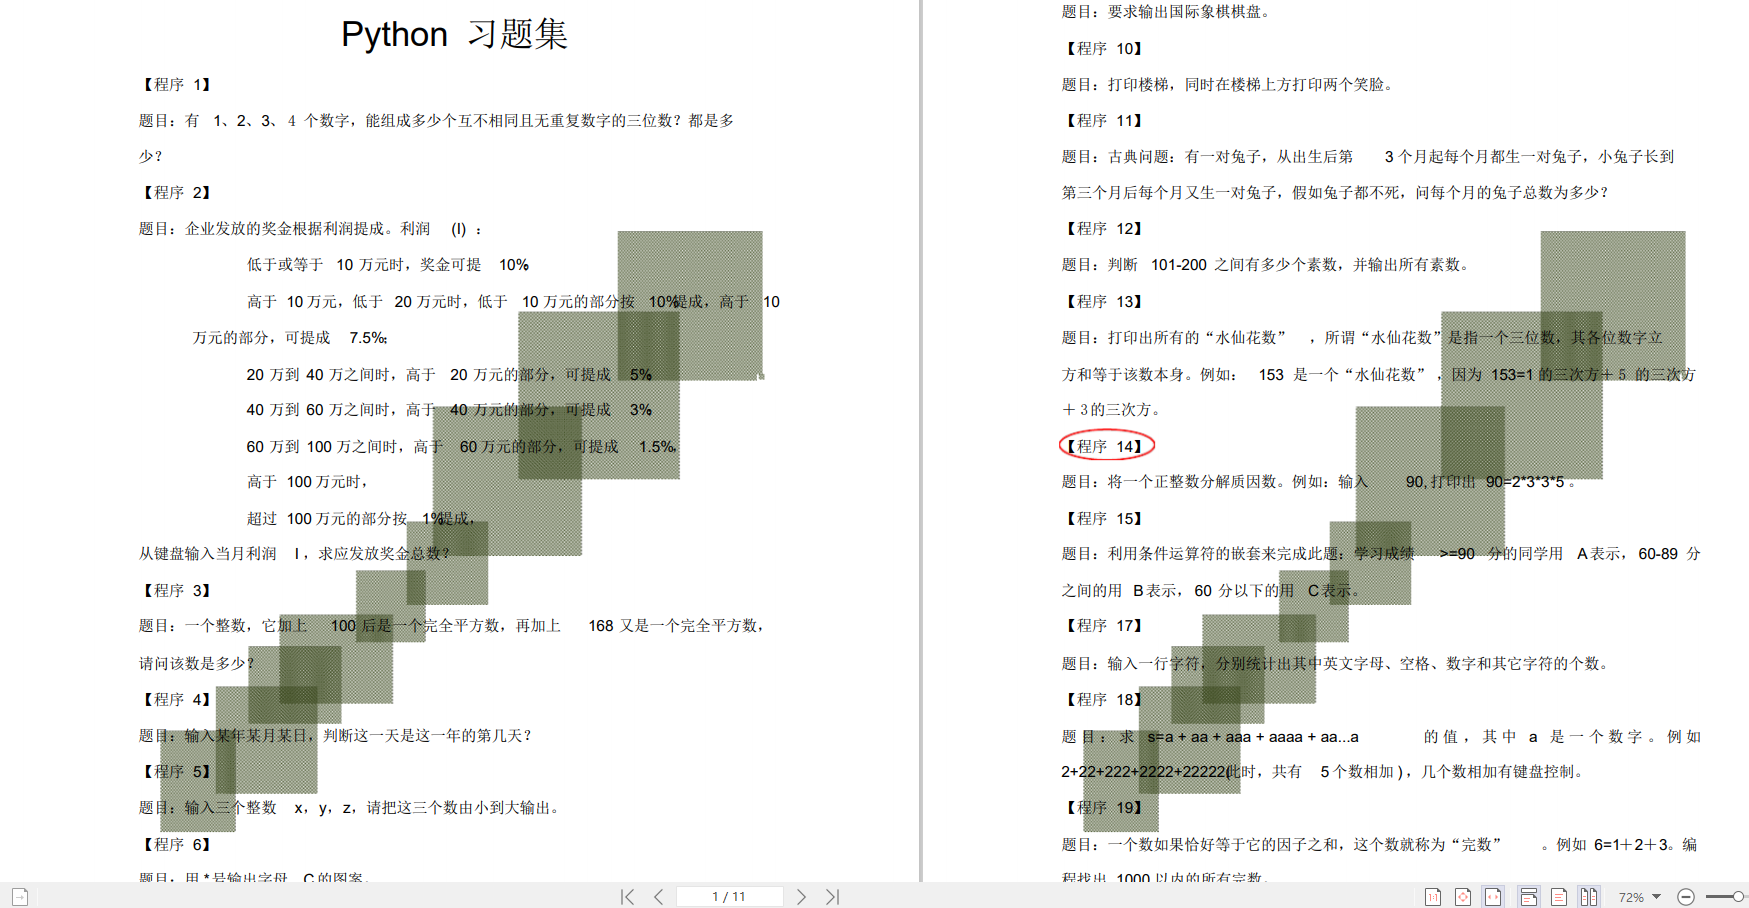
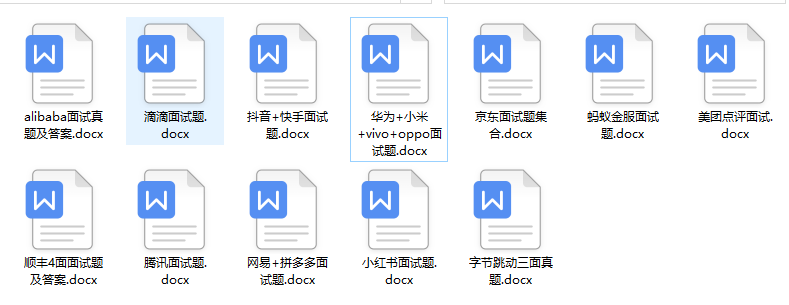
👉面试刷题👈


资料领取
这份完整版的Python全套学习资料已经上传网盘,朋友们如果需要可以点击下方微信卡片免费领取 ↓↓↓【保证100%免费】


 4760
4760


 被折叠的 条评论
为什么被折叠?
被折叠的 条评论
为什么被折叠?
 到【灌水乐园】发言


