


目录
一、Smartptr
#pragma once
//控制块
struct countptr
{
int ptr_count;
countptr() :ptr_count(1) {
}
};
template<typename T>
class Smartptr
{
private:
T* ptr;
countptr* control;
void release()
{
if (control)
{
--control->ptr_count;
if (control->ptr_count == 0)
{
delete ptr;
ptr = nullptr;
delete control;
control = nullptr;
}
}
}
public:
Smartptr() :ptr(nullptr), control(nullptr) {
}
~Smartptr()
{
if (ptr)
{
release();
}
}
explicit Smartptr(T* p) :ptr(p)
{
if (p)
{
control = new countptr();
}
else {
control = nullptr;
}
}
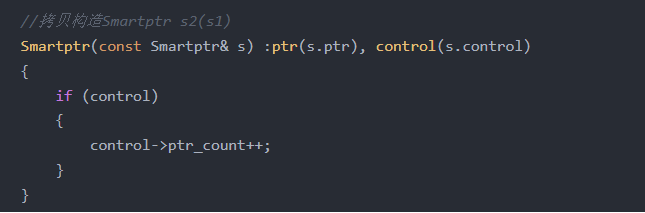
//拷贝构造Smartptr s2(s1)
Smartptr(const Smartptr& s) :ptr(s.ptr), control(s.control)
{
if (control)
{
control->ptr_count++;
}
}
//Smartptr s2(new student()) s2 = s1;
Smartptr& operator = (const Smartptr& s)
{
if (this != &s)
{
release();
ptr = s.ptr;
control = s.control;
if (control)
{
++control->ptr_count;
}
}
return *this;
}
//移动构造
//Smartptr s2(std::move(s1));
//&& 表示 other 是一个右值引用,允许您在移动构造函数中接受一个临时对象
Smartptr(Smartptr&& other) noexcept : ptr(other.ptr), control(other.control)
{
other.ptr = nullptr;
other.control = nullptr;
}
Smartptr& operator = (const Smartptr&& other)noexcept {
if (this != &other)
{
release();
ptr = other.ptr;
control = other.control;
other.control = nullptr;
other.ptr = nullptr;
}
return *this;
}
T* operator->()const
{
return ptr;
}
T& operator *()const {
return* ptr;
}
T* get()const {
return ptr;
}
int use_count()const {
return control ? control->ptr_count : 0;
}
void reset(T* p = nullptr)
{
release();
ptr = p;
if (p)
{
control = new countptr();
}
else
{
control = nullptr;
}
}
};
2、默认构造
因为默认构造没有去绑定任何指针
Smartptr<Student>ptr1;
std::cout << "ptr1 的引用计数" << ptr1.use_count()<<std::endl;![]()
3、有参构造
智能指针去绑定了一个裸指针
Smartptr<Student>ptr2(new Student("yds",21));
std::cout << "ptr2 的引用计数" << ptr2.use_count() << std::endl;
4、拷贝构造
通过上述代码可以看到ptr2的指针和控制块都复制给了ptr3。
两个指针共同指向同一快区域,所有ptr2和ptr3的引用计数为2
Smartptr<Student>ptr3 = ptr2;
std::cout << "ptr3 的引用计数" << ptr3.use_count() << std::endl;
std::cout << "ptr1 的引用计数" << ptr1.use_count() << std::endl;
std::cout << "ptr2 的引用计数" << ptr2.use_count() << std::endl;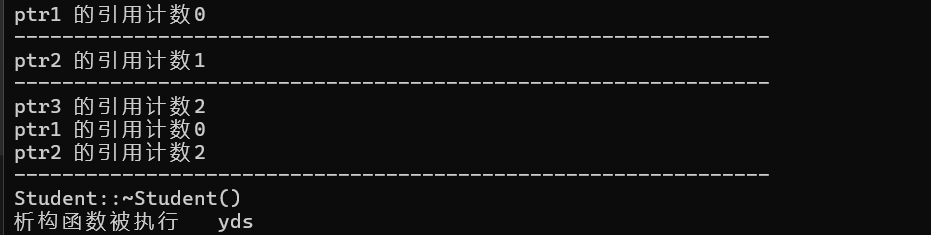
5、ptr1=ptr2
将默认构造的ptr1复制上ptr2
现在三个指针共同指向一个区域
ptr1 = ptr2;
std::cout << "ptr1 的引用计数" << ptr1.use_count() << std::endl;
std::cout << "ptr2 的引用计数" << ptr2.use_count() << std::endl;
std::cout << "ptr3 的引用计数" << ptr3.use_count() << std::endl;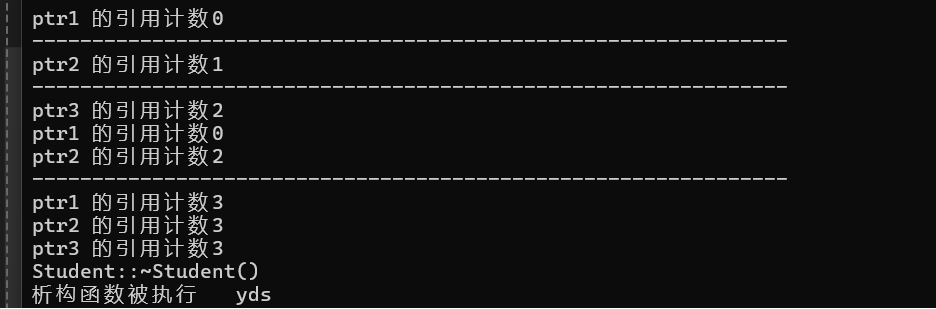
6、重置智能指针
reset函数会释放ptr1当前所指向的对象(如果有的话,前提是只有这一个指针控制该区域),并将ptr1指向新创建的Student对象。- 这里
ptr1指向新创建的Student对象,ptr2和pyr3共同指向的区域引用计数减1.
ptr1.reset(new Student("www",22));
std::cout << "ptr1 的引用计数" << ptr1.use_count() << std::endl;
std::cout << "ptr2 的引用计数" << ptr2.use_count() << std::endl;
std::cout << "ptr3 的引用计数" << ptr3.use_count() << std::endl;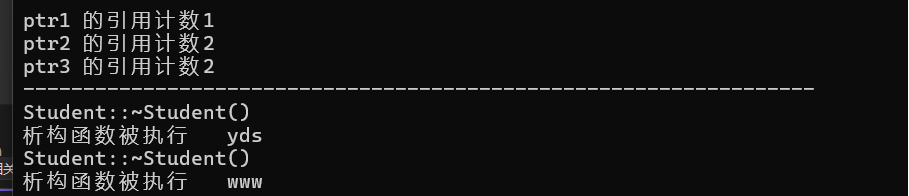
7、多线程的智能指针使用演示
std::thread t([ptr1]() {
	ptr1->name_ = "yyy";
	std::cout << "使用线程后ptr1的引用计数" << ptr1.use_count() << std::endl;
	});
t.join();

可以看到ptr1的name被更改,且引用计数加1。


 1639
1639

 被折叠的 条评论
为什么被折叠?
被折叠的 条评论
为什么被折叠?
 到【灌水乐园】发言


