


一 概述
大家都清楚,在Android的开发中,凡是遇到耗时的操作尽可能的会交给Service去做,比如我们上传多张图,上传的过程用户可能将应用置于后台,然后干别的去了,我们的Activity就很可能会被杀死,所以可以考虑将上传操作交给Service去做,如果担心Service被杀,还能通过设置startForeground(int, Notification)方法提升其优先级。
那么,在Service里面我们肯定不能直接进行耗时操作,一般都需要去开启子线程去做一些事情,自己去管理Service的生命周期以及子线程并非是个优雅的做法;好在Android给我们提供了一个类,叫做IntentService,我们看下注释。
IntentService is a base class for {@link Service}s that handle asynchronous
requests (expressed as {@link Intent}s) on demand. Clients send requests
through {@link android.content.Context#startService(Intent)} calls; the
service is started as needed, handles each Intent in turn using a worker
thread, and stops itself when it runs out of work.
意思说IntentService是一个基于Service的一个类,用来处理异步的请求。你可以通过startService(Intent)来提交请求,该Service会在需要的时候创建,当完成所有的任务以后自己关闭,且请求是在工作线程处理的。
这么说,我们使用了IntentService最起码有两个好处,一方面不需要自己去new Thread了;另一方面不需要考虑在什么时候关闭该Service了。
好了,那么接下来我们就来看一个完整的例子。
二 IntentService的使用
我们就来演示一个多个图片上传的案例,当然我们会模拟上传的耗时,毕竟我们的重心在IntentService的使用和源码解析上。
首先看下效果图
效果图
每当我们点击一次按钮,会将一个任务交给后台的Service去处理,后台的Service每处理完成一个请求就会反馈给Activity,然后Activity去更新UI。当所有的任务完成的时候,后台的Service会退出,不会占据任何内存。
Service
package com.zhy.blogcodes.intentservice;
import android.app.IntentService;
import android.content.Context;
import android.content.Intent;
import android.util.Log;
public class UploadImgService extends IntentService
{
private static final String ACTION_UPLOAD_IMG = “com.zhy.blogcodes.intentservice.action.UPLOAD_IMAGE”;
public static final String EXTRA_IMG_PATH = “com.zhy.blogcodes.intentservice.extra.IMG_PATH”;
public static void startUploadImg(Context context, String path)
{
Intent intent = new Intent(context, UploadImgService.class);
intent.setAction(ACTION_UPLOAD_IMG);
intent.putExtra(EXTRA_IMG_PATH, path);
context.startService(intent);
}
public UploadImgService()
{
super(“UploadImgService”);
}
@Override
protected void onHandleIntent(Intent intent)
{
if (intent != null)
{
final String action = intent.getAction();
if (ACTION_UPLOAD_IMG.equals(action))
{
final String path = intent.getStringExtra(EXTRA_IMG_PATH);
handleUploadImg(path);
}
}
}
private void handleUploadImg(String path)
{
try
{
//模拟上传耗时
Thread.sleep(3000);
Intent intent = new Intent(IntentServiceActivity.UPLOAD_RESULT);
intent.putExtra(EXTRA_IMG_PATH, path);
sendBroadcast(intent);
} catch (InterruptedException e)
{
e.printStackTrace();
}
}
@Override
public void onCreate()
{
super.onCreate();
Log.e(“TAG”,“onCreate”);
}
@Override
public void onDestroy()
{
super.onDestroy();
Log.e(“TAG”,“onDestroy”);
}
}
代码很短,主要就是继承IntentService,然后复写onHandleIntent方法,根据传入的intent来选择具体的操作。startUploadImg是我写的一个辅助方法,省的每次都去构建Intent,startService了。
Activity
package com.zhy.blogcodes.intentservice;
import android.content.BroadcastReceiver;
import android.content.Context;
import android.content.Intent;
import android.content.IntentFilter;
import android.os.Bundle;
import android.support.v7.app.AppCompatActivity;
import android.view.Menu;
import android.view.MenuItem;
import android.view.View;
import android.widget.LinearLayout;
import android.widget.TextView;
import com.zhy.blogcodes.R;
public class IntentServiceActivity extends AppCompatActivity
{
public static final String UPLOAD_RESULT = “com.zhy.blogcodes.intentservice.UPLOAD_RESULT”;
private LinearLayout mLyTaskContainer;
private BroadcastReceiver uploadImgReceiver = new BroadcastReceiver()
{
@Override
public void onReceive(Context context, Intent intent)
{
if (intent.getAction() == UPLOAD_RESULT)
{
String path = intent.getStringExtra(UploadImgService.EXTRA_IMG_PATH);
handleResult(path);
}
}
};
private void handleResult(String path)
{
TextView tv = (TextView) mLyTaskContainer.findViewWithTag(path);
tv.setText(path + " upload success ~~~ ");
}
@Override
protected void onCreate(Bundle savedInstanceState)
{
super.onCreate(savedInstanceState);
setContentView(R.layout.activity_intent_service);
mLyTaskContainer = (LinearLayout) findViewById(R.id.id_ll_taskcontainer);
registerReceiver();
}
private void registerReceiver()
{
IntentFilter filter = new IntentFilter();
filter.addAction(UPLOAD_RESULT);
registerReceiver(uploadImgReceiver, filter);
}
int i = 0;
public void addTask(View view)
{
//模拟路径
String path = “/sdcard/imgs/” + (++i) + “.png”;
UploadImgService.startUploadImg(this, path);
TextView tv = new TextView(this);
mLyTaskContainer.addView(tv);
tv.setText(path + " is uploading …");
tv.setTag(path);
}
@Override
protected void onDestroy()
{
super.onDestroy();
unregisterReceiver(uploadImgReceiver);
}
}
Activity中,每当我点击一次按钮调用addTask,就回模拟创建一个任务,然后交给IntentService去处理。
注意,当Service的每个任务完成的时候,会发送一个广播,我们在Activity的onCreate和onDestroy里面分别注册和解注册了广播;当收到广播则更新指定的UI。
布局文件
<LinearLayout android:id=“@+id/id_ll_taskcontainer”
xmlns:android=“http://schemas.android.com/apk/res/android”
xmlns:tools=“http://schemas.android.com/tools”
android:layout_width=“match_parent”
android:layout_height=“match_parent”
android:orientation=“vertical”
<Button android:layout_width=“wrap_content” android:layout_height=“wrap_content”
android:onClick=“addTask” android:text=“add Task”/>
ok,这样我们就完成了我们的效果图的需求;通过上例,大家可以看到我们可以使用IntentService非常方便的处理后台任务,屏蔽了诸多细节;而Service与Activity通信呢,我们选择了广播的方式(当然这里也可以使用LocalBroadcastManager)。
学会了使用之后,我们再一鼓作气的看看其内部的实现。
三 IntentService源码解析
直接看IntentService源码
/*
-
Copyright © 2008 The Android Open Source Project
-
Licensed under the Apache License, Version 2.0 (the “License”);
-
you may not use this file except in compliance with the License.
-
You may obtain a copy of the License at
-
http://www.apache.org/licenses/LICENSE-2.0 -
Unless required by applicable law or agreed to in writing, software
-
distributed under the License is distributed on an “AS IS” BASIS,
-
WITHOUT WARRANTIES OR CONDITIONS OF ANY KIND, either express or implied.
-
See the License for the specific language governing permissions and
-
limitations under the License.
*/
先自我介绍一下,小编13年上海交大毕业,曾经在小公司待过,也去过华为、OPPO等大厂,18年进入阿里一直到现在。
深知大多数初中级Android工程师,想要提升技能,往往是自己摸索成长或者是报班学习,但对于培训机构动则近万的学费,着实压力不小。自己不成体系的自学效果低效又漫长,而且极易碰到天花板技术停滞不前!
因此收集整理了一份《Android移动开发全套学习资料》送给大家,初衷也很简单,就是希望能够帮助到想自学提升又不知道该从何学起的朋友,同时减轻大家的负担。
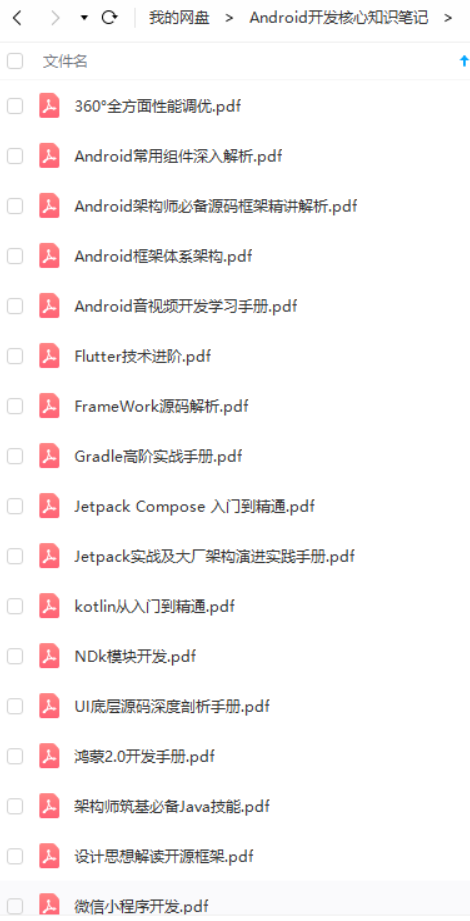
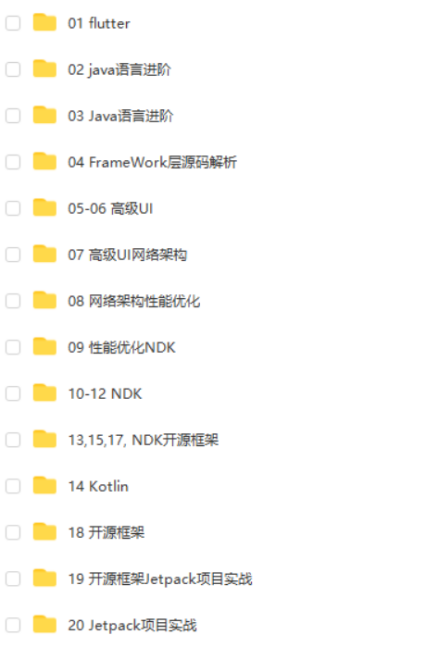
由于文件比较大,这里只是将部分目录截图出来,每个节点里面都包含大厂面经、学习笔记、源码讲义、实战项目、讲解视频
如果你觉得这些内容对你有帮助,可以扫码领取!!!!

最后:学习总结——Android框架体系架构知识脑图(纯手绘xmind文档)
学完之后,若是想验收效果如何,其实最好的方法就是可自己去总结一下。比如我就会在学习完一个东西之后自己去手绘一份xmind文件的知识梳理大纲脑图,这样也可方便后续的复习,且都是自己的理解,相信随便瞟几眼就能迅速过完整个知识,脑补回来。
下方即为我手绘的Android框架体系架构知识脑图,由于是xmind文件,不好上传,所以小编将其以图片形式导出来传在此处,细节方面不是特别清晰。但可给感兴趣的朋友提供完整的Android框架体系架构知识脑图原件(包括上方的面试解析xmind文档)

除此之外,前文所提及的Alibaba珍藏版 Android框架体系架构 手写文档以及一本 《大话数据结构》 书籍等等相关的学习笔记文档,也皆可分享给认可的朋友!
——感谢大家伙的认可支持,请注意:点赞+点赞+点赞!!!
《Android学习笔记总结+移动架构视频+大厂面试真题+项目实战源码》,点击传送门,即可免费领取!
架构知识脑图(纯手绘xmind文档)
学完之后,若是想验收效果如何,其实最好的方法就是可自己去总结一下。比如我就会在学习完一个东西之后自己去手绘一份xmind文件的知识梳理大纲脑图,这样也可方便后续的复习,且都是自己的理解,相信随便瞟几眼就能迅速过完整个知识,脑补回来。
下方即为我手绘的Android框架体系架构知识脑图,由于是xmind文件,不好上传,所以小编将其以图片形式导出来传在此处,细节方面不是特别清晰。但可给感兴趣的朋友提供完整的Android框架体系架构知识脑图原件(包括上方的面试解析xmind文档)
[外链图片转存中…(img-DaaeFJyO-1711213850710)]
除此之外,前文所提及的Alibaba珍藏版 Android框架体系架构 手写文档以及一本 《大话数据结构》 书籍等等相关的学习笔记文档,也皆可分享给认可的朋友!
——感谢大家伙的认可支持,请注意:点赞+点赞+点赞!!!
《Android学习笔记总结+移动架构视频+大厂面试真题+项目实战源码》,点击传送门,即可免费领取!


 701
701


 被折叠的 条评论
为什么被折叠?
被折叠的 条评论
为什么被折叠?
 到【灌水乐园】发言


