


# Grabbing the Holistic Model from Mediapipe and
# Initializing the Model
mp_holistic = mp.solutions.holistic
holistic_model = mp_holistic.Holistic(
min_detection_confidence = 0.5 ,
min_tracking_confidence = 0.5
)
# Initializing the drawng utils for drawing the facial landmarks on image
mp_drawing = mp.solutions.drawing_utils
让我们研究一下整体模型的参数:
Holistic(
static_image_mode=False,
model_complexity=1,
smooth_landmarks=True,
min_detection_confidence=0.5,
min_tracking_confidence=0.5
)
复制代码
-
**静态图像模式:**它用于指定输入图像是否必须被视为静态图像或视频流。默认值为false。
-
**模型复杂性:**它用于描述姿态地标模型的复杂度:0,1,或2。随着模型复杂度的增加,地标精度和延迟增加。默认值为1。
-
**平滑的地标:**该参数通过对不同输入图像的姿态标志进行滤波,减少预测中的抖动。默认值为True。
-
**最小检测可信度:**它被用来指定从人-检测模型中检测成功的最小置信度值。可以在[0.01.0]中指定一个值。默认值为0.5。
-
**最小跟踪信心:**它被用来指定从地标跟踪模型中检测成功的最小置信度值。可以在[0.01.0]中指定一个值。默认值为0.5。
第三步:从图像中检测脸部和手部的地标。整体模型对图像进行处理,为面部、左手和右手生成地标,并检测
-
使用OpenCV从摄像机中连续捕获帧。
-
将BGR映像转换为RGB映像,并使用初始化的整体模型进行预测。
-
整体模型所做的预测保存在结果变量中,从该变量中,我们可以分别使用Resul.Faces_landmark、Resul.right_Hand_landmark、Resul.左侧_Hand_landmark来访问地标。
-
使用绘图功能在图像上绘制检测到的地标。
-
显示结果图像。
Python 3
# (0) in VideoCapture is used to connect to your compyter's default camera
capture = cv2.VideoCapture( 0 )
# Initializing current time and precious time for calculating the FPS
previousTime = 0
currentTime = 0
while capture.isOpened():
# capture frame by frame
ret, frame = capture.read()
# resizing the frame for better view
frame = cv2.resize(frame, ( 800 , 600 ))
# Converting the from from BGR to RGB
image = cv2.cvtColor(frame, cv2.COLOR_BGR2RGB)
# Making predictions using holistic model
# To improve performance, optionally mark the image as not writeable to
# pass by reference.
image.flags.writeable = False
results = holistic_model.process(image)
image.flags.writeable = True
# Converting back the RGB image to BGR
image = cv2.cvtColor(image, cv2.COLOR_RGB2BGR)
# Drawing the Facial Landmarks
mp_drawing.draw_landmarks(
image,
results.face_landmarks,
mp_holistic.FACE_CONNECTIONS,
mp_drawing.DrawingSpec(
color = ( 255 , 0 , 255 ),
thickness = 1 ,
circle_radius = 1
),
mp_drawing.DrawingSpec(
color = ( 0 , 255 , 255 ),
thickness = 1 ,
circle_radius = 1
)
)
# Drawing Right hand Land Marks
mp_drawing.draw_landmarks(
image,
results.right_hand_landmarks,
mp_holistic.HAND_CONNECTIONS
)
# Drawing Left hand Land Marks
mp_drawing.draw_landmarks(
image,
results.left_hand_landmarks,
mp_holistic.HAND_CONNECTIONS
)
# Calculating the FPS
currentTime = time.time()
fps = 1 / (currentTime - previousTime)
previousTime = currentTime
# Displaying FPS on the image
cv2.putText(image, str ( int (fps)) + " FPS" , ( 10 , 70 ), cv2.FONT_HERSHEY_COMPLEX, 1 , ( 0 , 255 , 0 ), 2 )
# Display the resulting image
cv2.imshow( "Facial and Hand Landmarks" , image)
# Enter key 'q' to break the loop
if cv2.waitKey( 5 ) & 0xFF = = ord ( 'q' ):
break
# When all the process is done
# Release the capture and destroy all windows
capture.release()
自我介绍一下,小编13年上海交大毕业,曾经在小公司待过,也去过华为、OPPO等大厂,18年进入阿里一直到现在。
深知大多数Python工程师,想要提升技能,往往是自己摸索成长或者是报班学习,但对于培训机构动则几千的学费,着实压力不小。自己不成体系的自学效果低效又漫长,而且极易碰到天花板技术停滞不前!
因此收集整理了一份《2024年Python开发全套学习资料》,初衷也很简单,就是希望能够帮助到想自学提升又不知道该从何学起的朋友,同时减轻大家的负担。

既有适合小白学习的零基础资料,也有适合3年以上经验的小伙伴深入学习提升的进阶课程,基本涵盖了95%以上前端开发知识点,真正体系化!
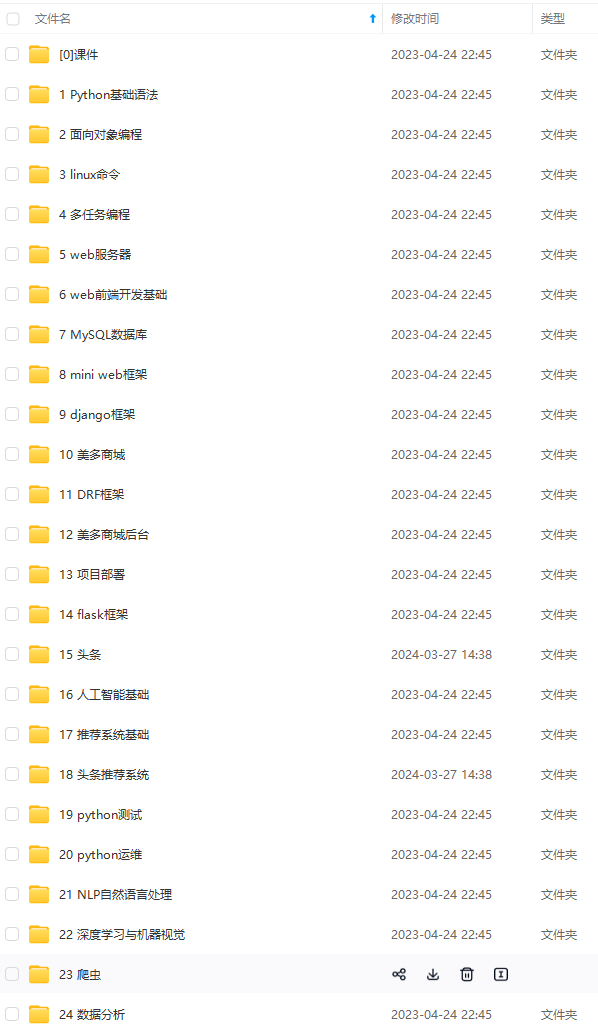
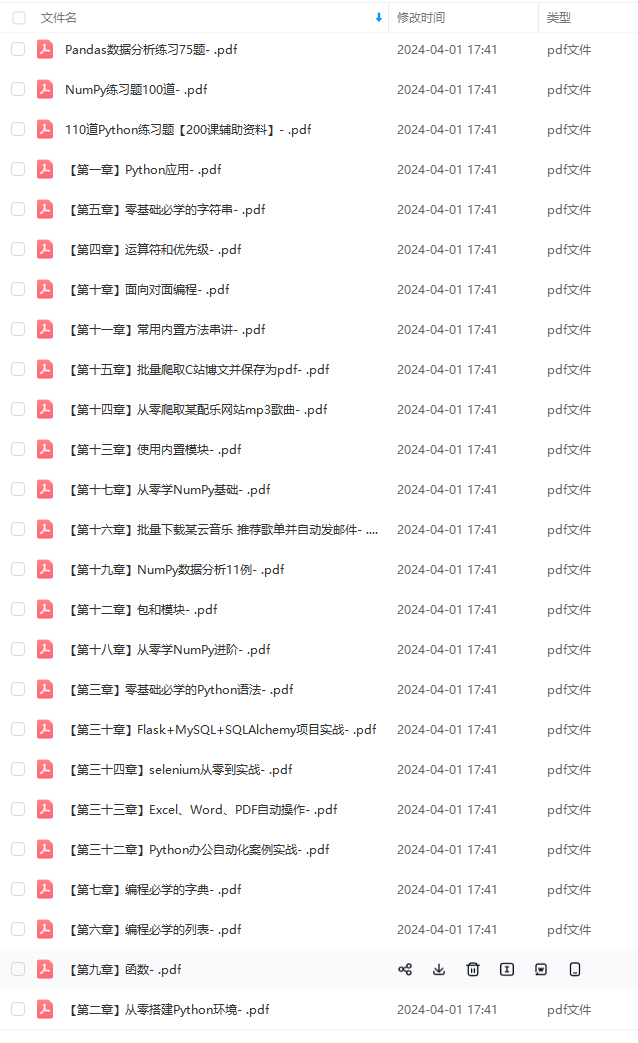
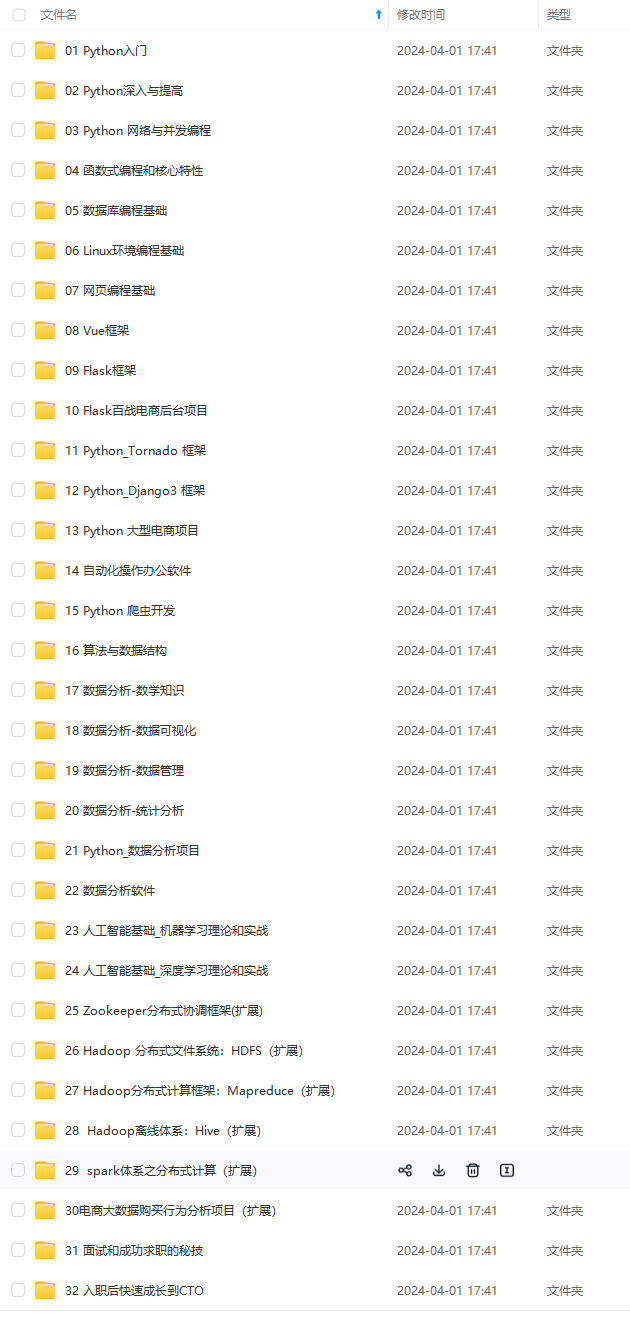
由于文件比较大,这里只是将部分目录大纲截图出来,每个节点里面都包含大厂面经、学习笔记、源码讲义、实战项目、讲解视频,并且后续会持续更新
如果你觉得这些内容对你有帮助,可以扫码获取!!!(备注:Python)
3)]
既有适合小白学习的零基础资料,也有适合3年以上经验的小伙伴深入学习提升的进阶课程,基本涵盖了95%以上前端开发知识点,真正体系化!
由于文件比较大,这里只是将部分目录大纲截图出来,每个节点里面都包含大厂面经、学习笔记、源码讲义、实战项目、讲解视频,并且后续会持续更新
如果你觉得这些内容对你有帮助,可以扫码获取!!!(备注:Python)


 7618
7618

 被折叠的 条评论
为什么被折叠?
被折叠的 条评论
为什么被折叠?
 到【灌水乐园】发言


