


[root@Nginx ~]# vim /usr/lib/systemd/system/nginx.service
[Unit]
Description=nginx
After=network.target
[Service]
Type=forking
PIDFile=/usr/local/nginx/logs/nginx.pid
ExecStart=/usr/local/nginx/sbin/nginx
ExecReload=/usr/local/nginx/sbin/nginx -s reload
ExecStop=/usr/local/nginx/sbin/nginx -s stop
PrivateTmp=true
[Install]
WantedBy=multi-user.target
[root@Nginx ~]# nginx -s stop
[root@Nginx ~]# netstat -anpt | grep 80
[root@Nginx ~]# systemctl start nginx
[root@Nginx ~]# netstat -anpt | grep 80

=============================================================================
- 配置 CPU 亲和能够减少进程之间不断频繁迁移,减少性能损耗。
1)查看当前 CPU 物理状态
[root@Nginx ~]# lscpu | grep “CPU(s)”
2)将 Nginx Worker 进程绑到不同的核心上
- 指定 CPU 核心来进行绑定:
worker_processes 6;
worker_cpu_affinity 000001 000010 000100 001000 010000 100000;
- 最佳绑定方式:
worker_processes auto;
worker_cpu_affinity auto;
3)查看 Nginx Worker 进程绑定至对应 CPU
[root@Nginx ~]# ps -eo pid,args,psr | grep [n]ginx
1)Server 优先级
[root@Nginx ~]# mkdir -p /zhangsan/Coco{1…3}
[root@Nginx ~]# for A in {1…3};do echo “
Coco A < / h 1 > " > / z h a n g s a n / C o c o " A</h1>" > /zhangsan/Coco" A</h1>">/zhangsan/Coco"A”/index.html;done
[root@Nginx ~]# vim /usr/local/nginx/conf/nginx.conf
http {
include mime.types;
default_type application/octet-stream;
sendfile on;
keepalive_timeout 65;
server {
listen 80;
server_name 192.168.1.1;
location / {
root /zhangsan/Coco1;
index index.html;
}
}
server {
listen 80;
server_name 192.168.1.1;
location / {
root /zhangsan/Coco2;
index index.html;
}
}
server {
listen 80;
server_name 192.168.1.1;
location / {
root /zhangsan/Coco3;
index index.html;
}
}
}
[root@Nginx ~]# nginx -t #检查配置文件是否正确
[root@Nginx ~]# systemctl restart nginx #重启Nginx服务
[root@Nginx ~]# curl http://192.168.1.1
- 注意:当多个
server_name一样时,访问的优先级是从上到下。
2)Location 优先级
一个 Server 出现多个 location
| 常用的正则匹配 | 作用 |
| — | — |
| = | 进行普通字符精确匹配,完全匹配 |
| ^~ | 进行普通字符匹配,使用前缀匹配 |
| ~ | 区分大小写匹配 |
| ~* | 不区分大小写匹配 |
- 优先级为:
=^~~~*
[root@Nginx ~]# vim /usr/local/nginx/conf/nginx.conf
http {
include mime.types;
default_type application/octet-stream;
sendfile on;
keepalive_timeout 65;
server {
listen 80;
server_name 192.168.1.1;
root /zhangsan;
index index.html;
location = /Coco1/ {
rewrite ^(.*)$ /Coco1/index.html break;
}
location ~ /Coco* {
rewrite ^(.*)$ /Coco3/index.html break;
}
location ^~ /Coco {
rewrite ^(.*)$ /Coco2/index.html break;
}
}
}
[root@Nginx ~]# systemctl restart nginx
[root@Nginx ~]# curl http://192.168.1.1/Coco1/
Coco 1
[root@Nginx ~]# curl http://192.168.1.1/Cocooo
Coco 2
[root@Nginx ~]# curl http://192.168.1.1/Coc
Coco 3
- 注意:完全匹配是必须要完全一样才可以,使用前缀匹配是只要前面一样即可。
3)Try_Files 的使用
- Nginx 的 Try_Files 能够按顺序检查文件是否存在。
[root@Nginx ~]# vim /usr/local/nginx/conf/nginx.conf
http {
include mime.types;
default_type application/octet-stream;
sendfile on;
keepalive_timeout 65;
server {
listen 80;
server_name 192.168.1.1;
root /zhangsan;
index index.html;
location / {
try_files $uri $uri/ /Coco3/index.html;
}
}
}
[root@Nginx ~]# systemctl restart nginx
[root@Nginx ~]# curl http://192.168.1.1/Coco1/
Coco 1
[root@Nginx ~]# curl http://192.168.1.1/Docker/
Coco 3
执行过程:
-
首先会检查用户请求的
uri内容是否存在本地,存在则解析; -
如果不存在的话就会根据
/Coco3/index.html指定路径来解析。
4)Alias 与 Root 区别
Root 路径配置:
[root@Nginx ~]# vim /usr/local/nginx/conf/nginx.conf
http {
include mime.types;
default_type application/octet-stream;
sendfile on;
keepalive_timeout 65;
server {
listen 80;
server_name 192.168.1.1;
location /Coco1 {
root /zhangsan;
index index.html;
}
}
}
[root@Nginx ~]# systemctl restart nginx
[root@Nginx ~]# curl http://192.168.1.1/Coco1/
Coco 1
- 实际请求本地路径为:
root路径 + location路径也就是/zhangsan/Coco1/
Alias 路径配置:
[root@Nginx ~]# vim /usr/local/nginx/conf/nginx.conf
http {
include mime.types;
default_type application/octet-stream;
sendfile on;
keepalive_timeout 65;
server {
listen 80;
server_name 192.168.1.1;
location /Docker {
alias /zhangsan/Coco1;
index index.html;
}
}
}
[root@Nginx ~]# systemctl restart nginx
[root@Nginx ~]# curl http://192.168.1.1/Docker/
Coco 1
- 注意:当配置完
alias路径时,它会把原有的location路径代替,但是只能使用location配置的路径来访问。
总结:root 是用来设置根目录的,而 alias 是用来重置当前文件的目录(也就是 location /目录)
- 添加一台机器名为
BeiDaiLi并安装 Nginx,IP地址为:192.168.1.2
[root@BeiDaiLi ~]# vim /usr/local/nginx/conf/nginx.conf
21 log_format main '$remote_addr - r e m o t e u s e r [ remote_user [ remoteuser[time_local] “$request” ’
22 '$status b o d y b y t e s s e n t " body_bytes_sent " bodybytessent"http_referer" ’
23 ‘“ h t t p u s e r a g e n t " " http_user_agent" " httpuseragent""http_x_forwarded_for”’;
24
最后
自我介绍一下,小编13年上海交大毕业,曾经在小公司待过,也去过华为、OPPO等大厂,18年进入阿里一直到现在。
深知大多数初中级Android工程师,想要提升技能,往往是自己摸索成长,自己不成体系的自学效果低效漫长且无助。
因此收集整理了一份《2024年Web前端开发全套学习资料》,初衷也很简单,就是希望能够帮助到想自学提升又不知道该从何学起的朋友,同时减轻大家的负担。

既有适合小白学习的零基础资料,也有适合3年以上经验的小伙伴深入学习提升的进阶课程,基本涵盖了95%以上Android开发知识点!不论你是刚入门Android开发的新手,还是希望在技术上不断提升的资深开发者,这些资料都将为你打开新的学习之门!
如果你觉得这些内容对你有帮助,需要这份全套学习资料的朋友可以戳我获取!!
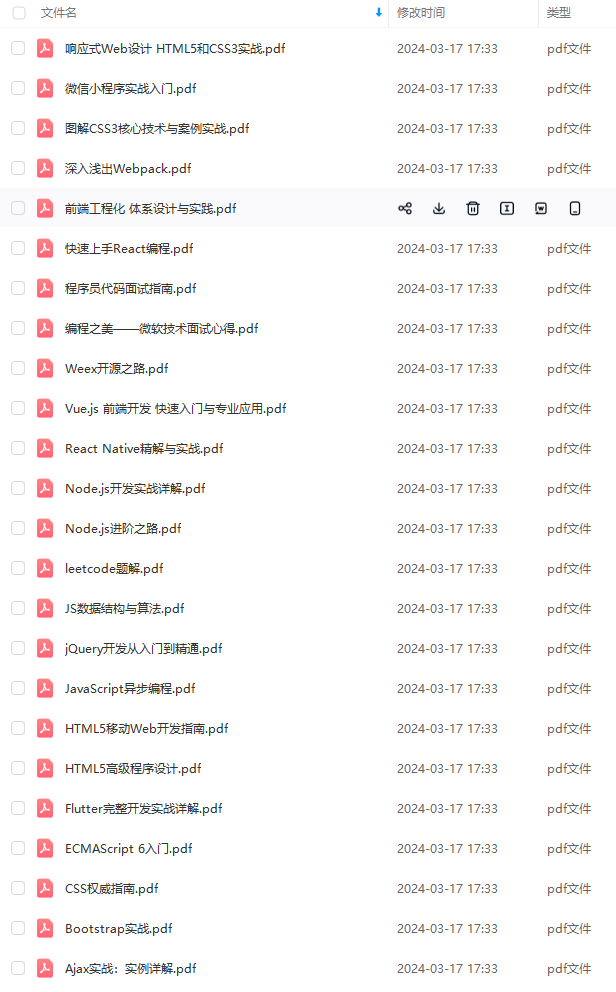
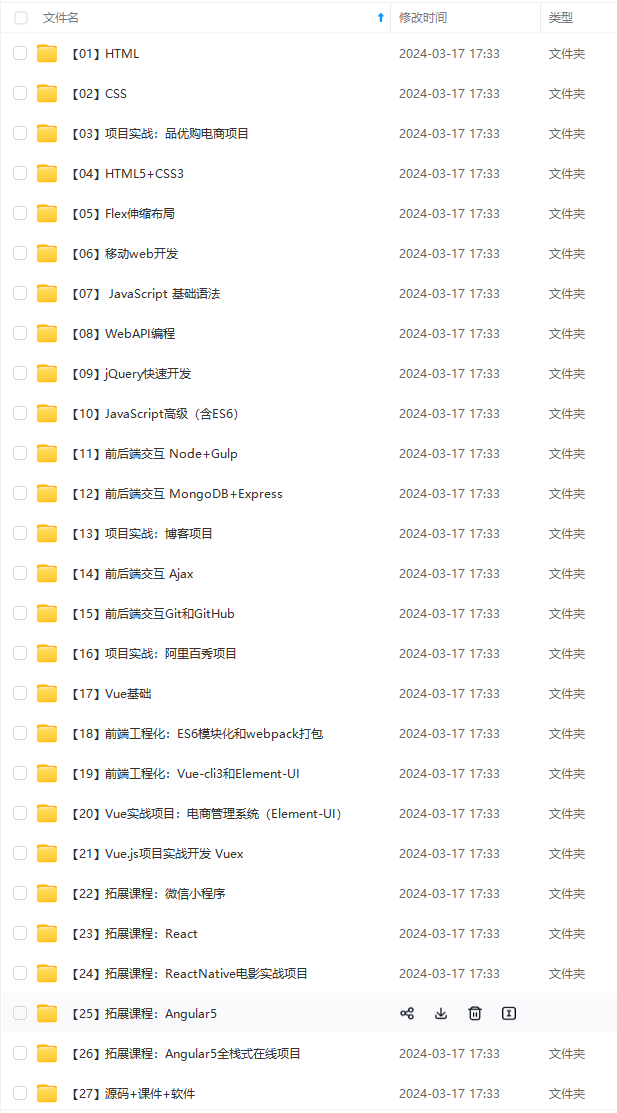
由于文件比较大,这里只是将部分目录截图出来,每个节点里面都包含大厂面经、学习笔记、源码讲义、实战项目、讲解视频,并且会持续更新!
程师,想要提升技能,往往是自己摸索成长,自己不成体系的自学效果低效漫长且无助。**
因此收集整理了一份《2024年Web前端开发全套学习资料》,初衷也很简单,就是希望能够帮助到想自学提升又不知道该从何学起的朋友,同时减轻大家的负担。
[外链图片转存中…(img-ynogfWfU-1715022097006)]
[外链图片转存中…(img-l6HHKKKR-1715022097006)]
[外链图片转存中…(img-7datWd1w-1715022097007)]
既有适合小白学习的零基础资料,也有适合3年以上经验的小伙伴深入学习提升的进阶课程,基本涵盖了95%以上Android开发知识点!不论你是刚入门Android开发的新手,还是希望在技术上不断提升的资深开发者,这些资料都将为你打开新的学习之门!
如果你觉得这些内容对你有帮助,需要这份全套学习资料的朋友可以戳我获取!!
由于文件比较大,这里只是将部分目录截图出来,每个节点里面都包含大厂面经、学习笔记、源码讲义、实战项目、讲解视频,并且会持续更新!


 2万+
2万+

 被折叠的 条评论
为什么被折叠?
被折叠的 条评论
为什么被折叠?
 到【灌水乐园】发言


