


-
}
-
parseInclude(parser, parent, attrs);
-
} else if (TAG_MERGE.equals(name)) {
-
throw new InflateException(“ must be the root element”);
-
} else { //看这里,创建view的方法。而且这里已经重新获得了它的
-
final View view = createViewFromTag(name, attrs);
-
final ViewGroup viewGroup = (ViewGroup) parent;
-
final ViewGroup.LayoutParams params = viewGroup.generateLayoutParams(attrs);
-
rInflate(parser, view, attrs);
-
viewGroup.addView(view, params);
-
}
-
}
-
parent.onFinishInflate();
-
}
-
View createViewFromTag(String name, AttributeSet attrs) {
-
if (name.equals(“view”)) {
-
name = attrs.getAttributeValue(null, “class”);
-
}
-
if (DEBUG) System.out.println("******** Creating view: " + name);
-
try {
-
View view = (mFactory == null) ? null : mFactory.onCreateView(name,
-
mContext, attrs);
-
if (view == null) {
-
if (-1 == name.indexOf(‘.’)) { //这里只是为了判断xml文件中tag的属性是否加了包名
-
view = onCreateView(name, attrs);
-
} else {
-
view = createView(name, null, attrs);
-
}
-
}
-
if (DEBUG) System.out.println("Created view is: " + view);
-
return view;
-
} catch (InflateException e) {
-
throw e;
-
} catch (ClassNotFoundException e) {
-
InflateException ie = new InflateException(attrs.getPositionDescription()
-
+ ": Error inflating class " + name);
-
ie.initCause(e);
-
throw ie;
-
} catch (Exception e) {
-
InflateException ie = new InflateException(attrs.getPositionDescription()
-
+ ": Error inflating class " + name);
-
ie.initCause(e);
-
throw ie;
-
}
-
}
-
/**
-
* 真正创建一个view的方法,
-
* 此方法是用反射获取构造器来实例对象而不是直接new出来这是为了处于性能优化考虑,
-
* 同一个类名的不同对象,可以直接得到缓存的构造器直接获取一个构造器对象实例。而不需要
-
* 重复进行new操作。
-
*
-
* @param name 此View的全名
-
* @param prefix 前缀,值为 "android.view."其实就是是否包含包名
-
* @param attrs 此view的属性值,传递给此view的构造函数
-
*/
-
public final View createView(String name, String prefix, AttributeSet attrs)
-
throws ClassNotFoundException, InflateException {
-
Constructor constructor = sConstructorMap.get(name); //缓存中是否已经有了一个构造函数
-
Class clazz = null;
-
try {
-
if (constructor == null) {
-
//通过类名获得一个class对象
-
clazz = mContext.getClassLoader().loadClass(
-
prefix != null ? (prefix + name) : name);
-
if (mFilter != null && clazz != null) {
-
boolean allowed = mFilter.onLoadClass(clazz);
-
if (!allowed) {
-
failNotAllowed(name, prefix, attrs);
-
}
-
}
-
//通过参数类型获得一个构造器,参数列表为context,attrs
-
constructor = clazz.getConstructor(mConstructorSignature);
-
sConstructorMap.put(name, constructor); //把此构造器缓存起来
-
} else {
-
// If we have a filter, apply it to cached constructor
-
if (mFilter != null) {
-
// Have we seen this name before?
-
Boolean allowedState = mFilterMap.get(name);
-
if (allowedState == null) {
-
// New class – remember whether it is allowed
-
clazz = mContext.getClassLoader().loadClass(
-
prefix != null ? (prefix + name) : name);
-
boolean allowed = clazz != null && mFilter.onLoadClass(clazz);
-
mFilterMap.put(name, allowed);
-
if (!allowed) {
-
failNotAllowed(name, prefix, attrs);
-
}
-
} else if (allowedState.equals(Boolean.FALSE)) {
-
failNotAllowed(name, prefix, attrs);
-
}
-
}
-
}
-
Object[] args = mConstructorArgs;
-
args[1] = attrs; //args[0]已经在前面初始好了。这里只要初始化args[1]
-
return (View) constructor.newInstance(args); //通过反射new出一个对象。。大功告成
-
} catch (NoSuchMethodException e) {
-
InflateException ie = new InflateException(attrs.getPositionDescription()
-
+ ": Error inflating class "
-
+ (prefix != null ? (prefix + name) : name));
-
ie.initCause(e);
-
throw ie;
-
} catch (ClassNotFoundException e) {
-
// If loadClass fails, we should propagate the exception.
-
throw e;
-
} catch (Exception e) {
-
InflateException ie = new InflateException(attrs.getPositionDescription()
-
+ ": Error inflating class "
-
+ (clazz == null ? “” : clazz.getName()));
-
ie.initCause(e);
-
throw ie;
-
}
-
}
在类android.content.res.Resources类中获取XmlResourceParser对象;
Java代码 
-
public XmlResourceParser getLayout(int id) throws NotFoundException {
-
return loadXmlResourceParser(id, “layout”);
-
}
-
ackage*/ XmlResourceParser loadXmlResourceParser(int id, String type)
-
throws NotFoundException {
-
synchronized (mTmpValue) {
-
/*TypedValue对象保存了一些有关resource 的数据值,比如说,对于一个view来说,在xml
-
文件中可以定义许多属性,TypedValue保存了其中一个属性的相关信息,包括此属性的值的类型
-
type,是boolean还是color还是reference还是String,这些在attr.xml文件下都有定义。
-
它的值的字符串名称;一个属性有多个值时,它从xml文件中获取的值它的顺序data;如果此属性的值
-
的类型是一个reference则保存它的resource id的等等。
-
*/
-
TypedValue value = mTmpValue;
-
getValue(id, value, true);
-
if (value.type == TypedValue.TYPE_STRING) {
-
return loadXmlResourceParser(value.string.toString(), id,
-
value.assetCookie, type);
-
}
-
throw new NotFoundException(
-
“Resource ID #0x” + Integer.toHexString(id) + " type #0x"
-
+ Integer.toHexString(value.type) + " is not valid");
-
}
-
}
-
/**
-
* getValue方法,id表示要查找的控件的 id,outValue是一个对象,用于保存一些属性相关信息
-
* resolveRefs为true表明,当通过属性id找到xml文件中的标签时,比如是一个
-
* 它的值是一个引用reference,则继续解析获得这个id的值。这里看AssetManager类的实现*/
-
public void getValue(int id, TypedValue outValue, boolean resolveRefs)
-
throws NotFoundException {
-
boolean found = mAssets.getResourceValue(id, outValue, resolveRefs);
-
if (found) {
-
return;
-
}
-
throw new NotFoundException(“Resource ID #0x”
-
+ Integer.toHexString(id));
-
}
-
/*package*/ XmlResourceParser loadXmlResourceParser(String file, int id,
-
int assetCookie, String type) throws NotFoundException {
-
if (id != 0) {
-
try {
-
//取缓存
-
synchronized (mCachedXmlBlockIds) {
-
// First see if this block is in our cache.
-
final int num = mCachedXmlBlockIds.length;
-
for (int i=0; i<num; i++) {
-
if (mCachedXmlBlockIds[i] == id) {
-
//System.out.println(“**** REUSING XML BLOCK! id=”
-
// + id + “, index=” + i);
-
return mCachedXmlBlocks[i].newParser();
-
}
-
}
-
//第一次加载时,会打开这个文件获取一个xml数据块对象。
-
// 这里先看AssetManager类的实现
-
XmlBlock block = mAssets.openXmlBlockAsset(
-
assetCookie, file);
-
//下面会把此xmlBlock对象缓存起来,保存id和block,
-
//以后如果是同样的id,直接在缓存中取XmlBlock。
-
//这样就不用再在本地方法中打开文件创建解析树了。
-
if (block != null) {
-
int pos = mLastCachedXmlBlockIndex+1;
-
if (pos >= num) pos = 0;
-
mLastCachedXmlBlockIndex = pos;
-
XmlBlock oldBlock = mCachedXmlBlocks[pos];
-
if (oldBlock != null) {
-
oldBlock.close();
-
}
-
mCachedXmlBlockIds[pos] = id;
-
mCachedXmlBlocks[pos] = block;
-
//返回的内部类继承了XmlResourceParser,在APi中此类是隐藏的
-
return block.newParser();
-
}
-
}
-
} catch (Exception e) {
-
NotFoundException rnf = new NotFoundException(
-
“File " + file + " from xml type " + type + " resource ID #0x”
-
+ Integer.toHexString(id));
-
rnf.initCause(e);
-
throw rnf;
-
}
-
}
-
throw new NotFoundException(
-
“File " + file + " from xml type " + type + " resource ID #0x”
-
+ Integer.toHexString(id));
-
}
android.content.res.AssetManager类
Java代码 
-
/*package*/ final boolean getResourceValue(int ident,
-
TypedValue outValue,
-
boolean resolveRefs)
-
{
-
int block = loadResourceValue(ident, outValue, resolveRefs);
-
if (block >= 0) {
-
if (outValue.type != TypedValue.TYPE_STRING) {
-
return true;
-
}
-
//mStringBlocks通过本地方法保存所有布局文件的文件名
-
outValue.string = mStringBlocks[block].get(outValue.data);
-
return true;
-
}
-
return false;
-
}
-
//这是一个本地方法,是在本地方法中获取这个控件信息,返回通过此控件的id找到的文件名
-
//的位置,由于个人对c++不是很了解,只初略的解释本地方法的一些功能。
-
//对于的JNI文件位于:\frameworks\base\core\jni\android_util_AssetManager.cpp
-
private native final int loadResourceValue(int ident, TypedValue outValue,
-
boolean resolve);
-
/**
-
* 通过文件名,在本地方法中找到这个xml文件,并且在本地方法中生成一个xml解析对象。
-
* 返回一个id,这个id对应java中的xmlBlock对象。这样xml文件就被load进了内存。
-
* 也就是android所说的预编译,以后再访问只要直接去取数据即可
-
*/
-
/*package*/ final XmlBlock openXmlBlockAsset(int cookie, String fileName)
-
throws IOException {
-
synchronized (this) {
-
if (!mOpen) {
-
throw new RuntimeException(“Assetmanager has been closed”);
-
}
-
int xmlBlock = openXmlAssetNative(cookie, fileName);
-
if (xmlBlock != 0) {
-
/*
-
* 在XmlBlock对象中,终于到找了实现XmlResourceParser接口的类
-
* Parser,它是XmlBlock的一个内部类。这里面可以获取所有xml文件中的内容。
-
* 不管是属性还是Tag标签。这里xmlBlock是用来与本地类中的解析树对象对应的。
-
* 所有的解析方法,其实都是调用的本地xml解析树中的方法。所以此类中有大量的
-
* 本地方法。
-
*/
-
XmlBlock res = new XmlBlock(this, xmlBlock);
-
incRefsLocked(res.hashCode());
-
return res;
-
}
-
}
-
throw new FileNotFoundException("Asset XML file: " + fileName);
-
}
三 。通过view.findViewById(resourceid)获得一个view的实例
android.View.View类中
Java代码 
-
//调用了通过id检索view的方法
-
public final View findViewById(int id) {
-
if (id < 0) {
-
return null;
-
}
-
return findViewTraversal(id);
-
}
-
//不是吧,这不是坑爹吗?猜想肯定是被viewgroup重写了
-
protected View findViewTraversal(int id) {
-
if (id == mID) {
-
return this;
-
}
-
return null;
-
}
android.View.ViewGroup类中
Java代码 
-
//哈哈,果然重写了此方法。其实就是在viewgroup包含的
-
//子view数组中进行遍历。那么view是什么时候被加入进
-
//viewgroup中的呢?如果是在代码中写,肯定是直接使用
-
//addView方法把view加入viewGroup。如果写在xml布局文件
-
//中,其实是在第二种方法中被加入view的。inflate加载父view
-
//时会同时把其所有的子view加载完,同时addView到父view中
-
protected View findViewTraversal(int id) {
-
if (id == mID) {
-
return this;
-
}
-
final View[] where = mChildren;
-
final int len = mChildrenCount;
-
for (int i = 0; i < len; i++) {
-
View v = where[i];
-
if ((v.mPrivateFlags & IS_ROOT_NAMESPACE) == 0) {
-
v = v.findViewById(id);
-
if (v != null) {
-
return v;
-
}
-
}
-
}
-
return null;
-
}
四。通过activity的setContentView方法和findViewById获取一个view的实例。
它是通过
getWindow().setContentView(layoutResID);设置window对象的view
再来看看window对象是在哪里获得到的,在类Activity中找到
mWindow = PolicyManager.makeNewWindow(this);
它是由PolicyManager生成的。
找到com.android.internal.policy.PolicyManager,找到方法
Java代码 
-
//window是由sPolicy对象创建的
-
public static Window makeNewWindow(Context context) {
-
return sPolicy.makeNewWindow(context);
-
}
-
//sPolicy对象是通过反射,获取的一个实例
-
//此类的实现在com.android.internal.policy.impl.Policy中
-
private static final String POLICY_IMPL_CLASS_NAME =
-
“com.android.internal.policy.impl.Policy”;
-
private static final IPolicy sPolicy;
-
static {
-
// Pull in the actual implementation of the policy at run-time
-
try {
-
Class policyClass = Class.forName(POLICY_IMPL_CLASS_NAME);
-
sPolicy = (IPolicy)policyClass.newInstance();
-
} catch (ClassNotFoundException ex) {
-
throw new RuntimeException(
-
POLICY_IMPL_CLASS_NAME + " could not be loaded", ex);
-
} catch (InstantiationException ex) {
-
throw new RuntimeException(
-
POLICY_IMPL_CLASS_NAME + " could not be instantiated", ex);
-
} catch (IllegalAccessException ex) {
-
throw new RuntimeException(
-
POLICY_IMPL_CLASS_NAME + " could not be instantiated", ex);
-
}
-
}
找到com.android.internal.policy.impl.Policy类
Java代码 
-
public PhoneWindow makeNewWindow(Context context) {
-
return new PhoneWindow(context);
-
}
它其实是一个phoneWindow对象,继承自window对象
找到com.android.internal.policy.impl.phoneWindow 看它内部是如何把resourceid加载成一个view的
Java代码
-
private ViewGroup mContentParent;
-
//这是window的顶层视图,它包含一些窗口的装饰,比图title bar,状态栏等等
-
private DecorView mDecor;
-
//这里的layoutResID也是由mLayoutInflater进行加载的,加载的方式与第二种方法一样。
-
//只不过这里把的到的view变成了mContentParent的子view
-
@Override
-
public void setContentView(int layoutResID) {
-
if (mContentParent == null) {
-
installDecor();
-
} else {
-
mContentParent.removeAllViews();
-
}
-
mLayoutInflater.inflate(layoutResID, mContentParent);
-
final Callback cb = getCallback();
-
if (cb != null) { //这是回调方法,表明mContentParent的子view已经发生改变
-
cb.onContentChanged();
-
}
-
}
-
//再来看看mContentParent究竟是何物,它肯定是一个viewGroup
-
private void installDecor() {
-
if (mDecor == null) {
-
mDecor = generateDecor();
-
mDecor.setDescendantFocusability(ViewGroup.FOCUS_AFTER_DESCENDANTS);
-
mDecor.setIsRootNamespace(true);
-
}
-
if (mContentParent == null) {
-
mContentParent = generateLayout(mDecor);
-
mTitleView = (TextView)findViewById(com.android.internal.R.id.title);
-
if (mTitleView != null) { //这里设置的是是否隐藏titleContainer,即头部titlebar
-
if ((getLocalFeatures() & (1 << FEATURE_NO_TITLE)) != 0) {
-
View titleContainer = findViewById(com.android.internal.R.id.title_container);
-
if (titleContainer != null) {
-
titleContainer.setVisibility(View.GONE);
-
} else {
-
mTitleView.setVisibility(View.GONE);
自我介绍一下,小编13年上海交大毕业,曾经在小公司待过,也去过华为、OPPO等大厂,18年进入阿里一直到现在。
深知大多数初中级Android工程师,想要提升技能,往往是自己摸索成长或者是报班学习,但对于培训机构动则近万的学费,着实压力不小。自己不成体系的自学效果低效又漫长,而且极易碰到天花板技术停滞不前!
因此收集整理了一份《2024年Android移动开发全套学习资料》,初衷也很简单,就是希望能够帮助到想自学提升又不知道该从何学起的朋友,同时减轻大家的负担。


既有适合小白学习的零基础资料,也有适合3年以上经验的小伙伴深入学习提升的进阶课程,基本涵盖了95%以上Android开发知识点,真正体系化!
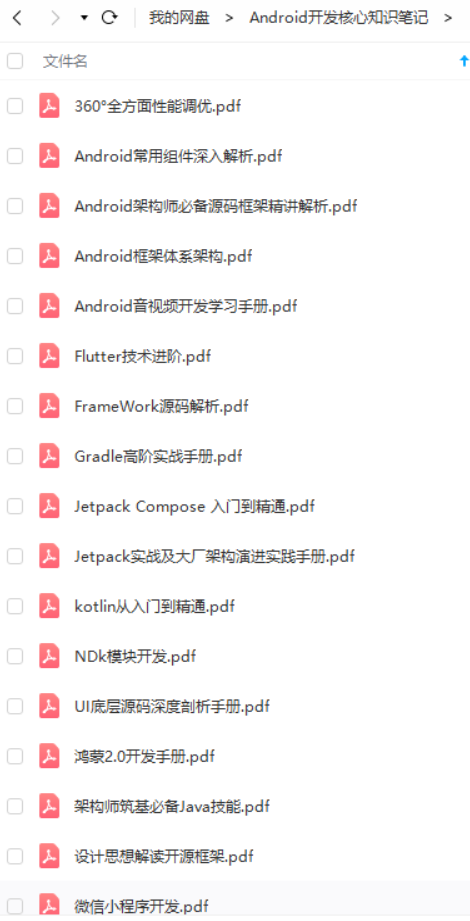
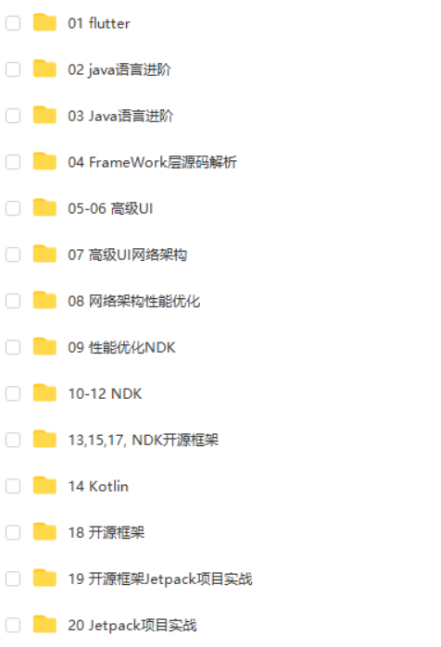
由于文件比较大,这里只是将部分目录截图出来,每个节点里面都包含大厂面经、学习笔记、源码讲义、实战项目、讲解视频,并且会持续更新!
如果你觉得这些内容对你有帮助,可以扫码获取!!(备注:Android)

《960全网最全Android开发笔记》

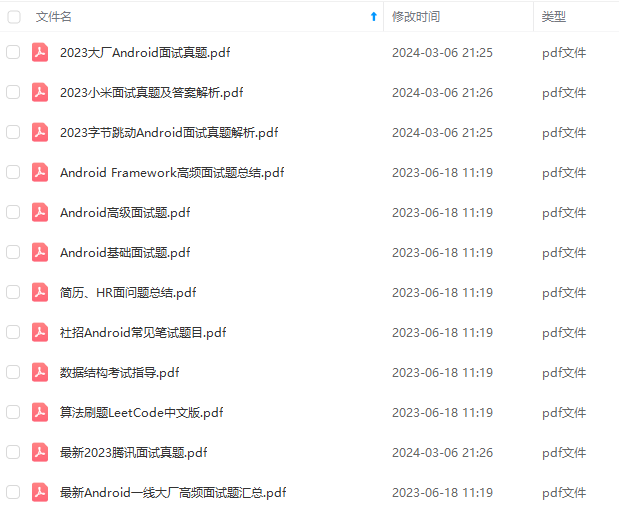
《379页Android开发面试宝典》

《507页Android开发相关源码解析》

因为文件太多,全部展示会影响篇幅,暂时就先列举这些部分截图
《互联网大厂面试真题解析、进阶开发核心学习笔记、全套讲解视频、实战项目源码讲义》点击传送门即可获取!
4年Android移动开发全套学习资料》,初衷也很简单,就是希望能够帮助到想自学提升又不知道该从何学起的朋友,同时减轻大家的负担。**
[外链图片转存中…(img-pF1vmeC6-1713094985636)]
[外链图片转存中…(img-E7gtaHRB-1713094985636)]
[外链图片转存中…(img-cecC0yUx-1713094985636)]
[外链图片转存中…(img-0Ne5Owzy-1713094985637)]
[外链图片转存中…(img-ATNiJdI1-1713094985637)]
既有适合小白学习的零基础资料,也有适合3年以上经验的小伙伴深入学习提升的进阶课程,基本涵盖了95%以上Android开发知识点,真正体系化!
由于文件比较大,这里只是将部分目录截图出来,每个节点里面都包含大厂面经、学习笔记、源码讲义、实战项目、讲解视频,并且会持续更新!
如果你觉得这些内容对你有帮助,可以扫码获取!!(备注:Android)
《960全网最全Android开发笔记》
[外链图片转存中…(img-0ECfNPZb-1713094985637)]
《379页Android开发面试宝典》
[外链图片转存中…(img-CARJXqSP-1713094985637)]
《507页Android开发相关源码解析》
[外链图片转存中…(img-9MPczDYr-1713094985638)]
因为文件太多,全部展示会影响篇幅,暂时就先列举这些部分截图
《互联网大厂面试真题解析、进阶开发核心学习笔记、全套讲解视频、实战项目源码讲义》点击传送门即可获取!


 933
933


 被折叠的 条评论
为什么被折叠?
被折叠的 条评论
为什么被折叠?
 到【灌水乐园】发言


