


如果你也是看准了Python,想自学Python,在这里为大家准备了丰厚的免费学习大礼包,带大家一起学习,给大家剖析Python兼职、就业行情前景的这些事儿。
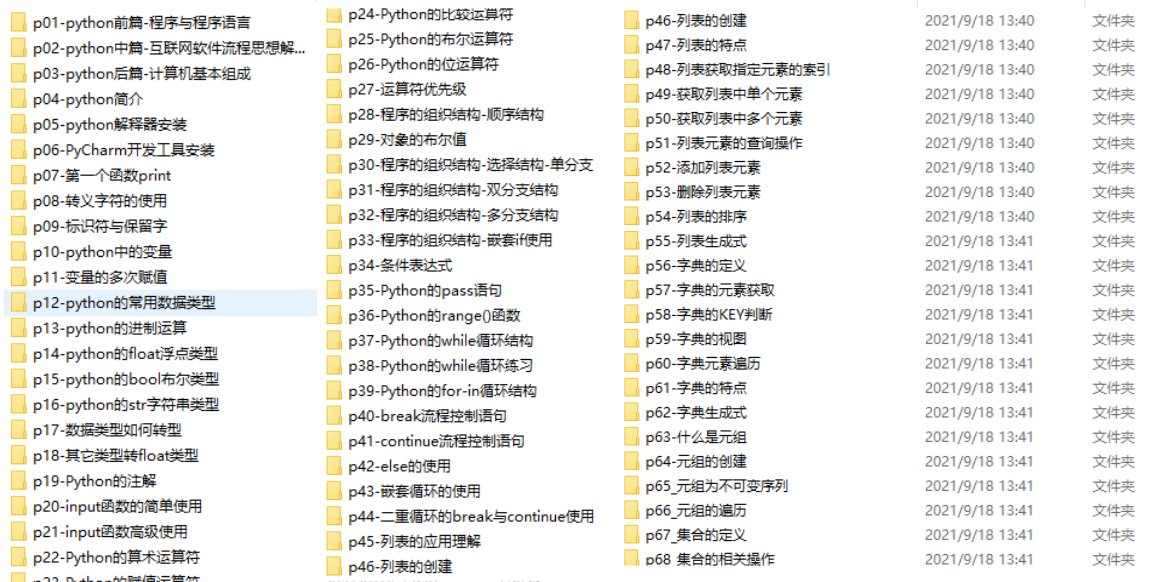
一、Python所有方向的学习路线
Python所有方向路线就是把Python常用的技术点做整理,形成各个领域的知识点汇总,它的用处就在于,你可以按照上面的知识点去找对应的学习资源,保证自己学得较为全面。

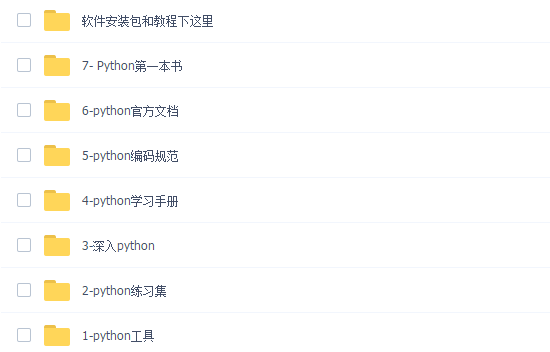
二、学习软件
工欲善其必先利其器。学习Python常用的开发软件都在这里了,给大家节省了很多时间。
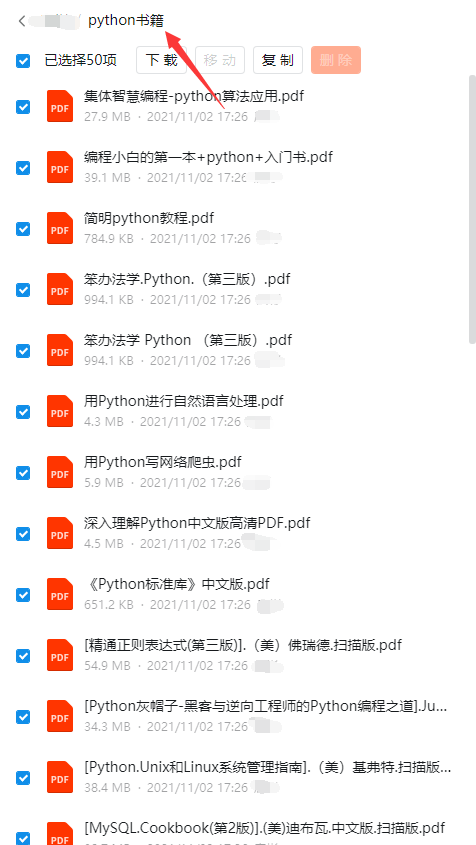
三、全套PDF电子书
书籍的好处就在于权威和体系健全,刚开始学习的时候你可以只看视频或者听某个人讲课,但等你学完之后,你觉得你掌握了,这时候建议还是得去看一下书籍,看权威技术书籍也是每个程序员必经之路。
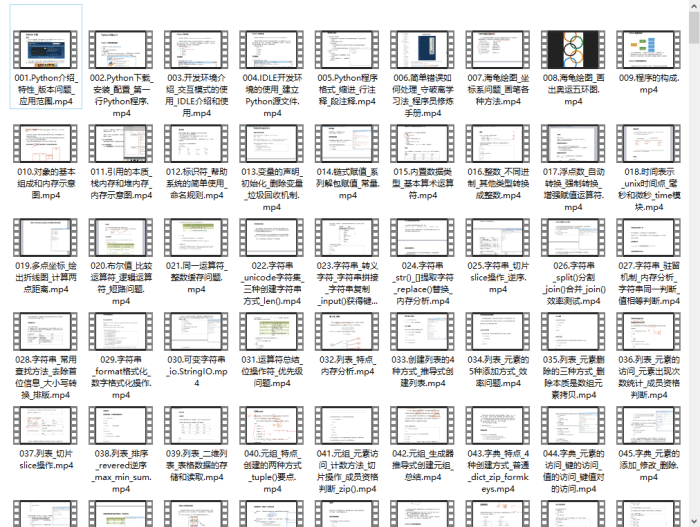
四、入门学习视频
我们在看视频学习的时候,不能光动眼动脑不动手,比较科学的学习方法是在理解之后运用它们,这时候练手项目就很适合了。
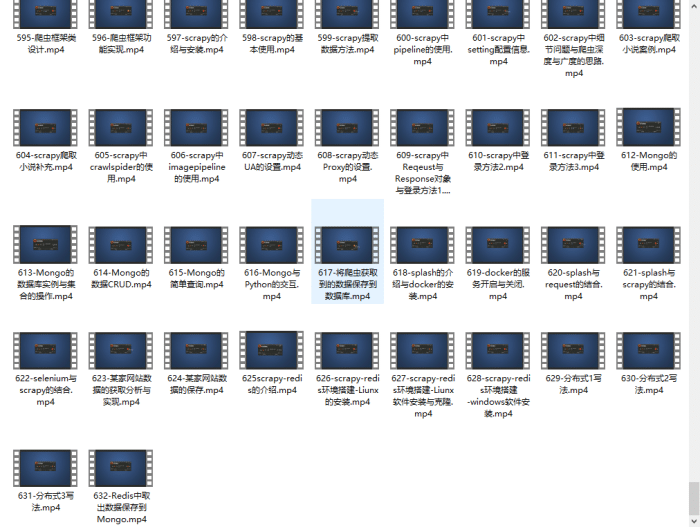
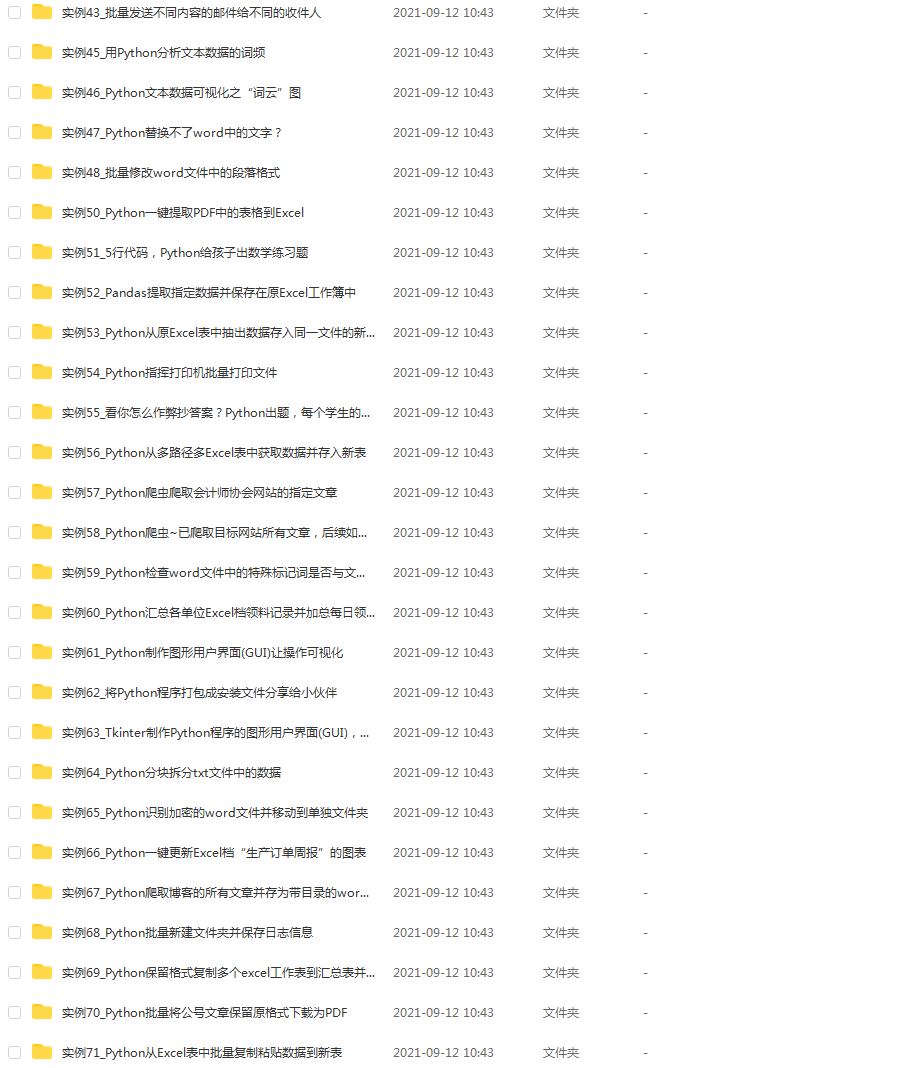
四、实战案例
光学理论是没用的,要学会跟着一起敲,要动手实操,才能将自己的所学运用到实际当中去,这时候可以搞点实战案例来学习。
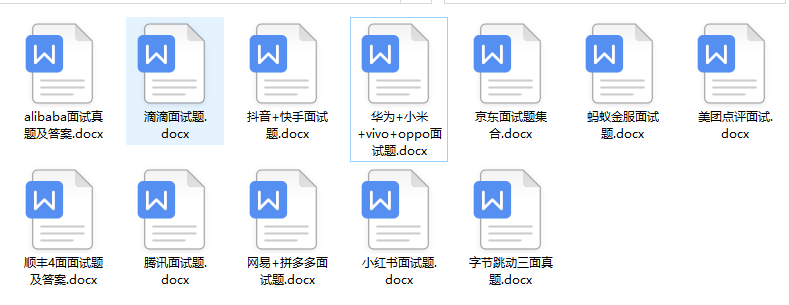
五、面试资料
我们学习Python必然是为了找到高薪的工作,下面这些面试题是来自阿里、腾讯、字节等一线互联网大厂最新的面试资料,并且有阿里大佬给出了权威的解答,刷完这一套面试资料相信大家都能找到满意的工作。
成为一个Python程序员专家或许需要花费数年时间,但是打下坚实的基础只要几周就可以,如果你按照我提供的学习路线以及资料有意识地去实践,你就有很大可能成功!
最后祝你好运!!!
网上学习资料一大堆,但如果学到的知识不成体系,遇到问题时只是浅尝辄止,不再深入研究,那么很难做到真正的技术提升。
一个人可以走的很快,但一群人才能走的更远!不论你是正从事IT行业的老鸟或是对IT行业感兴趣的新人,都欢迎加入我们的的圈子(技术交流、学习资源、职场吐槽、大厂内推、面试辅导),让我们一起学习成长!
rows, cols, _ = img.shape
matrix = cv2.getRotationMatrix2D((cols/2,rows/2),0,0.5)
show_img_4 = cv2.warpAffine(img,matrix,(cols,rows))
plt.imshow(show_img_4)
plt.show()

图像旋转
matrix = cv2.getRotationMatrix2D((cols/2,rows/2),90,1)
show_img_5 = cv2.warpAffine(img,matrix,(cols,rows))
matrix = cv2.getRotationMatrix2D((cols/2,rows/2),180,1)
show_img_6 = cv2.warpAffine(img,matrix,(cols,rows))
matrix = cv2.getRotationMatrix2D((cols/2,rows/2),270,1)
show_img_7 = cv2.warpAffine(img,matrix,(cols,rows))
plt.subplot(131)
plt.imshow(show_img_5)
plt.subplot(132)
plt.imshow(show_img_6)
plt.subplot(133)
plt.imshow(show_img_7)
plt.show()

图像平移
import numpy as np
matrix = np.float32([[1,0,25],[0,1,25]])
show_img_8 = cv2.warpAffine(img,matrix,(cols,rows))
matrix = np.float32([[1,0,50],[0,1,50]])
show_img_9 = cv2.warpAffine(img,matrix,(cols,rows))
matrix = np.float32([[1,0,100],[0,1,0]])
show_img_10 = cv2.warpAffine(img,matrix,(cols,rows))
plt.subplot(131)
plt.imshow(show_img_8)
plt.subplot(132)
plt.imshow(show_img_9)
plt.subplot(133)
plt.imshow(show_img_10)
plt.show()

图像裁剪
#[左上角x轴坐标:右下角x轴坐标,左上角y轴坐标:右下角y轴坐标]
show_img_11 = img[50:150,50:150]
plt.imshow(show_img_11)
plt.show()

图像翻转
srcPoints = np.float32([[0,0],[0,150],[200,200]])
canvasPoints = np.float32([[0,0],[0,150],[150,150]])
matrix = cv2.getRotationMatrix2D((0,0),0,0.5)
show_img_12 = cv2.warpAffine(img,matrix,(cols,rows))
plt.subplot(121)
plt.imshow(show_img_12)
matrix = cv2.getAffineTransform(np.array(srcPoints),np.array(canvasPoints))
show_img_13 = cv2.warpAffine(img,matrix,(cols,rows))
plt.subplot(122)
plt.imshow(show_img_13)
plt.show()

亮度与对比度变换
通过调整像素值来改变图像亮度和对比度:
f ( x ^ ) = α f ( x ) + β f(\hat x)=\alpha f(x) + \beta f(x^)=αf(x)+β
α \alpha α用于调整对比度, β \beta β用于调整亮度。
#调整亮度
show_img_14 = np.uint8(np.clip((img+20),0,255))
#调整对比度
show_img_15 = np.uint8(np.clip((1.5*img),0,254))
plt.subplot(121)
plt.imshow(show_img_14)
plt.subplot(122)
plt.imshow(show_img_15)
plt.show()

常见噪声包括高斯噪声和椒盐噪声。
高斯噪声
噪声的概率密度符合高斯分布的图片噪声称为高斯噪声。
def gasuss_noise(image, mean=0, var=0.001):
‘’’
添加高斯噪声
mean : 均值
var : 方差
‘’’
image = np.array(image/255, dtype=float)
noise = np.random.normal(mean, var ** 0.5, image.shape)
out = image + noise
if out.min() < 0:
low_clip = -1.
else:
low_clip = 0.
out = np.clip(out, low_clip, 1.0)
out = np.uint8(out*255)
#cv.imshow(“gasuss”, out)
return out
show_img_16 = gasuss_noise(img,var=0.01)
show_img_17 = gasuss_noise(img,var=0.04)
plt.subplot(121)
plt.imshow(show_img_16)
plt.subplot(122)
plt.imshow(show_img_17)
plt.show()

椒盐噪声
椒盐噪声是指图片中包含白色的盐噪声和黑色的胡椒噪声。
def sp_noise(image,prob):
‘’’
添加椒盐噪声
prob:噪声比例
‘’’
output = np.zeros(image.shape,np.uint8)
thres = 1 - prob
for i in range(image.shape[0]):
for j in range(image.shape[1]):
rdn = random.random()
if rdn < prob:
output[i][j] = 0
elif rdn > thres:
output[i][j] = 255
else:
output[i][j] = image[i][j]
return output
show_img_18 = sp_noise(img,0.01)
show_img_19 = sp_noise(img,0.05)
plt.subplot(121)
plt.imshow(show_img_18)
plt.subplot(122)
plt.imshow(show_img_19)
plt.show()

中值和均值滤波
中值滤波是使用邻域内所有像素的中位数替换中心像素,可以有效去除图像中的高斯噪声。而均值是使用邻域内所有像素的平均值替换中心像素。
show_img_20 = gasuss_noise(img,var=0.01)
show_img_20 = np.uint8(show_img_20)
show_img_21 = cv2.medianBlur(show_img_20,3)
show_img_22 = cv2.blur(show_img_20,(3,3))
plt.subplot(131)
plt.imshow(show_img_20)
plt.subplot(132)
plt.imshow(show_img_21)
plt.subplot(133)
plt.imshow(show_img_22)
plt.show()

高斯滤波
高斯滤波是使用邻域内所有像素的加权平均值替换中心像素,可以有效去除图像中的高斯噪声。
show_img_23 = cv2.GaussianBlur(show_img_20,(3,3),0)
show_img_24 = cv2.GaussianBlur(show_img_20,(7,7),0)
plt.subplot(131)
plt.imshow(show_img_20)
plt.subplot(132)
plt.imshow(show_img_23)
plt.subplot(133)
plt.imshow(show_img_24)
plt.show()

高斯双边滤波
高斯双边滤波同时考虑空间域和值域,空间域原理类似高斯滤波,值域考虑领域内像素差值计算滤波器系数:
bilateralFilter(src, n, sigmaColor, sigmaSpace, borderType)
参数:
src:原图像
n:滤波器大小
sigmaColor:颜色空间中滤波器的标准差
sigmaSpace:坐标空间中滤波器的标准差
borderType:用于推断图像外部像素的某种边界模式
show_img_25 = cv2.medianBlur(show_img_20,11)
show_img_26 = cv2.GaussianBlur(show_img_20,(11,11),0)
show_img_27 = cv2.bilateralFilter(show_img_20,11,10,10)
show_img_28 = cv2.bilateralFilter(show_img_20,11,50,50)
show_img_29 = cv2.bilateralFilter(show_img_20,11,100,100)
plt.subplot(231)
plt.imshow(show_img_20)
plt.subplot(232)
现在能在网上找到很多很多的学习资源,有免费的也有收费的,当我拿到1套比较全的学习资源之前,我并没着急去看第1节,我而是去审视这套资源是否值得学习,有时候也会去问一些学长的意见,如果可以之后,我会对这套学习资源做1个学习计划,我的学习计划主要包括规划图和学习进度表。
分享给大家这份我薅到的免费视频资料,质量还不错,大家可以跟着学习
网上学习资料一大堆,但如果学到的知识不成体系,遇到问题时只是浅尝辄止,不再深入研究,那么很难做到真正的技术提升。
一个人可以走的很快,但一群人才能走的更远!不论你是正从事IT行业的老鸟或是对IT行业感兴趣的新人,都欢迎加入我们的的圈子(技术交流、学习资源、职场吐槽、大厂内推、面试辅导),让我们一起学习成长!


 921
921

 被折叠的 条评论
为什么被折叠?
被折叠的 条评论
为什么被折叠?
 到【灌水乐园】发言


