


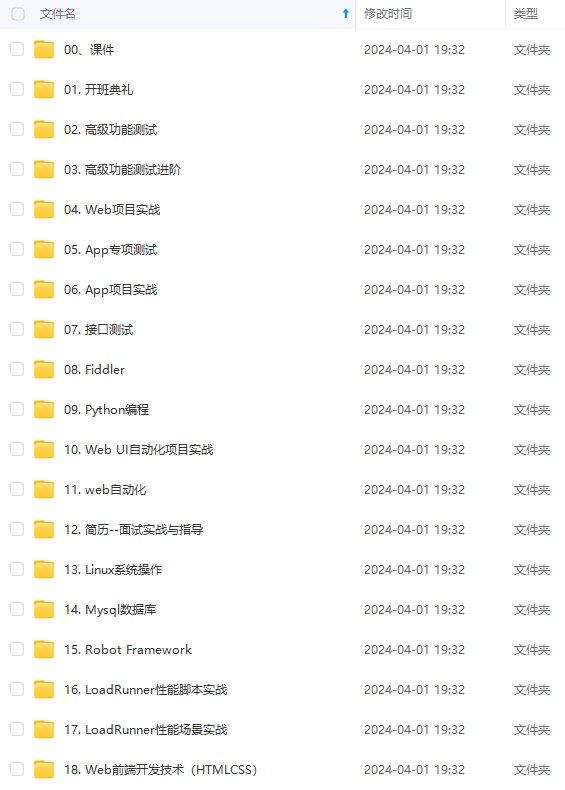


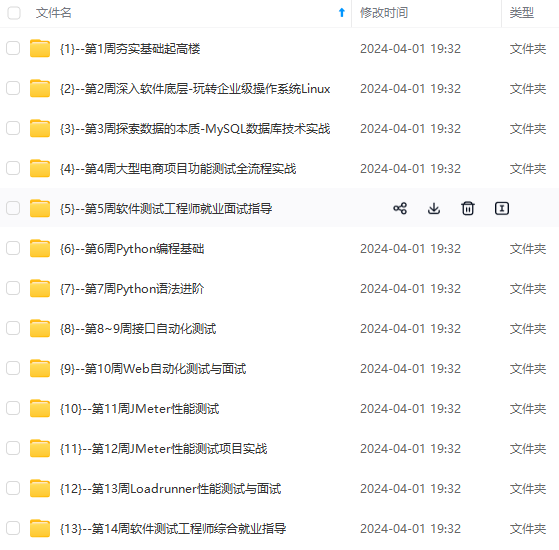
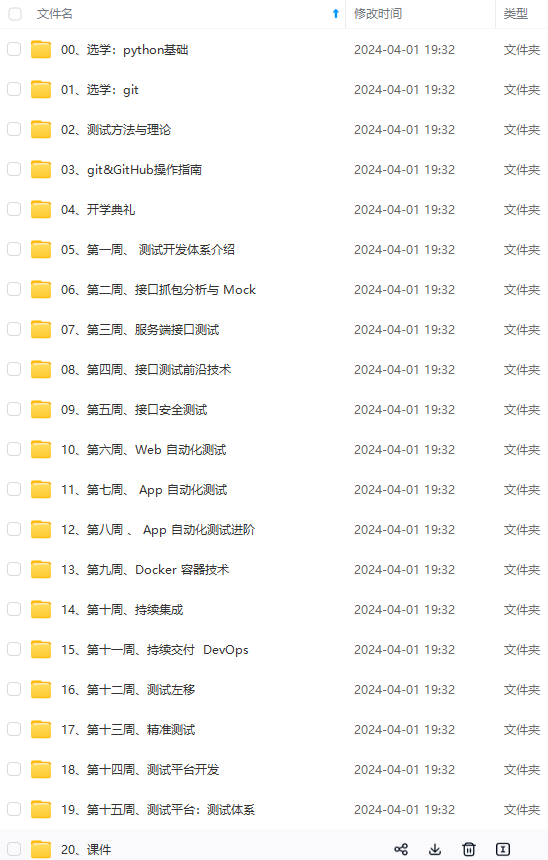
既有适合小白学习的零基础资料,也有适合3年以上经验的小伙伴深入学习提升的进阶课程,涵盖了95%以上软件测试知识点,真正体系化!
由于文件比较多,这里只是将部分目录截图出来,全套包含大厂面经、学习笔记、源码讲义、实战项目、大纲路线、讲解视频,并且后续会持续更新
- 测试方法必须以test开头
2、通过读取pytest.ini配置文件运行
pytest测试用例的运行方式
1、主函数模式
(1)运行所有:pytest.main()
(2)指定模块:pytest.main([“-vs”, “test_login.py”])
(3)指定目录:pytest.main([“-vs”, “./interface_testCase”])
(4)通过nodeid指定用例运行,nodeid由模块名,分隔符,类名和方法名组成
pytest.main([“-vs”, “./interface_testCase/test_interface.py::test_04_func”])
pytest.main([“-vs”, “./interface_testCase/test_interface.py::TestInterface::test_03_shaheshang”])
2、命令行模式
(1)运行所有:pytest
(2)执行模块:cd web_testCase 切换到指定模块所在的目录
pytest -vs test_login.py
(3)指定目录:pytest -vs ./interface_testCase
(4)通过nodeid指定用例运行: pytest -vs ./interface_testCase/test_interface.py::test_04_func
3、通过读取pytest.ini配置文件运行
pytest.ini 这个文件它是pytest单元测试框架的核心配置文件。
位置:一般放在项目的根目录下。
编码:必须是ANSI
作用: 改变pytest默认的行为规则
运行的规则:不管是主函数的模式运行,还是命令行模式运行,都会去读取这个配置文件。
[pytest]
addopts = -vs   # 命令行参数,用空格分隔
# 测试用例路径
testpaths = './web_testCase'
# 模块名规则
python_files = 'test*.py'
# 类名的规则
python_classes = Test*
# 方法名的规则
python_functions = test
参数详解:
-s: 表示输出调试信息,包括print打印的信息
-v: 显示更详细的信息,包括用例所在的模块名和类名
-vs: 这两个参数可以一起使用
--reruns 2:失败用例重跑
-x :表示只要有一个用例报错,那么测试停止
–maxfail=2: 表示出现两个用例失败就停止
-k: 根据测试用例的部分字符串指定测试用例
def test_01_sunwukong def test_02_xiaohong
eg: pytest -vs ./web_testCase -k ‘on’
–html ./report/report.html 生成html格式的测试报告
-m : 执行指定标记的用例 eg: -m ’smoke‘ 标志只执行smoke用例
-n:支持多线程或者分布式运行测试用例
- 主函数模式
pytest.main([“-vs”, “./web_testCase/test_login”, “-n=2”])
- 命令行模式书写
pytest -vs ./web_testCase/test_login -n 2
`如果有5个用例,分配两个线程来执行的话,那么第一个线程会执行1 3 5 用例,第二个线程会执行2 4 用例
失败用例重试:
失败用例重试使用的参数是:–reruns==2
test_login中有5个用例,模拟让第二个用例执行失败
import pytestif __name__ == '__main__':pytest.main(["-vs", "./web_testCase", '--reruns=2'])
pytest -vs ./web_testCase --reruns 2
pytest执行测试用例的顺序
pytest: 默认从上到下
安装:pytest-ordering 这个插件
该插件作用:用于改变测试用例的执行顺序
可以通过mark 标记来指定用例执行的顺序
@pytest.mark.run(order=1)def test_07_xiaohong(self):print("测试小红")
分组执行
分组
分组执行使用场景
冒烟、分模块执行、分接口和web执行
smoke:冒烟用例,分布在各个模块里面
在pytest.ini 配置文件中添加
...
markers =smoke: 冒烟用例usermanage: 用户管理模块productmanage:商品管理模块
在用例中添加标记@pytest.mark.XXX
@pytest.mark.smoke@pytest.mark.usermanagerdef test_07_xiaohong(self):print("测试小红")
执行
pytest -vs -m ‘smoke’
pytest -vs -m ‘somke or usermanager’
或主函数方式执行
import pytest
if __name__ == '__main__':pytest.main(["-vs", "./web_testCase"])
pytest跳过测试用例
使用场景:只执行正向用例,不执行反向用例,异常用例
在用例上添加skip标记
无条件跳过:
@pytest.mark.skip(reason=“不执行用例”)
有条件跳过:
@pytest.mark.skipif(age >= 18, “成年”)
#条件满足就跳过
pytest框架前后置处理解(固件/夹具)
常用三种:
- setup、teardown/setup_class、teardown_class,它是作用于所有的用例/类
- @pytest.fixture() 它即可以全局前后置,也可以部分前后置
- conftest.py 和@pytest.fixture()结合使用,作用于全局的前后置。
使用@pytest.fixture()装饰器来实现部分用例的前后置
写法
@pytest.fixture(scope=,params=,autouse=,ids=,name=)
参数说明:
scope :表示的是被@pytest.fixture标记的方法的作用域。【function:默认(函数),class(类),module(模块),package/session】
params:参数化(支持:列表,元祖,字典列表[{},{},{}],字典元祖[(),(),()])
autouse=True:自动执行,默认False
ids:当 使用params参数化时,给每一个值设置一个变量名,意义不大
name:给表示的是被pytest.fixture标记的方法取一个别名
import pytest@pytest.fixture(scope="function")
def my_fixture():print("这是前置方法")yield print("这是后置方法")class TestDemo01:def test_01_sunwukong(self):print("\n测试孙悟空")# 如果只让test_02  执行前后置,那么就只给这个方法设置my_fixturedef test_02_tangseng(self, my_fixture):print("\n测试唐僧")
scope参数值
①function 函数级别,既每个函数执行,前后置方法也都会被执行
import pytest#  autouse=True 自动使用
@pytest.fixture(scope="function", autouse=True)
def my_fixture():print("这是前置方法")yieldprint("这是后置方法")class TestDemo01:def test_01_sunwukong(self):print("\n测试孙悟空")def test_02_tangseng(self):print("\n测试唐僧")测试结果web_testCase/test_demo01.py::TestDemo01::test_01_sunwukong 这是前置方法测试孙悟空
PASSED这是后置方法web_testCase/test_demo01.py::TestDemo01::test_02_tangseng 这是前置方法测试唐僧
PASSED这是后置方法
②class 类级别,既 前后置方法只执行一次
③modle:模块级别,每个模块前后执行一次
params参数化使用:
import pytest@pytest.fixture(scope="function", params=['成龙', '吴京', '易烊千玺'])
def test_fixture(request):print("这是前置方法")yield request.param  # return和yeild的区别:都是表示返回值的意思,但是return的后面不能有代码,yeild很后面可以有代码print("这是后置方法")# returnclass TestDemo01:def test_01(self):print("\n测试用例1")# 如果只让test_02  执行前后置,那么就只给这个方法设置test_fixturedef test_02(self, test_fixture):print("\n测试用例2")print(test_fixture)if __name__ == '__main__':pytest.main(['-vs'])测试结果:test_demo01.py::TestDemo01::test_01
测试用例1
PASSED
test_demo01.py::TestDemo01::test_02[\u6210\u9f99] 这是前置方法测试用例2
成龙
PASSED这是后置方法test_demo01.py::TestDemo01::test_02[\u5434\u4eac] 这是前置方法测试用例2
吴京
PASSED这是后置方法test_demo01.py::TestDemo01::test_02[\u6613\u70ca\u5343\u73ba] 这是前置方法测试用例2
易烊千玺
PASSED这是后置方法
ids参数的使用
import pytest@pytest.fixture(scope="function", params=['成龙', '吴京', '易烊千玺'], ids=['cl', 'wj', 'yyqx'])
def test_fixture(request):print("这是前置方法")yield request.param  # return和yeild的区别:都是表示返回值的意思,但是return的后面不能有代码,yeild很后面可以有代码print("这是后置方法")# returnclass TestDemo01:def test_01(self):print("\n测试用例1")# 如果只让test_02  执行前后置,那么就只给这个方法设置test_fixturedef test_02(self, test_fixture):print("\n测试用例2")print(test_fixture)if __name__ == '__main__':pytest.main(['-vs'])
 测试结果:test_demo01.py::TestDemo01::test_01
测试用例1
PASSED
test_demo01.py::TestDemo01::test_02[\u6210\u9f99] 这是前置方法测试用例2
成龙
PASSED这是后置方法test_demo01.py::TestDemo01::test_02[\u5434\u4eac] 这是前置方法测试用例2
吴京
PASSED这是后置方法test_demo01.py::TestDemo01::test_02[\u6613\u70ca\u5343\u73ba] 这是前置方法测试用例2
易烊千玺
PASSED这是后置方法
ids和name参数的使用
当使用了别名之后,原来的名称就使用不了了。
import pytest@pytest.fixture(scope="function", params=['成龙', '吴京', '易烊千玺'], ids=['cl', 'wj', 'yyqx'], name='fixture01')
def test_fixture(request):print("这是前置方法")yield request.param  # return和yeild的区别:都是表示返回值的意思,但是return的后面不能有代码,yeild很后面可以有代码print("这是后置方法")# returnclass TestDemo01:def test_01(self):print("\n测试用例1")# 如果只让test_02  执行前后置,那么就只给这个方法设置test_fixturedef test_02(self, fixture01):print("\n测试用例2")print(fixture01)if __name__ == '__main__':pytest.main(['-vs'])
通过conftest.py和@pytest.fixture()结合使用来实现全局的前置应用
实际项目中使用
应用场景:
比如:项目的全局登录,模块的全局处理
conftest.py的特点
①conftest.py文件是单独存放的一个夹具配置文件,名称是不能更改的。
②可以在不同的py文件中使用同一个fixture函数
③原则上conftest.py需要和运行的用例放到同一个目录下,并且不需要做任何的import导入操作。

每个模块设置单独的前后置,也可以使用外部公共的前后置。
product模块:
conftest.py
import pytest@pytest.fixture(scope="function")
def product_fixture(request):print("商品管理前置方法")yieldprint("商品管理后置方法")
test_demo01.py
class TestDemo01:def test_01(self):print("\n测试用例1")# 如果只让test_02  执行前后置,那么就只给这个方法设置product_fixturedef test_02(self, product_fixture):print("\n测试用例2")print(product_fixture)测试结果:web_testCase/product/test_demo01.py::TestDemo01::test_01
测试用例1
PASSED
web_testCase/product/test_demo01.py::TestDemo01::test_02 商品管理前置方法测试用例2
None
PASSED商品管理后置方法
在商品模块的用例中,也可以使用外部的前后置
import pytest@pytest.fixture(scope="function")
def all_fixture(request):print("全局前置方法")yieldprint("全局后置方法")
test_demo01.py
class TestDemo01:def test_01(self):print("\n测试用例1")# 如果只让test_02  执行前后置,那么就只给这个方法设置product_fixturedef test_02(self, all_fixture, product_fixture):print("\n测试用例2")print(all_fixture)print(product_fixture)测试结果:
web_testCase/product/test_demo01.py::TestDemo01::test_01
测试用例1
PASSED
web_testCase/product/test_demo01.py::TestDemo01::test_02 全局前置方法
商品管理前置方法测试用例2
None
None
PASSED商品管理后置方法
全局后置方法
all.py
import pytestif __name__ == '__main__':pytest.main(["-vs"])
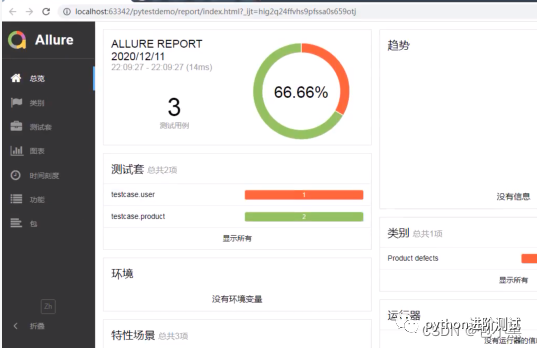
结合allure-pytest生成allure测试报告
第一步安装allure
1、下载zip包,解压到任意目录:https://repo.maven.apache.org/maven2/io/qameta/allure/allure-commandline/2.20.1/
2、配置环境变量(解压后bin目录)
如:path路径配置:E:\allure-2.20.1\bin
3、验证是否成功配置:allure --version
注意:安装好allure后需要重启pycharm
第二步:生成allure能解析的测试结果文件(一堆文件)
1、安装插件:pip install allure-pytest
2、生成报告
方式一:
删除报告文件在执行,避免测试用例执行数量不一致
pytest.main([’-vs’,’–clean -allureddir’,’–alluredir=reports/allurefile’])
方式二:
(1)生成json格式的临时文件:
pytest.ini
[pytest]
addopts = -vs --alluredir ./temp   # 命令行参数,用空格分隔
# 测试用例路径
testpaths = './web_testCase'
# 模块名规则
python_files = 'test*.py'
# 类名的规则
python_classes = Test*
# 方法名的规则
python_functions = test
(2) 生成allure报告
all.py
import os
import pytestif __name__ == '__main__':pytest.main(["-vs"])os.system('allure generate ./temp -o ./report --clean') #找到/temp目录下的临时报告,清空./report原有的报告,输出报告
@pytest.mark.parametrize()基本用法
公司实际上使用的参数化
@pytest.mark.parametrize(args_name,args_value)
args_name:参数名,字符串,多个参数中间用逗号隔开
args_value:参数值(列表,元组,字典列表,字典元组),有多个值用例就会执行多少次,是list,多组数据用元祖类型;传三个或更多参数也是这样传。list的每个元素都是一个元组,元组里的每个元素和按参数顺序一一对应
用法一:
import pytestclass TestApi: @pytest.mark.parametrize('args', ['张三', '李四', '王五'])def test_02_name(self, args):print(args)if __name__ == '__main__':pytest.main()
用法二:跟unittest的ddt里边的@unpack解包一样
import pytestclass TestApi: @pytest.mark.parametrize('name.age', ['张三','20'], ['李四','21'], ['王五','22'])def test_02_name(self, name,age):print(name,age)if __name__ == '__main__':pytest.main()
pytest 断言
pytest 里面断言实际上就是 python 里面的 assert 断言方法,常用的有以下几种
assert xx :判断 xx 为真
assert not xx :判断 xx 不为真
assert a in b :判断 b 包含 a
assert a == b :判断 a 等于 b
assert a != b :判断 a 不等于 b
yaml文件实现接口自动化
用途:
1、用于全局的配置文件 ini/yaml
网上学习资料一大堆,但如果学到的知识不成体系,遇到问题时只是浅尝辄止,不再深入研究,那么很难做到真正的技术提升。
一个人可以走的很快,但一群人才能走的更远!不论你是正从事IT行业的老鸟或是对IT行业感兴趣的新人,都欢迎加入我们的的圈子(技术交流、学习资源、职场吐槽、大厂内推、面试辅导),让我们一起学习成长!
的有以下几种
assert xx :判断 xx 为真
assert not xx :判断 xx 不为真
assert a in b :判断 b 包含 a
assert a == b :判断 a 等于 b
assert a != b :判断 a 不等于 b
yaml文件实现接口自动化
用途:
1、用于全局的配置文件 ini/yaml
[外链图片转存中…(img-9a5NyPfp-1715822202842)]
[外链图片转存中…(img-Xc7gR3DX-1715822202842)]
网上学习资料一大堆,但如果学到的知识不成体系,遇到问题时只是浅尝辄止,不再深入研究,那么很难做到真正的技术提升。
一个人可以走的很快,但一群人才能走的更远!不论你是正从事IT行业的老鸟或是对IT行业感兴趣的新人,都欢迎加入我们的的圈子(技术交流、学习资源、职场吐槽、大厂内推、面试辅导),让我们一起学习成长!


 314
314


 被折叠的 条评论
为什么被折叠?
被折叠的 条评论
为什么被折叠?
 到【灌水乐园】发言


