


设置折叠标题和垂直重力的水平对齐方式,当折叠边界中有额外空间超出标题本身所需的空间时,将使用该对齐方式
相关的XML属性:
CollapsingToolbarLayout_collapsedTitleGravity
2.setExpandedTitleGravity
void setExpandedTitleGravity(int gravity)
设置展开标题和垂直重力的水平对齐方式,当扩展边界中有额外空间超出标题本身所需的空间时,将使用该对齐方式。
相关的XML属性:
CollapsingToolbarLayout_expandedTitleGravity
3.setExpandedTitleTextColor
void setExpandedTitleTextColor(ColorStateList colors)
设置展开标题的文本颜色。
4.setCollapsedTitleTextColor
void setCollapsedTitleTextColor(ColorStateList colors)
设置折叠标题的文本颜色。
5.setCollapsedTitleTypeface
void setCollapsedTitleTypeface(字体字体)
设置用于折叠标题的字体。
5.setExpandedTitleMarginBottom
void setExpandedTitleMarginBottom(int margin)
以像素为单位设置底部展开的标题边距。
相关的XML属性:
CollapsingToolbarLayout_expandedTitleMarginBottom
- 固定Toolbar
app:layout_collapseMode=“pin”
6.更多方法见文档
关于AppBarLayout的三剑客组合就介绍的差不多了,想进一步了解的可以去查阅官方文档,上面都给出了连接的.
特别说明:
三剑客配合使用,可以做出一些很炫酷的UI效果.
但是前提必须满足:AppbarLayout 要作为CoordinatorLayout 的直接子View,而CollapsingToolbarLayout 要作为AppbarLayout 的直接子View ,否则,上面展示的效果将实现不了.
1.仿 [开眼App]个人中心效果
- .xml布局文件:
<android.support.design.widget.CoordinatorLayout
xmlns:android=“http://schemas.android.com/apk/res/android”
android:layout_width=“match_parent”
android:layout_height=“match_parent”
xmlns:fresco=“http://schemas.android.com/apk/res-auto”
xmlns:imagetext=“http://schemas.android.com/apk/res-auto”
xmlns:app=“http://schemas.android.com/apk/res-auto”
android:orientation=“vertical”
android:background=“@color/colorWhite”
<android.support.design.widget.AppBarLayout
android:id=“@+id/center_appbar_layout”
android:layout_width=“match_parent”
android:layout_height=“wrap_content”
app:elevation=“0dp”
android:background=“@color/colorWhite”
android:fitsSystemWindows=“true”
<android.support.design.widget.CollapsingToolbarLayout
android:id=“@+id/collapsing_toobar”
android:layout_width=“match_parent”
android:layout_height=“260dp”
app:layout_scrollFlags=“scroll|exitUntilCollapsed”
app:contentScrim=“@color/colorGraylight”
fresco:expandedTitleTextAppearance=“@style/style_textsize1”
fresco:collapsedTitleTextAppearance=“@style/style_textsize”
fresco:collapsedTitleGravity=“left”
fresco:expandedTitleMarginTop=“185dp”
fresco:expandedTitleGravity=“left”
fresco:expandedTitleMarginStart=“30dp”
<FrameLayout
app:layout_scrollFlags=“scroll”
android:layout_width=“match_parent”
android:layout_height=“180dp”>
<com.facebook.drawee.view.SimpleDraweeView
android:id=“@+id/avatar_max”
android:layout_width=“match_parent”
android:layout_height=“170dp” />
<com.facebook.drawee.view.SimpleDraweeView
android:layout_marginLeft=“20dp”
android:layout_gravity=“bottom”
android:id=“@+id/avatar_min”
android:layout_width=“70dp”
android:layout_height=“70dp”
fresco:actualImageScaleType=“centerCrop”
fresco:placeholderImageScaleType=“centerCrop”
fresco:roundedCornerRadius=“50dp”
/>
<FrameLayout
android:layout_marginTop=“180dp”
app:layout_scrollFlags=“scroll”
android:layout_width=“match_parent”
android:layout_height=“50dp”
<Button
android:id=“@+id/edit_btn”
android:layout_width=“60dp”
android:layout_height=“20dp”
android:layout_marginRight=“20dp”
android:layout_gravity=“right|center_vertical”
android:background=“@drawable/login_btn”
android:gravity=“center”
android:text=“编辑资料”
android:textColor=“@color/colorBlacklight”
android:textSize=“10sp” />
<TextView
android:layout_marginTop=“230dp”
app:layout_scrollFlags=“scroll”
android:textSize=“10sp”
android:id=“@+id/date”
android:layout_marginLeft=“20dp”
android:text=“2018.07.08注册”
android:textColor=“@color/colorGraylight”
android:layout_width=“match_parent”
android:layout_height=“wrap_content” />
<android.support.v7.widget.Toolbar
android:id=“@+id/toolbar”
android:layout_width=“match_parent”
app:layout_collapseMode=“pin”
android:layout_height=“?attr/actionBarSize”
</android.support.v7.widget.Toolbar>
</android.support.design.widget.CollapsingToolbarLayout>
<LinearLayout
android:gravity=“center_vertical”
android:layout_marginTop=“20dp”
android:background=“@color/colorGrayalpha”
android:layout_width=“match_parent”
android:layout_height=“70dp”>
<openeyes.dr.openeyes.widget.CustomImageTextView
android:id=“@+id/works”
android:layout_marginLeft=“40dp”
android:layout_width=“wrap_content”
android:layout_height=“wrap_content”
imagetext:image=“@drawable/works2”
imagetext:text=“@string/works”
imagetext:textColor=“@color/colorGraylight”
</openeyes.dr.openeyes.widget.CustomImageTextView>
<openeyes.dr.openeyes.widget.CustomImageTextView
android:id=“@+id/attention”
android:layout_marginLeft=“90dp”
android:layout_width=“wrap_content”
android:layout_height=“wrap_content”
imagetext:image=“@drawable/attention6”
imagetext:text=“@string/attention”
imagetext:textColor=“@color/colorGraylight”
</openeyes.dr.openeyes.widget.CustomImageTextView>
<openeyes.dr.openeyes.widget.CustomImageTextView
android:id=“@+id/fans”
android:layout_marginLeft=“90dp”
android:layout_width=“wrap_content”
android:layout_height=“wrap_content”
imagetext:image=“@drawable/works2”
imagetext:text=“@string/fans”
imagetext:textColor=“@color/colorGraylight”
</openeyes.dr.openeyes.widget.CustomImageTextView>
</android.support.design.widget.AppBarLayout>
<android.support.v7.widget.RecyclerView
android:id=“@+id/recycle_state”
android:layout_width=“match_parent”
android:layout_height=“match_parent”
app:layout_behavior=“@string/appbar_scrolling_view_behavior”
/>
</android.support.design.widget.CoordinatorLayout>
- java文件:
public class PersonPageActivity extends SwipeBackActivity {
@BindView(R.id.avatar_max)
SimpleDraweeView avatarBackground;
@BindView(R.id.avatar_min)
SimpleDraweeView avatarUser;
@BindView(R.id.date)
TextView registerDate;
@BindView(R.id.works)
CustomImageTextView works;
@BindView(R.id.attention)
CustomImageTextView attention;
@BindView(R.id.fans)
CustomImageTextView fans;
@BindView(R.id.center_appbar_layout)
AppBarLayout appBarLayout;
@BindView(R.id.collapsing_toobar)
CollapsingToolbarLayout collToobar;
@BindView(R.id.toolbar)
Toolbar toolbar;
@BindView(R.id.recycle_state)
RecyclerView recyclerView;
private SharedPreferences sharedPreferences = MyApplication.sharedPreferences;
private HistoryDB db;
private List details = null;
private DynamicStateRecyclerAdapter adapter;
@Override
protected void onCreate(Bundle savedInstanceState) {
super.onCreate(savedInstanceState);
setContentView(R.layout.activity_person_page);
ButterKnife.bind(this);
initView();
initData();
}
private void initData() {
db = new HistoryDB();
details= db.loadHistoryByUserId(sharedPreferences.getString(“userId”,“000”));
if (details==null||details.size()==0){
}else {
Collections.reverse(details);
adapter = new DynamicStateRecyclerAdapter(details,this);
LinearLayoutManager manager = new LinearLayoutManager(this);
manager.setOrientation(LinearLayoutManager.VERTICAL);
recyclerView.setLayoutManager(manager);
recyclerView.setAdapter(adapter);
recyclerView.setItemAnimator(new DefaultItemAnimator());//添加默认动画
//设置RecyclerView的item监听事件
setOnItemClickListener();
}
}
private void setOnItemClickListener() {
adapter.setOnItemClickListener(new DynamicStateRecyclerAdapter.OnItemClickListener() {
@Override
public void onItemClick(View itemview, DynamicStateRecyclerAdapter.MyViewHolder childview, int position) {
initVideoDetail( position);//初始化视频详情界面数据并实现跳转
}
});
}
/**
-
初始化视频详情界面数据,跳转至视频详情界面
-
*/
private void initVideoDetail(int position) {
Intent intent = new Intent(PersonPageActivity.this, VideoDetailActivity.class);
Bundle bundle = new Bundle();
bundle.putString(“title”,details.get(position).getTitle());//获取标题
bundle.putString(“time”, details.get(position).getDetail());
bundle.putString(“desc”, details.get(position).getDesc());//视频描述
bundle.putString(“blurred”, details.get(position).getBlurred());//模糊图片地址
bundle.putString(“feed”, details.get(position).getPhoto());//图片地址
bundle.putString(“video”, details.get(position).getVideo());//视频播放地址
bundle.putInt(“collect”, details.get(position).getCollect());//收藏量
bundle.putInt(“share”, details.get(position).getShare());//分享量
bundle.putInt(“reply”, details.get(position).getReply());//回复数量
intent.putExtras(bundle);
startActivity(intent);
}
private void initView() {
avatarBackground.setImageURI(Uri.parse(sharedPreferences.getString(“userIcon”,“”)));
avatarUser.setImageURI(Uri.parse(sharedPreferences.getString(“userIcon”,“”)));
toolbar.setTitle(sharedPreferences.getString(“userName”,“”));//设置标题
collToobar.setExpandedTitleColor(getResources().getColor(R.color.colorBlack));
setSupportActionBar(toolbar);
getSupportActionBar().setDisplayShowHomeEnabled(true);
toolbar.setNavigationIcon(R.drawable.back_black);
toolbar.setNavigationOnClickListener(new View.OnClickListener() {
@Override
public void onClick(View view) {
finish();
}
});
}
@OnClick(R.id.attention)
public void onClick(){
startActivity(new Intent(this,MyAttentionActivity.class));
}
}
效果展示:
#####开眼app个人中心
2.仿[开眼App]搜索悬停界面:
- .xml布局文件:
<LinearLayout xmlns:android=“http://schemas.android.com/apk/res/android”
android:layout_width=“match_parent”
android:layout_height=“match_parent”
xmlns:app=“http://schemas.android.com/apk/res-auto”
android:orientation=“vertical”>
<LinearLayout
android:layout_width=“match_parent”
android:layout_height=“50dp”>
<openeyes.dr.openeyes.widget.SearchEditText
android:id=“@+id/search_editext”
android:layout_marginLeft=“20dp”
android:background=“@drawable/shape_search”
android:layout_width=“300dp”
android:layout_height=“30dp”
android:paddingLeft=“15dp”
android:paddingRight=“15dp”
android:gravity=“start|center_vertical”
android:imeOptions=“actionSearch”
android:singleLine=“true”
android:hint=“搜索视频、作者、用户及标签”
android:textSize=“13sp”
/>
<TextView
android:id=“@+id/cancle_main”
android:textColor=“@color/colorBlacklight”
android:gravity=“center”
android:text=“取消”
android:layout_width=“match_parent”
android:layout_height=“match_parent” />
<FrameLayout
android:id=“@+id/history_fl”
android:visibility=“gone”
android:layout_width=“match_parent”
android:layout_height=“50dp”
<TextView
android:layout_gravity=“center_vertical”
android:layout_marginLeft=“20dp”
android:textSize=“20sp”
android:text=“搜索历史”
android:textColor=“@color/colorBlack”
android:layout_width=“wrap_content”
android:layout_height=“wrap_content” />
<TextView
android:id=“@+id/delete_history”
android:layout_marginRight=“20dp”
android:layout_gravity=“center_vertical|right”
android:textColor=“@color/colorAniBtns”
android:gravity=“center”
android:text=“清空”
android:textSize=“13sp”
android:layout_width=“50dp”
android:layout_height=“wrap_content” />
<android.support.design.widget.CoordinatorLayout
android:layout_width=“match_parent”
android:layout_height=“match_parent”
android:orientation=“vertical”
android:background=“@color/colorWhite”
<android.support.design.widget.AppBarLayout
android:layout_width=“match_parent”
android:layout_height=“wrap_content”
android:background=“@color/colorWhite”
<android.support.v7.widget.RecyclerView
android:id=“@+id/search_history_rv”
android:layout_width=“match_parent”
android:layout_height=“wrap_content”
app:layout_scrollFlags=“scroll”
</android.support.v7.widget.RecyclerView>
<TextView
android:layout_marginLeft=“20dp”
android:text=“热搜关键词”
android:textSize=“20sp”
android:textColor=“@color/colorBlack”
android:layout_width=“match_parent”
android:layout_height=“wrap_content” />
</android.support.design.widget.AppBarLayout>
<android.support.v7.widget.RecyclerView
android:id=“@+id/hot_search_rv”
android:layout_width=“match_parent”
android:layout_height=“match_parent”
app:layout_behavior=“@string/appbar_scrolling_view_behavior”
</android.support.v7.widget.RecyclerView>
</android.support.design.widget.CoordinatorLayout>
- java文件:
package openeyes.dr.openeyes.view.activity;
public class SearchActivity extends AppCompatActivity {
@BindView(R.id.search_editext)
SearchEditText searchEditText;
@BindView(R.id.cancle_main)
TextView cancleMain;
@BindView(R.id.history_fl)
FrameLayout hintLayout;
@BindView(R.id.delete_history)
TextView deleteHistory;
@BindView(R.id.search_history_rv)
RecyclerView recyclerSearch;
@BindView(R.id.hot_search_rv)
RecyclerView recyclerHot;
private String [] hotKeyWord = {“美食”,“旅行”,“生活小技巧”,“健身”,“汽车”,“广告”,“动画”,
“创意灵感”,“当下乱码”,“一条”,“日食记”,“视知TV”};
private List searchHistories;
private List hotKeyWords = new ArrayList<>();;
private SearchRecyclerAdapter adapter;
private SearchDB db;
private SearchRecyclerAdapter adapter1;
@Override
protected void onCreate(@Nullable Bundle savedInstanceState) {
super.onCreate(savedInstanceState);
setContentView(R.layout.activity_search);
ButterKnife.bind(this);
initData();
setListener();
}
private void initData() {
db = new SearchDB();
hotKeyWords.clear();
for (String keyWord:hotKeyWord){
hotKeyWords.add(new SearchHistory(keyWord));
}
LinearLayoutManager manager = new LinearLayoutManager(this);
manager.setOrientation(LinearLayout.VERTICAL);
recyclerHot.setLayoutManager(manager);
adapter = new SearchRecyclerAdapter(hotKeyWords);
recyclerHot.setAdapter(adapter);
recyclerHot.setItemAnimator(new DefaultItemAnimator());
searchHistories = db.loadSearchHistoryAll();
if (searchHistories==null||searchHistories.size()==0){
hintLayout.setVisibility(View.GONE);
recyclerSearch.setVisibility(View.GONE);
}else {
hintLayout.setVisibility(View.VISIBLE);
Collections.reverse(searchHistories);
LinearLayoutManager manager1 = new LinearLayoutManager(this);
manager.setOrientation(LinearLayout.VERTICAL);
recyclerSearch.setLayoutManager(manager1);
adapter1 = new SearchRecyclerAdapter(searchHistories);
recyclerSearch.setAdapter(adapter1);
recyclerSearch.setItemAnimator(new DefaultItemAnimator());//添加默认动画
adapter1.setOnItemClickListener(new SearchRecyclerAdapter.OnItemClickListener() {
@Override
public void onItemClick(View itemview, SearchRecyclerAdapter.MyViewHolder childview, int position) {
Intent intent = new Intent(SearchActivity.this,SearchResultActivity.class);
Bundle bundle = new Bundle();
bundle.putString(“keyWord”,searchHistories.get(position).getKeyWord());
intent.putExtras(bundle);
startActivity(intent);
}
});
}
}
private void setListener() {
searchEditText.setOnKeyListener(new View.OnKeyListener() {
@Override
public boolean onKey(View view, int keyCode, KeyEvent keyEvent) {
if (keyCode==KeyEvent.KEYCODE_ENTER&&keyEvent.getAction()==KeyEvent.ACTION_DOWN){
String keyWord = searchEditText.getText().toString().trim();
if (“”.equals(keyWord)){
ToastUtil.showToast(SearchActivity.this,“请输入搜索内容”);
}else {
SearchHistory searchHistory = new SearchHistory(keyWord);
List temp = db.loadSearchByKeyWord(keyWord);
if (temp==null){
db.saveOrUpdate(searchHistory);
}else if (temp.size()==0){
db.saveOrUpdate(searchHistory);
}
Intent intent = new Intent(SearchActivity.this,SearchResultActivity.class);
Bundle bundle = new Bundle();
bundle.putString(“keyWord”,keyWord);
intent.putExtras(bundle);
startActivity(intent);
}
}
return false;
}
});
adapter.setOnItemClickListener(new SearchRecyclerAdapter.OnItemClickListener() {
@Override
public void onItemClick(View itemview, SearchRecyclerAdapter.MyViewHolder childview, int position) {
Intent intent = new Intent(SearchActivity.this,SearchResultActivity.class);
Bundle bundle = new Bundle();
bundle.putString(“keyWord”,hotKeyWords.get(position).getKeyWord());
intent.putExtras(bundle);
startActivity(intent);
}
});
}
最后
自我介绍一下,小编13年上海交大毕业,曾经在小公司待过,也去过华为、OPPO等大厂,18年进入阿里一直到现在。
深知大多数初中级Android工程师,想要提升技能,往往是自己摸索成长,自己不成体系的自学效果低效漫长且无助。
因此我收集整理了一份《2024年Android移动开发全套学习资料》,初衷也很简单,就是希望能够帮助到想自学提升又不知道该从何学起的朋友,同时减轻大家的负担。
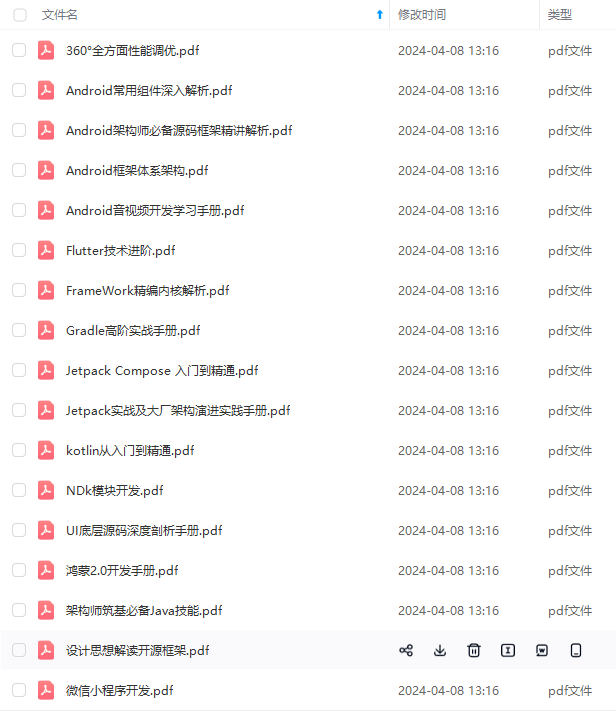
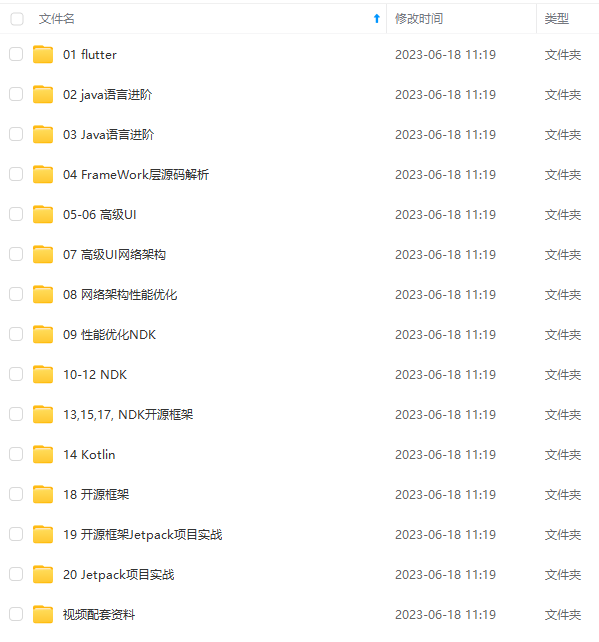
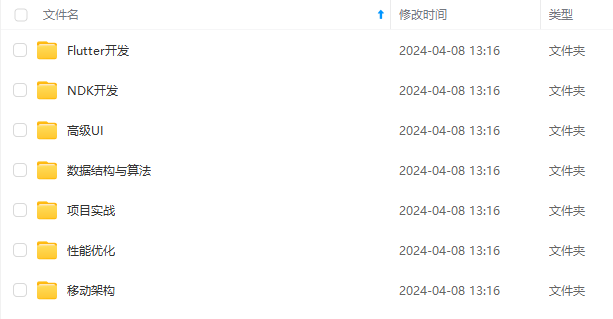
既有适合小白学习的零基础资料,也有适合3年以上经验的小伙伴深入学习提升的进阶课程,基本涵盖了95%以上Android开发知识点!不论你是刚入门Android开发的新手,还是希望在技术上不断提升的资深开发者,这些资料都将为你打开新的学习之门
如果你觉得这些内容对你有帮助,需要这份全套学习资料的朋友可以戳我获取!!
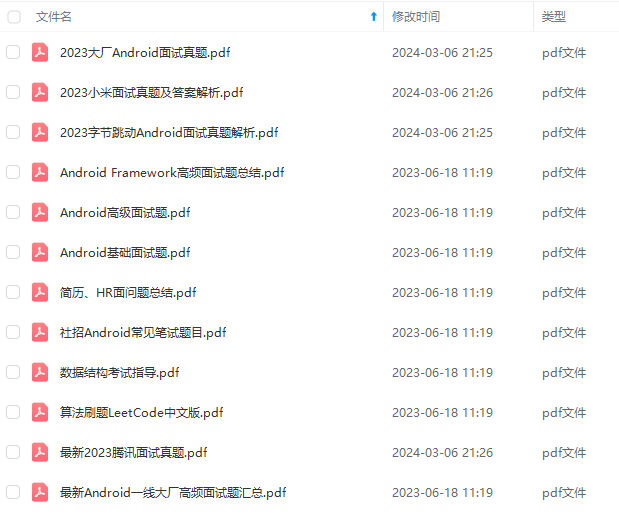
由于文件比较大,这里只是将部分目录截图出来,每个节点里面都包含大厂面经、学习笔记、源码讲义、实战项目、讲解视频,并且会持续更新!
tent);
}
}
return false;
}
});
adapter.setOnItemClickListener(new SearchRecyclerAdapter.OnItemClickListener() {
@Override
public void onItemClick(View itemview, SearchRecyclerAdapter.MyViewHolder childview, int position) {
Intent intent = new Intent(SearchActivity.this,SearchResultActivity.class);
Bundle bundle = new Bundle();
bundle.putString(“keyWord”,hotKeyWords.get(position).getKeyWord());
intent.putExtras(bundle);
startActivity(intent);
}
});
}
最后
自我介绍一下,小编13年上海交大毕业,曾经在小公司待过,也去过华为、OPPO等大厂,18年进入阿里一直到现在。
深知大多数初中级Android工程师,想要提升技能,往往是自己摸索成长,自己不成体系的自学效果低效漫长且无助。
因此我收集整理了一份《2024年Android移动开发全套学习资料》,初衷也很简单,就是希望能够帮助到想自学提升又不知道该从何学起的朋友,同时减轻大家的负担。
[外链图片转存中…(img-v0cm1SPR-1715386023791)]
[外链图片转存中…(img-CuDA7ZCw-1715386023792)]
[外链图片转存中…(img-p2u8bA6Q-1715386023793)]
[外链图片转存中…(img-AhBitkeQ-1715386023794)]
既有适合小白学习的零基础资料,也有适合3年以上经验的小伙伴深入学习提升的进阶课程,基本涵盖了95%以上Android开发知识点!不论你是刚入门Android开发的新手,还是希望在技术上不断提升的资深开发者,这些资料都将为你打开新的学习之门
如果你觉得这些内容对你有帮助,需要这份全套学习资料的朋友可以戳我获取!!
由于文件比较大,这里只是将部分目录截图出来,每个节点里面都包含大厂面经、学习笔记、源码讲义、实战项目、讲解视频,并且会持续更新!


 7870
7870

 被折叠的 条评论
为什么被折叠?
被折叠的 条评论
为什么被折叠?
 到【灌水乐园】发言


