


窗口沉浸式能力的目的是为了提供一种更加沉浸和集中注意力的用户体验,使用户能够更好地享受和使用窗口应用程序的功能和内容。
☀️2.1.2 悬浮窗
悬浮窗是一种浮动在屏幕上方的小窗口,可以在其他应用程序之上展示信息或功能。它可以提供快速访问或查看特定内容,而无需离开当前应用程序。悬浮窗通常可以被拖动、调整大小或关闭。在移动设备上,悬浮窗常用于显示通知、快捷操作或其他实用工具。
🦋2.3 场景介绍
☀️2.3.1 设置应用主窗口
主窗口的"是否可触"属性是指能否通过触摸屏与用户进行交互。如果主窗口的"是否可触"属性为True,则用户可以通过触摸屏对主窗口进行操作,例如点击按钮、滑动界面等。如果主窗口的"是否可触"属性为False,则用户无法通过触摸屏进行交互,只能使用其他输入设备(如鼠标)进行操作。通常情况下,移动设备(如手机、平板电脑)上的主窗口会设置为可触摸,而桌面电脑上的主窗口可能会设置为不可触摸。
import UIAbility from '@ohos.app.ability.UIAbility';
import hilog from '@ohos.hilog';
import window from '@ohos.window';

export default class EntryAbility extends UIAbility {
  onCreate(want, launchParam) {
    hilog.info(0x0000, 'testTag', '%{public}s', 'Ability onCreate');
  }

  onDestroy() {
    hilog.info(0x0000, 'testTag', '%{public}s', 'Ability onDestroy');
  }

  onWindowStageCreate(windowStage: window.WindowStage) {
    // Main window is created, set main page for this ability
    hilog.info(0x0000, 'testTag', '%{public}s', 'Ability onWindowStageCreate');
    // 1.获取应用主窗口。
    let windowClass = null;
    windowStage.getMainWindow((err, data) => {
      if (err.code) {
        console.error('Failed to obtain the main window. Cause: ' + JSON.stringify(err));
        return;
      }
      windowClass = data;
      console.info('Succeeded in obtaining the main window. Data: ' + JSON.stringify(data));
      // 2.设置主窗口属性。以设置"是否可触"属性为例。
      let isTouchable = true;
      windowClass.setWindowTouchable(isTouchable, (err) => {
        if (err.code) {
          console.error('Failed to set the window to be touchable. Cause:' + JSON.stringify(err));
          return;
        }
        console.info('Succeeded in setting the window to be touchable.');
      })
    })
    // 3.为主窗口加载对应的目标页面。
    windowStage.loadContent('pages/Index', (err, data) => {
      if (err.code) {
        hilog.error(0x0000, 'testTag', 'Failed to load the content. Cause: %{public}s', JSON.stringify(err) ?? '');
        return;
      }
      hilog.info(0x0000, 'testTag', 'Succeeded in loading the content. Data: %{public}s', JSON.stringify(data) ?? '');
    });
  }

  onWindowStageDestroy() {
    // Main window is destroyed, release UI related resources
    hilog.info(0x0000, 'testTag', '%{public}s', 'Ability onWindowStageDestroy');
  }

  onForeground() {
    // Ability has brought to foreground
    hilog.info(0x0000, 'testTag', '%{public}s', 'Ability onForeground');
  }

  onBackground() {
    // Ability has back to background
    hilog.info(0x0000, 'testTag', '%{public}s', 'Ability onBackground');
  }
}
☀️2.3.2 设置应用子窗口
应用子窗口是指在一个主窗口或父窗口之内创建一个较小的窗口,用于显示其他相关的内容或功能。子窗口通常是独立于主窗口的,可以拖动、最小化、最大化和关闭。应用子窗口可以提供更好的用户体验,将相关的功能和信息集中在一起,并且可以在主窗口内方便地切换和操作。
应用子窗口常见的应用场景包括:
- 弹出式对话框:用于显示警告、提示、确认等信息,请求用户的输入或进行操作确认。
- 工具窗口:用于显示一些辅助工具,例如调色板、图层面板等,在用户需要时进行操作。
- 标签页:用于在主窗口内切换和显示不同的内容,例如浏览器的多个标签页。
- 拆分窗口:将主窗口分割成多个子窗口,用于同时显示多个相关的内容,例如文本编辑器的分屏编辑功能。
应用子窗口可以提高用户的操作效率和便利性,使界面更加灵活和功能更加丰富。但在设计和使用时需要注意合理使用,避免过多的窗口导致用户的混乱和困惑。
import UIAbility from '@ohos.app.ability.UIAbility';

let windowStage_ = null;
let sub_windowClass = null;
export default class EntryAbility extends UIAbility {
    showSubWindow() {
        // 1.创建应用子窗口。
        windowStage_.createSubWindow("mySubWindow", (err, data) => {
            if (err.code) {
                console.error('Failed to create the subwindow. Cause: ' + JSON.stringify(err));
                return;
            }
            sub_windowClass = data;
            console.info('Succeeded in creating the subwindow. Data: ' + JSON.stringify(data));
            // 2.子窗口创建成功后,设置子窗口的位置、大小及相关属性等。
            sub_windowClass.moveWindowTo(300, 300, (err) => {
                if (err.code) {
                    console.error('Failed to move the window. Cause:' + JSON.stringify(err));
                    return;
                }
                console.info('Succeeded in moving the window.');
            });
            sub_windowClass.resize(500, 500, (err) => {
                if (err.code) {
                    console.error('Failed to change the window size. Cause:' + JSON.stringify(err));
                    return;
                }
                console.info('Succeeded in changing the window size.');
            });
            // 3.为子窗口加载对应的目标页面。
            sub_windowClass.setUIContent("pages/page3", (err) => {
                if (err.code) {
                    console.error('Failed to load the content. Cause:' + JSON.stringify(err));
                    return;
                }
                console.info('Succeeded in loading the content.');
                // 3.显示子窗口。
                sub_windowClass.showWindow((err) => {
                    if (err.code) {
                        console.error('Failed to show the window. Cause: ' + JSON.stringify(err));
                        return;
                    }
                    console.info('Succeeded in showing the window.');
                });
            });
        })
    }

    destroySubWindow() {
        // 4.销毁子窗口。当不再需要子窗口时,可根据具体实现逻辑,使用destroy对其进行销毁。
        sub_windowClass.destroyWindow((err) => {
            if (err.code) {
                console.error('Failed to destroy the window. Cause: ' + JSON.stringify(err));
                return;
            }
            console.info('Succeeded in destroying the window.');
        });
    }

    onWindowStageCreate(windowStage) {
        windowStage_ = windowStage;
        // 开发者可以在适当的时机,如主窗口上按钮点击事件等,创建子窗口。并不一定需要在onWindowStageCreate调用,这里仅作展示
        this.showSubWindow();
    }

    onWindowStageDestroy() {
        // 开发者可以在适当的时机,如子窗口上点击关闭按钮等,销毁子窗口。并不一定需要在onWindowStageDestroy调用,这里仅作展示
        this.destroySubWindow();
    }
};
☀️2.3.3 体验窗口沉浸式能力
概念上面有介绍,就不多说了。
import UIAbility from '@ohos.app.ability.UIAbility';

export default class EntryAbility extends UIAbility {
    onWindowStageCreate(windowStage) {
        // 1.获取应用主窗口。
        let windowClass = null;
        windowStage.getMainWindow((err, data) => {
            if (err.code) {
                console.error('Failed to obtain the main window. Cause: ' + JSON.stringify(err));
                return;
            }
            windowClass = data;
            console.info('Succeeded in obtaining the main window. Data: ' + JSON.stringify(data));

            // 2.实现沉浸式效果:设置导航栏、状态栏不显示。
            let names = [];
            windowClass.setWindowSystemBarEnable(names, (err) => {
                if (err.code) {
                    console.error('Failed to set the system bar to be visible. Cause:' + JSON.stringify(err));
                    return;
                }
                console.info('Succeeded in setting the system bar to be visible.');
            });
        })
        // 3.为沉浸式窗口加载对应的目标页面。
        windowStage.loadContent("pages/page2", (err) => {
            if (err.code) {
                console.error('Failed to load the content. Cause:' + JSON.stringify(err));
                return;
            }
            console.info('Succeeded in loading the content.');
        });
    }
};
☀️2.3.4 设置悬浮窗
概念上面有介绍,就不多说了。
import UIAbility from '@ohos.app.ability.UIAbility';
import window from '@ohos.window';

export default class EntryAbility extends UIAbility {
    onWindowStageCreate(windowStage) {
        // 1.创建悬浮窗。
        let windowClass = null;
        let config = {name: "floatWindow", windowType: window.WindowType.TYPE_FLOAT, ctx: this.context};
        window.createWindow(config, (err, data) => {
            if (err.code) {
                console.error('Failed to create the floatWindow. Cause: ' + JSON.stringify(err));
                return;
            }
            console.info('Succeeded in creating the floatWindow. Data: ' + JSON.stringify(data));
            windowClass = data;
            // 2.悬浮窗窗口创建成功后,设置悬浮窗的位置、大小及相关属性等。
            windowClass.moveWindowTo(300, 300, (err) => {
                if (err.code) {
                    console.error('Failed to move the window. Cause:' + JSON.stringify(err));
                    return;
                }
                console.info('Succeeded in moving the window.');
            });
            windowClass.resize(500, 500, (err) => {
                if (err.code) {
                    console.error('Failed to change the window size. Cause:' + JSON.stringify(err));
                    return;
                }
                console.info('Succeeded in changing the window size.');
            });
            // 3.为悬浮窗加载对应的目标页面。
            windowClass.setUIContent("pages/page4", (err) => {
                if (err.code) {
                    console.error('Failed to load the content. Cause:' + JSON.stringify(err));
                    return;
                }
                console.info('Succeeded in loading the content.');
                // 3.显示悬浮窗。
                windowClass.showWindow((err) => {
                    if (err.code) {
                        console.error('Failed to show the window. Cause: ' + JSON.stringify(err));
                        return;
                    }
                    console.info('Succeeded in showing the window.');
                });
            });
            // 4.销毁悬浮窗。当不再需要悬浮窗时,可根据具体实现逻辑,使用destroy对其进行销毁。
            windowClass.destroyWindow((err) => {
                if (err.code) {
                    console.error('Failed to destroy the window. Cause: ' + JSON.stringify(err));
                    return;
                }
                console.info('Succeeded in destroying the window.');
            });
        });
    }
};
最后,有很多小伙伴不知道学习哪些鸿蒙开发技术?不知道需要重点掌握哪些鸿蒙应用开发知识点?而且学习时频繁踩坑,最终浪费大量时间。所以有一份实用的鸿蒙(HarmonyOS NEXT)资料用来跟着学习是非常有必要的。
这份鸿蒙(HarmonyOS NEXT)资料包含了鸿蒙开发必掌握的核心知识要点,内容包含了(**ArkTS、ArkUI开发组件、Stage模型、多端部署、分布式应用开发、音频、视频、WebGL、OpenHarmony****多媒体技术、Napi组件、OpenHarmony内核、Harmony南向开发、鸿蒙项目实战等等)鸿蒙(HarmonyOS NEXT)**技术知识点。
希望这一份鸿蒙学习资料能够给大家带来帮助,有需要的小伙伴自行领取,限时开源,先到先得~无套路领取!!
如果你是一名有经验的资深Android移动开发、Java开发、前端开发、对鸿蒙感兴趣以及转行人员,可以直接领取这份资料
获取这份完整版高清学习路线,请点击→纯血版全套鸿蒙HarmonyOS学习资料****
鸿蒙(HarmonyOS NEXT)最新学习路线
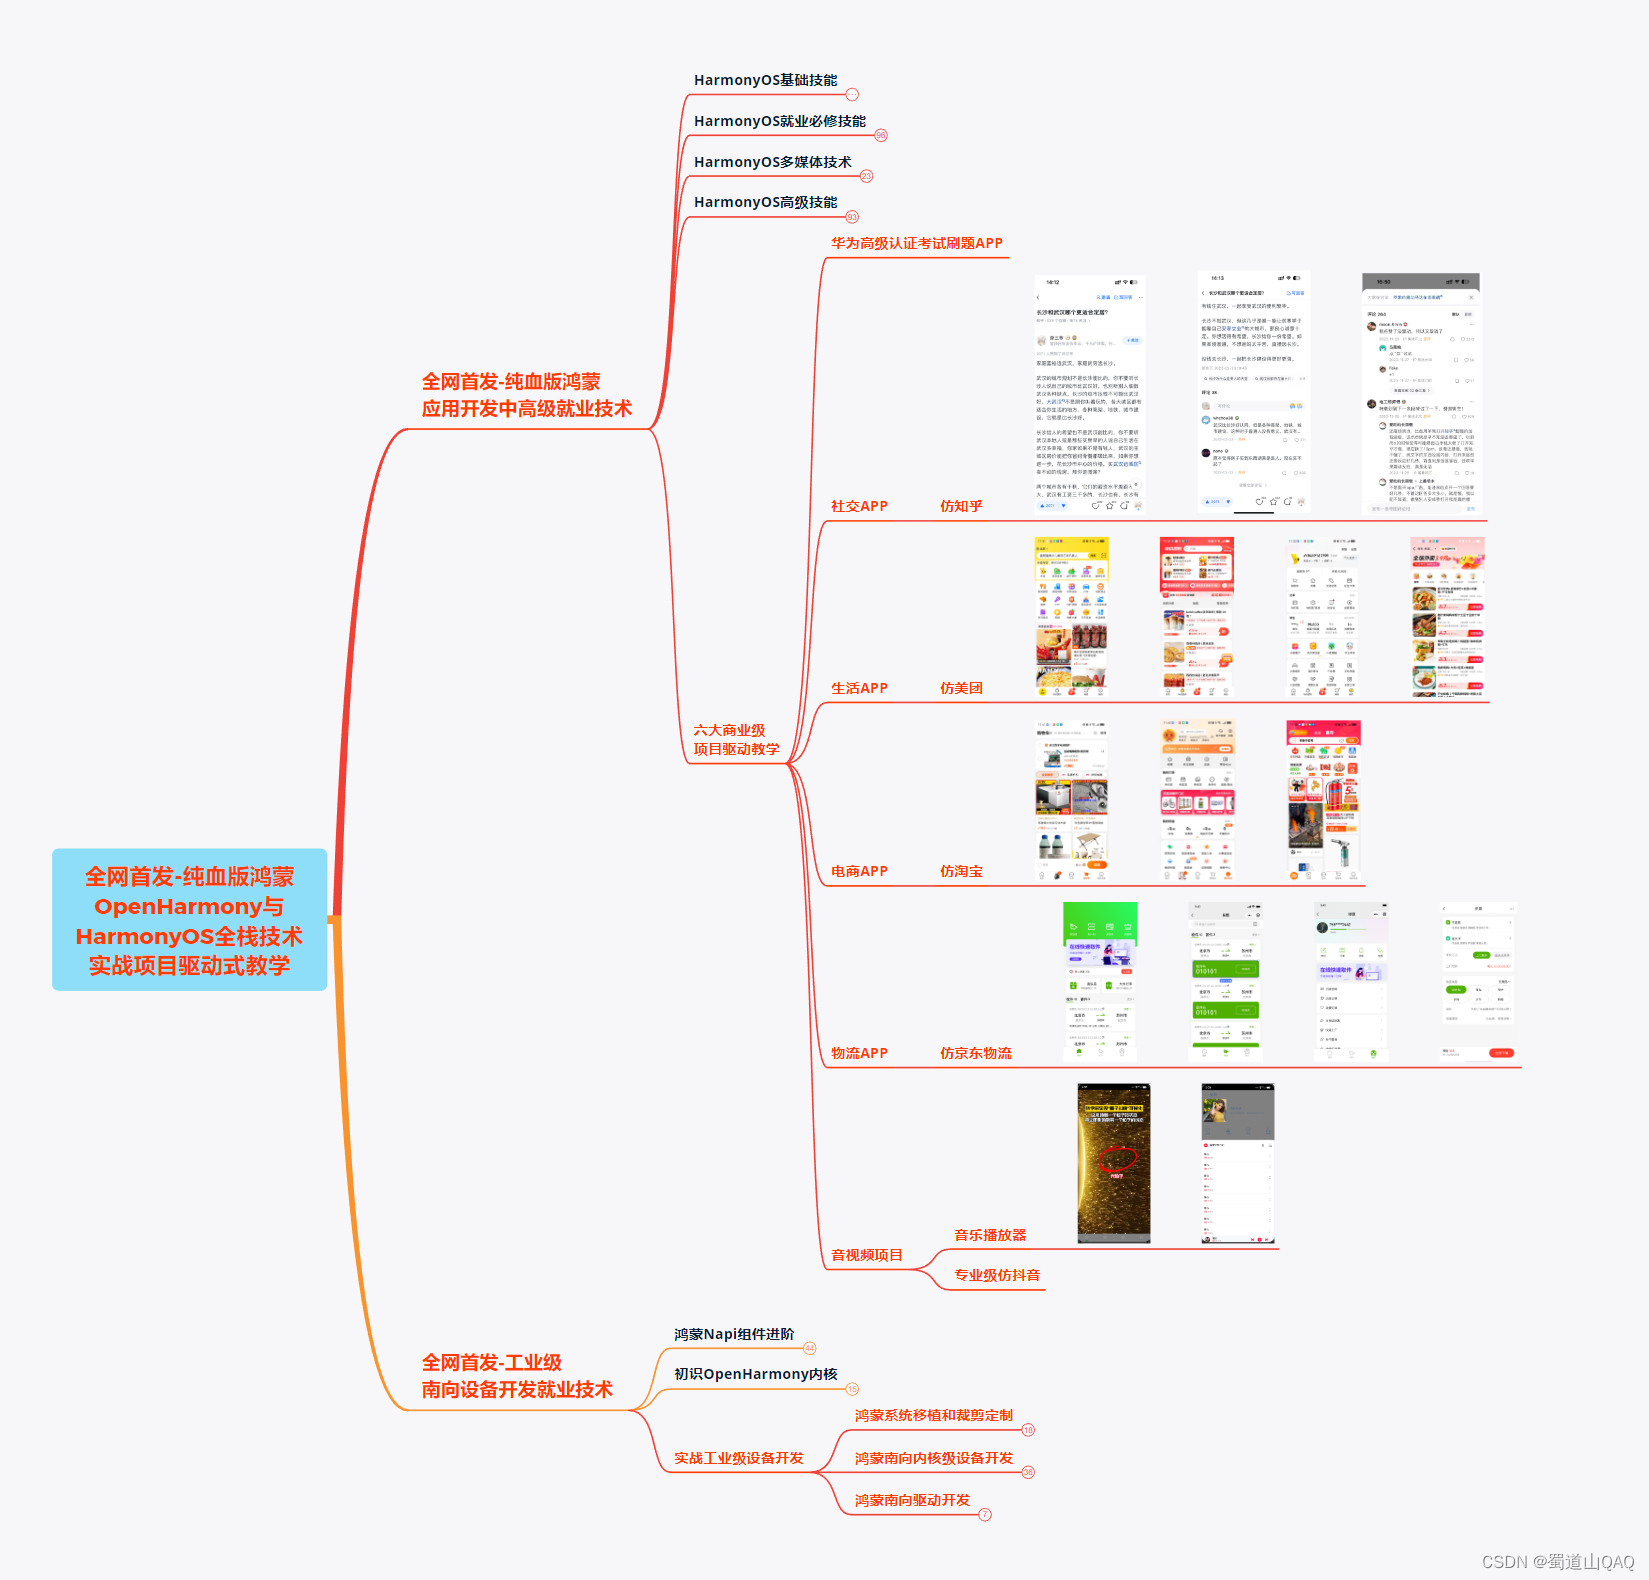
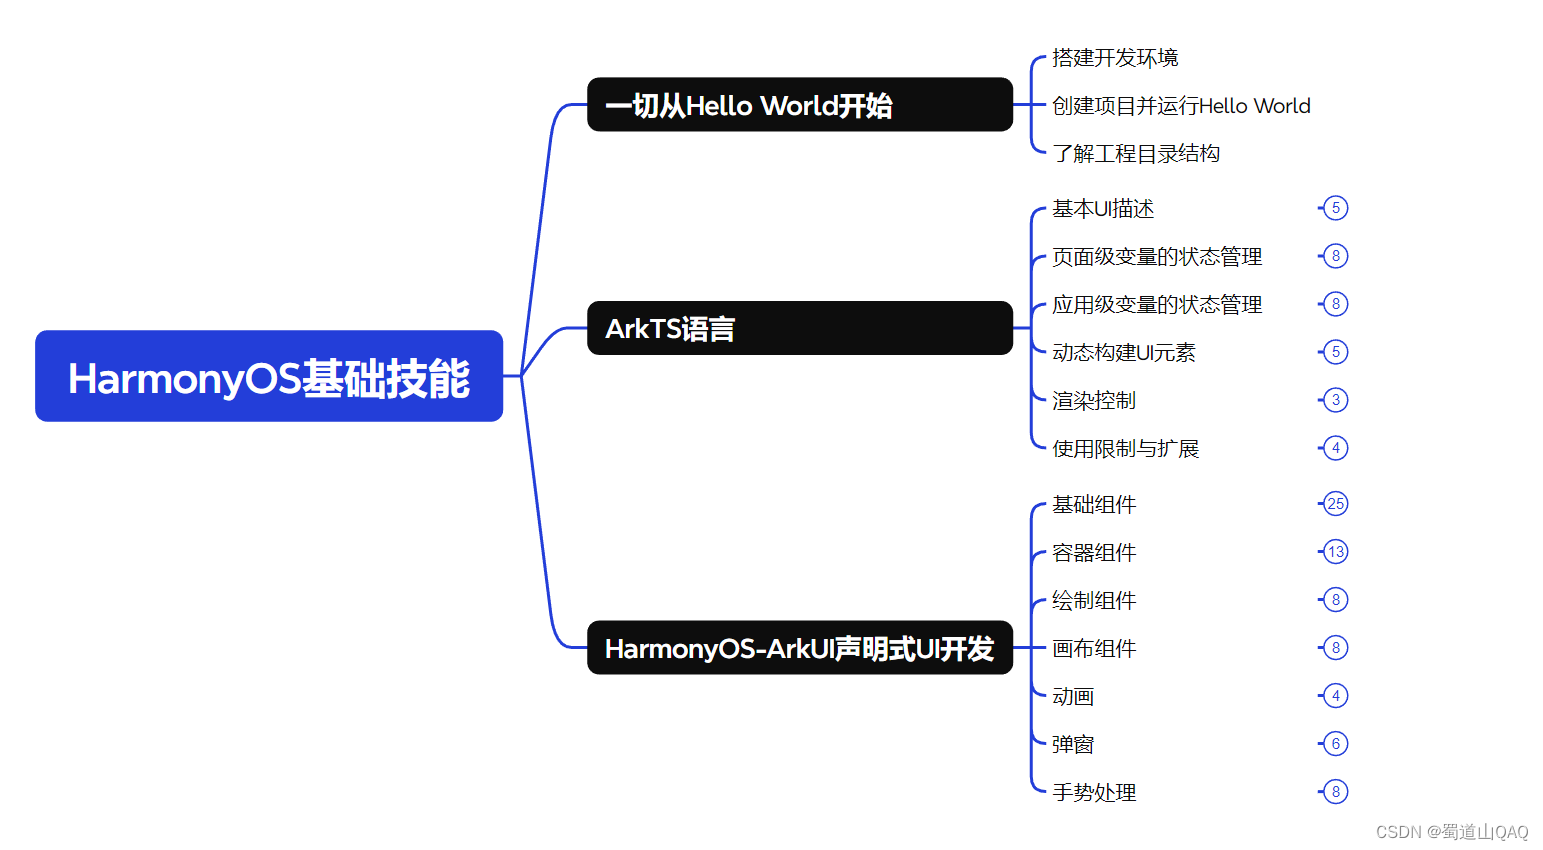
- HarmonOS基础技能
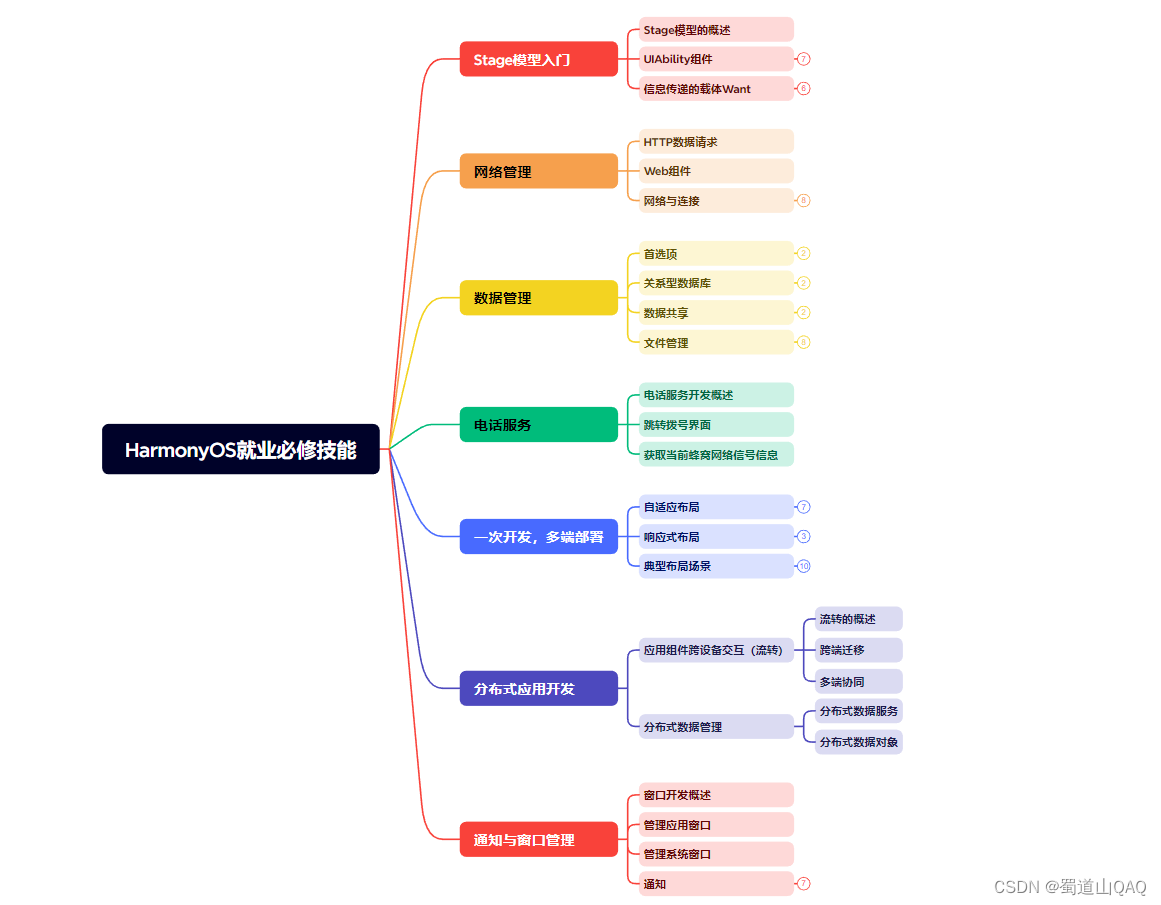
- HarmonOS就业必备技能
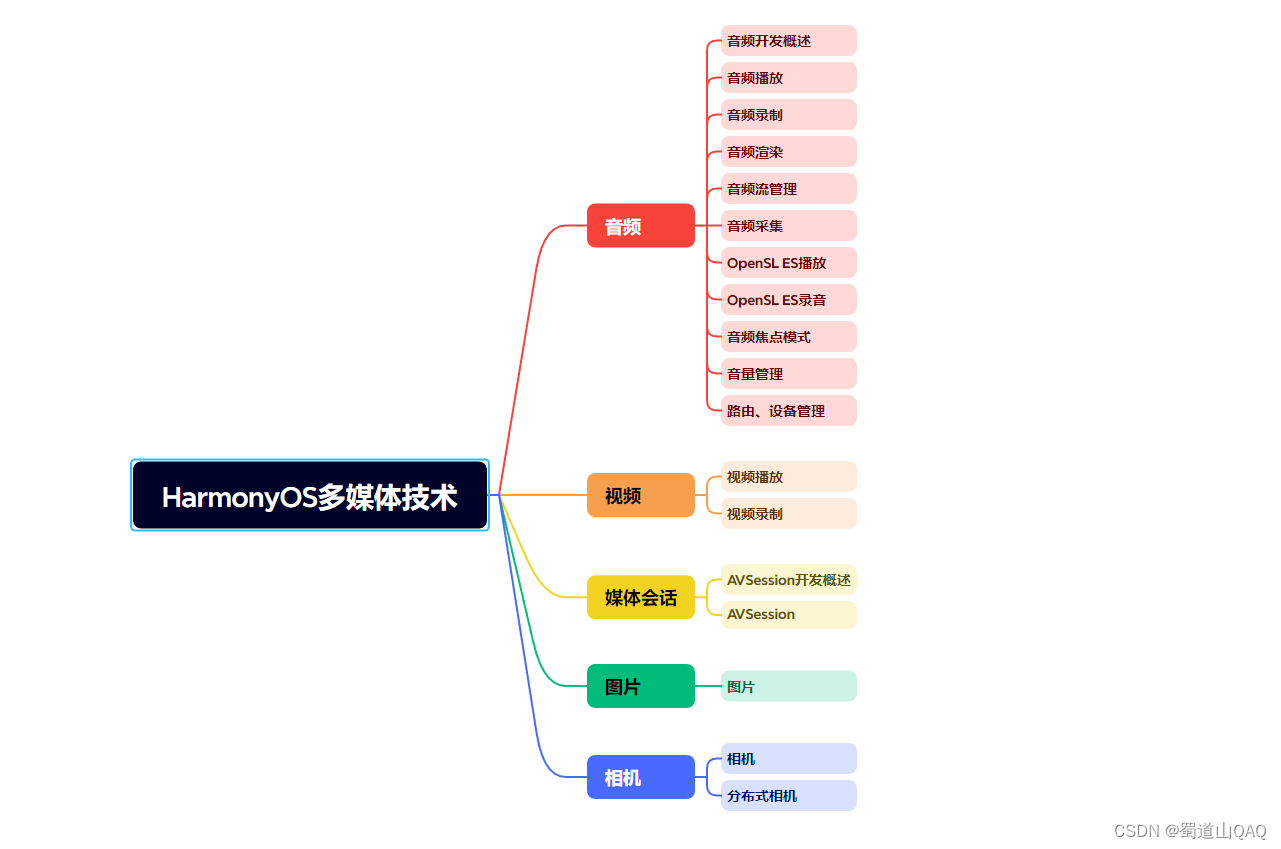
- HarmonOS多媒体技术
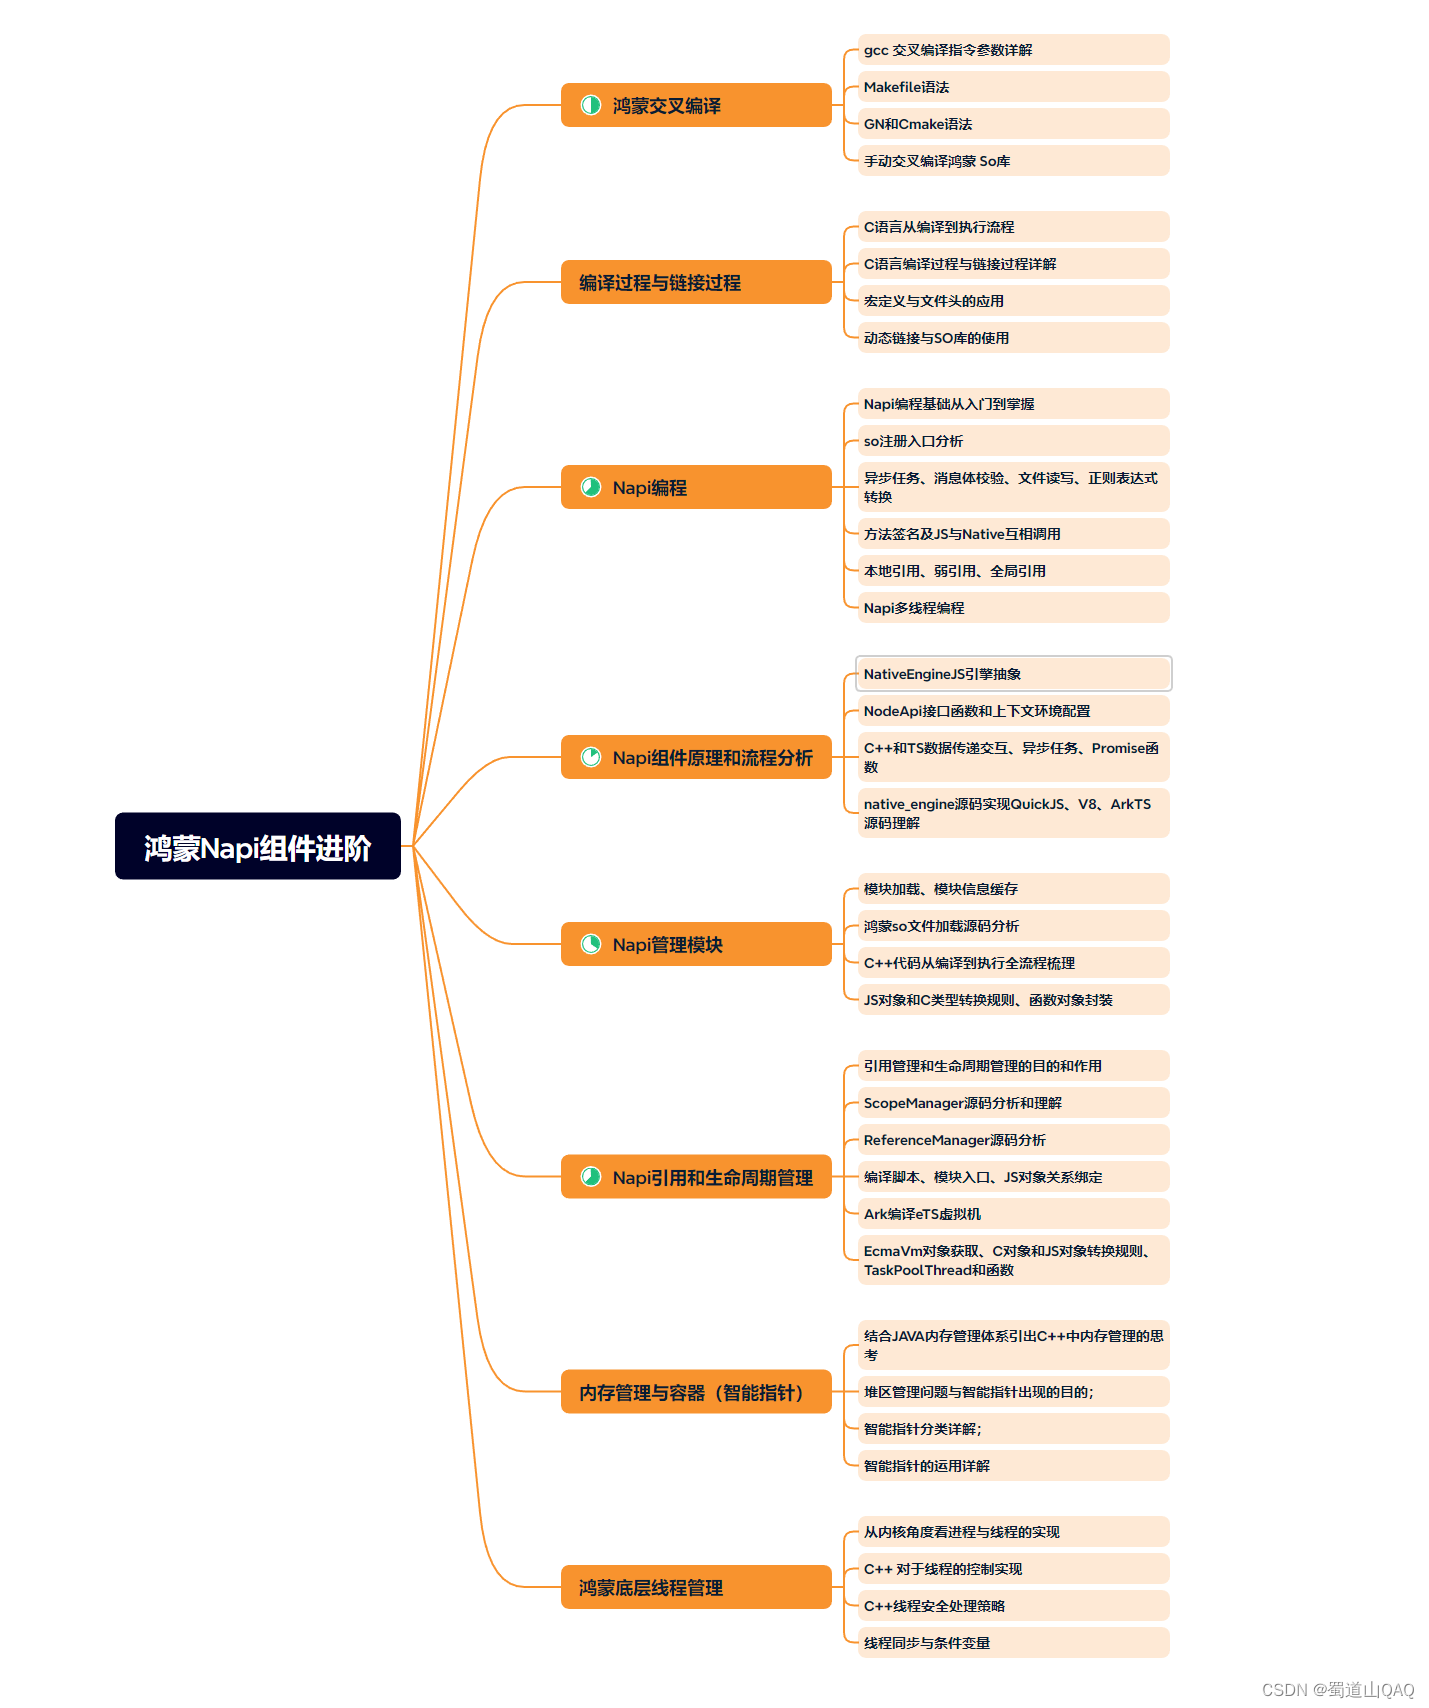
- 鸿蒙NaPi组件进阶
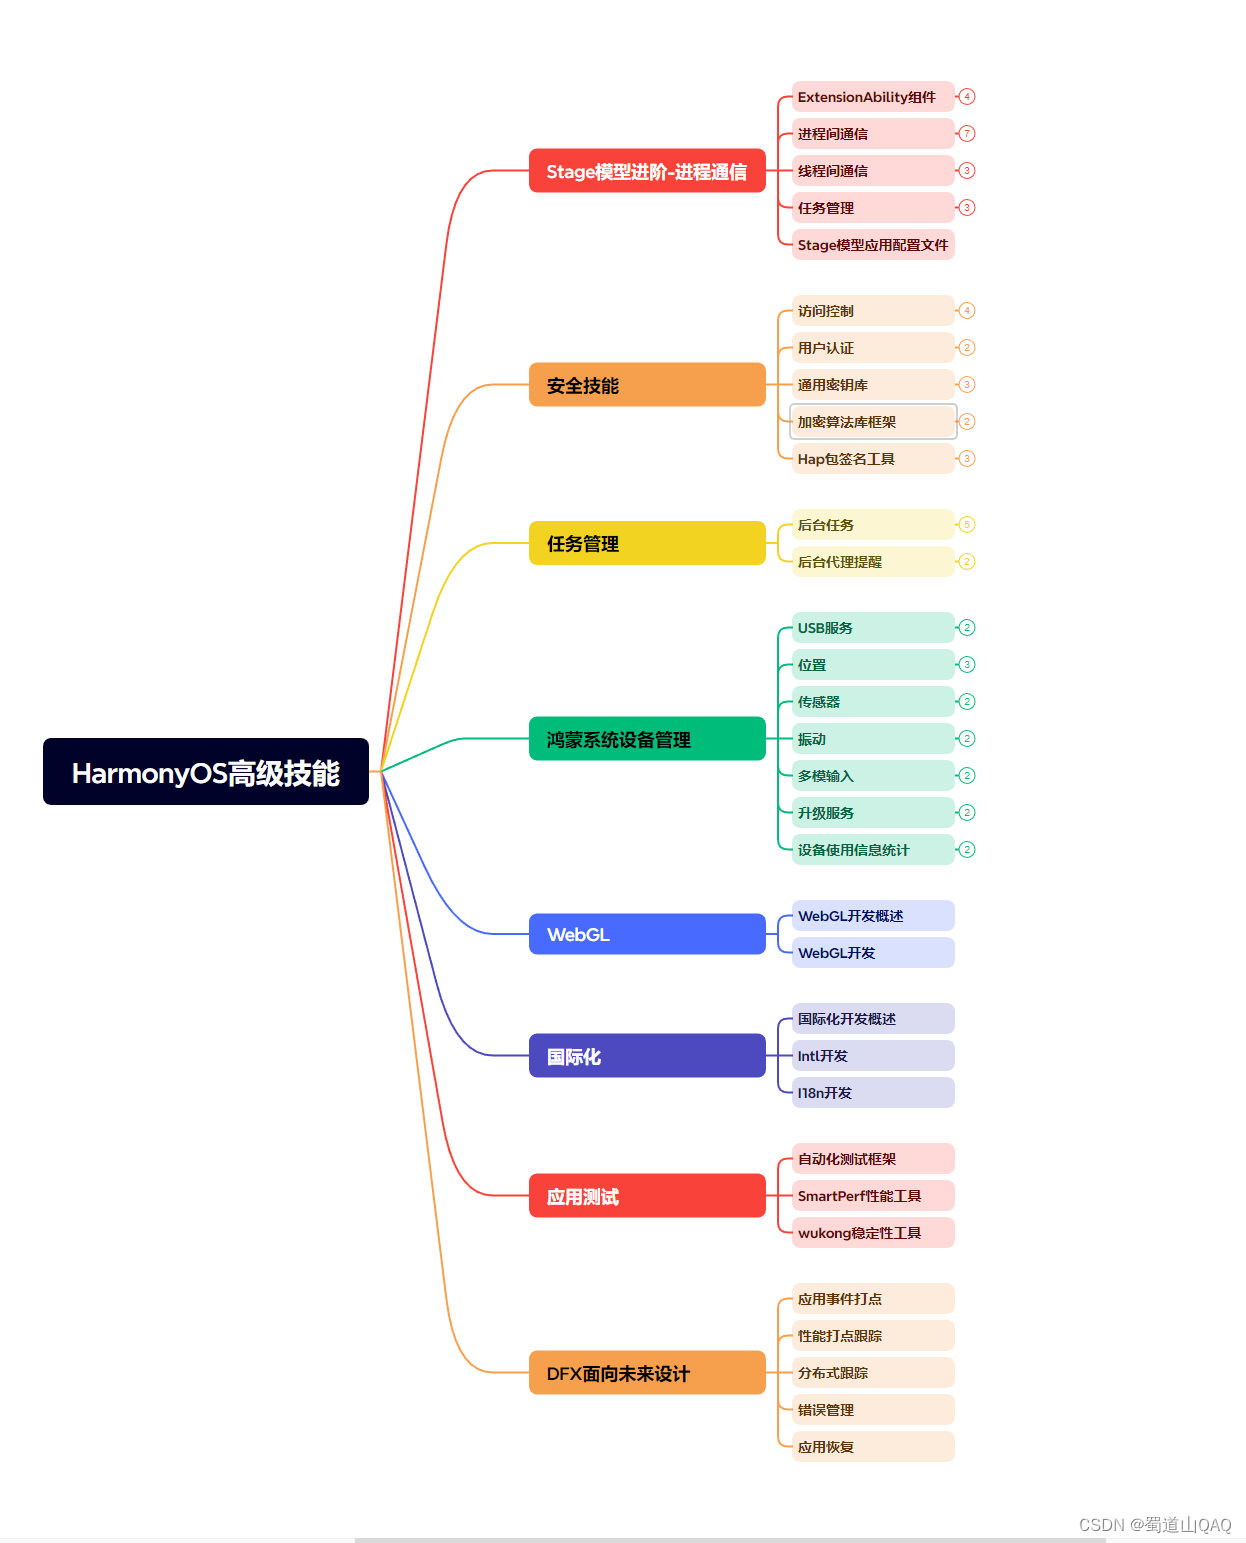
- HarmonOS高级技能
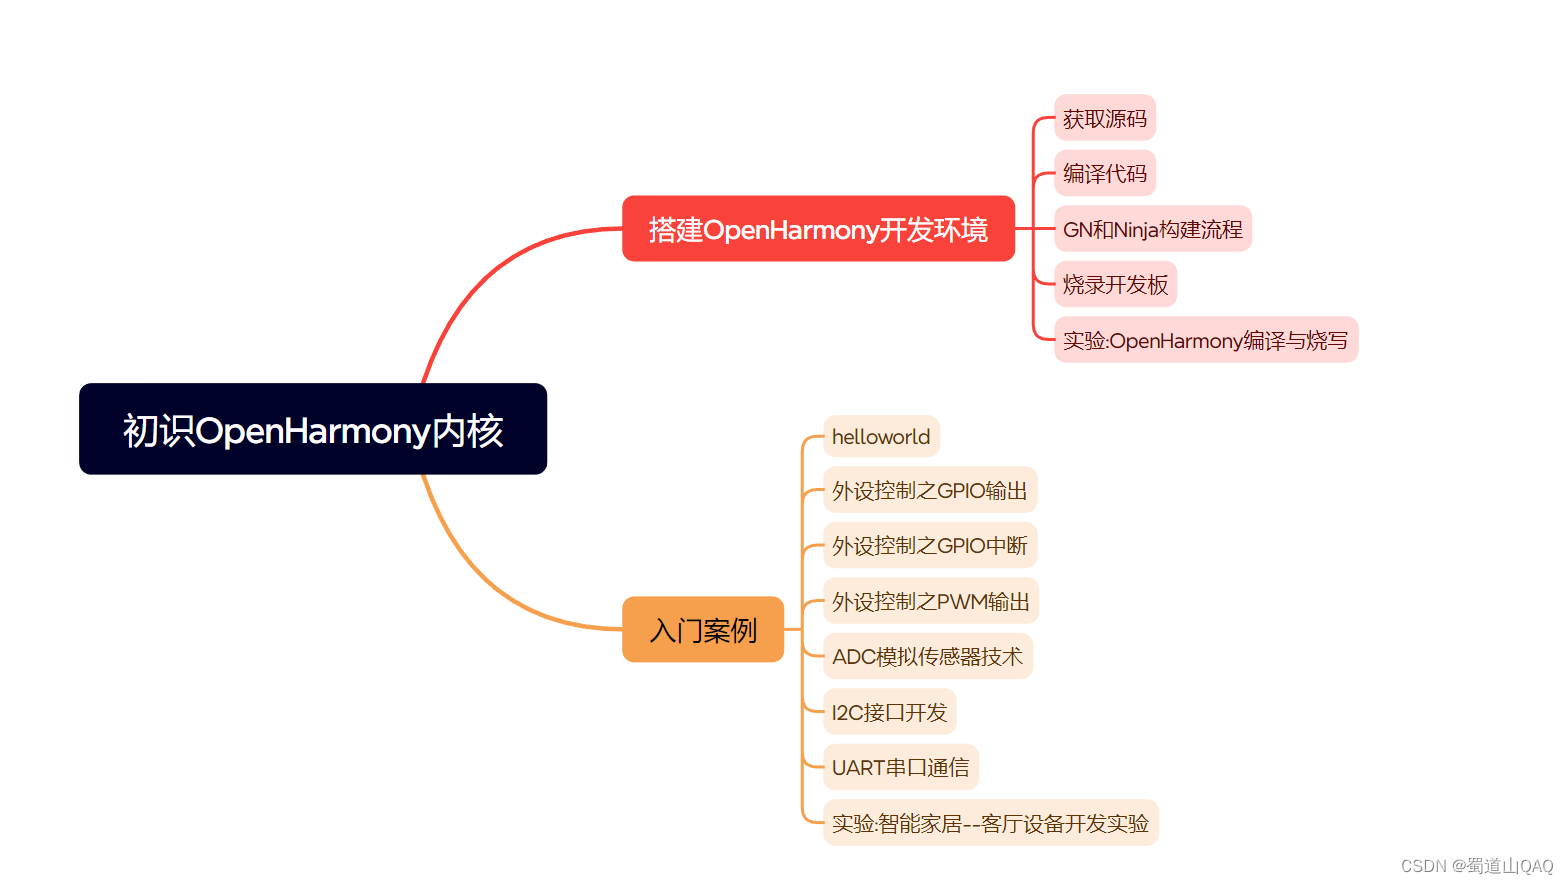
- 初识HarmonOS内核
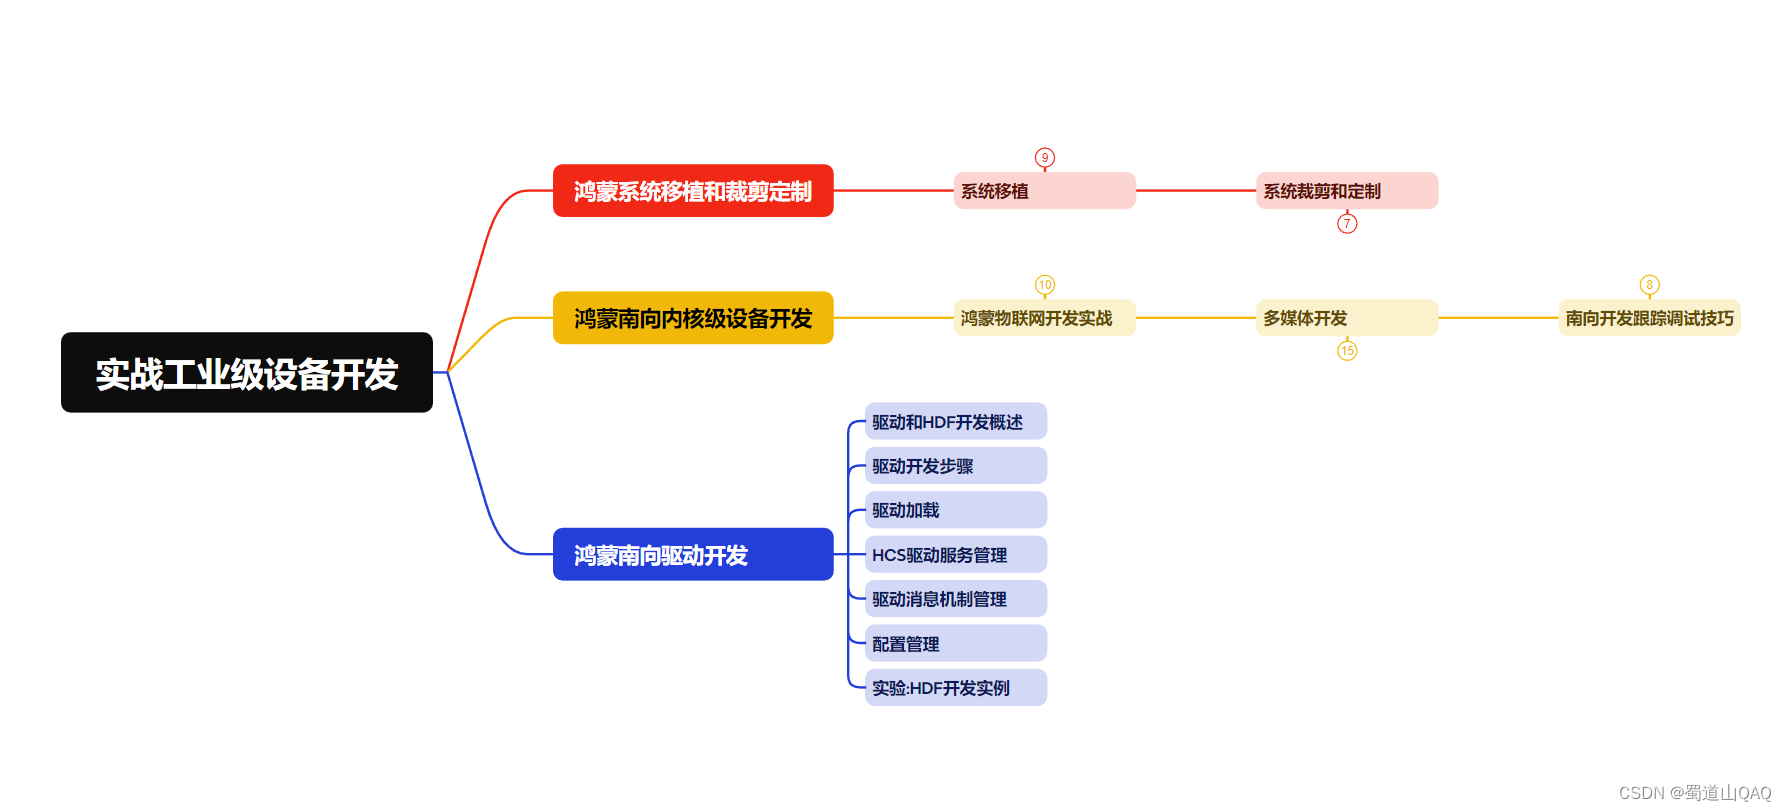
- 实战就业级设备开发
有了路线图,怎么能没有学习资料呢,小编也准备了一份联合鸿蒙官方发布笔记整理收纳的一套系统性的鸿蒙(OpenHarmony )学习手册(共计1236页)与鸿蒙(OpenHarmony )开发入门教学视频,内容包含:ArkTS、ArkUI、Web开发、应用模型、资源分类…等知识点。
获取以上完整版高清学习路线,请点击→纯血版全套鸿蒙HarmonyOS学习资料
《鸿蒙 (OpenHarmony)开发入门教学视频》

《鸿蒙生态应用开发V2.0白皮书》

《鸿蒙 (OpenHarmony)开发基础到实战手册》
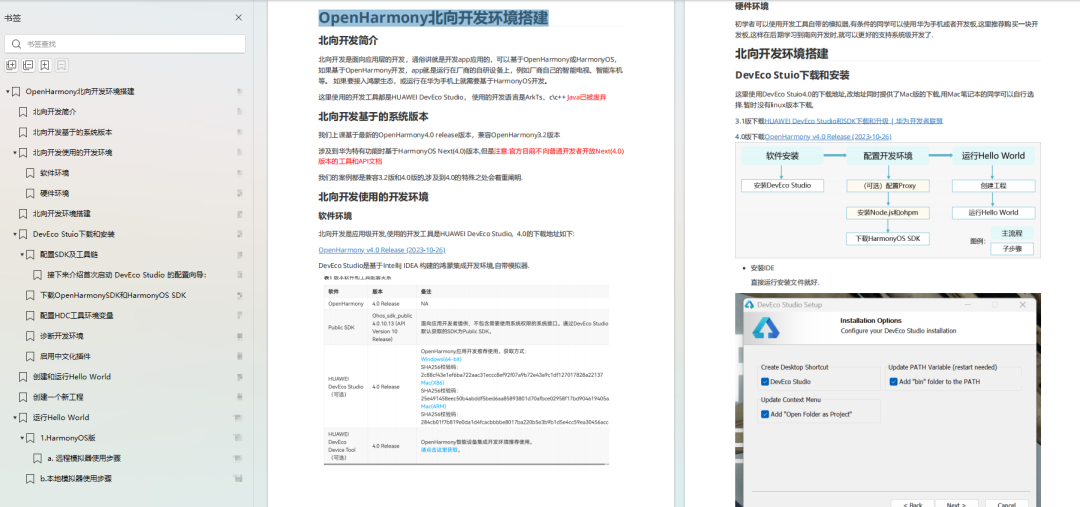
OpenHarmony北向、南向开发环境搭建
《鸿蒙开发基础》
自我介绍一下,小编13年上海交大毕业,曾经在小公司待过,也去过华为、OPPO等大厂,18年进入阿里一直到现在。
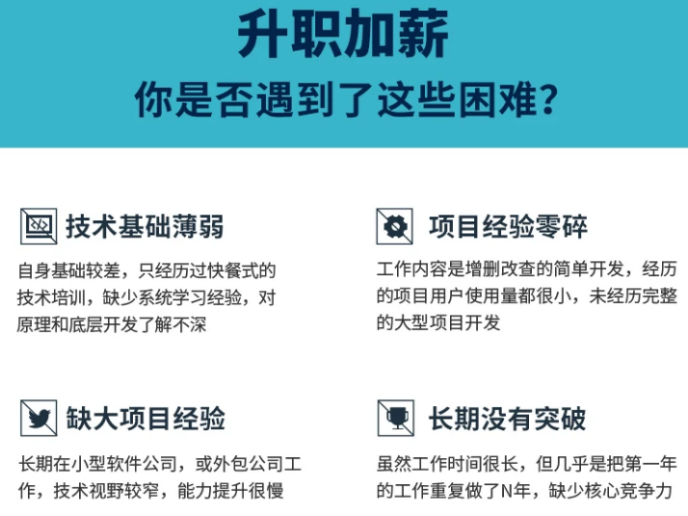
深知大多数HarmonyOS鸿蒙开发工程师,想要提升技能,往往是自己摸索成长或者是报班学习,但对于培训机构动则几千的学费,着实压力不小。自己不成体系的自学效果低效又漫长,而且极易碰到天花板技术停滞不前!
因此收集整理了一份《2024年HarmonyOS鸿蒙开发全套学习资料》,初衷也很简单,就是希望能够帮助到想自学提升又不知道该从何学起的朋友,同时减轻大家的负担。
既有适合小白学习的零基础资料,也有适合3年以上经验的小伙伴深入学习提升的进阶课程,基本涵盖了95%以上HarmonyOS鸿蒙开发知识点,真正体系化!
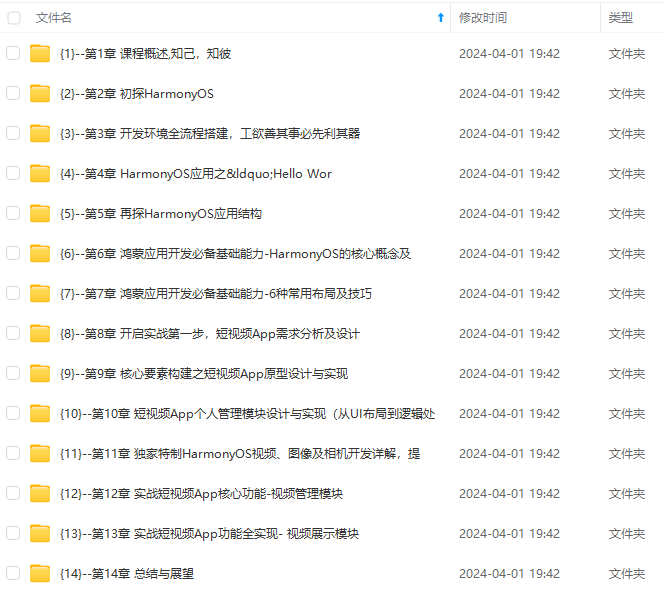
由于文件比较大,这里只是将部分目录大纲截图出来,每个节点里面都包含大厂面经、学习笔记、源码讲义、实战项目、讲解视频,并且会持续更新
如果你觉得这些内容对你有帮助,可以添加VX:vip204888 (备注鸿蒙获取)

一个人可以走的很快,但一群人才能走的更远。不论你是正从事IT行业的老鸟或是对IT行业感兴趣的新人,都欢迎扫码加入我们的的圈子(技术交流、学习资源、职场吐槽、大厂内推、面试辅导),让我们一起学习成长!
外链图片转存中…(img-jRAOD1IS-1712919884701)]
既有适合小白学习的零基础资料,也有适合3年以上经验的小伙伴深入学习提升的进阶课程,基本涵盖了95%以上HarmonyOS鸿蒙开发知识点,真正体系化!
由于文件比较大,这里只是将部分目录大纲截图出来,每个节点里面都包含大厂面经、学习笔记、源码讲义、实战项目、讲解视频,并且会持续更新
如果你觉得这些内容对你有帮助,可以添加VX:vip204888 (备注鸿蒙获取)
[外链图片转存中…(img-zhcdZ1O0-1712919884702)]
一个人可以走的很快,但一群人才能走的更远。不论你是正从事IT行业的老鸟或是对IT行业感兴趣的新人,都欢迎扫码加入我们的的圈子(技术交流、学习资源、职场吐槽、大厂内推、面试辅导),让我们一起学习成长!


 835
835


 被折叠的 条评论
为什么被折叠?
被折叠的 条评论
为什么被折叠?
 到【灌水乐园】发言


