


process.roles=broker,controller
node.id=3
controller.quorum.voters=1@localhost:19093,2@localhost:29093,3@localhost:39093
listeners=SASL_PLAINTEXT://:39092,CONTROLLER://:39093
sasl.enabled.mechanisms=PLAIN
sasl.mechanism.inter.broker.protocol=PLAIN
inter.broker.listener.name=SASL_PLAINTEXT
advertised.listeners=SASL_PLAINTEXT://192.168.8.122:39092
controller.listener.names=CONTROLLER
log.dirs=/wlh/kafka03/data
先确保你的kafka的数据目录是空的,执行下删除(后面初始化时会自动创建目录)
rm -rf /wlh/kafka01/data /wlh/kafka02/data /wlh/kafka03/data
创建一个kafka sasl认证的服务配置
可以在kafka的config目录下新建一个kafka_server_jaas.conf文件,然后认证信息写好:
KafkaServer {
    org.apache.kafka.common.security.plain.PlainLoginModule required
    serviceName="kafka"
    username="admin"
    password="eystar8888"
    user_kafka="kafka1234";
};
上面的配置中声明了管理员为admin,密码是eystar8888,并且声明了一个用户名为kafka,密码是kafka1234的用户,客户端连接时使用用户为kafka可以成功进行认证。
而需要注意的是:上面的配置中的分号;,不能少,否则就掉坑里了。
配置kafka服务的启动脚本
上面设置好sasl认证的配置后,我们需要在kafka启动的服务脚本中,将此配置加入进去。
可以直接修改bin/kafka-server-start.sh,亦或者拷贝一份kafka-server-start.sh命名为kafka-server-start-saal.sh(名称自定义即可)
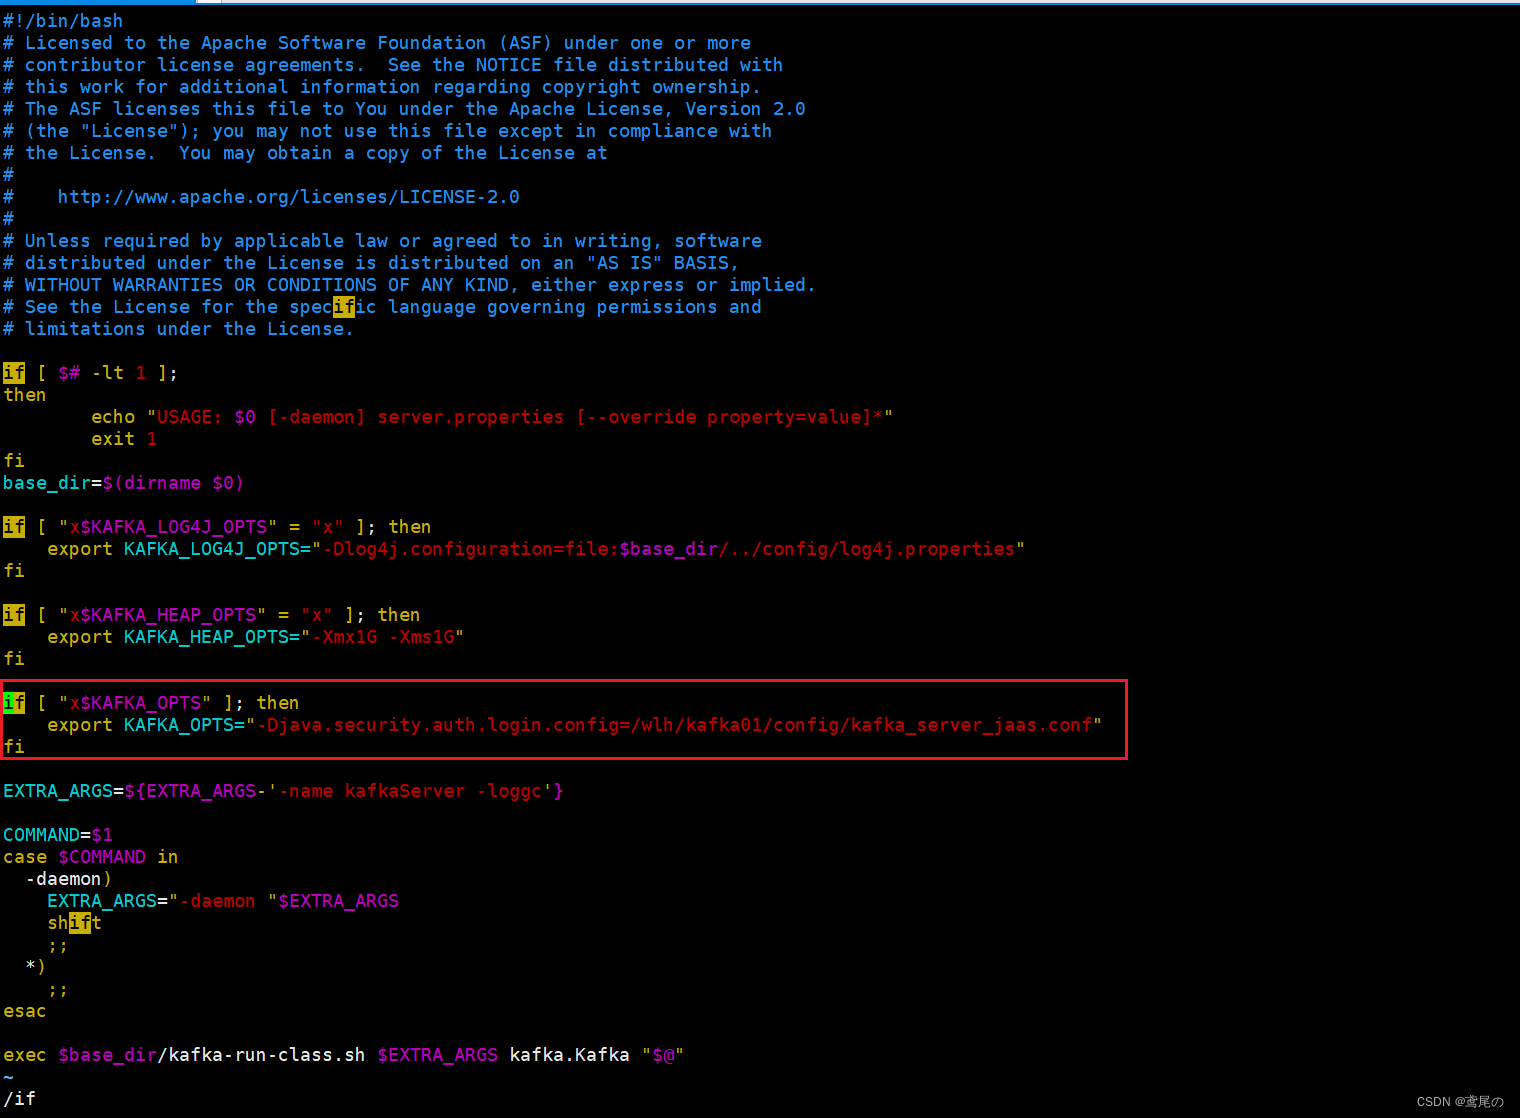
export KAFKA\_OPTS="-Djava.security.auth.login.config=/wlh/kafka01/config/kafka\_server\_jaas.conf"
kafka02和kafka03同样这样配置好
export KAFKA\_OPTS="-Djava.security.auth.login.config=/wlh/kafka02/config/kafka\_server\_jaas.conf"
export KAFKA\_OPTS="-Djava.security.auth.login.config=/wlh/kafka03/config/kafka\_server\_jaas.conf"
开始执行启动kafka集群
# 生成一个uuid,后面需要用
/wlh/kafka01/bin/kafka-storage.sh random-uuid

# 格式化存储
/wlh/kafka01/bin/kafka-storage.sh format -t xtzWWN4bTjitpL3kfd9s5g -c /wlh/kafka01/config/kraft/server.properties
/wlh/kafka02/bin/kafka-storage.sh format -t xtzWWN4bTjitpL3kfd9s5g -c /wlh/kafka02/config/kraft/server.properties
/wlh/kafka03/bin/kafka-storage.sh format -t xtzWWN4bTjitpL3kfd9s5g -c /wlh/kafka03/config/kraft/server.properties
开始启动kafka(-daemon后台启动)
# 分别启动它们
/wlh/kafka01/bin/kafka-server-start-saal.sh -daemon /wlh/kafka01/config/kraft/server.properties
/wlh/kafka02/bin/kafka-server-start-saal.sh -daemon /wlh/kafka02/config/kraft/server.properties
/wlh/kafka03/bin/kafka-server-start-saal.sh -daemon /wlh/kafka03/config/kraft/server.properties

服务启动完成。。。
Tip:服务器端口要打开,服务器端口要打开,端口打开!!!或者关了防火墙也行。
使用java进行连接
无论是使用kafka的API还是直接使用spring集成kafka都是可以的。
我这里就采用kafka的API方式了。
导入kafka-clients依赖
<dependency>
    <groupId>org.apache.kafka</groupId>
    <artifactId>kafka-clients</artifactId>
    <version>2.7.2</version>
</dependency>
在application.properties中配置相关属性,注意spring.kafka.jaas-config是结尾是有一个分号;的,若不写,是连接不到kafka的。
spring.kafka.bootstrap-servers=192.168.8.122:19092,192.168.8.122:29092,192.168.8.122:39092
spring.kafka.jaas-config=org.apache.kafka.common.security.plain.PlainLoginModule required username="kafka" password="kafka1234";
spring.kafka.topics=test
在java配置类中进行接收并且创建生产者和消费者
package xxx.xxx.xxx;
import org.apache.kafka.common.config.SaslConfigs;
import org.apache.kafka.common.security.auth.SecurityProtocol;
import org.springframework.beans.factory.annotation.Value;
import org.springframework.boot.autoconfigure.condition.ConditionalOnProperty;
import org.springframework.stereotype.Component;

import java.util.Properties;


/\*\*
 \* @author wlh
 \* @date 2023/8/10
 \*/
@ConditionalOnProperty("spring.kafka.bootstrap-servers")
@Component
public class KafkaProperties {
    @Value("${spring.kafka.bootstrap-servers}")
    private String bootstrapServer;
    @Value("${spring.kafka.jaas-config}")
    private String jaasConfig;

    public static String topics;

    @Value("${spring.kafka.topics}")
    private void setTopics(String topics) {
        KafkaProperties.topics = topics;
    }

    /\*\*
 \* 获取生产者配置
 \*
 \* @return 配置信息
 \*/
    public Properties getProducerProperties() {
        Properties properties = new Properties();
        properties.put("bootstrap.servers", bootstrapServer);
        String SERIALIZER = "org.apache.kafka.common.serialization.StringSerializer";
        properties.put("key.serializer", SERIALIZER);
        properties.put("value.serializer", SERIALIZER);
        fillSecurityProperties(properties);
        return properties;
    }

    // 消费者配置
    public Properties getConsumerProperties() {
        Properties properties = new Properties();
        properties.put("bootstrap.servers", bootstrapServer);
        properties.put("group.id", "test");	// group.id可以自定义
        String DESERIALIZER = "org.apache.kafka.common.serialization.StringDeserializer";
        properties.put("key.deserializer", DESERIALIZER);
        properties.put("value.deserializer", DESERIALIZER);
        fillSecurityProperties(properties);
        return properties;
    }

    // 安全认证的配置
    private void fillSecurityProperties(Properties properties) {
        properties.setProperty("security.protocol", SecurityProtocol.SASL\_PLAINTEXT.name);
        String SASL\_MECHANISM = "PLAIN";
        properties.put(SaslConfigs.SASL\_MECHANISM, SASL\_MECHANISM);
        properties.put(SaslConfigs.SASL\_JAAS\_CONFIG, jaasConfig);
    }

}
创建生产者和消费者
package xxx.xxx.xxx;
import lombok.RequiredArgsConstructor;
import lombok.extern.slf4j.Slf4j;
import org.apache.kafka.clients.consumer.KafkaConsumer;
import org.apache.kafka.clients.producer.KafkaProducer;
import org.springframework.boot.autoconfigure.condition.ConditionalOnProperty;
import org.springframework.context.annotation.Bean;
import org.springframework.context.annotation.Configuration;

import java.util.Arrays;
import java.util.Collections;
import java.util.List;

/\*\*
 \* @author wlh
 \* @date 2023/08/10
 \*/
@ConditionalOnProperty("spring.kafka.bootstrap-servers")
@Slf4j
@RequiredArgsConstructor
@Configuration
public class KafkaConfig {
    private final KafkaProperties kafkaProperties;

    // 创建生产者
    @Bean
    public KafkaProducer<String, String> kafkaProducer() {
        return new KafkaProducer<>(kafkaProperties.getProducerProperties());
    }

    // 创建消费者
    @Bean
    public KafkaConsumer<String, String> kafkaConsumer() {
        KafkaConsumer<String, String> kafkaConsumer = new KafkaConsumer<>
                (kafkaProperties.getConsumerProperties());
        List<String> topicList = Collections.singletonList("test"); // 这里写死了,可自行扩展
        kafkaConsumer.subscribe(topicList);
        log.info("消息订阅成功! topic:{}", topicList);
        log.info("消费者配置:{}", kafkaProperties.getConsumerProperties().toString());
        return kafkaConsumer;
    }

}
信息发送的Util工具类
package xxx.xxx.xxx;

import com.alibaba.excel.util.StringUtils;
import com.alibaba.fastjson.JSON;
import lombok.extern.slf4j.Slf4j;
import org.apache.kafka.clients.producer.KafkaProducer;
import org.apache.kafka.clients.producer.ProducerRecord;
import org.springframework.beans.factory.annotation.Autowired;
import org.springframework.scheduling.annotation.Async;
import org.springframework.stereotype.Component;

import java.util.Arrays;
import java.util.Collections;
import java.util.List;

@Component
@Slf4j
public class KafkaSendUtil {

    @Autowired
    KafkaProducer<String, String> kafkaProducer;

    @Async
    public void sendMsg(String topic, String msg) {
        List<String> topics;
        if (StringUtils.isBlank(topic)) {
            topics = Arrays.asList(KafkaProperties.topics.split(","));
        } else {
            topics = Collections.singletonList(topic);
        }
        for (String sendTopic : topics) {
            ProducerRecord<String, String> record = new ProducerRecord<>(sendTopic, msg);


**网上学习资料一大堆,但如果学到的知识不成体系,遇到问题时只是浅尝辄止,不再深入研究,那么很难做到真正的技术提升。**

**[需要这份系统化资料的朋友,可以点击这里获取](https://bbs.csdn.net/topics/618540462)**

**一个人可以走的很快,但一群人才能走的更远!不论你是正从事IT行业的老鸟或是对IT行业感兴趣的新人,都欢迎加入我们的的圈子(技术交流、学习资源、职场吐槽、大厂内推、面试辅导),让我们一起学习成长!**


 3917
3917


 被折叠的 条评论
为什么被折叠?
被折叠的 条评论
为什么被折叠?
 到【灌水乐园】发言


