


自定义布局可以通过两种方式去处理,一种是使用布局修饰符Modifier.layout,一种是使用Layout去创建自定义布局。我们先来讲下Modifier.layout的方式
1.1 使用布局修饰符来实现自定义布局
我们自定义一个Modifier的扩展函数,Modifier.customCornerPosLayout。该方法的作用就是可以按我们传入的CornerPosition,去把view放置在左上角,左下角,右上角,右下角。代码如下:
enum class CornerPosition{
TopLeft,
TopRight,
BottomLeft,
BottomRight
}
fun Modifier.customCornerPosLayout(pos:CornerPosition) = layout { measurable, constraints ->
// Measure the composable
val placeable = measurable.measure(constraints)
layout(constraints.maxWidth, constraints.maxHeight) {
// Where the composable gets placed
when(pos){
CornerPosition.TopLeft->{
placeable.placeRelative(0, 0)
}
CornerPosition.TopRight->{
placeable.placeRelative(constraints.maxWidth-placeable.width, 0)
}
CornerPosition.BottomLeft->{
placeable.placeRelative(0, constraints.maxHeight-placeable.height)
}
CornerPosition.BottomRight->{
placeable.placeRelative(constraints.maxWidth-placeable.width, constraints.maxHeight-placeable.height)
}
}
}
}
复制代码
-
首先我们声明一个枚举。叫CornerPosition,枚举有四种取值,TopLeft表示左上角,TopRight右上角,BottomLeft左下角,BottomRight又下角。
-
接着我们定义一个Modifier的扩展函数customCornerPosLayout,入参是pos:CornerPosition我们的枚举类
-
customCornerPosLayout的实现是通过layout的lamda去实现。其实是调用Modifier.layout去实现自定义布局。有两个参数一个是measurable,一个是constraints父控件的约束
-
自定义布局第一步val placeable = measurable.measure(constraints) 是根据measurable跟constraints父控件的约束,通过方法measurable.measure(constraints)去生成一个placeable类。该类拥有子控件的宽width跟高height
-
自定义布局的第二部 需要调用layout(w,h)的方法去设置当前view能使用的宽高。我们这里是用layout(constraints.maxWidth, constraints.maxHeight) 传入的是constraints.maxWidth父控件提供能使用的最大宽,constraints.maxHeight父控件提供能使用的最大高
-
接着第三部就是在layout{}里通过 placeable.placeRelative 去放置该元素的位置。我们这里是根据传入的参数是左上角CornerPosition.TopLeft,还是左下角CornerPosition.BottomLeft,还是右上角CornerPosition.TopRight,还是右下角CornerPosition.BottomRight去放置该界面元素的位置。
-
placeable.placeRelative(0, 0) 左上角是0,0
-
placeable.placeRelative(constraints.maxWidth-placeable.width, 0) 右上角 x是需要拿最大宽度减去本身view的宽度,y是0
-
placeable.placeRelative(0, constraints.maxHeight-placeable.height) 左下角x是0,y是需要拿最大的高度减去本身的高度
-
placeable.placeRelative(constraints.maxWidth-placeable.width, constraints.maxHeight-placeable.height) x是需要拿最大宽度减去本身view的宽度,y需要拿最大的高度减去本身的高度
举例:自定义完成之后,我们举个放置在右下角的例子
@Preview
@Composable
fun customCornerPosLayoutTest(){
Box(modifier = Modifier.size(100.dp)
.background(color = Color.Red)) {
Box(modifier = Modifier
.customCornerPosLayout(CornerPosition.BottomRight)
.size(10.dp)
.background(color = Color.Blue, shape = CircleShape))
}
}
复制代码
效果如下: 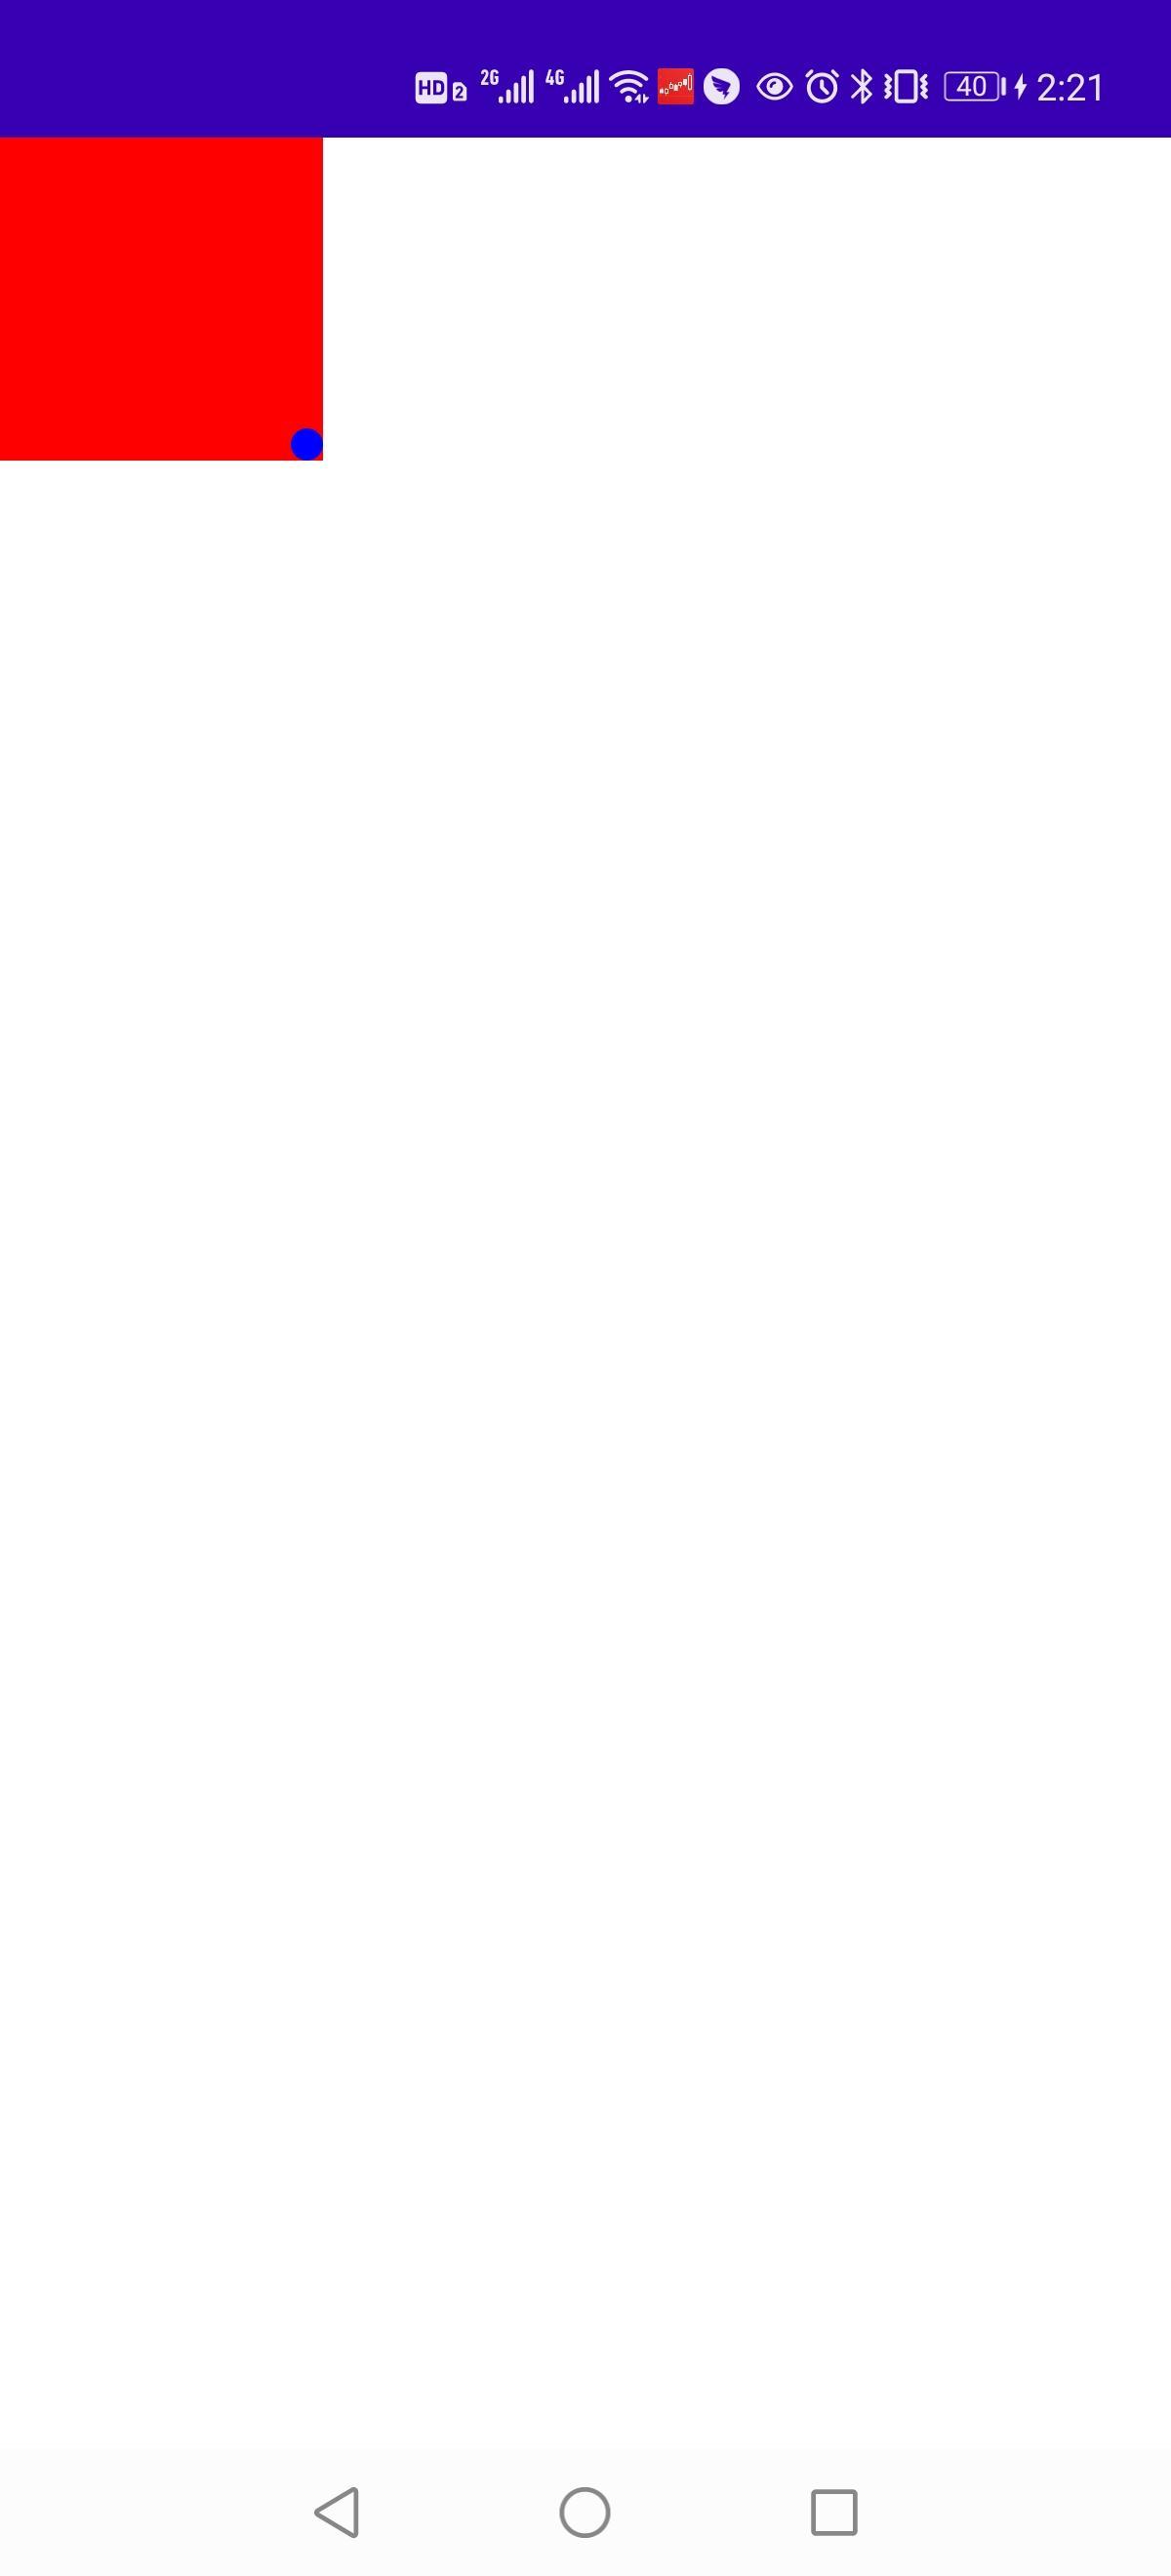
1.2 Layout创建自定义布局
Modifier.layout修饰符仅更改调用的可组合项。如需测量和布置多个可组合项,请改用 Layout。在 View 系统中,创建自定义布局我们是会扩展 ViewGroup 并实现onMeasure和onLayout函数。在 Compose 中,我们只需使用 Layout 可组合项编写一个函数即可。
下面我们通过Layout去自定义一个有方向的Column布局。直接上代码
@Composable
fun CustomColumnView(
layoutDirection:LayoutDirection,
modifier: Modifier = Modifier,
content: @Composable() () -> Unit){
Layout(
modifier = modifier,
content = content
) { measurables, constraints ->
var totalHeight = 0
var maxWidth = 0
val placeables = measurables.map {
val placeable = it.measure(constraints)
totalHeight+=placeable.height
if(placeable.width>maxWidth){
maxWidth = placeable.width
}
placeable
}
layout(maxWidth,totalHeight){
if(layoutDirection == LayoutDirection.Ltr){
var y = 0
placeables.forEach {
it.place(0,y)
y+=it.height
}
}else{
var y = totalHeight
placeables.forEach {
y-=it.height
it.place(0,y)
}
}
}
}
}
复制代码
-
我们定义了一个CustomColumnView的可组合函数
-
定义了三个参数,layoutDirection去控制方向,modifier修饰符,内容可组合函数content。
-
内部的实现我们是通过Layout去自定义布局
-
测量每个子view的宽高 val placeable = it.measure(constraints) 自定义布局第一步需要通过父控件给的约束条件constraints跟measurable去执行measure测量。获得Placeable对象。该对象里可以获取到测量完成的每个子item的宽width跟高height。
-
接着我们根据测量好的所有的子view的宽高,可以去计算出我们自定义CustomColumnView所需要的宽高,高我们用totalHeight变量先存储,宽我们用maxWidth变量存储
-
totalHeight+=placeable.height 我们把每个子View的高累加起来就是CustomColumnView控件的高。
-
if(placeable.width>maxWidth){maxWidth = placeable.width} 我们把子View最大的宽作为CustomColumnView的宽。
-
计算完成CustomColumnView的宽高之后,我们需要调用layout(maxWidth,totalHeight)方法去设置CustomColumnView的宽高
-
并且需要在layout方法里去调用placeable.place(x, y) 去放置子View的位置
layout(maxWidth,totalHeight){
if(layoutDirection == LayoutDirection.Ltr){
var y = 0
placeables.forEach {
it.place(0,y)
y+=it.height
}
}else{
var y = totalHeight
placeables.forEach {
y-=it.height
it.place(0,y)
}
}
}
}
复制代码
-
比如上面的例子中我们是根据方向layoutDirection == LayoutDirection.Ltr 我们就从上到下放置子View。it.place(0,y) y初始值是0,并且y是一直累加上上一个子View的高度
-
否则我们就从下到上去放置子View,it.place(0,y) y初始值是totalHeight即CustomColumnView的高度也就是在最底部,并且y是一直去减去当前子View的高度。这样就能从底部往上放置了
封装完成自定义的CustomColumnView后,我们举例使用 从上往下排列的CustomColumnView
@Preview
@Composable
fun bottomToTopCustomColumnTest(){
CustomColumnView(
layoutDirection = LayoutDirection.Ltr,
modifier = Modifier.background(color = Color.Red)
){
Text(text = “第一个Text第一个Text第一个Text第一个Text”)
Text(text = “第二个Text”)
Text(text = “第三个Text”)
Text(text = “第四个Text”)
Text(text = “第五个Text第五个Text”)
}
}
复制代码
效果如下: 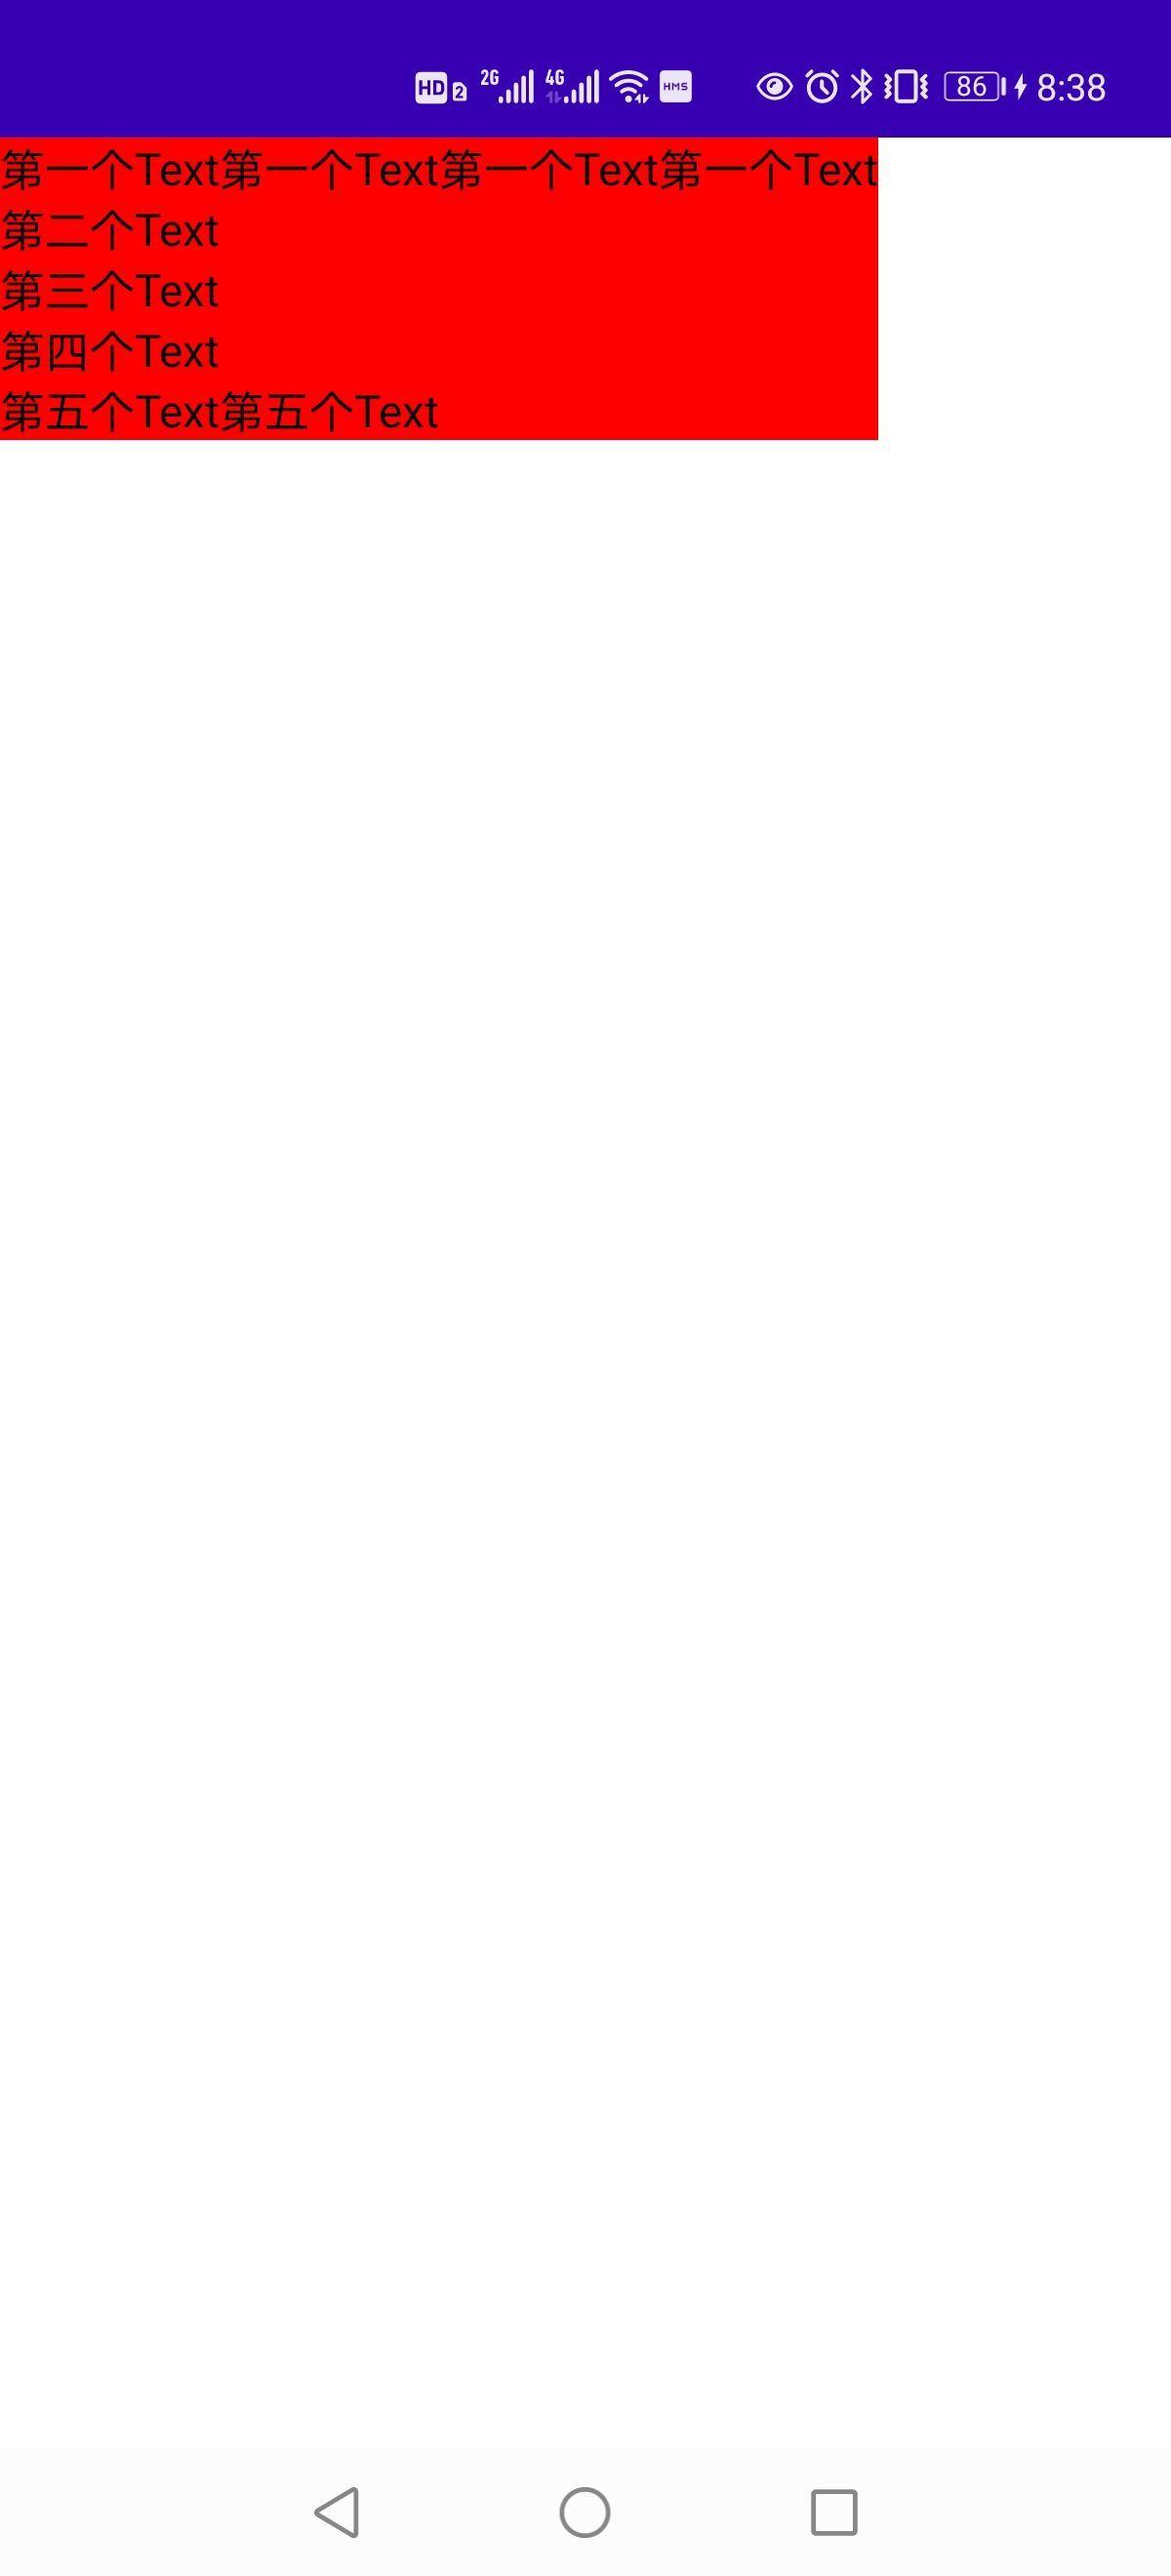
从下往上排列的CustomColumnView
@Preview
@Composable
fun bottomToTopCustomColumnTest(){
CustomColumnView(
layoutDirection = LayoutDirection.Rtl,
modifier = Modifier.background(color = Color.Red)
){
Text(text = “第一个Text第一个Text第一个Text第一个Text”)
Text(text = “第二个Text”)
Text(text = “第三个Text”)
Text(text = “第四个Text”)
Text(text = “第五个Text第五个Text”)
如何做好面试突击,规划学习方向?
面试题集可以帮助你查漏补缺,有方向有针对性的学习,为之后进大厂做准备。但是如果你仅仅是看一遍,而不去学习和深究。那么这份面试题对你的帮助会很有限。最终还是要靠资深技术水平说话。
网上学习 Android的资料一大堆,但如果学到的知识不成体系,遇到问题时只是浅尝辄止,不再深入研究,那么很难做到真正的技术提升。建议先制定学习计划,根据学习计划把知识点关联起来,形成一个系统化的知识体系。
学习方向很容易规划,但是如果只通过碎片化的学习,对自己的提升是很慢的。
同时我还搜集整理2020年字节跳动,以及腾讯,阿里,华为,小米等公司的面试题,把面试的要求和技术点梳理成一份大而全的“ Android架构师”面试 Xmind(实际上比预期多花了不少精力),包含知识脉络 + 分支细节。

在搭建这些技术框架的时候,还整理了系统的高级进阶教程,会比自己碎片化学习效果强太多。

网上学习 Android的资料一大堆,但如果学到的知识不成体系,遇到问题时只是浅尝辄止,不再深入研究,那么很难做到真正的技术提升。希望这份系统化的技术体系对大家有一个方向参考。
《Android学习笔记总结+移动架构视频+大厂面试真题+项目实战源码》,点击传送门,即可获取!
面试题,把面试的要求和技术点梳理成一份大而全的“ Android架构师”面试 Xmind(实际上比预期多花了不少精力),包含知识脉络 + 分支细节。
[外链图片转存中…(img-PkVVo7VE-1715664553961)]
在搭建这些技术框架的时候,还整理了系统的高级进阶教程,会比自己碎片化学习效果强太多。
[外链图片转存中…(img-dsNnuKd7-1715664553962)]
网上学习 Android的资料一大堆,但如果学到的知识不成体系,遇到问题时只是浅尝辄止,不再深入研究,那么很难做到真正的技术提升。希望这份系统化的技术体系对大家有一个方向参考。
《Android学习笔记总结+移动架构视频+大厂面试真题+项目实战源码》,点击传送门,即可获取!


 1417
1417


 被折叠的 条评论
为什么被折叠?
被折叠的 条评论
为什么被折叠?
 到【灌水乐园】发言


