


若pip安装报错,请自行到:
http://www.lfd.uci.edu/~gohlke/pythonlibs/
下载pip安装报错模块的whl文件,并使用:
pip install whl文件路径+whl文件名安装。
例如:

主要思路
(1)模型训练
用了PCA算法对特征进行了压缩降维;
然后用随机森林训练模型。
数据源于网络,据说数据“发源地”就是华南理工大学某实验室,因此我在参考文献上才加上了这个实验室的链接。
(2)提取人脸关键点
主要使用了dlib库。
使用官方提供的模型构建特征提取器。
(3)特征生成
完全参考了xxxPh.D.的博客。
(4)颜值预测
利用之前的数据和模型进行颜值预测。
使用方式
有特殊疾病者请慎重尝试预测自己的颜值,本人不对颜值预测的结果和带来的所有负面影响负责!!!
言归正传。
环境搭建完成后,cmd窗口切换到解压后的*.py文件所在目录。
例如:

打开test_img文件夹,将需要预测颜值的照片放入并重命名为test.jpg。
例如:


若嫌麻烦或者有其他需求,请自行修改:
getLandmarks.py文件中第13行。
最后依次运行:
train_model.py(想直接用我模型的请忽略此步)
getLandmarks.py
getFeatures.py
Predict.py
train_model.py
# 模型训练脚本
import numpy as np
from sklearn import decomposition
from sklearn.ensemble import RandomForestRegressor
from sklearn.externals import joblib


# 特征和对应的分数路径
features_path = './data/features_ALL.txt'
ratings_path = './data/ratings.txt'

# 载入数据
# 共500组数据
# 其中前480组数据作为训练集,后20组数据作为测试集
features = np.loadtxt(features_path, delimiter=',')
features_train = features[0: -20]
features_test = features[-20: ]
ratings = np.loadtxt(ratings_path, delimiter=',')
ratings_train = ratings[0: -20]
ratings_test = ratings[-20: ]

# 训练模型
# 这里用PCA算法对特征进行了压缩和降维。
# 降维之后特征变成了20维,也就是说特征一共有500行,每行是一个人的特征向量,每个特征向量有20个元素。
# 用随机森林训练模型
pca = decomposition.PCA(n_components=20)
pca.fit(features_train)
features_train = pca.transform(features_train)
features_test = pca.transform(features_test)
regr = RandomForestRegressor(n_estimators=50, max_depth=None, min_samples_split=10, random_state=0)
regr = regr.fit(features_train, ratings_train)
joblib.dump(regr, './model/face_rating.pkl', compress=1)

# 训练完之后提示训练结束
print('Generate Model Successfully!')
getLandmarks.py
# 人脸关键点提取脚本
import cv2
import dlib
import numpy


# 模型路径
PREDICTOR_PATH = './model/shape_predictor_68_face_landmarks.dat'
# 使用dlib自带的frontal_face_detector作为人脸提取器
detector = dlib.get_frontal_face_detector()
# 使用官方提供的模型构建特征提取器
predictor = dlib.shape_predictor(PREDICTOR_PATH)
face_img = cv2.imread("test_img/test.jpg")
# 使用detector进行人脸检测,rects为返回的结果
rects = detector(face_img, 1)
# 如果检测到人脸
if len(rects) >= 1:
    print("{} faces detected".format(len(rects)))
else:
    print('No faces detected')
    exit()
with open('./results/landmarks.txt', 'w') as f:
    f.truncate()
    for faces in range(len(rects)):
        # 使用predictor进行人脸关键点识别
        landmarks = numpy.matrix([[p.x, p.y] for p in predictor(face_img, rects[faces]).parts()])
        face_img = face_img.copy()
        # 使用enumerate函数遍历序列中的元素以及它们的下标
        for idx, point in enumerate(landmarks):
            pos = (point[0, 0], point[0, 1])
            f.write(str(point[0, 0]))
            f.write(',')
            f.write(str(point[0, 1]))
            f.write(',')
        f.write('\n')
    f.close()
# 成功后提示
print('Get landmarks successfully')
getFeatures.py
# 特征生成脚本
# 具体原理请参见参考论文
import math
import numpy
import itertools
def facialRatio(points):
x1 = points[0]
y1 = points[1]
x2 = points[2]
y2 = points[3]
x3 = points[4]
y3 = points[5]
x4 = points[6]
y4 = points[7]
dist1 = math.sqrt((x1-x2)**2 + (y1-y2)**2)
dist2 = math.sqrt((x3-x4)**2 + (y3-y4)**2)
ratio = dist1/dist2
return ratio
def generateFeatures(pointIndices1, pointIndices2, pointIndices3, pointIndices4, allLandmarkCoordinates):
size = allLandmarkCoordinates.shape
if len(size) > 1:
allFeatures = numpy.zeros((size[0], len(pointIndices1)))
for x in range(0, size[0]):
landmarkCoordinates = allLandmarkCoordinates[x, :]
ratios = []
for i in range(0, len(pointIndices1)):
x1 = landmarkCoordinates[2*(pointIndices1[i]-1)]
y1 = landmarkCoordinates[2*pointIndices1[i] - 1]
x2 = landmarkCoordinates[2*(pointIndices2[i]-1)]
y2 = landmarkCoordinates[2*pointIndices2[i] - 1]
x3 = landmarkCoordinates[2*(pointIndices3[i]-1)]
y3 = landmarkCoordinates[2*pointIndices3[i] - 1]
x4 = landmarkCoordinates[2*(pointIndices4[i]-1)]
### 一、Python所有方向的学习路线
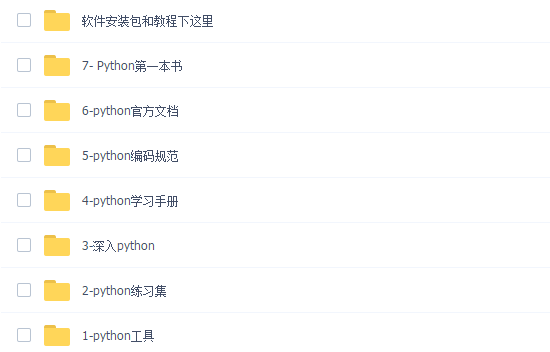
Python所有方向路线就是把Python常用的技术点做整理,形成各个领域的知识点汇总,它的用处就在于,你可以按照上面的知识点去找对应的学习资源,保证自己学得较为全面。

### 二、学习软件
工欲善其事必先利其器。学习Python常用的开发软件都在这里了,给大家节省了很多时间。
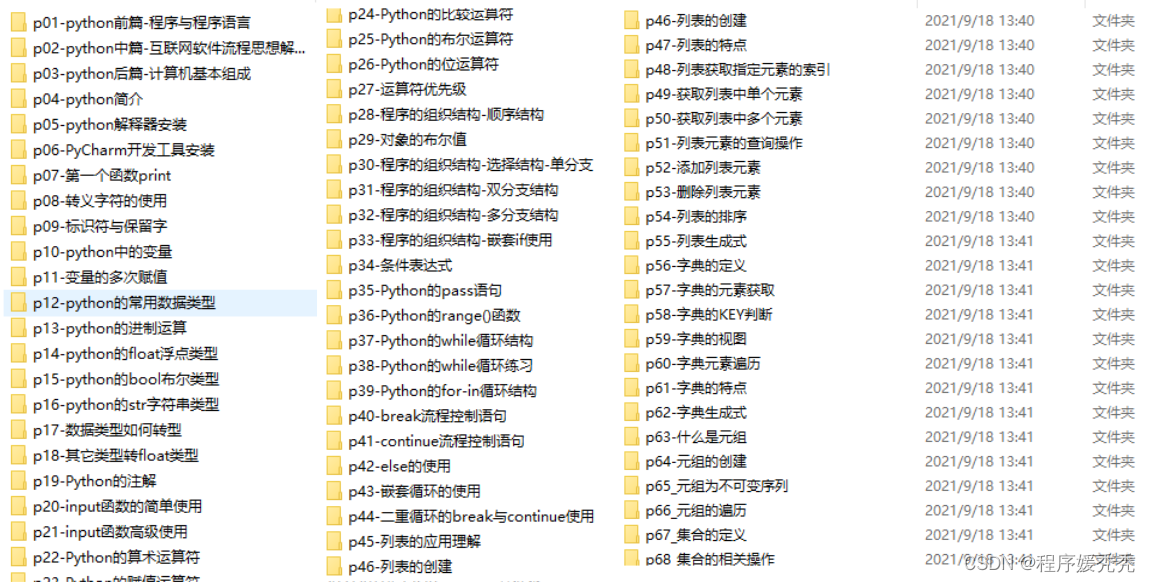
### 三、入门学习视频
我们在看视频学习的时候,不能光动眼动脑不动手,比较科学的学习方法是在理解之后运用它们,这时候练手项目就很适合了。
**网上学习资料一大堆,但如果学到的知识不成体系,遇到问题时只是浅尝辄止,不再深入研究,那么很难做到真正的技术提升。**
**[需要这份系统化学习资料的朋友,可以戳这里无偿获取](https://bbs.csdn.net/topics/618317507)**
**一个人可以走的很快,但一群人才能走的更远!不论你是正从事IT行业的老鸟或是对IT行业感兴趣的新人,都欢迎加入我们的的圈子(技术交流、学习资源、职场吐槽、大厂内推、面试辅导),让我们一起学习成长!**


 2490
2490

 被折叠的 条评论
为什么被折叠?
被折叠的 条评论
为什么被折叠?
 到【灌水乐园】发言


