


文末
逆水行舟不进则退,所以大家要有危机意识。
同样是干到35岁,普通人写业务代码划水,榜样们深度学习拓宽视野晋升管理。
这也是为什么大家都说35岁是程序员的门槛,很多人迈不过去,其实各行各业都是这样都会有个坎,公司永远都缺的高级人才,只用这样才能在大风大浪过后,依然闪耀不被公司淘汰不被社会淘汰。
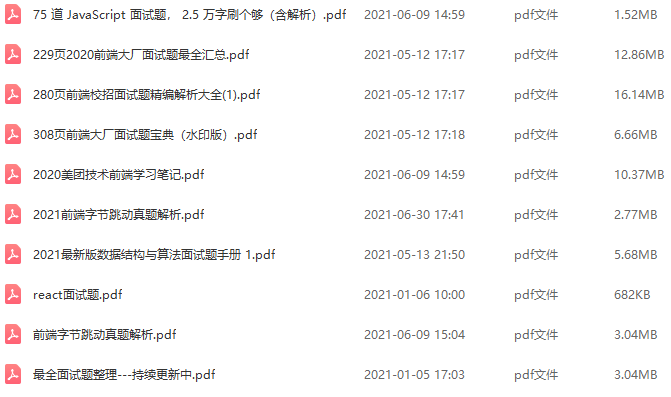
为了帮助大家更好温习重点知识、更高效的准备面试,特别整理了《前端工程师核心知识笔记》电子稿文件。
内容包括html,css,JavaScript,ES6,计算机网络,浏览器,工程化,模块化,Node.js,框架,数据结构,性能优化,项目等等。
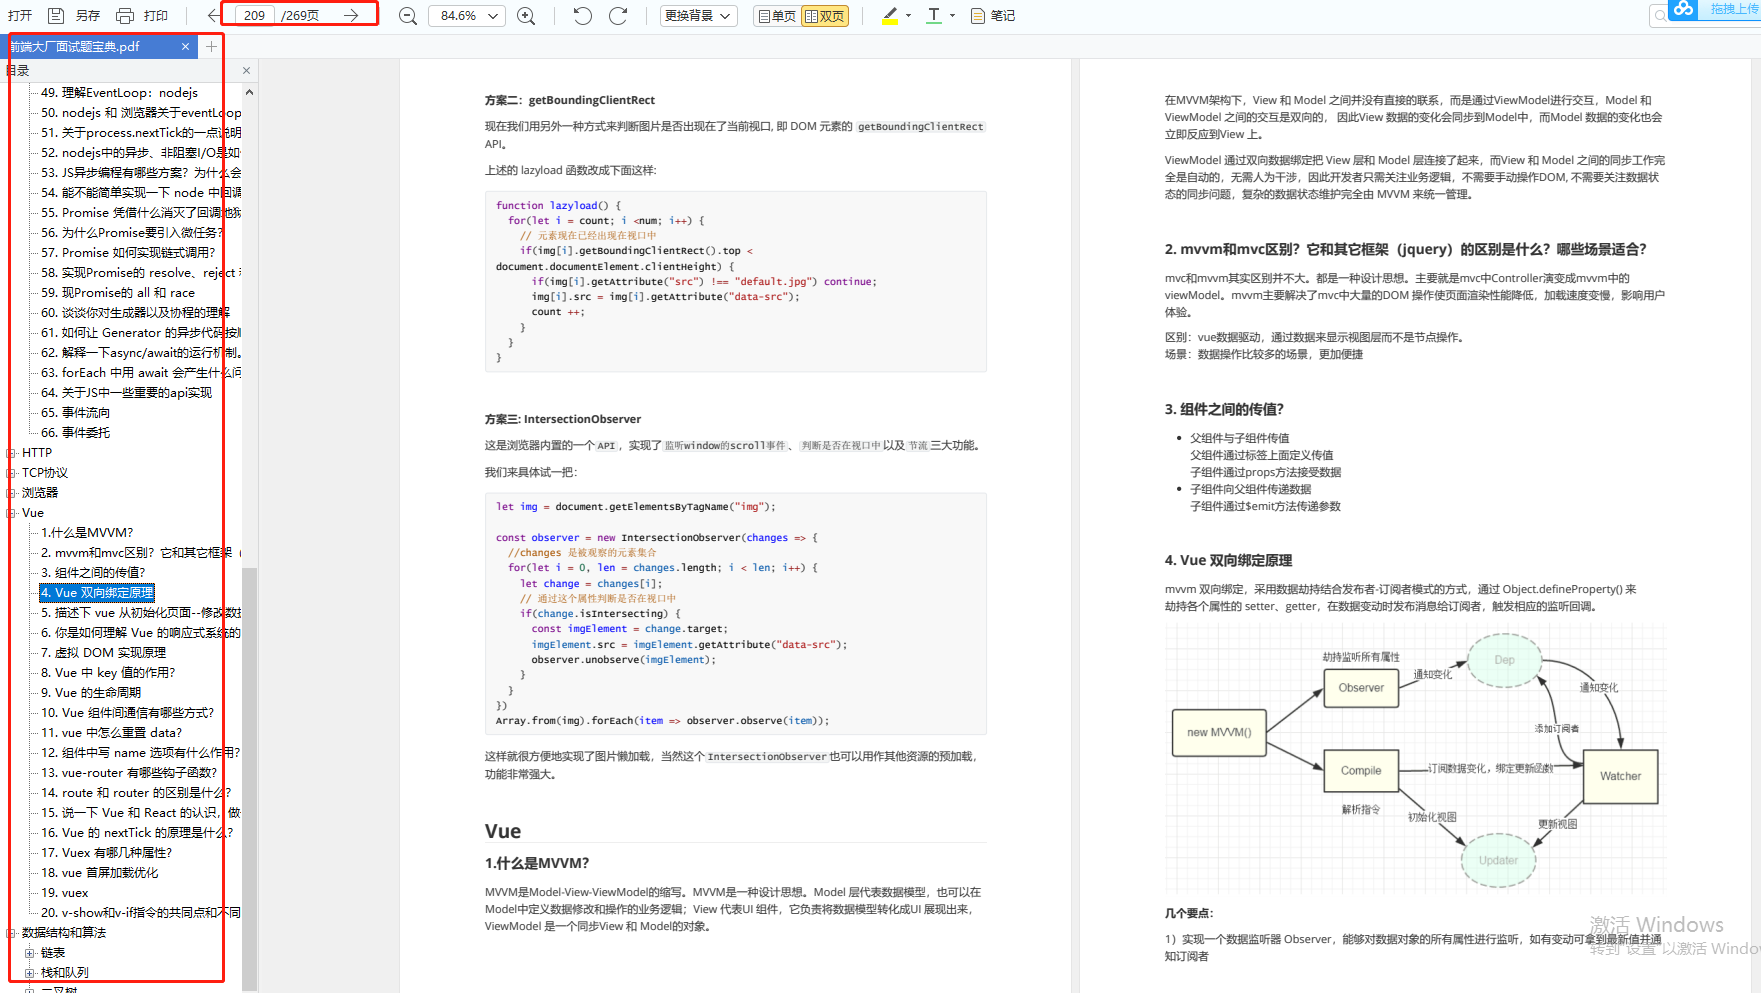
269页《前端大厂面试宝典》
包含了腾讯、字节跳动、小米、阿里、滴滴、美团、58、拼多多、360、新浪、搜狐等一线互联网公司面试被问到的题目,涵盖了初中级前端技术点。
开源分享:【大厂前端面试题解析+核心总结学习笔记+真实项目实战+最新讲解视频】
前端面试题汇总
pathRewrite:{
‘^/api’: ‘’//路径的替换规则
/*
*这里的配置是正则表达式,以/api开头的路径将会被‘'替换掉
*假如后台文档的接口是 “https://www.cyclv.com/admin/login”
*前端调取API接口应写:axios.get(‘/api/admin/login’)
*/
}
}
}
}
}
-
打包项目: npm run build
-
项目就多了一个文件夹:dist

但是部署的时候需要使用nginx做反向代理,因为开发的时候我们使用的是webpack提供的proxyTable做的代理从而解决了开发环境的跨域请求问题。
==========================================================================
具体文件位置就要看安装在哪。
vim /usr/local/etc/nginx/nginx.conf
之后会出现这样的内容。
#user nobody;
worker_processes 1;
#error_log logs/error.log;
#error_log logs/error.log notice;
#error_log logs/error.log info;
#pid logs/nginx.pid;
events {
worker_connections 1024;
}
http {
include mime.types;
default_type application/octet-stream;
#log_format main '$remote_addr - r e m o t e u s e r [ remote_user [ remoteuser[time_local] “$request” ’
'$status b o d y b y t e s s e n t " body_bytes_sent " bodybytessent"http_referer" ’
‘“ h t t p u s e r a g e n t " " http_user_agent" " httpuseragent""http_x_forwarded_for”’;
#access_log logs/access.log main;
sendfile on;
#tcp_nopush on;
#keepalive_timeout 0;
keepalive_timeout 65;
#gzip on;
server {
一开始应该是默认的8080端口
listen 7788;
server_name localhost;
#charset koi8-r;
#access_log logs/host.access.log main;
location / {
root html;
index index.html index.htm;
}
还有其他的一些配置……
这是单机版的Nginx,我们只需要做如下修改:
-
listen 配置自己的监听端口,可以是8080,8081 等等,随便你的;
-
server_name 配置你的服务名,比如taobao.com 等等,这里是本机的,也可以配置IP地址;
-
root 你项目的根目录地址,这里就是刚才
npm run build得到的dist文件夹; -
设置代理需要重写/api,因为在开发的时候所有的接口都是以/api开头的,所以在请求代理的时候和proxyTable一样的逻辑,需要rewrite重写(格式是正则表达式)。
location /api {
rewrite ^.+api/?(.*)$ /$1 break; # url重写
proxy_pass http://localhost:8899; # 代理过去的目标地址
proxy_redirect off;
proxy_set_header Host $host;
proxy_set_header X-Real-IP $remote_addr;
proxy_set_header X-Forwarded-For $proxy_add_x_forwarded_for;
}
最终的配置文件:
#user nobody;
worker_processes 1;
#error_log logs/error.log;
#error_log logs/error.log notice;
#error_log logs/error.log info;
#pid logs/nginx.pid;
events {
worker_connections 1024;
}
http {
include mime.types;
default_type application/octet-stream;
#log_format main '$remote_addr - r e m o t e u s e r [ remote_user [ remoteuser[time_local] “$request” ’
'$status b o d y b y t e s s e n t " body_bytes_sent " bodybytessent"http_referer" ’
‘“ h t t p u s e r a g e n t " " http_user_agent" " httpuseragent""http_x_forwarded_for”’;
#access_log logs/access.log main;
sendfile on;
#tcp_nopush on;
#keepalive_timeout 0;
keepalive_timeout 65;
#gzip on;
server {
监听端口
listen 7788;
服务器名
server_name localhost;
前端项目根目录
root /Users/mac/WebstormProjects/sims/dist;
#charset koi8-r;
#access_log logs/host.access.log main;
#location / {
root html;
index index.html index.htm;
#}
#location / {
try_files $uri $uri/ /index.html;
#}
前端项目中的/api重写
location /api {
rewrite ^.+api/?(.*)$ /$1 break;
proxy_pass http://localhost:8899;
proxy_redirect off;
proxy_set_header Host $host;
proxy_set_header X-Real-IP $remote_addr;
proxy_set_header X-Forwarded-For $proxy_add_x_forwarded_for;
}
#error_page 404 /404.html;
redirect server error pages to the static page /50x.html
error_page 500 502 503 504 /50x.html;
location = /50x.html {
root html;
}
proxy the PHP scripts to Apache listening on 127.0.0.1:80
#location ~ .php$ {
proxy_pass http://127.0.0.1;
#}
pass the PHP scripts to FastCGI server listening on 127.0.0.1:9000
#location ~ .php$ {
root html;
fastcgi_pass 127.0.0.1:9000;
fastcgi_index index.php;
fastcgi_param SCRIPT_FILENAME /scripts$fastcgi_script_name;
include fastcgi_params;
#}
deny access to .htaccess files, if Apache’s document root
concurs with nginx’s one
#location ~ /.ht {
deny all;
#}
}
another virtual host using mix of IP-, name-, and port-based configuration
#server {
listen 8000;
listen somename:8080;
server_name somename alias another.alias;
location / {
root html;
index index.html index.htm;
}
#}
HTTPS server
#server {
listen 443 ssl;
server_name localhost;
ssl_certificate cert.pem;
ssl_certificate_key cert.key;
ssl_session_cache shared:SSL:1m;
ssl_session_timeout 5m;
ssl_ciphers HIGH:!aNULL:!MD5;
ssl_prefer_server_ciphers on;
location / {
root html;
index index.html index.htm;
}
#}
include servers/*;
}
======================================================================
在本机运行后台项目(我这里的是SpringBoot项目)。
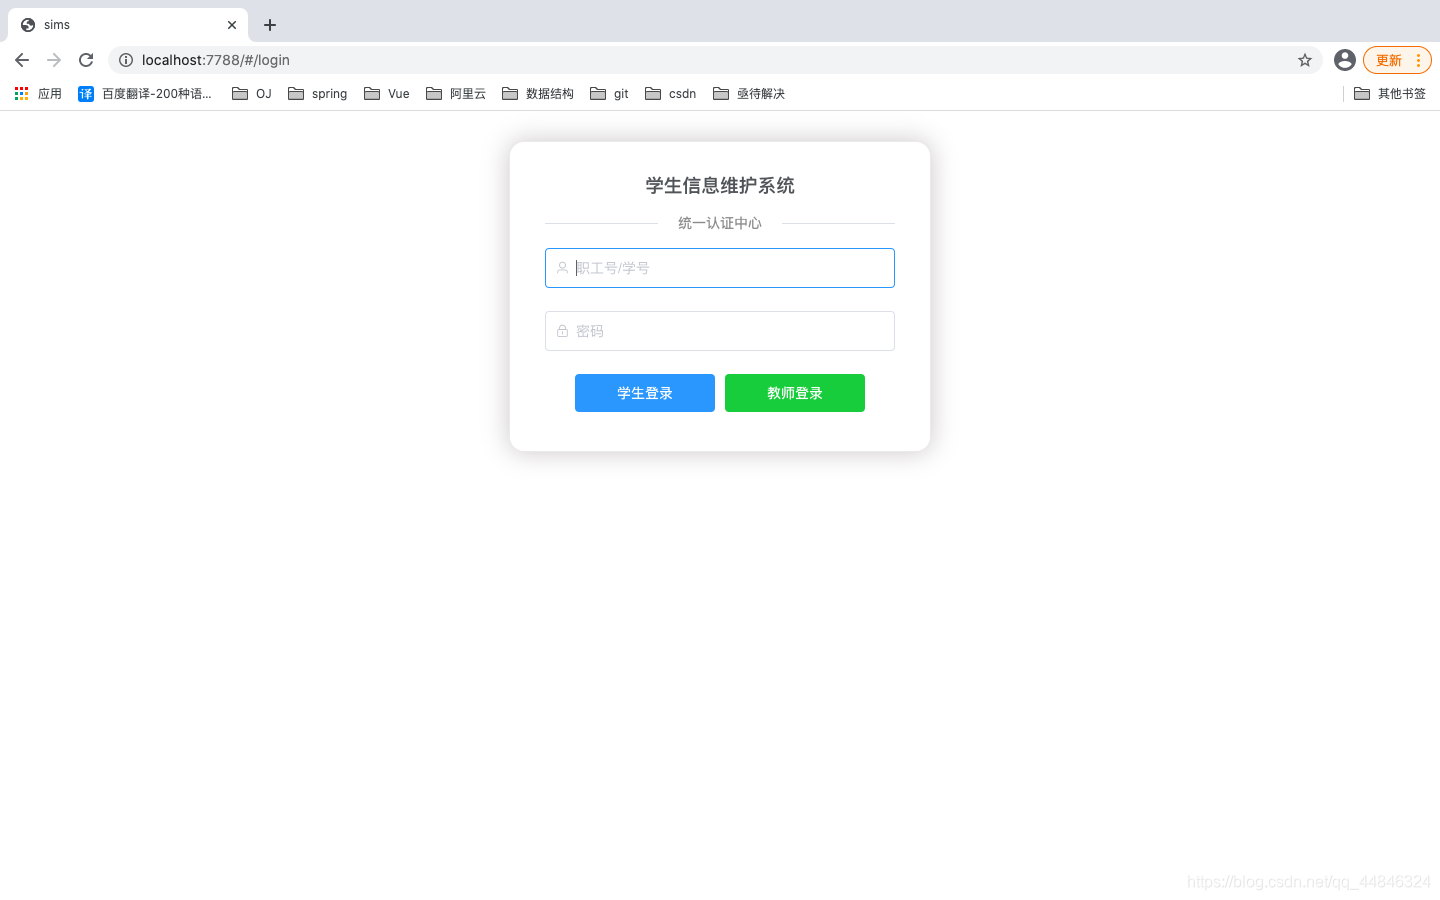
然后在浏览器上访问,注意是serve_name 和 端口号都是在 上面的 配置文件里面的,而不是后
端的端口号,这就实现了真正服务地址的隐藏,这也正是所谓的反向代理!
访问成功!
最后
开源分享:【大厂前端面试题解析+核心总结学习笔记+真实项目实战+最新讲解视频】
最后写上我自己一直喜欢的一句名言:
世界上只有一种真正的英雄主义就是在认清生活真相之后仍然热爱它


 966
966

 被折叠的 条评论
为什么被折叠?
被折叠的 条评论
为什么被折叠?
 到【灌水乐园】发言


