


getItem
为了方便看的更加清晰,还是每篇都贴一下 getItem 的代码,大多都相同,可能变化较大的 Widget 为了效果略微有些不同
/// 获取子项目(这类使用了选择参数)
Widget getItem(String index,
{double? width = 60, double? height = 60, Color color = Colors.orange}) {
return Container(
// 宽高设置 60
width: width,
height: height,
// 设置背景色
color: color,
// 设置间隙
margin: EdgeInsets.all(2),
// 设置子项居中
alignment: Alignment.center,
// 设置子项
child: Text(‘$index’),
);
}
Positioned(定位组件)
上面展示的一种方式中,我们用到了 left、top、right、bottom 4 个定位属性,我们看看源码,其实还有 width、height 属性
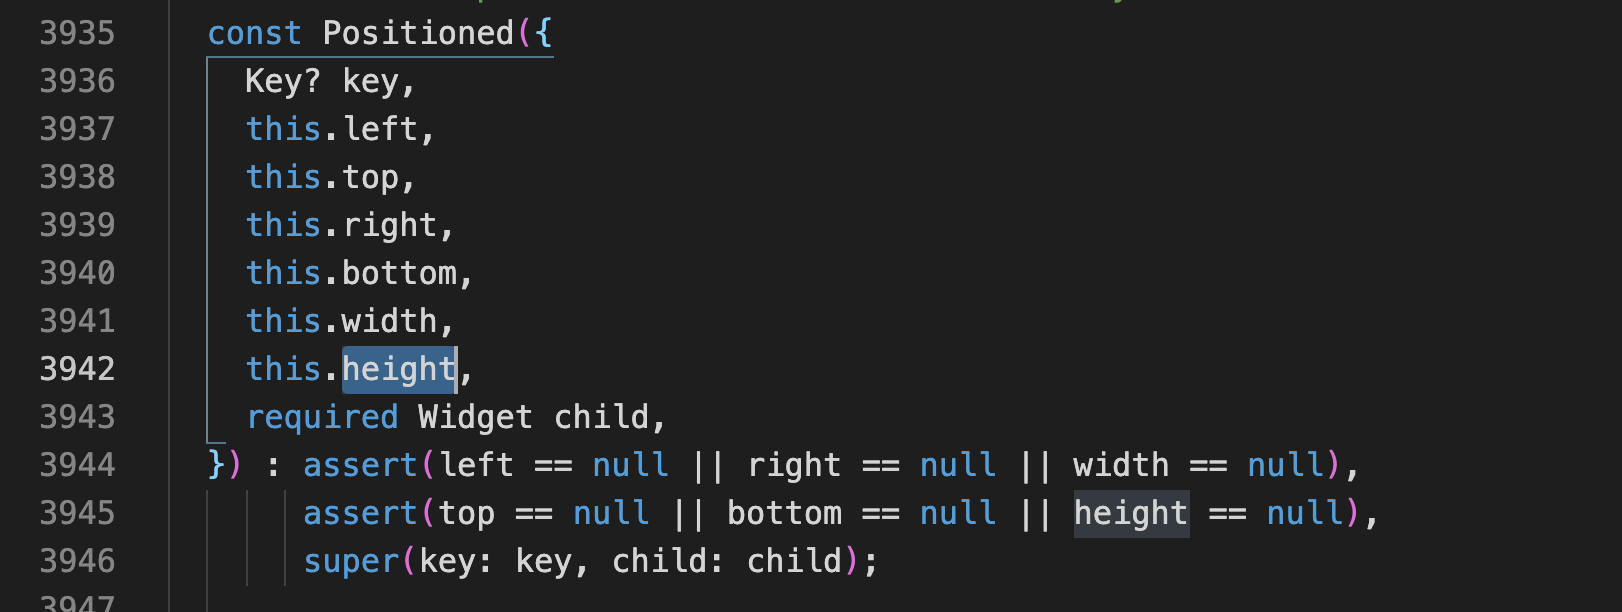
而且这里断言设置了left、right、width 或 top、bottom、height 三个属性必须有 1 个为空,接下来我们会聊到为什么。
单属性
BgContainer(
child: Stack(
alignment: Alignment.center,
// 设置填充方式展接受父类约束最大值
fit: StackFit.expand,
children: [
Positioned(
left: 10,
child: getItem(‘left 10’),
),
Positioned(
right: 10,
child: getItem(‘right 10’),
),
Positioned(
width: 80,
child: getItem(‘width 80’),
),
Positioned(
top: 10,
child: getItem(‘top 10’),
),
Positioned(
bottom: 10,
child: getItem(‘bottom 10’),
),
Positioned(
height: 80,
child: getItem(‘height 80’),
),
],
),
)
| left、right、width | top、bottom、height |
|---|---|
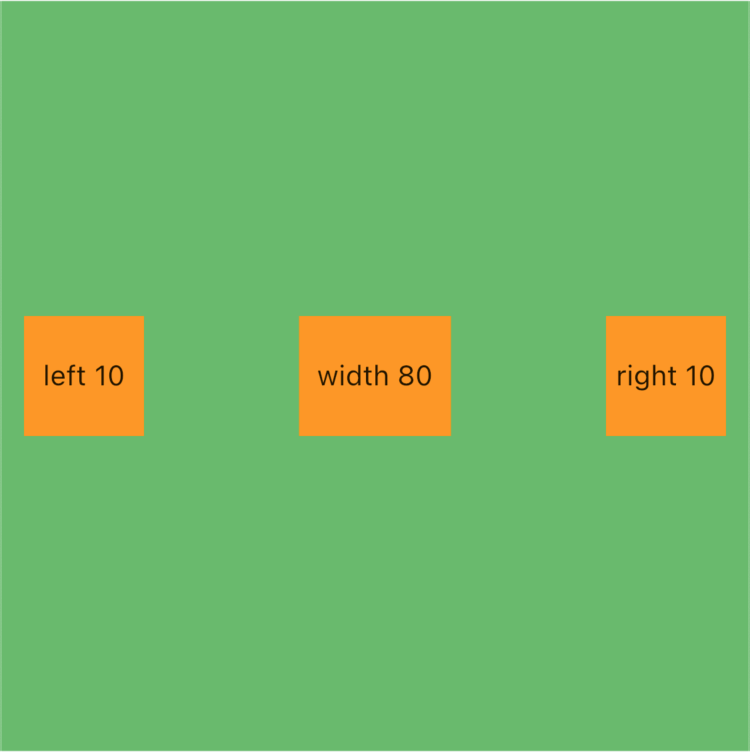 | 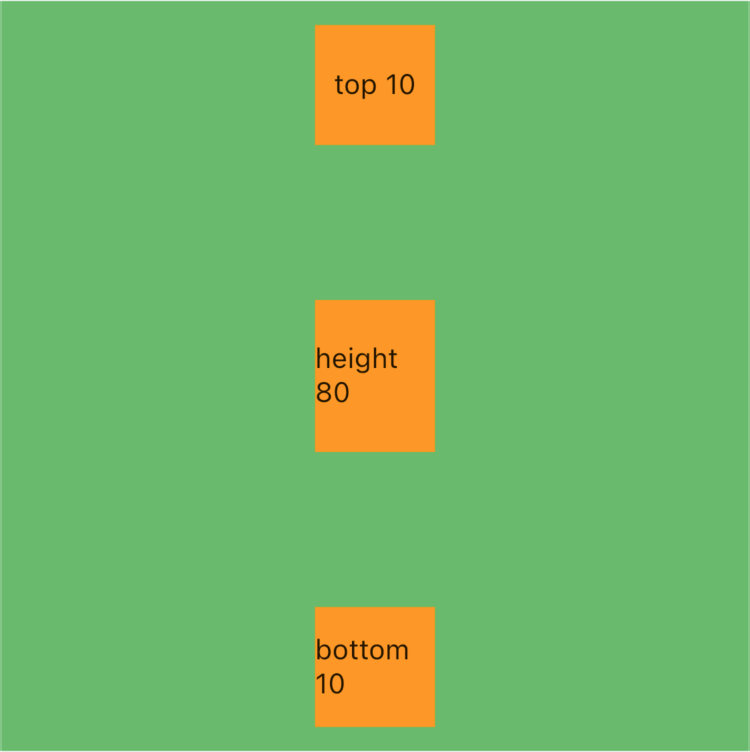 |
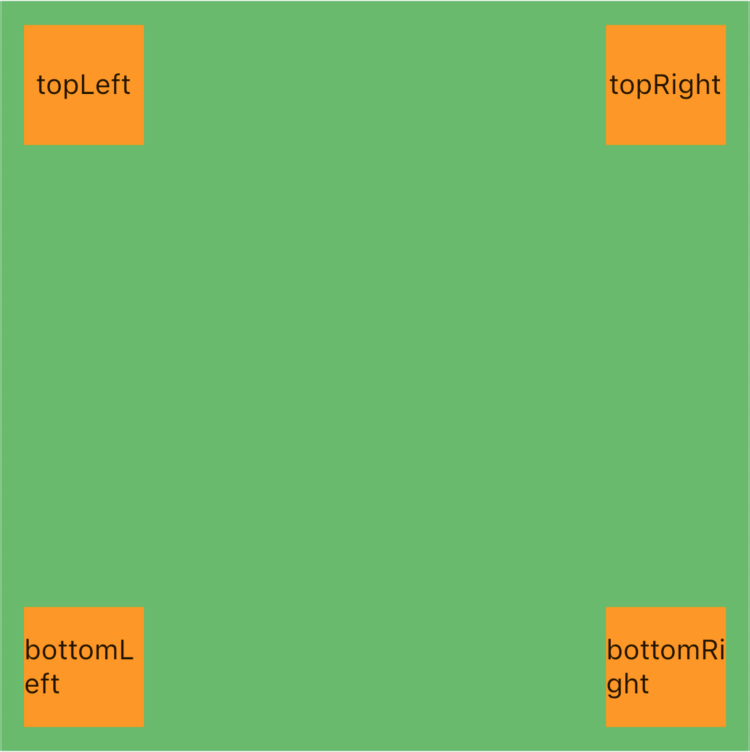
组合属性
- topLeft、topRight、bottomLeft、bottomRight
BgContainer(
child: Stack(
alignment: Alignment.center,
// 设置填充方式展接受父类约束最大值
fit: StackFit.expand,
children: [
Positioned(
top: 10,
left: 10,
child: getItem(‘topLeft’),
),
Positioned(
top: 10,
right: 10,
child: getItem(‘topRight’),
),
Positioned(
bottom: 10,
left: 10,
child: getItem(‘bottomLeft’),
),
Positioned(
bottom: 10,
right: 10,
child: getItem(‘bottomRight’),
),
],
),
)
- 如果我们将
left和right一起使用呢?
BgContainer(
child: Stack(
alignment: Alignment.center,
// 设置填充方式展接受父类约束最大值
fit: StackFit.expand,
children: [
Positioned(
left: 10,
right: 10,
child: getItem(‘leftRight’),
),
Positioned(
top: 10,
bottom: 10,
child: getItem(‘topBottom’),
),
],
),
)
| leftRight | topBottom |
|---|---|
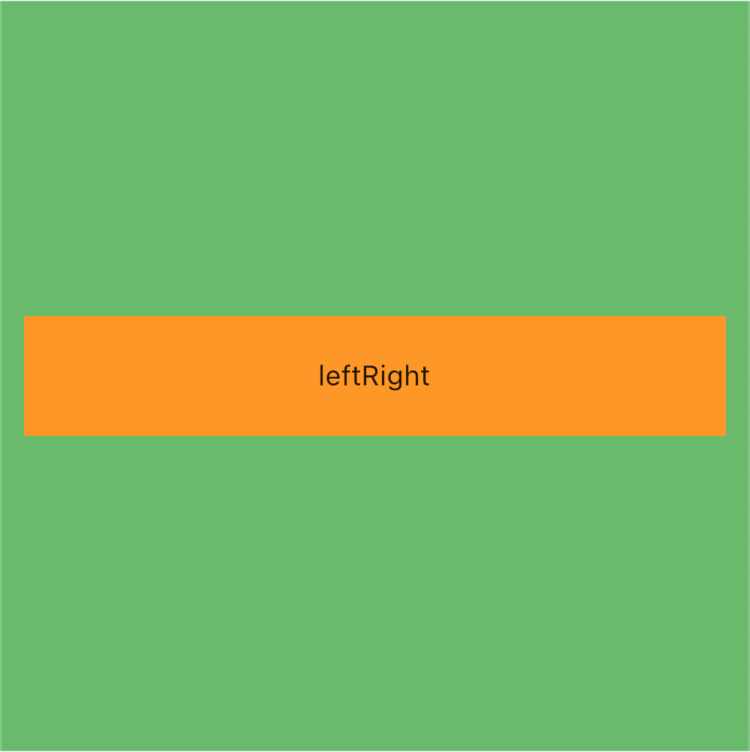 | 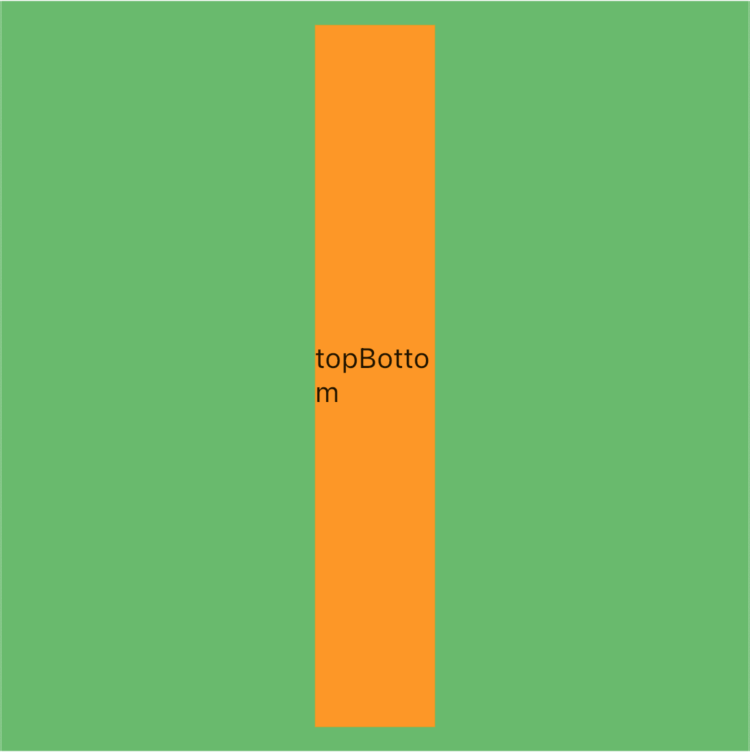 |
- 如果我们将
left或right与width组合呢?
BgContainer(
child: Stack(
alignment: Alignment.center,
// 设置填充方式展接受父类约束最大值
fit: StackFit.expand,
children: [
Positioned(
left: 10,
width: 100,
child: getItem(‘leftWidth 100’),
),
Positioned(
right: 10,
width: 100,
child: getItem(‘RightWidth 100’),
),
Positioned(
top: 10,
height: 100,
child: getItem(‘topHeight 100’),
),
Positioned(
bottom: 10,
height: 100,
child: getItem(‘bottomHeight 100’),
),
],
),
)
| (left | right) & width | (top | bottom) & height | | :—: | :—: | | 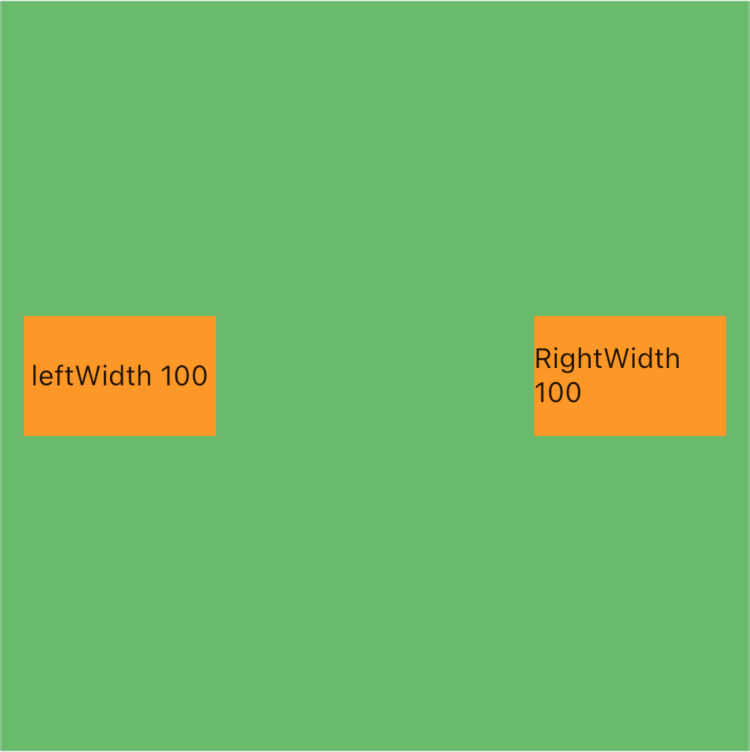 |
| 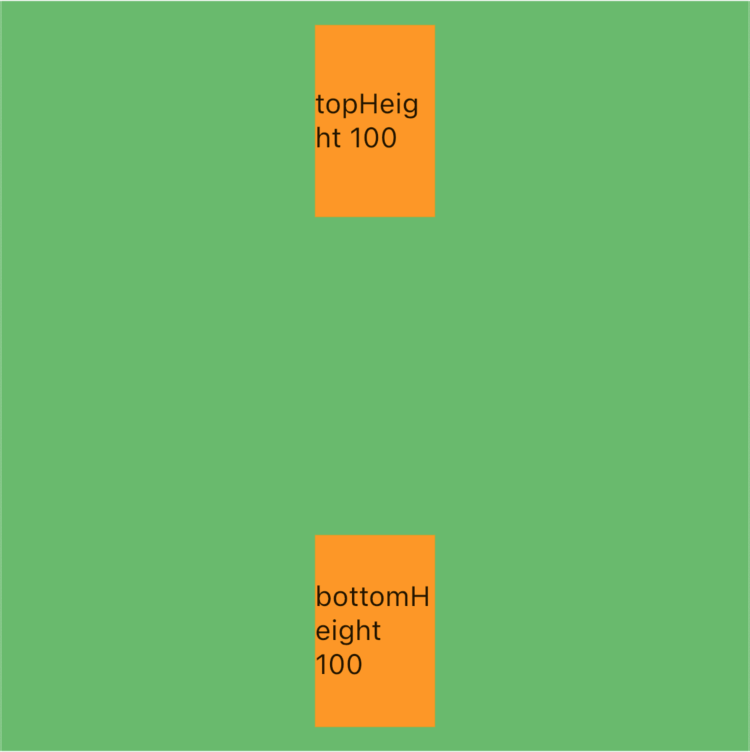 |
|
- 如果同纬度 3 个属性组合呢?
BgContainer(
child: Stack(
alignment: Alignment.center,
// 设置填充方式展接受父类约束最大值
fit: StackFit.expand,
children: [
Positioned(
left: 10,
right: 10,
width: 100,
child: getItem(‘leftRightWidth 100’),
)
],
),
)
那肯定是报错啦,刚才看源码的时候已经看到断言说不能这样写啦,因为
left和right 可以确定一个宽度,再设置一个宽度就冲突了
- 如果不同维度 3 个属性组合呢?
// bottomLeftWidth 100
Positioned(
left: 10,
bottom: 10,
width: 100,
child: getItem(‘bottomLeftWidth 100’),
),
// rightTopBottom
Positioned(
right: 10,
top: 10,
bottom: 10,
child: getItem(‘rightTopBottom’),
)
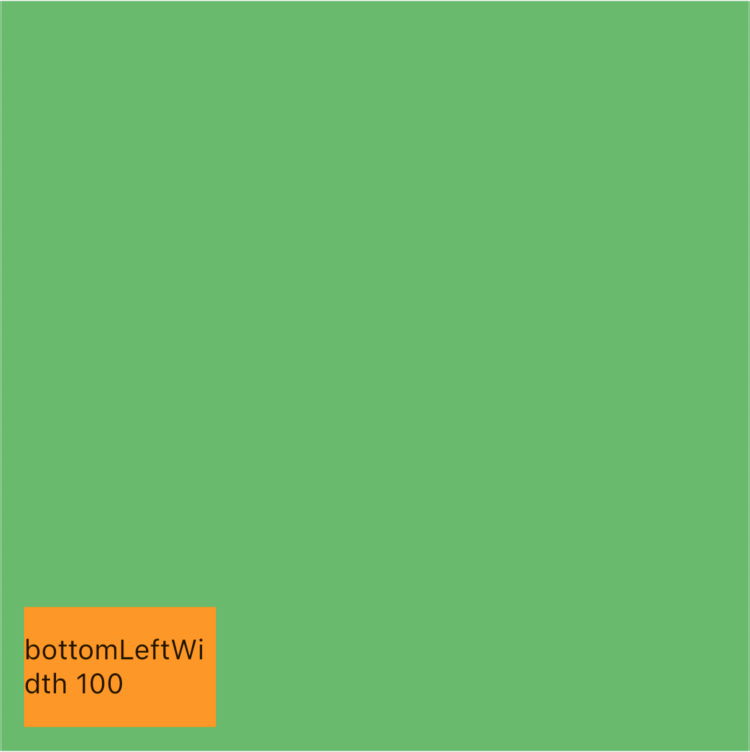
| bottomLeftWidth 100 | rightTopBottom |
|---|---|
 | 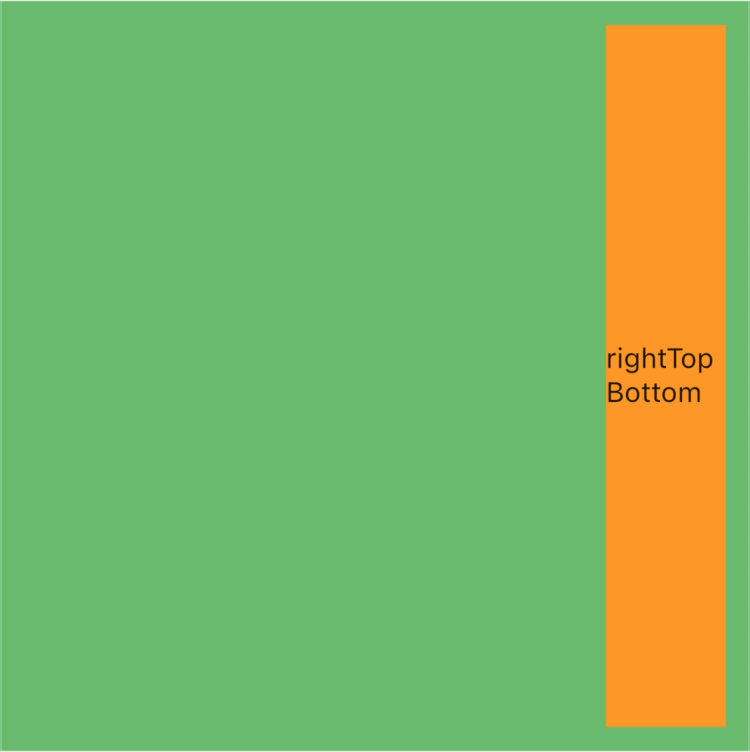 |
只要是不同维度的随便你怎么组合?
小总结
到这里我们基本对 Positioned 基本的使用就全部聊完了,Positioned 可以对当个子项目进行设置定位和宽高,达到更加精准的参数调配。
Align(对齐)
其实实现我们开头的效果还有更加简单一点的方式,就是使用 Align 进行子项的设置
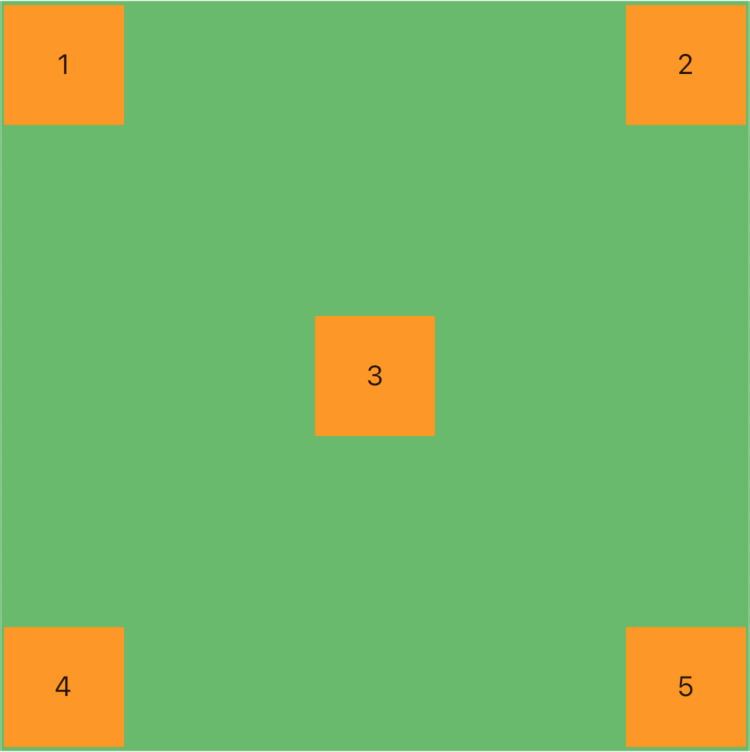
BgContainer(
child: Stack(
alignment: Alignment.center,
// 设置填充方式展接受父类约束最大值
fit: StackFit.expand,
children: [
Align(
child: getItem(‘5’),
//对齐到右下角
alignment: Alignment.bottomRight,
),
Align(
child: getItem(‘4’),
//对齐到左下角
alignment: Alignment.bottomLeft,
最后
自我介绍一下,小编13年上海交大毕业,曾经在小公司待过,也去过华为、OPPO等大厂,18年进入阿里一直到现在。
深知大多数初中级Android工程师,想要提升技能,往往是自己摸索成长,自己不成体系的自学效果低效漫长且无助。
因此我收集整理了一份《2024年Android移动开发全套学习资料》,初衷也很简单,就是希望能够帮助到想自学提升又不知道该从何学起的朋友,同时减轻大家的负担。
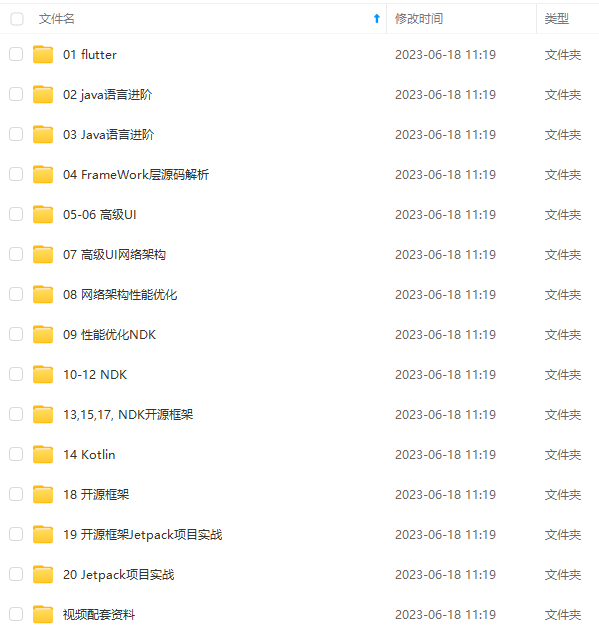
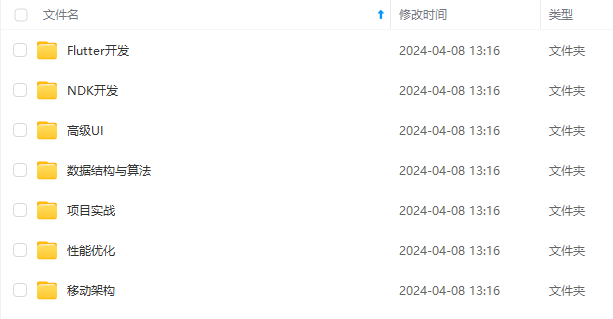
既有适合小白学习的零基础资料,也有适合3年以上经验的小伙伴深入学习提升的进阶课程,基本涵盖了95%以上Android开发知识点!不论你是刚入门Android开发的新手,还是希望在技术上不断提升的资深开发者,这些资料都将为你打开新的学习之门
如果你觉得这些内容对你有帮助,需要这份全套学习资料的朋友可以戳我获取!!
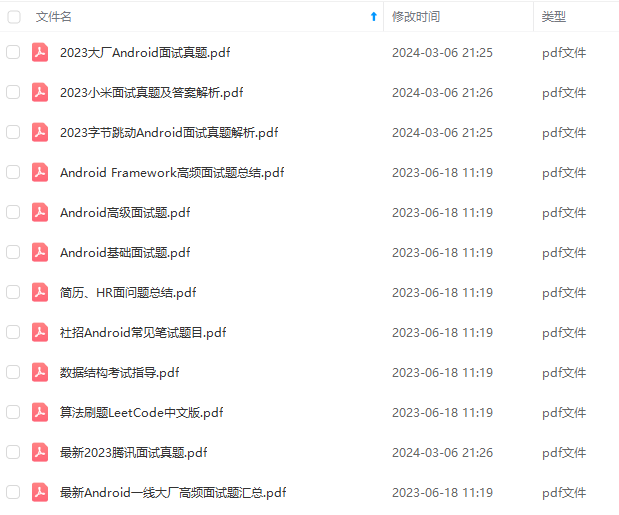
由于文件比较大,这里只是将部分目录截图出来,每个节点里面都包含大厂面经、学习笔记、源码讲义、实战项目、讲解视频,并且会持续更新!
白学习的零基础资料,也有适合3年以上经验的小伙伴深入学习提升的进阶课程,基本涵盖了95%以上Android开发知识点!不论你是刚入门Android开发的新手,还是希望在技术上不断提升的资深开发者,这些资料都将为你打开新的学习之门**
如果你觉得这些内容对你有帮助,需要这份全套学习资料的朋友可以戳我获取!!
由于文件比较大,这里只是将部分目录截图出来,每个节点里面都包含大厂面经、学习笔记、源码讲义、实战项目、讲解视频,并且会持续更新!


 836
836


 被折叠的 条评论
为什么被折叠?
被折叠的 条评论
为什么被折叠?
 到【灌水乐园】发言


