


*/
public static Message obtain() {
synchronized (sPoolSync) {
// 缓存池中存在可用对象时去缓存池获取 Message 对象。
if (sPool != null) {
// 获取缓存中的对象,并把缓存池指针后移。
Message m = sPool;
sPool = m.next;
m.next = null;
// 清除标志位
m.flags = 0; // clear in-use flag
// 更新当前缓存池大小
sPoolSize–;
return m;
}
}
// 缓存池中没有可用对象时直接创建一个新的 Message 对象。
return new Message();
}
Message中有一系列obtain函数用以在不同场景中获取对象,但这个是最核心的,其他函数都会在其内部调用它,有兴趣的同学可以自行查看源码,考虑到篇幅问题,这里就不再一一列举说明了。
看到这里,相信大家都会有一个疑问:obtain函数是从缓存池中获取Message对象,那缓存池中的对象是什么时候被添加进去的呢?既然缓存池中的对象都是一些可以被重复使用的对象,很明显是在Message对象不再被需要的时候,即从MessageQueue中取出并分发给Handler的时候,被添加到缓存中的,使用的是recycleUnchecked函数:
/**
-
Recycles a Message that may be in-use.
-
Used internally by the MessageQueue and Looper when disposing of queued Messages.
*/
void recycleUnchecked() {
// 设置标志位为“使用中”,在从缓存中取出时会清除这个标志位。
flags = FLAG_IN_USE;
// Message 对象中的信息都不再有意义,在放入缓存池前直接清空。
what = 0;
arg1 = 0;
arg2 = 0;
obj = null;
replyTo = null;
sendingUid = -1;
when = 0;
target = null;
callback = null;
data = null;
synchronized (sPoolSync) {
// 缓存池中只缓存一定数量的 Message 对象,默认是 50 个。
if (sPoolSize < MAX_POOL_SIZE) {
// 把对象放在缓存池的链表首部。
next = sPool;
sPool = this;
// 及时更新缓存池大小。
sPoolSize++;
}
}
}
3.2 创建消息队列
消息队列的创建对消息传递至关重要,它决定了消息在传递过程中的存取方式。但是线程在默认情况下是没有消息队列的,也无法在其内部进行消息循环。如果想为线程开启消息循环就需要使用到Looper类,它可以为关联的线程创建消息队列并开启消息循环,创建消息队列的方式是调用prepare()接口:
/**
-
Class used to run a message loop for a thread. Threads by default do
-
not have a message loop associated with them; to create one, call
-
{@link #prepare} in the thread that is to run the loop, and then
-
{@link #loop} to have it process messages until the loop is stopped.
*/
public final class Looper {
// 省略无关代码
// sThreadLocal.get() will return null unless you’ve called prepare().
static final ThreadLocal sThreadLocal = new ThreadLocal();
// 内部的消息队列和关联的线程
final MessageQueue mQueue;
final Thread mThread;
// 省略无关代码
/** Initialize the current thread as a looper.
-
This gives you a chance to create handlers that then reference
-
this looper, before actually starting the loop. Be sure to call
-
{@link #loop()} after calling this method, and end it by calling
-
{@link #quit()}.
*/
public static void prepare() {
// 创建可退出的消息循环,主线程的消息循环是不可退出的。
prepare(true);
}
private static void prepare(boolean quitAllowed) {
// 如果当前线程已经有了 Looper 对象就直接抛出异常,
// 因为一个线程只能有一个消息队列。
if (sThreadLocal.get() != null) {
throw new RuntimeException(“Only one Looper may be created per thread”);
}
// 创建 Looper 对象并和线程关联。
sThreadLocal.set(new Looper(quitAllowed));
}
// 私有构造函数,创建消息队列并获取当前线程对象。
private Looper(boolean quitAllowed) {
mQueue = new MessageQueue(quitAllowed);
mThread = Thread.currentThread();
}
可以看到Looper.prepare()只是在内部创建了一个MessageQueue对象并和当前线程关联起来,同时还保证了每个线程只能有一个消息队列。
很显然MessageQueue就是用来存储消息对象的结构了,看下它的声明:
/**
-
Low-level class holding the list of messages to be dispatched by a
-
{@link Looper}. Messages are not added directly to a MessageQueue,
-
but rather through {@link Handler} objects associated with the Looper.
-
You can retrieve the MessageQueue for the current thread with
-
{@link Looper#myQueue() Looper.myQueue()}.
*/
public final class MessageQueue { … }
MessageQueue是一个持有消息对象列表的类,而这些消息对象通过和Looper关联的Handler添加并最终由Looper进行分发,其中有个关键信息需要引起我们的格外关注:list of messages,这是不是告诉我们虽然这个类的名字是queue但是其内部并不是队列而是列表呢?确实如此,MessageQueue的内部是使用单向链表的方法进行存取的,这点在后面解析Message的存取过程中会看到,在这里就不详细讲述了。
3.3 开启消息循环
“消息队列”创建完成了,是不是就可以直接向其中添加消息对象了呢?还不到时候,还需要先开启消息循环,来监听消息队列的情况,这时需要使用Looper.loop()接口:
/**
-
Run the message queue in this thread. Be sure to call
-
{@link #quit()} to end the loop.
*/
public static void loop() {
// 获取当前线程的 Looper 对象,获取失败时抛出异常。
final Looper me = myLooper();
if (me == null) {
throw new RuntimeException(“No Looper; Looper.prepare() wasn’t called on this thread.”);
}
// 获取当前线程的消息队列。
final MessageQueue queue = me.mQueue;
// 省略无关代码
// 开启一个无限循环来监听消息队列的情况
for (;😉 {
// 获取消息队列中的消息对象,如果没有消息对象就阻塞等待。
Message msg = queue.next(); // might block
if (msg == null) {
// 消息队列正在退出时就终止监听并退出循环
return;
}
// 省略无关代码
try {
// 分发消息,把消息发送合适的处理对象。
msg.target.dispatchMessage(msg);
dispatchEnd = needEndTime ? SystemClock.uptimeMillis() : 0;
} finally {
if (traceTag != 0) {
Trace.traceEnd(traceTag);
}
}
// 省略无关代码
// 回收消息对象,放入消息缓存池中以待后续复用。
msg.recycleUnchecked();
}
}
这段代码本身比较复杂,我省略了其中和核心逻辑无关的部分代码,以方便大家阅读和理解,其核心逻辑就是利用一个“无限循环”来监听消息队列,当发现有可用消息就取出并分发处理,如果没有就一直等待。
3.4 发送和存储消息
“消息队列”已经创建完成,“消息循环”也已经开启,终于可用发送消息了。
要发送消息,就要使用到Handler类了,其中的send和post系列方法都可以进行“消息的发送”,核心方法都是一样的,在这里就以post方法来讲解下发送消息的过程:
/**
-
Causes the Runnable r to be added to the message queue.
-
The runnable will be run on the thread to which this handler is
-
attached.
-
@param r The Runnable that will be executed.
-
@return Returns true if the Runnable was successfully placed in to the
-
message queue. Returns false on failure, usually because the -
looper processing the message queue is exiting.
*/
public final boolean post(Runnable r) {
return sendMessageDelayed(getPostMessage®, 0);
}
private static Message getPostMessage(Runnable r) {
// 把 Runnable 对象封装成 Message 并设置 callback,
// 这个 callback 会在后面消息的分发处理中起到作用。
Message m = Message.obtain();
m.callback = r;
return m;
}
public final boolean sendMessageDelayed(Message msg, long delayMillis) {
if (delayMillis < 0) {
delayMillis = 0;
}
// 把延迟时间转换为绝对时间,方便后续执行。
return sendMessageAtTime(msg, SystemClock.uptimeMillis() + delayMillis);
}
public boolean sendMessageAtTime(Message msg, long uptimeMillis) {
// 消息队列,即通过 Looper.prepare() 创建的消息队列。
MessageQueue queue = mQueue;
if (queue == null) {
RuntimeException e = new RuntimeException(
this + " sendMessageAtTime() called with no mQueue");
Log.w(“Looper”, e.getMessage(), e);
return false;
}
// 把消息添加到消息队列
return enqueueMessage(queue, msg, uptimeMillis);
}
private boolean enqueueMessage(MessageQueue queue, Message msg, long uptimeMillis) {
// 设置消息队列的目标,用于后续的消息分发过程。
msg.target = this;
if (mAsynchronous) {
msg.setAsynchronous(true);
}
// 消息对象入队
return queue.enqueueMessage(msg, uptimeMillis);
}
通过一系列的调用过程,Handler最终会通过 MessageQueue.enqueueMessage()把消息存储到消息队列中,MessageQueue内部又是如何存储这个发送过来的消息对象的呢?
boolean enqueueMessage(Message msg, long when) {
// 消息对象的目标是 null 时直接抛出异常,因为这意味这个消息无法进行分发处理,
// 是不合法的消息对象。
if (msg.target == null) {
throw new IllegalArgumentException(“Message must have a target.”);
}
// 消息正在使用时抛出异常,消息不能并发使用。
if (msg.isInUse()) {
throw new IllegalStateException(msg + " This message is already in use.");
}
synchronized (this) {
// 正在退出消息循环时,回收消息对象。
if (mQuitting) {
IllegalStateException e = new IllegalStateException(
msg.target + " sending message to a Handler on a dead thread");
Log.w(TAG, e.getMessage(), e);
msg.recycle();
return false;
}
msg.markInUse();
msg.when = when;
Message p = mMessages;
boolean needWake;
// 把消息对象添加到消息队列的合适位置
if (p == null || when == 0 || when < p.when) {
// New head, wake up the event queue if blocked.
// 消息队列为空或者当前消息对象的时间最近,直接放在链表首部。
msg.next = p;
// 更新链表指针
mMessages = msg;
// 如果原来消息循环处于阻塞状态就重新唤醒
needWake = mBlocked;
} else {
// Inserted within the middle of the queue. Usually we don’t have to wake
// up the event queue unless there is a barrier at the head of the queue
// and the message is the earliest asynchronous message in the queue.
needWake = mBlocked && p.target == null && msg.isAsynchronous();
Message prev;
// 根据消息对象中的时间信息寻找合适的插入位置
for (;😉 {
prev = p;
p = p.next;
if (p == null || when < p.when) {
break;
}
if (needWake && p.isAsynchronous()) {
needWake = false;
}
}
// 找到合适位置后插入链表
msg.next = p; // invariant: p == prev.next
prev.next = msg;
}
// We can assume mPtr != 0 because mQuitting is false.
// 唤醒等待,这时消息循环可以继续获取消息了,之前有可能处于阻塞等待状态。
if (needWake) {
nativeWake(mPtr);
}
}
return true;
}
3.5 消息分发处理
当消息队列中有新的消息并且消息循环被唤醒后,消息队列中的消息就可以被取出并分发给合适的处理者了,这点可以在“开启消息循环”一节中看到,利用的是msg.target.dispatchMessage(msg),而target就是Handler对象,直接看具体的分发过程:
public void dispatchMessage(Message msg) {
// Message 对象是从 Runnable 封装形成的时候,callback 不为空。
if (msg.callback != null) {
handleCallback(msg);
} else {
// mCallback 是在 Handler 的构造函数中设置的,也可以不设置。
if (mCallback != null) {
// 调用 Handler 的 callback 处理消息
if (mCallback.handleMessage(msg)) {
// 可以拦截消息,之后 Handler.handleMessage 将无法继续处理这个消息。
return;
}
}
// 调用 Handler 的 handleMessage 处理消息,子类会实现这个方法。
handleMessage(msg);
}
}
private static void handleCallback(Message message) {
// Message 中的 callback 是 Runnable,直接执行 Runnable.run()。
message.callback.run();
}
/**
-
Callback interface you can use when instantiating a Handler to avoid
-
having to implement your own subclass of Handler.
*/
public interface Callback {
/**
-
@param msg A {@link android.os.Message Message} object
-
@return True if no further handling is desired
*/
// Handler 的回调方法,通过返回值可以进行消息拦截。
public boolean handleMessage(Message msg);
}
/**
- Subclasses must implement this to receive messages.
*/
// Handler 的处理消息回调,子类需要实现。
public void handleMessage(Message msg) {
}
消息的分发是有一定优先顺序的:
-
首先会考虑交给
Message.callback来处理,如果是通过post系列函数发送的消息会走到这里进行处理,而通过send系列函数发送的消息默认是没有这个回调接口的; -
如果
Message.callback不存在就考虑交给Handler.callback来处理,在处理过程中可以通过返回值拦截消息; -
如果
Handler.callback不存在或者存在但是在处理消息过程中没有进行拦截,就会交给Handler.handleMessage来处理,这个接口需要子类实现,也是在实际工作中最常用的处理消息的地方。
到这里,消息的传递过程就基本讲完了,大家可以结合之前的流程图仔细揣摩,相信可以对Android消息机制有更深刻的理解。
4.1 主线程消息循环的创建
前面讲到一个线程默认是没有消息队列的,也无法在其内部开启消息循环,但是我们在实际工作中经常会直接在主线程中使用Handler来进行消息的发送和处理,并且运行正常,这是因为主线程在启动的时候就已经创建了消息队列并开启了消息循环,只是这个过程是透明的,我们没有感知到。
了解Activity启动过程的同学应该已经想到了这个创建过程是在哪里了,没错,就是在ActivityThread,不了解启动过程的同学也不要担心,后续我会讲解具体的启动过程。在这里,大家只要简单地把ActivityThread当做Activity的启动入口即可,直接来看入口函数:
/**
-
This manages the execution of the main thread in an
-
application process, scheduling and executing activities,
-
broadcasts, and other operations on it as the activity
-
manager requests.
-
{@hide}
*/
public final class ActivityThread extends ClientTransactionHandler {
public static void main(String[] args) {
// 记录开始,用于后续通过 systrace 检查和调试性能问题。
Trace.traceBegin(Trace.TRACE_TAG_ACTIVITY_MANAGER, “ActivityThreadMain”);
// 省略无关代码
// 为主线程创建消息队列
Looper.prepareMainLooper();
// 省略无关代码
ActivityThread thread = new ActivityThread();
thread.attach(false, startSeq);
if (sMainThreadHandler == null) {
sMainThreadHandler = thread.getHandler();
}
if (false) {
Looper.myLooper().setMessageLogging(new
LogPrinter(Log.DEBUG, “ActivityThread”));
}
// 记录结束,后续可以通过 systrace 观察这段代码的执行情况。
// End of event ActivityThreadMain.
Trace.traceEnd(Trace.TRACE_TAG_ACTIVITY_MANAGER);
// 开启消息循环
Looper.loop();
// 主线程消息循环不会退出,如果走到这意味着发生意外,抛出异常。
throw new RuntimeException(“Main thread loop unexpectedly exited”);
}
}
代码结构和Android消息机制的通用示例很像,在里面看到了消息队列的创建和消息循环的开启,不同之处在于主线程中创建消息队列使用的是Looper.prepareMainLooper:
/**
-
Initialize the current thread as a looper, marking it as an
-
application’s main looper. The main looper for your application
-
is created by the Android environment, so you should never need
-
to call this function yourself. See also: {@link #prepare()}
*/
public static void prepareMainLooper() {
// 启动一个无法退出的消息循环
prepare(false);
synchronized (Looper.class) {
if (sMainLooper != null) {
throw new IllegalStateException(“The main Looper has already been prepared.”);
}
// 返回主线程 looper 对象
sMainLooper = myLooper();
}
}
为主线程创建的消息循环是无法退出的,因为这个消息循环要处理很多重要事务,比如Activity生命周期的回调等,如果退出将导致异常,这点在后续讲解Activity启动过程的时候再详细解析。
4.2 内存泄露
Java垃圾回收机制对于每个从事Java的开发者应该都不陌生,我们也清楚并不是所有对象占用的内存都可以被及时回收,如果垃圾回收器准备回收某些对象,但是由于它们还被其他对象引用,那么这些对象就无法被回收,这也是内存泄漏的主要原因。
使用Android消息机制时会不会导致内存泄漏呢?首先来看一种常见的使用方法:
public class MainActivity extends Activity {
private TextView mTextView = null;
private Handler mMyHandler = null;
@Override
protected void onCreate(Bundle savedInstanceState) {
super.onCreate(savedInstanceState);
setContentView(R.layout.activity_main);
// 初始化控件
mTextView = (TextView) findViewById(R.id.sample_text);
// 初始化 Handler 对象
mMyHandler = new MyHandler();
// 启动一个延迟消息,在 3000ms 后有 mMyHandler 执行。
mMyHandler.sendEmptyMessageDelayed(0, 3000);
}
private class MyHandler extends Handler {
@Override
public void handleMessage(Message msg) {
// 执行消息,更新主线程中的控件。
if (mTextView != null) {
mTextView.setText(“execute message”);
}
}
};
@Override
public void onDestroy() {
super.onDestroy();
}
}
在这个示例中,MyHandler是以Activity内部类的形式存在的,所以mMyHandler是需要持有外部类对象引用的,而mMyHandler又被其发送的Message对象以target的方式引用,最终的结果就是Activity间接被Message引用。由于这个Message需要在一定的延迟后被执行,如果在这之前Activity退出,但是由于其引用被Message持有,导致无法被系统回收,进而导致内存泄露。
既然Activity被Message引用导致内存泄露,那有没有办法不让其持有引用呢?当然可以,使用“静态内部类”就可以避免这种情况,因为“静态内部类”不需要持有外部类对象的引用,来看示例代码:
public class MainActivity extends Activity {
private TextView mTextView = null;
private Handler mMyHandler = null;
@Override
protected void onCreate(Bundle savedInstanceState) {
super.onCreate(savedInstanceState);
setContentView(R.layout.activity_main);
mTextView = (TextView) findViewById(R.id.sample_text);
// 初始化 Handler 对象,并把主线程控件作为参数传入。
mMyHandler = new MyHandler(mTextView);
// 启动一个延迟消息,在 3000ms 后有 mMyHandler 执行。
mMyHandler.sendEmptyMessageDelayed(0, 3000);
}
最后
自我介绍一下,小编13年上海交大毕业,曾经在小公司待过,也去过华为、OPPO等大厂,18年进入阿里一直到现在。
深知大多数初中级Android工程师,想要提升技能,往往是自己摸索成长,自己不成体系的自学效果低效漫长且无助。
因此我收集整理了一份《2024年Android移动开发全套学习资料》,初衷也很简单,就是希望能够帮助到想自学提升又不知道该从何学起的朋友,同时减轻大家的负担。
既有适合小白学习的零基础资料,也有适合3年以上经验的小伙伴深入学习提升的进阶课程,基本涵盖了95%以上Android开发知识点!不论你是刚入门Android开发的新手,还是希望在技术上不断提升的资深开发者,这些资料都将为你打开新的学习之门
如果你觉得这些内容对你有帮助,需要这份全套学习资料的朋友可以戳我获取!!
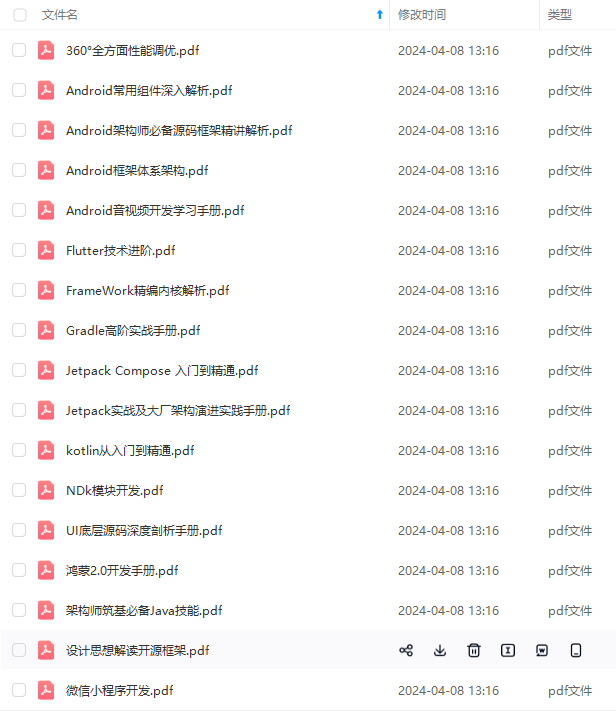
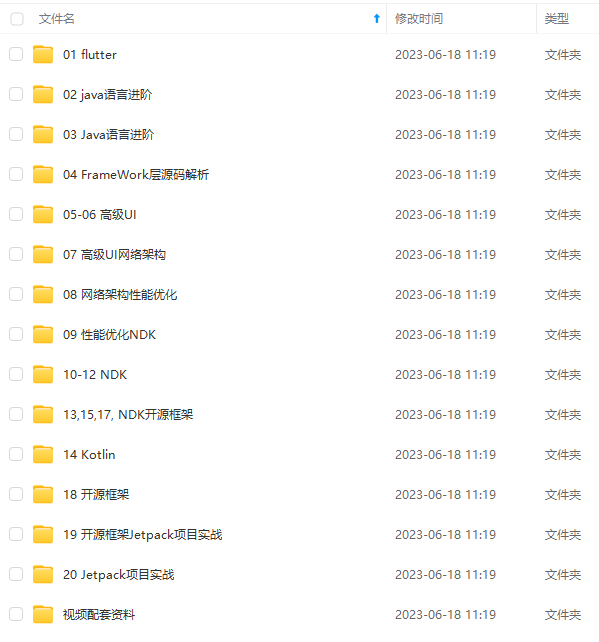
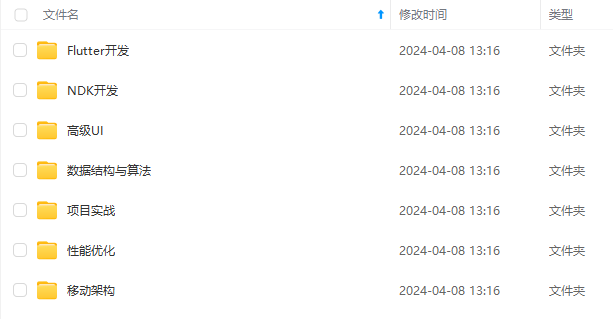
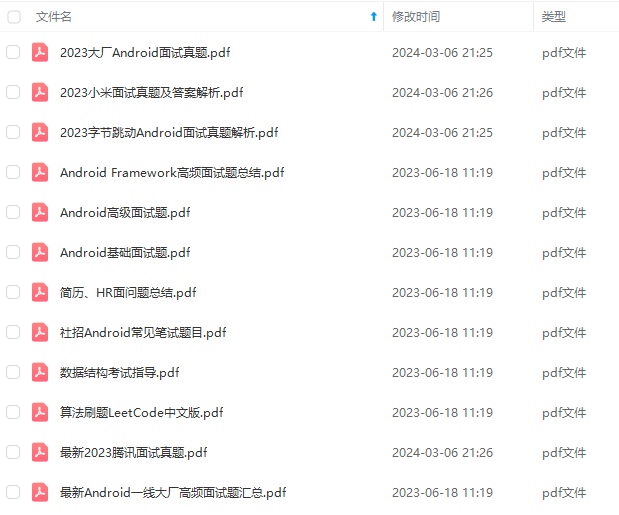
由于文件比较大,这里只是将部分目录截图出来,每个节点里面都包含大厂面经、学习笔记、源码讲义、实战项目、讲解视频,并且会持续更新!
tected void onCreate(Bundle savedInstanceState) {
super.onCreate(savedInstanceState);
setContentView(R.layout.activity_main);
mTextView = (TextView) findViewById(R.id.sample_text);
// 初始化 Handler 对象,并把主线程控件作为参数传入。
mMyHandler = new MyHandler(mTextView);
// 启动一个延迟消息,在 3000ms 后有 mMyHandler 执行。
mMyHandler.sendEmptyMessageDelayed(0, 3000);
}
最后
自我介绍一下,小编13年上海交大毕业,曾经在小公司待过,也去过华为、OPPO等大厂,18年进入阿里一直到现在。
深知大多数初中级Android工程师,想要提升技能,往往是自己摸索成长,自己不成体系的自学效果低效漫长且无助。
因此我收集整理了一份《2024年Android移动开发全套学习资料》,初衷也很简单,就是希望能够帮助到想自学提升又不知道该从何学起的朋友,同时减轻大家的负担。
[外链图片转存中…(img-cvy7kgni-1715893762106)]
[外链图片转存中…(img-w2LGwosT-1715893762107)]
[外链图片转存中…(img-m3gPTnw1-1715893762108)]
[外链图片转存中…(img-bhcfEvgU-1715893762109)]
既有适合小白学习的零基础资料,也有适合3年以上经验的小伙伴深入学习提升的进阶课程,基本涵盖了95%以上Android开发知识点!不论你是刚入门Android开发的新手,还是希望在技术上不断提升的资深开发者,这些资料都将为你打开新的学习之门
如果你觉得这些内容对你有帮助,需要这份全套学习资料的朋友可以戳我获取!!
由于文件比较大,这里只是将部分目录截图出来,每个节点里面都包含大厂面经、学习笔记、源码讲义、实战项目、讲解视频,并且会持续更新!


 374
374

 被折叠的 条评论
为什么被折叠?
被折叠的 条评论
为什么被折叠?
 到【灌水乐园】发言


