
网上学习资料一大堆,但如果学到的知识不成体系,遇到问题时只是浅尝辄止,不再深入研究,那么很难做到真正的技术提升。
一个人可以走的很快,但一群人才能走的更远!不论你是正从事IT行业的老鸟或是对IT行业感兴趣的新人,都欢迎加入我们的的圈子(技术交流、学习资源、职场吐槽、大厂内推、面试辅导),让我们一起学习成长!
调用Google官方API,使用Google账号登录个人搭建的网站。
一、配置工作
1.参考《两种方式使用Gmail发送邮件:OAuth2.0或应用专用密码》先后创建Project、OAuth同意屏幕以及OAuth 2.0 Client ID,但Client的应用类型选择Web application

2.在Authorized JavaScript origins添加两个URI: http://localhost 和 http://localhost:7777

注: 生产环境中需要添加https协议的真实域名以及端口号,如需Authorized redirect URIs自行添加。
3.后续开发Web应用只需要用到这个Client的ID

二、示例教程
1.配置环境: 基于Python3.8创建一个虚拟环境并安装以下依赖
pip install flask==3.0.2
2.编写index.html: 将html放在templates文件夹下,并将其中的client_id修改为真实的ID
<!DOCTYPE html>
<html>
<head>
<title>WEB</title>
<script src="https://accounts.google.com/gsi/client" async></script>
</head>
<body>
<span id="blank\_zone" style="display: flex; justify-content: center; align-items: center; height: 25vh;"></span>
<span id="prompt" style="display: flex; justify-content: center; align-items: center;">
Please sign in with Google:
</span>
<br/>
<div id="login\_zone" style="display: flex; justify-content: center; align-items: center;">
<div id="g\_id\_onload"
data-client\_id="client\_id"
data-context="signin"
data-ux\_mode="popup"
data-auto\_prompt="false"
data-callback="onLoginCallback">
</div>
<div class="g\_id\_signin"
data-type="standard"
data-shape="pill"
data-theme="filled\_blue"
data-text="signin\_with"
data-size="large"
data-logo\_alignment="left">
</div>
</div>
<span id="user\_info" style="display: flex; justify-content: center; white-space: pre-line;"></span>
<script>
function onLoginCallback(response) {
var credential = response.credential,
sub\_credential = credential.split(".")[1].replace(/-/g, "+").replace(/\_/g, "/"),
profile = JSON.parse(decodeURIComponent(escape(window.atob(sub\_credential)))),
target = document.getElementById("user\_info"),
html = "";
html += "ID: " + profile.sub + "\n";
html += "Name: " + profile.name + "\n";
html += "Email: " + profile.email + "\n";
target.innerHTML = html;
document.getElementById("prompt").style.display = "none";
document.getElementById("login\_zone").style.display = "none";
}
</script>
</body>


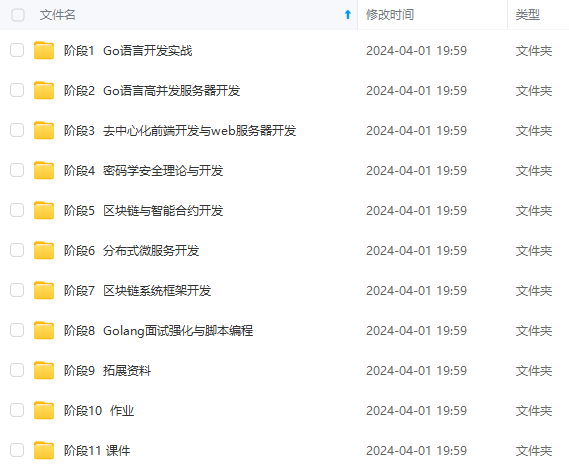
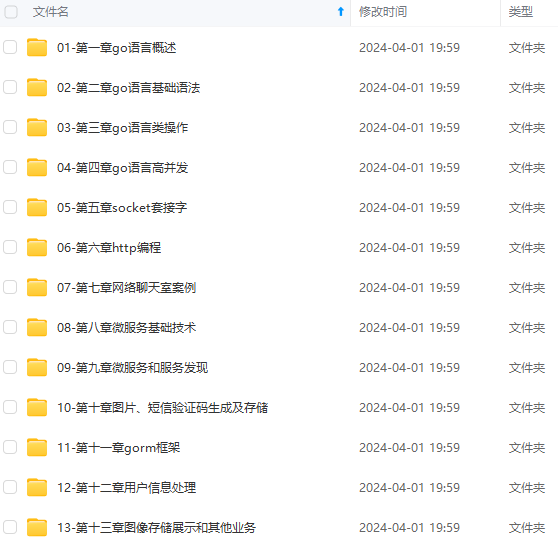
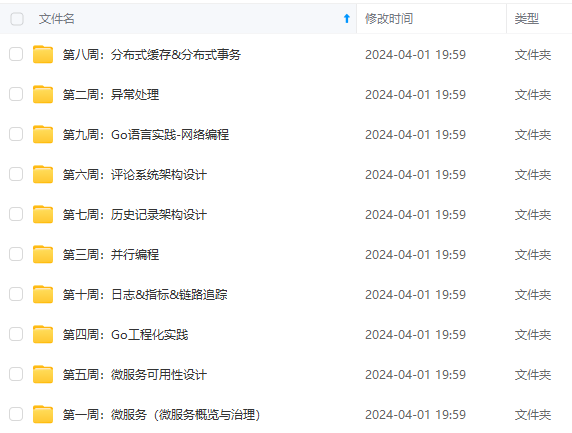
**既有适合小白学习的零基础资料,也有适合3年以上经验的小伙伴深入学习提升的进阶课程,涵盖了95%以上Go语言开发知识点,真正体系化!**
**由于文件比较多,这里只是将部分目录截图出来,全套包含大厂面经、学习笔记、源码讲义、实战项目、大纲路线、讲解视频,并且后续会持续更新**
**[如果你需要这些资料,可以戳这里获取](https://bbs.csdn.net/topics/618658159)**
由于文件比较多,这里只是将部分目录截图出来,全套包含大厂面经、学习笔记、源码讲义、实战项目、大纲路线、讲解视频,并且后续会持续更新**
**[如果你需要这些资料,可以戳这里获取](https://bbs.csdn.net/topics/618658159)**


 365
365

 被折叠的 条评论
为什么被折叠?


