Dataset之LFW:LFW人脸数据库的简介、安装、使用方法之详细攻略

img
img

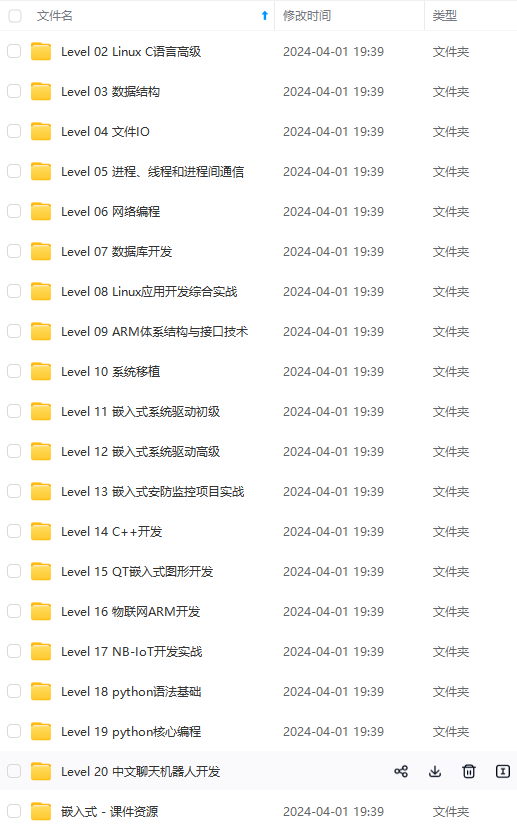
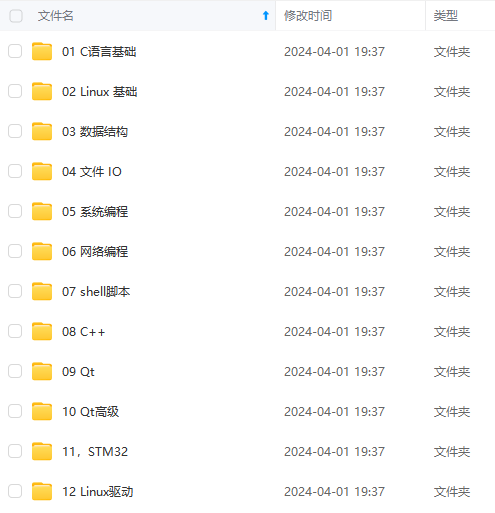
既有适合小白学习的零基础资料,也有适合3年以上经验的小伙伴深入学习提升的进阶课程,涵盖了95%以上物联网嵌入式知识点,真正体系化!

由于文件比较多,这里只是将部分目录截图出来,全套包含大厂面经、学习笔记、源码讲义、实战项目、大纲路线、电子书籍、讲解视频,并且后续会持续更新

需要这些体系化资料的朋友,可以加我V获取:vip1024c (备注嵌入式)

如果你需要这些资料,可以戳这里获取

Dataset之LFW:LFW人脸数据库的简介、安装、使用方法之详细攻略

目录

LFW人脸数据库的简介

1、LFW数据集的重要意义

LFW人脸数据库的安装

LFW人脸数据库的使用方法


LFW人脸数据库的简介

LFW (Labled Faces in the Wild)人脸数据集:是目前人脸识别的常用测试集,其中提供的人脸图片均来源于生活中的自然场景,因此识别难度会增大,尤其由于多姿态、光照、表情、年龄、遮挡等因素影响导致即使同一人的照片差别也很大。并且有些照片中可能不止一个人脸出现,对这些多人脸图像仅选择中心坐标的人脸作为目标,其他区域的视为背景干扰。LFW数据集共有13233张人脸图像,每张图像均给出对应的人名,共有5749人,且绝大部分人仅有一张图片。每张图片的尺寸为250X250,绝大部分为彩色图像,但也存在少许黑白人脸图片。

A database of face photographsdesigned for studying the problem of unconstrained face recognition.The data set contains more than 13,000 images of faces collected fromthe web. Each face has been labeled with the name of the personpictured. 1680 of the people pictured have two or more distinct photosin the data set. The only constraint on these faces is that they weredetected by the Viola-Jones face detector. More details can be foundin the technical report below.    There are now four different sets of LFW images including the original and three different types of “aligned” images.The aligned images include “funneled images” (ICCV 2007), LFW-a, which uses an unpublished method of alignment,and “deep funneled” images (NIPS 2012). Among these, LFW-a and the deep funneled images produce superior results for most face verification  algorithms over the original images and over the funneled images (ICCV 2007).
Labeled Faces in the Wild官网:http://vis-www.cs.umass.edu/lfw/

LFW (Labeled Faces in the Wild) 人脸数据库是由美国马萨诸塞州立大学阿默斯特分校计算机视觉实验室整理完成的数据库,主要用来研究非受限情况下的人脸识别问题。LFW 数据库主要是从互联网上搜集图像,而不是实验室,一共含有13000 多张人脸图像,每张图像都被标识出对应的人的名字,其中有1680 人对应不只一张图像,即大约1680个人包含两个以上的人脸。

LFW数据集主要测试人脸识别的准确率,该数据库从中随机选择了6000对人脸组成了人脸辨识图片对,其中3000对属于同一个人2张人脸照片,3000对属于不同的人每人1张人脸照片。测试过程LFW给出一对照片,询问测试中的系统两张照片是不是同一个人,系统给出“是”或“否”的答案。通过6000对人脸测试结果的系统答案与真实答案的比值可以得到人脸识别准确率。
这个集合被广泛应用于评价 face verification算法的性能。

这些数据集唯一的限制就是它们可以被经典的Viola-Jones检测器检测到(a hummor)。图像如下图所示,

1、LFW数据集的重要意义

收集整理了一份《2024年最新物联网嵌入式全套学习资料》,初衷也很简单,就是希望能够帮助到想自学提升的朋友。
img
img

如果你需要这些资料,可以戳这里获取

需要这些体系化资料的朋友,可以加我V获取:vip1024c (备注嵌入式)

一个人可以走的很快,但一群人才能走的更远!不论你是正从事IT行业的老鸟或是对IT行业感兴趣的新人

都欢迎加入我们的的圈子(技术交流、学习资源、职场吐槽、大厂内推、面试辅导),让我们一起学习成长!

不论你是正从事IT行业的老鸟或是对IT行业感兴趣的新人**

都欢迎加入我们的的圈子(技术交流、学习资源、职场吐槽、大厂内推、面试辅导),让我们一起学习成长!

  • 4
    点赞
  • 9
    收藏
    觉得还不错? 一键收藏
  • 0
    评论
以下是通过TensorFlow 2.0搭建对抗网络模型,利用公开的人脸数据库LFW生成人脸的Python代码: ```python import tensorflow as tf import numpy as np import matplotlib.pyplot as plt import os # 定义常量 BATCH_SIZE = 32 NOISE_DIM = 128 EPOCHS = 100 LR_D = 2e-4 LR_G = 2e-4 # 加载LFW数据集 (X_train, y_train), (_, _) = tf.keras.datasets.lfw.load_data() # 数据预处理 X_train = (X_train - 127.5) / 127.5 X_train = np.expand_dims(X_train, axis=-1) # 定义判别器模型 def make_discriminator_model(): model = tf.keras.Sequential() model.add(tf.keras.layers.Conv2D(64, (5, 5), strides=(2, 2), padding='same', input_shape=[64, 64, 1])) model.add(tf.keras.layers.LeakyReLU()) model.add(tf.keras.layers.Dropout(0.3)) model.add(tf.keras.layers.Conv2D(128, (5, 5), strides=(2, 2), padding='same')) model.add(tf.keras.layers.LeakyReLU()) model.add(tf.keras.layers.Dropout(0.3)) model.add(tf.keras.layers.Flatten()) model.add(tf.keras.layers.Dense(1)) return model # 定义生成器模型 def make_generator_model(): model = tf.keras.Sequential() model.add(tf.keras.layers.Dense(8 * 8 * 256, input_shape=(NOISE_DIM,))) model.add(tf.keras.layers.Reshape((8, 8, 256))) model.add(tf.keras.layers.Conv2DTranspose(128, (5, 5), strides=(1, 1), padding='same')) model.add(tf.keras.layers.BatchNormalization()) model.add(tf.keras.layers.LeakyReLU()) model.add(tf.keras.layers.Conv2DTranspose(64, (5, 5), strides=(2, 2), padding='same')) model.add(tf.keras.layers.BatchNormalization()) model.add(tf.keras.layers.LeakyReLU()) model.add(tf.keras.layers.Conv2DTranspose(1, (5, 5), strides=(2, 2), padding='same', activation='tanh')) return model # 定义生成器和判别器 generator = make_generator_model() discriminator = make_discriminator_model() # 定义损失函数 cross_entropy = tf.keras.losses.BinaryCrossentropy(from_logits=True) # 定义判别器损失函数 def discriminator_loss(real_output, fake_output): real_loss = cross_entropy(tf.ones_like(real_output), real_output) fake_loss = cross_entropy(tf.zeros_like(fake_output), fake_output) total_loss = real_loss + fake_loss return total_loss # 定义生成器损失函数 def generator_loss(fake_output): return cross_entropy(tf.ones_like(fake_output), fake_output) # 定义优化器 generator_optimizer = tf.keras.optimizers.Adam(LR_G) discriminator_optimizer = tf.keras.optimizers.Adam(LR_D) # 定义检查点 checkpoint_dir = './training_checkpoints' checkpoint_prefix = os.path.join(checkpoint_dir, "ckpt") checkpoint = tf.train.Checkpoint(generator_optimizer=generator_optimizer, discriminator_optimizer=discriminator_optimizer, generator=generator, discriminator=discriminator) # 定义创造噪声函数 def make_noise(num_examples, noise_dim): return tf.random.normal([num_examples, noise_dim]) # 定义训练函数 @tf.function def train_step(images): noise = make_noise(BATCH_SIZE, NOISE_DIM) with tf.GradientTape() as gen_tape, tf.GradientTape() as disc_tape: generated_images = generator(noise, training=True) real_output = discriminator(images, training=True) fake_output = discriminator(generated_images, training=True) gen_loss = generator_loss(fake_output) disc_loss = discriminator_loss(real_output, fake_output) gradients_of_generator = gen_tape.gradient(gen_loss, generator.trainable_variables) gradients_of_discriminator = disc_tape.gradient(disc_loss, discriminator.trainable_variables) generator_optimizer.apply_gradients(zip(gradients_of_generator, generator.trainable_variables)) discriminator_optimizer.apply_gradients(zip(gradients_of_discriminator, discriminator.trainable_variables)) # 定义训练函数 def train(dataset, epochs): for epoch in range(epochs): for image_batch in dataset: train_step(image_batch) # 每 10 个 epoch 保存一次生成器 if (epoch + 1) % 10 == 0: checkpoint.save(file_prefix=checkpoint_prefix) print('Epoch {} finished.'.format(epoch + 1)) # 生成并保存图片 def generate_and_save_images(model, epoch, test_input): predictions = model(test_input, training=False) fig = plt.figure(figsize=(4, 4)) for i in range(predictions.shape[0]): plt.subplot(4, 4, i+1) plt.imshow(predictions[i, :, :, 0] * 127.5 + 127.5, cmap='gray') plt.axis('off') plt.savefig('image_at_epoch_{:04d}.png'.format(epoch)) plt.show() # 训练模型 train_dataset = tf.data.Dataset.from_tensor_slices(X_train).shuffle(len(X_train)).batch(BATCH_SIZE) train(train_dataset, EPOCHS) # 生成图片 noise = make_noise(16, NOISE_DIM) generate_and_save_images(generator, 0, noise) ``` 注意,上述代码只是一个简单的例子,实际应用中还需要对超参数进行优化,以达到更好的生成效果。
评论
添加红包

请填写红包祝福语或标题

红包个数最小为10个

红包金额最低5元

当前余额3.43前往充值 >
需支付:10.00
成就一亿技术人!
领取后你会自动成为博主和红包主的粉丝 规则
hope_wisdom
发出的红包
实付
使用余额支付
点击重新获取
扫码支付
钱包余额 0

抵扣说明:

1.余额是钱包充值的虚拟货币,按照1:1的比例进行支付金额的抵扣。
2.余额无法直接购买下载,可以购买VIP、付费专栏及课程。

余额充值