


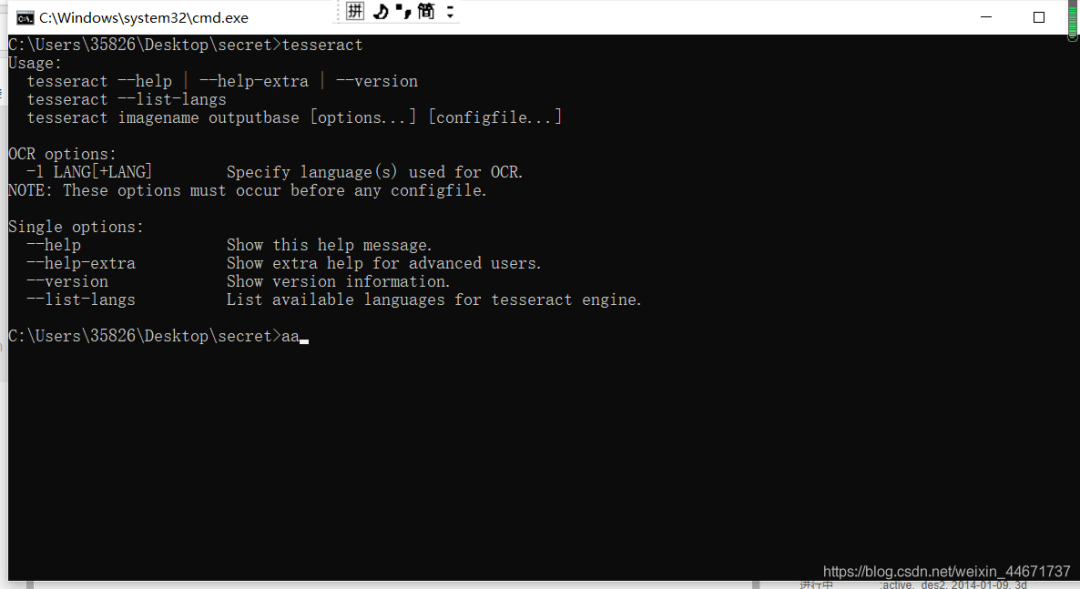
第三步安装成功检测
使用tesseract指令,显示如下:
linux环境下载安装与上述类似
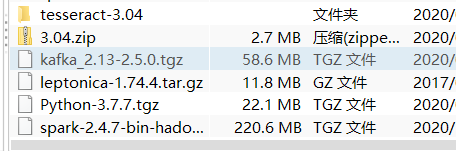
下载leptonica 和 tesseract两个包,解压安装,配置环境变量即可。网上很容易找到该安装包。
三、使用命令行
1.tesseract + 图片路径 + 保存结果名 + -l 语言集
示列: tesseract 1606150081.png 1606150081 -l chi_sim
2.tesseract + 图片路径 +stdout -l +语言集
示列: tesseract D:\company\ruigushop\spring-2s\test.png stdout -l chi_sim
有了上述之后就可以完成web图片识别程序的开发啦,废话不多说,直接上代码。
四、程序实现(Python)
程序设计思路:
上传图片 -> 保存 ->对上传的图片执行tesseract指令->获取识别结果
只有二十多行代码就实现了,so easy,以后网上看到图片识别程序再也不会感觉神奇了吧!
coding=utf-8
from flask import Flask, request
import os
import datetime
import time
app = Flask(name)
def get_time_stamp():
times = datetime.datetime.now().strftime(‘%Y-%m-%d %H:%M:%S’)
array = time.strptime(times, “%Y-%m-%d %H:%M:%S”)
time_stamp = int(time.mktime(array))
return time_stamp
@app.route(‘/image/extract’, methods=[‘POST’])
def pure_rec():
file = request.files.get(‘file’)
ts = str(get_time_stamp())
up_path = os.path.join(ts + file.filename)
file.save(up_path)
cmd = “tesseract “+up_path+” " + ts + " -l chi_sim”
print(cmd)
os.system(cmd)
with open(ts+“.txt”, ‘r+’, encoding=“utf-8”) as f:
result = f.read()
return result
if name == ‘main’:
app.run(debug=True)
五、程序实现(Java)
不需要任何引入第三方jar包,搭建一个简单的springboot web项目就可以了,没有其他额外的依赖。
Spring Boot 基础就不介绍了,推荐下这个实战教程: https://www.javastack.cn/categories/Spring-Boot/
Controller:
package com.lbh.web.controller;
/*
-
Copyright@lbhbinhao@163.com
-
Author:liubinhao
-
Date:2020/11/23
-
++++ ______ @author liubinhao ______ ______
-
+++/ /| / /| / /|
-
+// | // | /_____/ |
-
| | | | | | | | |
-
| | | | | |________| | |
-
| | | | | / | | |
-
| | | | |/___________| | |
-
| | |___________________ | |____________| | |
-
| | / / | | | | | | |
-
| |/ _________________/ / | | / | | /
-
|_________________________|/b ||/ ||/
*/
import org.springframework.web.bind.annotation.PostMapping;
import org.springframework.web.bind.annotation.RequestParam;
import org.springframework.web.bind.annotation.RestController;
import org.springframework.web.multipart.MultipartFile;
import java.io.BufferedReader;
import java.io.File;
import java.io.IOException;
import java.io.InputStreamReader;
@RestController
public class LiteralExtractController {
@PostMapping(“/image/extract”)
public String reg(@RequestParam(“file”)MultipartFile file) throws IOException {
String result = “”;
String filename = file.getOriginalFilename();
File save = new File(System.getProperty(“user.dir”)+“\”+filename);
if (!save.exists()){
save.createNewFile();
}
file.transferTo(save);
String cmd = String.format(“tesseract %s stdout -l %s”,System.getProperty(“user.dir”)+“\”+filename,“chi_sim”);
result = cmd(cmd);
return result;
}
public static String cmd(String cmd) {
BufferedReader br = null;
try {
Process p = Runtime.getRuntime().exec(cmd);
br = new BufferedReader(new InputStreamReader(p.getInputStream()));
String line = null;
StringBuilder sb = new StringBuilder();
while ((line = br.readLine()) != null) {
sb.append(line + “\n”);
}
return sb.toString();
} catch (Exception e) {
e.printStackTrace();
}
finally
{
if (br != null)
{
try {
br.close();
} catch (Exception e) {
e.printStackTrace();
}
}
}
return null;
}
}
哈哈哈,还有帅气的程序logo。
六、实验测试
很简单二十多行代码就完成了,看看效果怎么样吧。
测试一图片:
测试一结果:

测试二图片:


 843
843

 被折叠的 条评论
为什么被折叠?
被折叠的 条评论
为什么被折叠?
 到【灌水乐园】发言


