


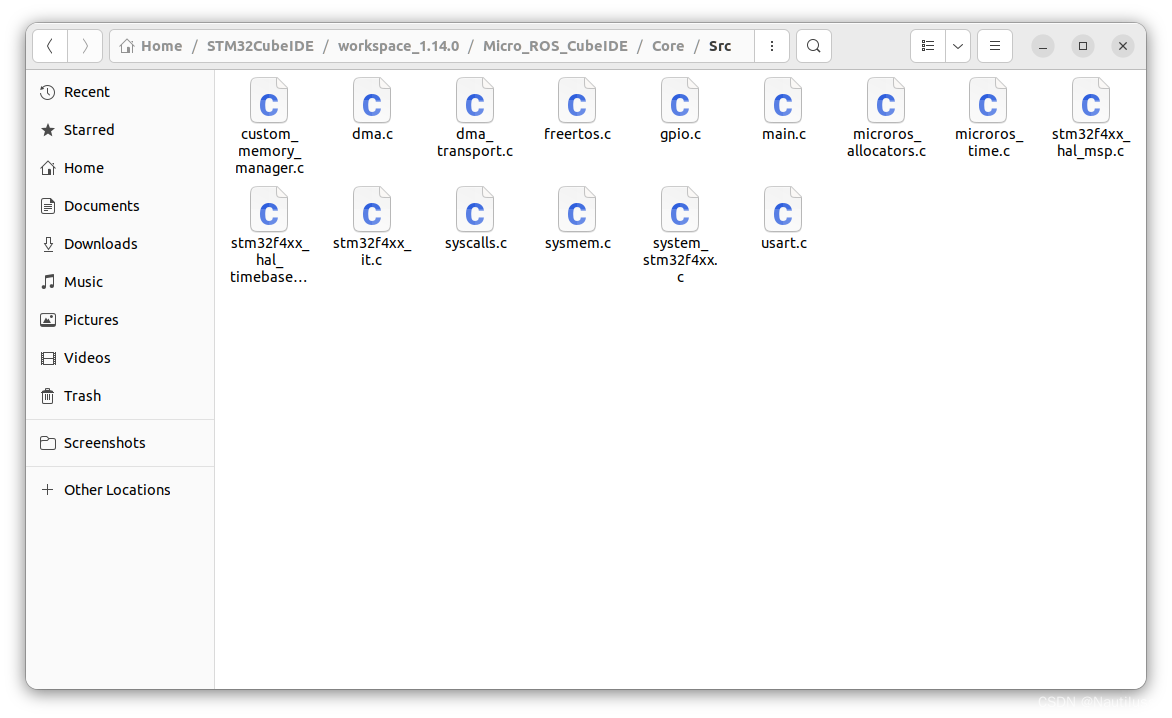
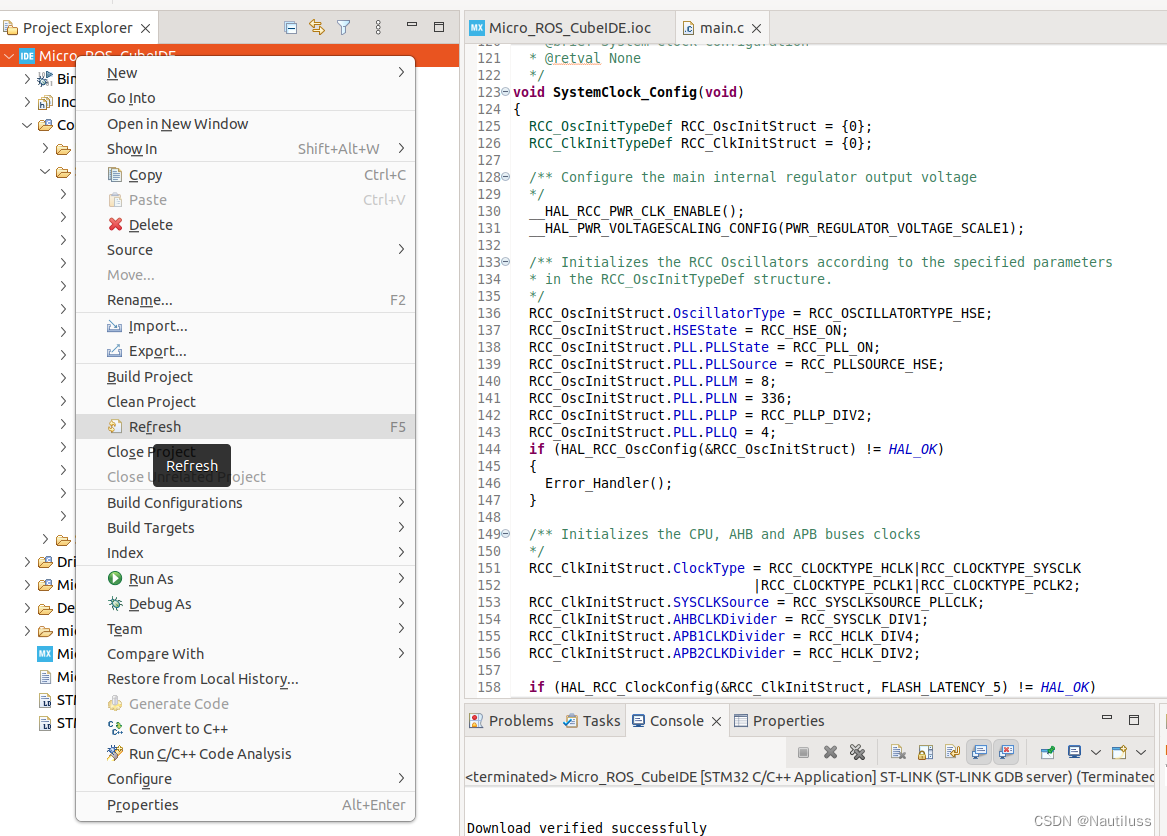
 在CubeIDE 工程右击Refresh 即可出现添加文件
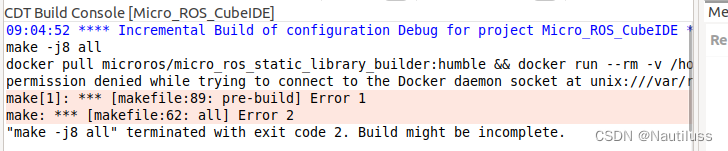
开始编译提示docker权限问题(前提是已安装docker,前面章节有介绍如何安装)
添加docker group
sudo groupadd docker

# 最后一个为你自己的当前用户名
sudo usermod -aG docker ubuntu

newgrp docker

# 测试是否成功添加  运行docker hello程序
docker run hello-world
测试看到Hello from Docker! 代表成功

继续编译CubeIDE工程
发现还是报错,经过一番尝试需要在终端中输入
sudo chmod 666 /var/run/docker.sock
再次编译发现可以开始预编译了,从docker拉文件了
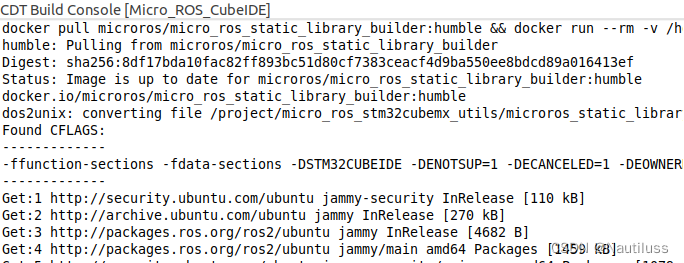
这时候网络正常的时候就等待。。。。
中间在预编译阶段容易出现错误,大多数是网络的问题,可以多尝试几次即可。
编译完成成功如下:
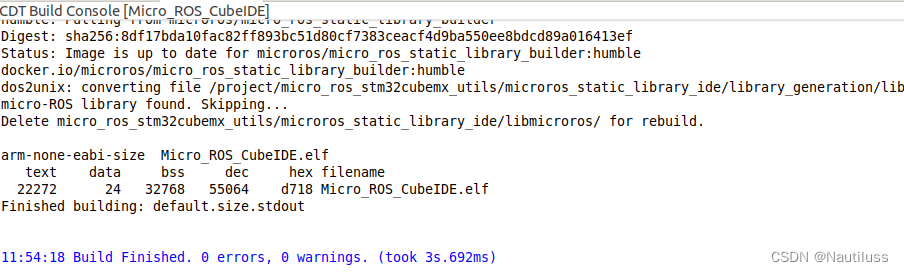
上述过程说明我们的可以已经成功在CubeIDE中部署了Micro-ROS的开发环境,接下来我们按照我Micro-ROS和自己的需求来定制我们的工程。
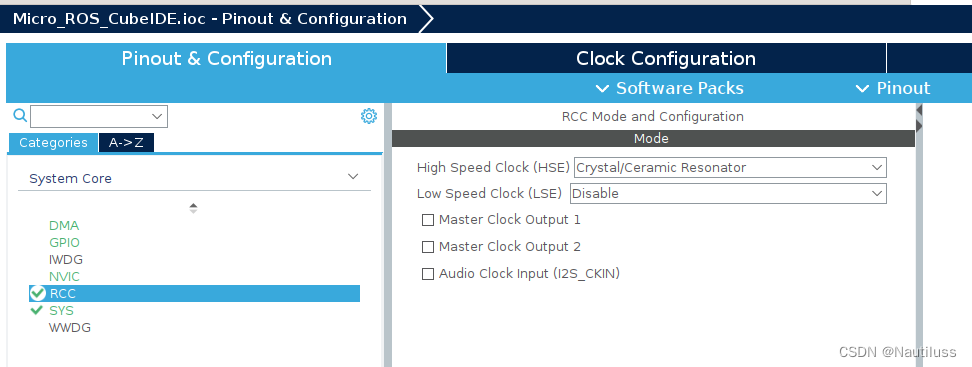
配置RCC时钟,这里我们的PCB为外置8Mhz无源晶振
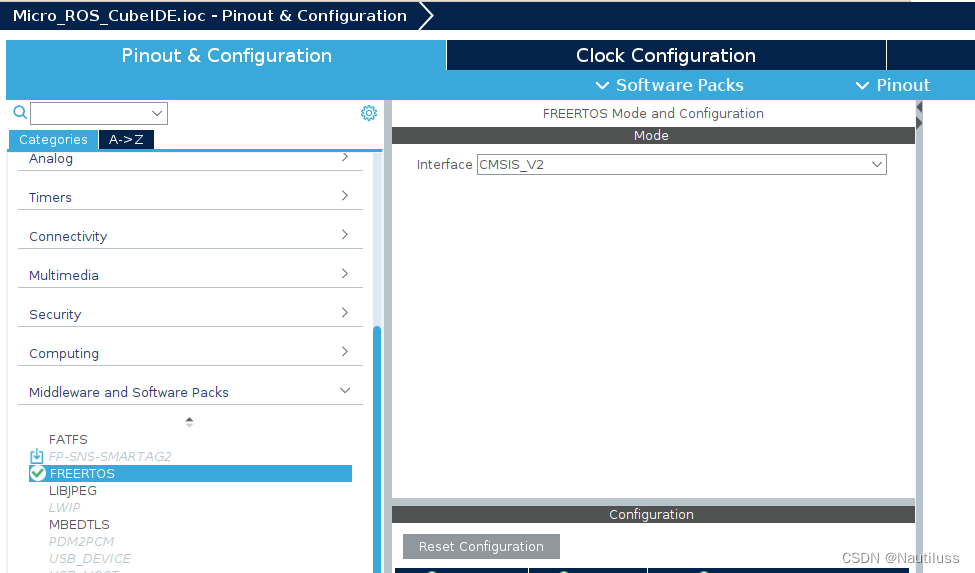
配置FreeRTOS,直接选择V2版本即可,功能更强
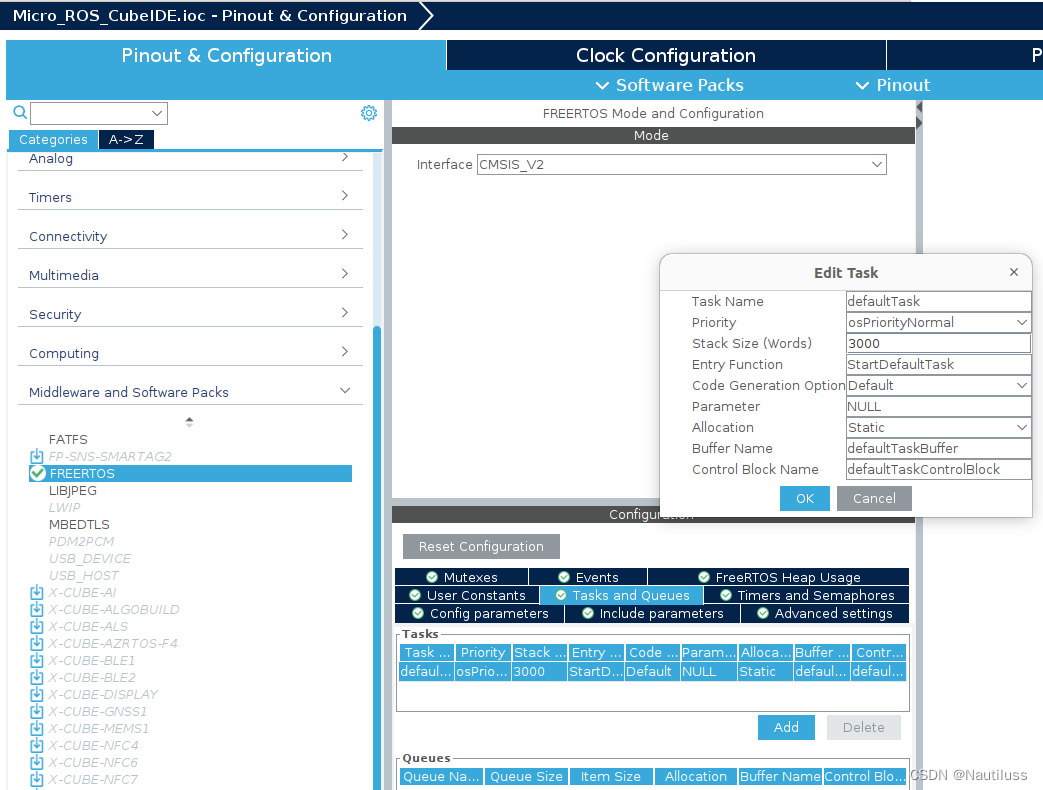
按照之前章节提示,修改默认任务栈空间为3000,内存分配改成静态,为什么这么改之前章节也有介绍。
根据自己的PCB设计配置与主机通信的串口,这里我们为uart1
串口的模式和中断DMA RX的配置如图:
Mode : Asynchronous
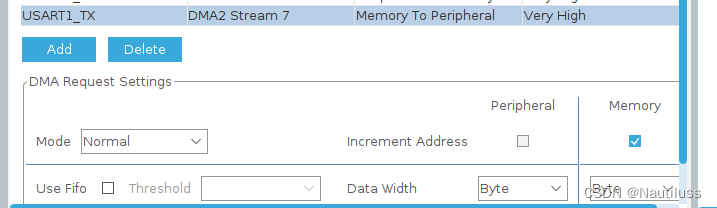
USART1_RX: 1、Priority 改为Very High 2、DMA Request Setting中的Mode改为Circular
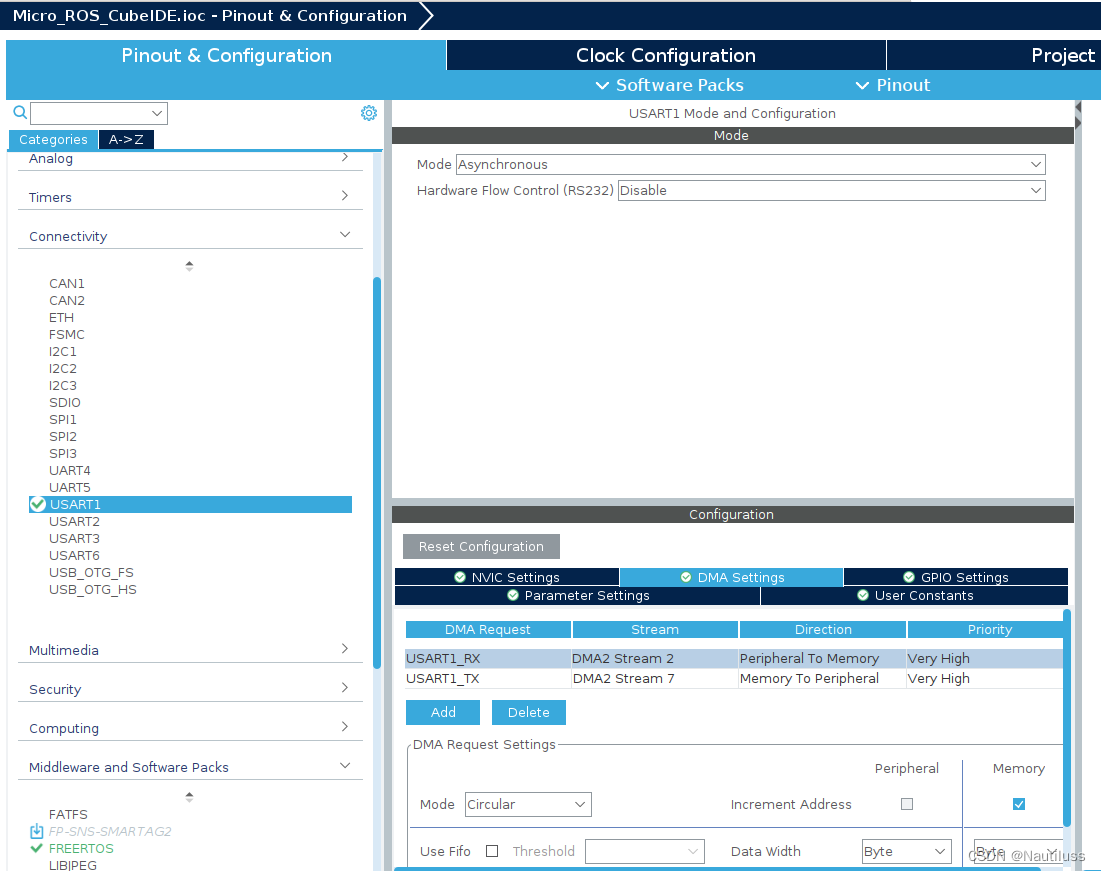
USART1_TX: Priority 改为Very High 即可
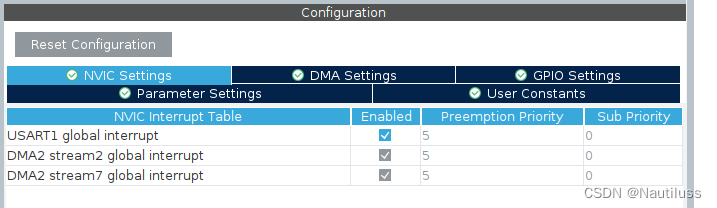
在串口配置的NVIC Settings中 勾选上 USART1 global interrupt
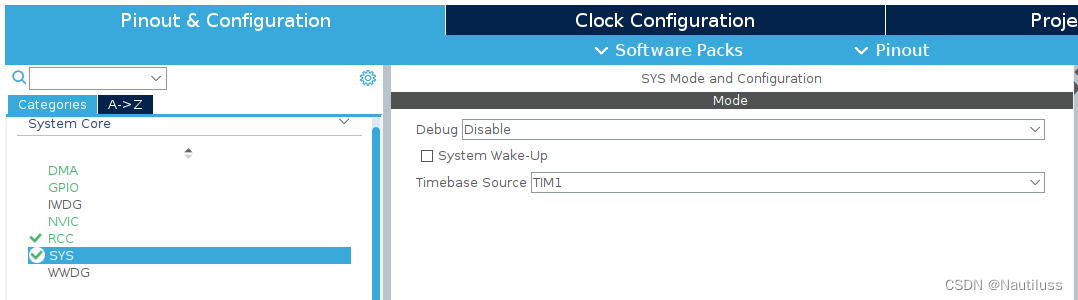
设置FreeRTOS时间基准源,整个FreeRTOS时间基于此时钟,必须保证精准和稳定,随意选择一个不用的TIMER时钟即可,我们这里选择TIM1
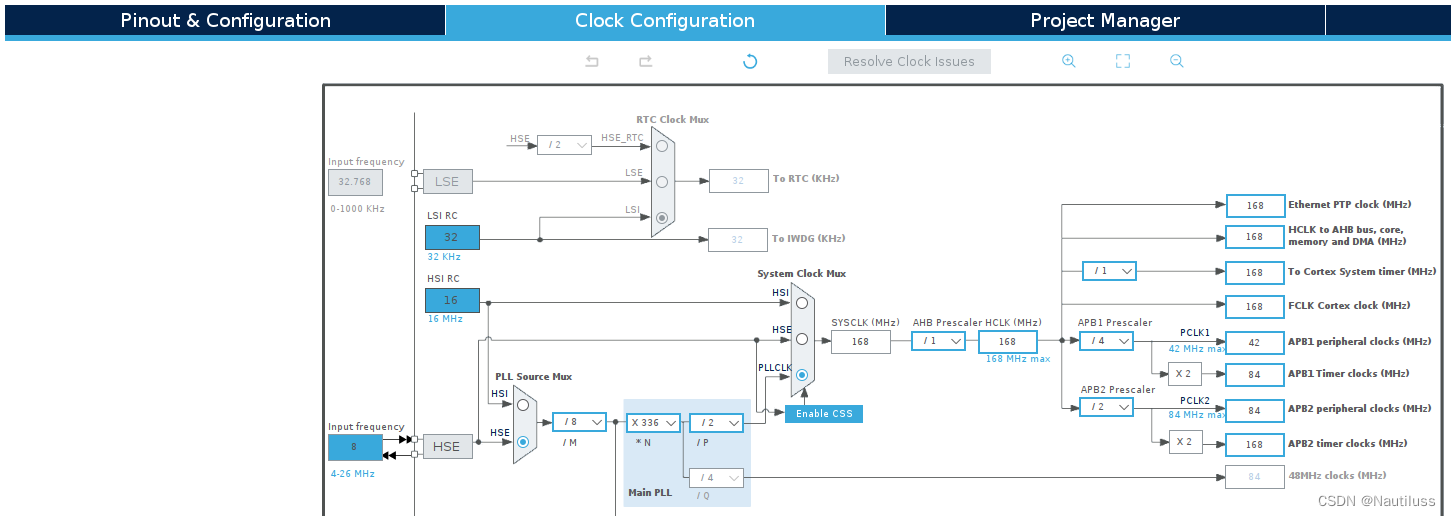
配置时钟系统,我们设置到最大168Mhz,设置为外部时钟源
在Project Manager中修改CubeIDE生成代码的时候风格,便于管理

配置完成后,我们参考CubeIDE的工程中的micro_ros_stm32cubemx_utils文件夹中的sample_main.c文件修改整个工程
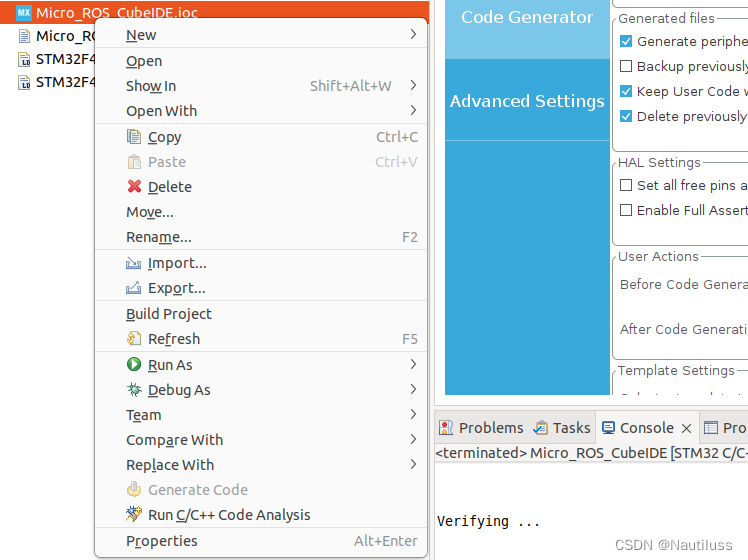
在修改之前右击自己的工程.ioc文件生成代码命令Generate Code(我这里已经生成所以是灰色)
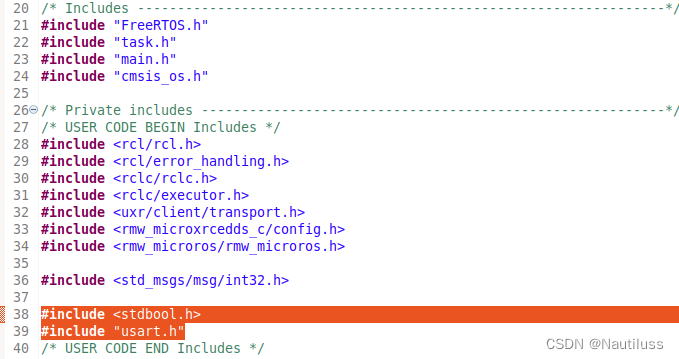
复制如下代码到freertos.c文件中的如图位置
#include <rcl/rcl.h>
#include <rcl/error_handling.h>
#include <rclc/rclc.h>
#include <rclc/executor.h>
#include <uxr/client/transport.h>
#include <rmw_microxrcedds_c/config.h>
#include <rmw_microros/rmw_microros.h>

#include <std_msgs/msg/int32.h>

添加bool和串口的头文件
#include <stdbool.h>
#include "usart.h"
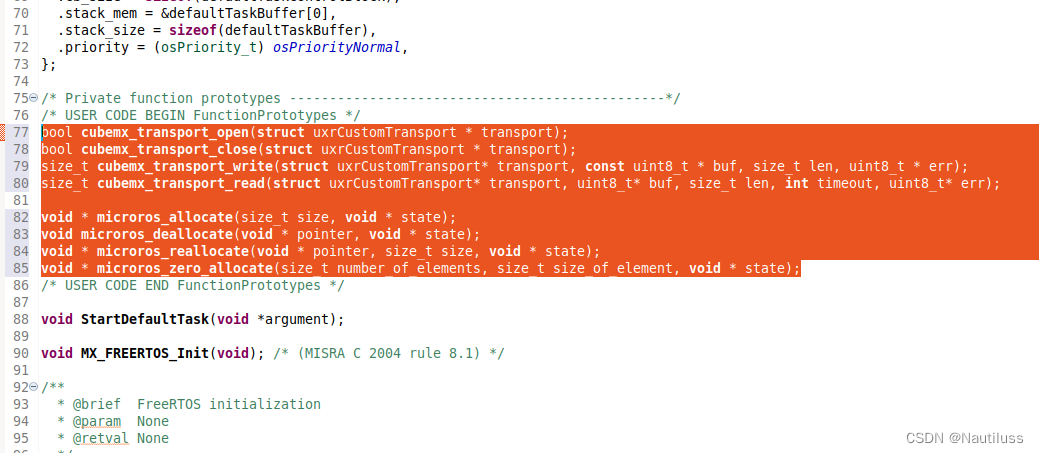
复制如下代码到freertos.c文件中的如图位置
bool cubemx_transport_open(struct uxrCustomTransport * transport);
bool cubemx_transport_close(struct uxrCustomTransport * transport);
size_t cubemx_transport_write(struct uxrCustomTransport* transport, const uint8_t * buf, size_t len, uint8_t * err);
size_t cubemx_transport_read(struct uxrCustomTransport* transport, uint8_t* buf, size_t len, int timeout, uint8_t* err);

void * microros_allocate(size_t size, void * state);
void microros_deallocate(void * pointer, void * state);
void * microros_reallocate(void * pointer, size_t size, void * state);
void * microros_zero_allocate(size_t number_of_elements, size_t size_of_element, void * state);
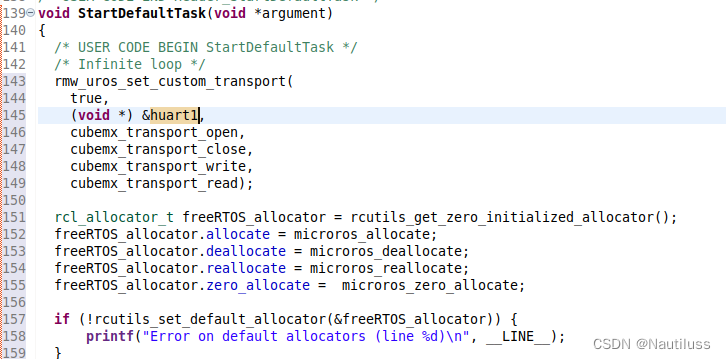
复制如下代码到freertos.c文件中的如图位置(替换原来void StartDefaultTask(void *argument)函数里面所有内容)
  rmw_uros_set_custom_transport(
    true,
    (void *) &huart3,
    cubemx_transport_open,
    cubemx_transport_close,
    cubemx_transport_write,
    cubemx_transport_read);

  rcl_allocator_t freeRTOS_allocator = rcutils_get_zero_initialized_allocator();
  freeRTOS_allocator.allocate = microros_allocate;
  freeRTOS_allocator.deallocate = microros_deallocate;
  freeRTOS_allocator.reallocate = microros_reallocate;
  freeRTOS_allocator.zero_allocate =  microros_zero_allocate;

  if (!rcutils_set_default_allocator(&freeRTOS_allocator)) {
      printf("Error on default allocators (line %d)\n", __LINE__);
  }

  // micro-ROS app

  rcl_publisher_t publisher;
  std_msgs__msg__Int32 msg;
  rclc_support_t support;
  rcl_allocator_t allocator;
  rcl_node_t node;

  allocator = rcl_get_default_allocator();

  //create init_options
  rclc_support_init(&support, 0, NULL, &allocator);

  // create node
  rclc_node_init_default(&node, "cubemx_node", "", &support);

  // create publisher
  rclc_publisher_init_default(
    &publisher,
    &node,
    ROSIDL_GET_MSG_TYPE_SUPPORT(std_msgs, msg, Int32),
    "cubemx_publisher");

  msg.data = 0;

  for(;;)
  {
    rcl_ret_t ret = rcl_publish(&publisher, &msg, NULL);
    if (ret != RCL_RET_OK)
    {
      printf("Error publishing (line %d)\n", __LINE__);
    }

    msg.data++;
    osDelay(10);
  }
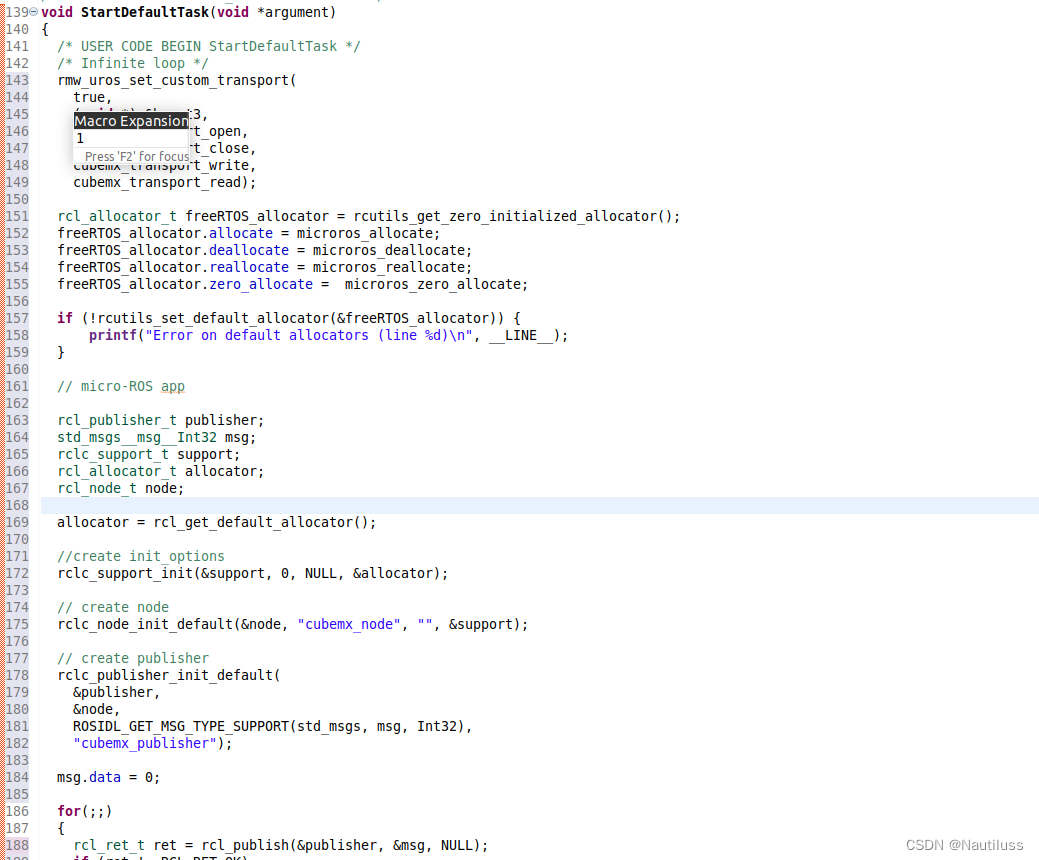
根据情况修改自己的硬件串口编号,我们这里为uart1
 编译并下载程序
这里我们用的是串口0,给串口权限先:
sudo chmod 777 /dev/ttyS0
添加micro-ROS 和 ROS2的环境变量:
source microros_ws/install/local_setup.bash
source /opt/ros/humble/local_setup.bash
执行micro-ROS代理命令,这里我们以115200波特率启动我们主机的串口1
ros2 run micro_ros_agent micro_ros_agent serial -b 115200 --dev /dev/ttyS0

看到如下命令,此时可以给单片机重新上电,不重新上电貌似不行!(PS,莫非是需要启动Agent代理后再启动单片机握手?如果失败怎么办,这个后续研究下)
重新上电后我们看到有发布等信息,应该是连接上了

重现打开一个命令行窗口输入如下指令查看ROS2消息列表


 330
330

 被折叠的 条评论
为什么被折叠?
被折叠的 条评论
为什么被折叠?
 到【灌水乐园】发言


