


<jdbcConnection driverClass=“com.mysql.jdbc.Driver”
connectionURL=“jdbc:mysql://localhost:3306/springboot”
userId=“root”
password=“123456”>
<javaModelGenerator targetPackage=“com.md.springboot.model”
targetProject=“src/main/java”>
<sqlMapGenerator targetPackage=“com.md.springboot.mapper”
targetProject=“src/main/java”>
<javaClientGenerator type=“XMLMAPPER”
targetPackage=“com.md.springboot.mapper” targetProject=“src/main/java”>
enableCountByExample=“false”
enableUpdateByExample=“false”
enableDeleteByExample=“false”
enableSelectByExample=“false”
selectByExampleQueryId=“false”/>
此时会报错,如下
这个时候可以不用理会,项目也是会正常运行的,当然也可以这样:

添加之后就不会报红了。
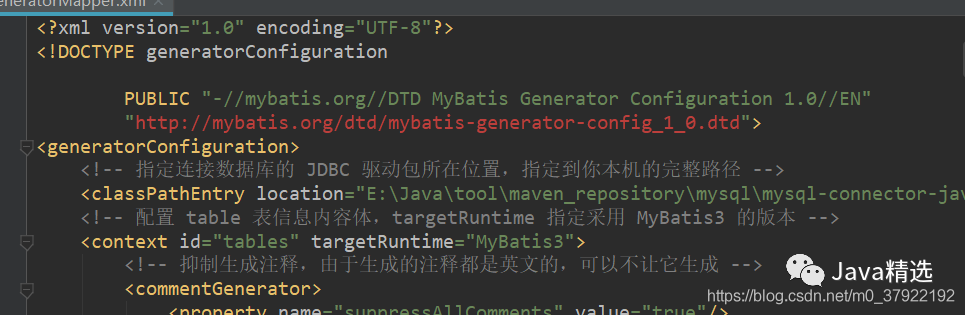
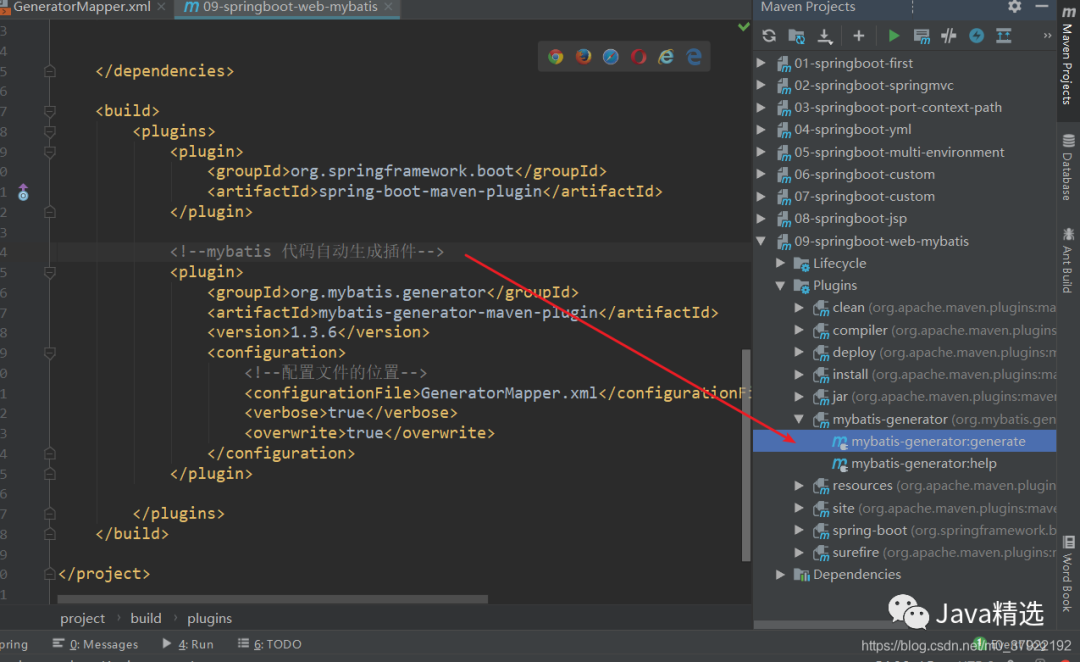
3. 在pom.xml 文件中添加 mysql 反向工程依赖
org.mybatis.generator
mybatis-generator-maven-plugin
1.3.6
GeneratorMapper.xml
true
true
4. 双击生成相关文件
5. 生成的文件
自动生成model/Student、实体类
以及StudentMapper,接口
StudentMapper.xml 具体对数据库的操作
这样方便我们使用,具体的下面详细介绍,注意看注释

Student
package com.md.springboot.model;
public class Student {
private Integer id;
private String name;
private Integer age;
public Integer getId() {
return id;
}
public void setId(Integer id) {
this.id = id;
}
public String getName() {
return name;
}
public void setName(String name) {
this.name = name;
}
public Integer getAge() {
return age;
}
public void setAge(Integer age) {
this.age = age;
}
}
StudentMapper
package com.md.springboot.mapper;
import com.md.springboot.model.Student;
public interface StudentMapper {
int deleteByPrimaryKey(Integer id);
int insert(Student record);
int insertSelective(Student record);
Student selectByPrimaryKey(Integer id);
int updateByPrimaryKeySelective(Student record);
int updateByPrimaryKey(Student record);
}
StudentMapper.xml
<?xml version="1.0" encoding="UTF-8"?>id, name, age
select
from t_student
where id = #{id,jdbcType=INTEGER}
delete from t_student
where id = #{id,jdbcType=INTEGER}
insert into t_student (id, name, age
)
values (#{id,jdbcType=INTEGER}, #{name,jdbcType=VARCHAR}, #{age,jdbcType=INTEGER}
)
insert into t_student
id,
name,
age,


 778
778

 被折叠的 条评论
为什么被折叠?
被折叠的 条评论
为什么被折叠?
 到【灌水乐园】发言


