


如何使用PyTorch和预训练的VGG19模型实现图像风格迁移 VGG19预训练卷积神经网络,根据此网络提取的特征图建立内容损失和风格损失函数。
文章目录
基于PyTorch的VGG19神经网络的图像风格迁移学习

模型为获取得到的VGG19预训练卷积神经网络,根据此网络提取的特征图建立内容损失和风格损失函数。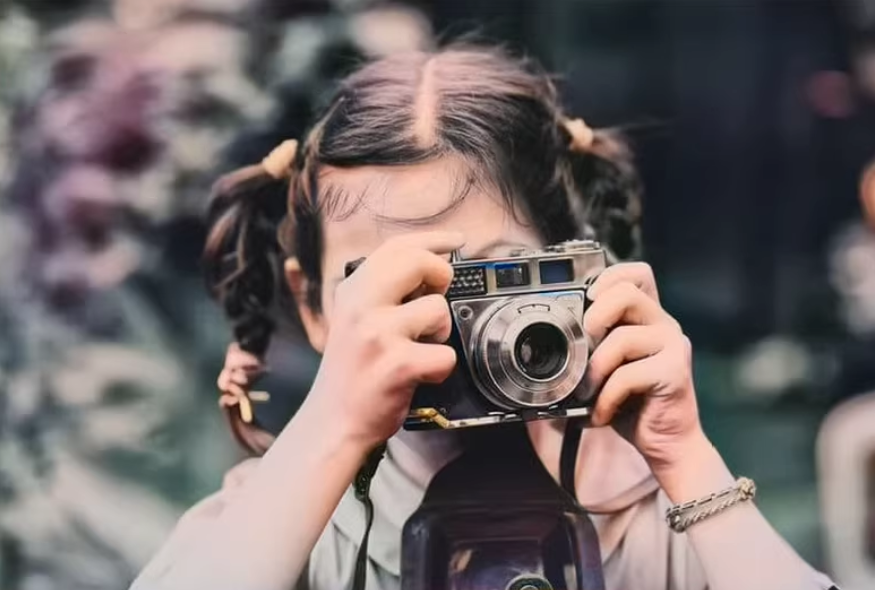
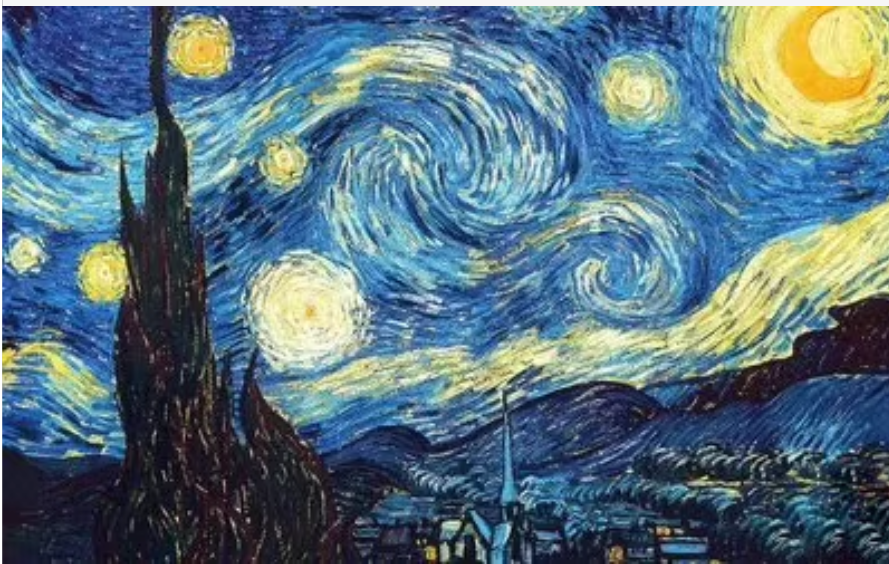
输入为任意的两张图像,即可得到一张风格迁移图像。
案例学习,可体验深度学习功能
attention:无数据集,是加载的vgg19预训练权重,再输入两张图像得到一个风格迁移图像
图像风格迁移是一种非常有趣的深度学习应用,利用卷积神经网络(CNN)提取图像的高层次特征,并通过优化内容损失和风格损失来生成新的图像。
以下是一个基于PyTorch实现VGG19的图像风格迁移的完整代码案例。仅供参考。
代码实现
1. 导入必要的库
import torch
import torch.nn as nn
import torch.optim as optim
from torchvision import models, transforms
from PIL import Image
import matplotlib.pyplot as plt
import numpy as np
2. 定义图像预处理和后处理函数
我们需要对输入图像进行标准化处理,并在显示时将其还原。
# 图像预处理
def image_loader(image_name, imsize):
    loader = transforms.Compose([
        transforms.Resize(imsize),  # 调整图像大小
        transforms.ToTensor()       # 转换为Tensor
    ])
    image = Image.open(image_name)
    image = loader(image).unsqueeze(0)  # 增加batch维度
    return image.to(torch.float)

# 图像反处理(用于显示)
def image_unloader(tensor):
    unloader = transforms.ToPILImage()
    image = tensor.cpu().clone()
    image = image.squeeze(0)  # 移除batch维度
    image = unloader(image)
    return image
3. 加载预训练的VGG19模型
我们使用VGG19的卷积层来提取特征图,而不使用全连接层。
# 加载预训练的VGG19模型
vgg = models.vgg19(pretrained=True).features.eval()

# 冻结模型参数
for param in vgg.parameters():
    param.requires_grad_(False)
4. 定义内容损失和风格损失
- 内容损失:衡量生成图像与内容图像在特定层的特征图差异。
- 风格损失:衡量生成图像与风格图像在多个层的Gram矩阵差异。
class ContentLoss(nn.Module):
    def __init__(self, target):
        super(ContentLoss, self).__init__()
        self.target = target.detach()  # 目标内容特征

    def forward(self, input):
        self.loss = nn.functional.mse_loss(input, self.target)
        return input

class StyleLoss(nn.Module):
    def __init__(self, target_feature):
        super(StyleLoss, self).__init__()
        self.target = self.gram_matrix(target_feature).detach()

    def gram_matrix(self, input):
        batch_size, channels, height, width = input.size()
        features = input.view(batch_size * channels, height * width)
        G = torch.mm(features, features.t())  # Gram矩阵
        return G.div(batch_size * channels * height * width)

    def forward(self, input):
        G = self.gram_matrix(input)
        self.loss = nn.functional.mse_loss(G, self.target)
        return input
5. 构建模型并插入损失模块
我们选择VGG19的某些层作为内容和风格的特征提取点。
content_layers_default = ['conv_4']
style_layers_default = ['conv_1', 'conv_2', 'conv_3', 'conv_4', 'conv_5']

def get_style_model_and_losses(cnn, content_img, style_img,
                               content_layers=content_layers_default,
                               style_layers=style_layers_default):
    cnn = copy.deepcopy(cnn)
    content_losses = []
    style_losses = []

    model = nn.Sequential()
    i = 0
    for layer in cnn.children():
        if isinstance(layer, nn.Conv2d):
            i += 1
            name = f'conv_{i}'
        elif isinstance(layer, nn.ReLU):
            name = f'relu_{i}'
            layer = nn.ReLU(inplace=False)  # 避免inplace操作影响梯度
        elif isinstance(layer, nn.MaxPool2d):
            name = f'pool_{i}'
        elif isinstance(layer, nn.BatchNorm2d):
            name = f'bn_{i}'
        else:
            raise RuntimeError(f"Unrecognized layer: {layer.__class__.__name__}")

        model.add_module(name, layer)

        if name in content_layers:
            target = model(content_img).detach()
            content_loss = ContentLoss(target)
            model.add_module(f"content_loss_{i}", content_loss)
            content_losses.append(content_loss)

        if name in style_layers:
            target_feature = model(style_img).detach()
            style_loss = StyleLoss(target_feature)
            model.add_module(f"style_loss_{i}", style_loss)
            style_losses.append(style_loss)

    # 移除后续不需要的层
    for i in range(len(model) - 1, -1, -1):
        if isinstance(model[i], ContentLoss) or isinstance(model[i], StyleLoss):
            break
    model = model[:(i + 1)]

    return model, content_losses, style_losses
6. 优化生成图像
我们通过梯度下降优化生成图像,使其同时匹配内容和风格。
def run_style_transfer(cnn, content_img, style_img, input_img, num_steps=300,
                       style_weight=1e6, content_weight=1):
    print('Building the style transfer model..')
    model, content_losses, style_losses = get_style_model_and_losses(cnn, content_img, style_img)
    optimizer = optim.LBFGS([input_img.requires_grad_()])

    print('Optimizing..')
    run = [0]
    while run[0] <= num_steps:
        def closure():
            input_img.data.clamp_(0, 1)  # 将像素值限制在[0, 1]

            optimizer.zero_grad()
            model(input_img)
            style_score = 0
            content_score = 0

            for sl in style_losses:
                style_score += sl.loss
            for cl in content_losses:
                content_score += cl.loss

            style_score *= style_weight
            content_score *= content_weight

            loss = style_score + content_score
            loss.backward()

            run[0] += 1
            if run[0] % 50 == 0:
                print(f"Step {run[0]}:")
                print(f"Style Loss: {style_score.item():.4f}, Content Loss: {content_score.item():.4f}")

            return style_score + content_score

        optimizer.step(closure)

    input_img.data.clamp_(0, 1)
    return input_img
7. 主程序
加载内容图像和风格图像,并运行风格迁移。
# 设置图像尺寸
imsize = 512

# 加载内容图像和风格图像
content_img = image_loader("content.jpg", imsize)
style_img = image_loader("style.jpg", imsize)

# 初始化生成图像(可以是内容图像或随机噪声)
input_img = content_img.clone()

# 运行风格迁移
output = run_style_transfer(vgg, content_img, style_img, input_img)

# 显示结果
plt.figure(figsize=(18, 6))

plt.subplot(1, 3, 1)
plt.title("Content Image")
plt.imshow(image_unloader(content_img))

plt.subplot(1, 3, 2)
plt.title("Style Image")
plt.imshow(image_unloader(style_img))

plt.subplot(1, 3, 3)
plt.title("Output Image")
plt.imshow(image_unloader(output))

plt.show()
总结
以上代码展示了如何使用PyTorch和预训练的VGG19模型实现图像风格迁移。只需提供一张内容图像和一张风格图像,即可生成融合两者风格的新图像。您可以调整style_weight和content_weight来控制风格和内容的重要性比例。


 被折叠的 条评论
为什么被折叠?
被折叠的 条评论
为什么被折叠?
 到【灌水乐园】发言


