


深度学习目标检测中_构建一个完整基于 YOLOv8 输电塔锈蚀生锈检测系统,训练输电塔锈蚀数据集_包括数据集准备、环境部署、模型训练、指标可视化展示和评估
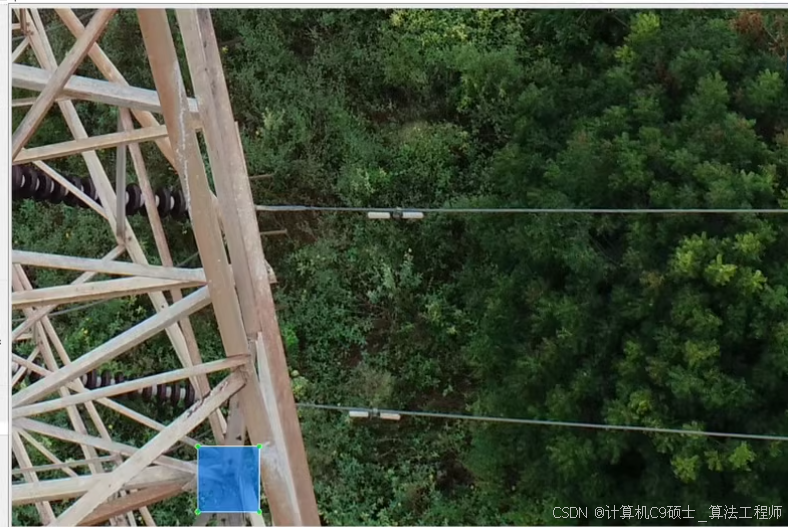
输电塔锈蚀数据集(单分类)
共1407张,含xml和txt格式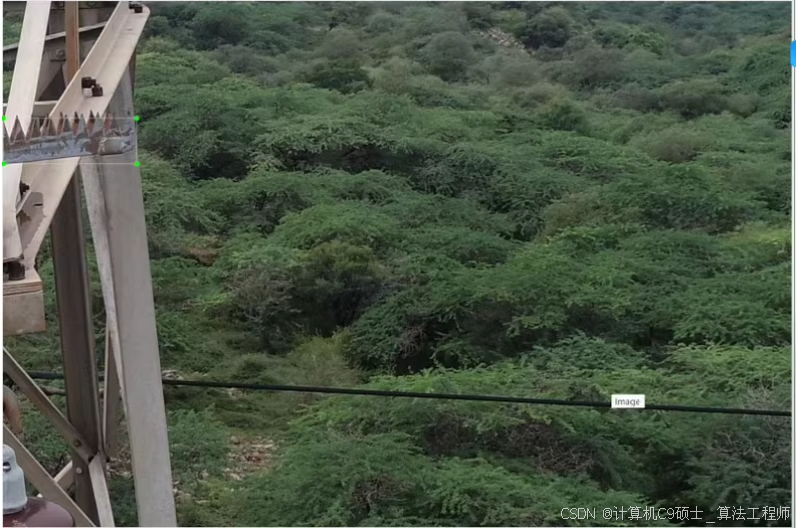
实现一个基于 YOLOv8 的输电塔锈蚀检测系统。以下是详细的步骤:
- 数据准备:确保数据集格式正确。
- 环境部署:安装必要的库。
- 模型训练:使用 YOLOv8 训练目标检测模型。
- 评估模型:评估训练好的模型性能。
数据准备
那个 假设你的数据集已经准备好,并且包含 XML 和 TXT 格式的标注文件。以下是数据集的标准结构:
dataset/
├── images/
│   ├── train/
│   │   ├── image1.jpg
│   │   ├── image2.jpg
│   │   └── ...
│   ├── test/
│   │   ├── image3.jpg
│   │   ├── image4.jpg
│   │   └── ...
│   └── valid/
│       ├── image5.jpg
│       ├── image6.jpg
│       └── ...
├── annotations/
│   ├── train/
│   │   ├── image1.xml
│   │   ├── image2.xml
│   │   └── ...
│   ├── test/
│   │   ├── image3.xml
│   │   ├── image4.xml
│   │   └── ...
│   └── valid/
│       ├── image5.xml
│       ├── image6.xml
│       └── ...
└── dataset.yaml
dataset.yaml 内容如下:
train: ./images/train
val: ./images/valid
test: ./images/test

nc: 1
names: ['rust']
每个图像对应的标签文件是一个文本文件,每行表示一个边界框,格式为:
<class_id> <x_center> <y_center> <width> <height>
由于你提到数据集中已有 XML 和 TXT 格式的标注文件,我们可以直接使用 TXT 文件进行训练。
环境部署说明
另外呢 首先,确保你已经安装了必要的库。以下是详细的环境部署步骤:
安装依赖
# 创建虚拟环境(可选)
conda create -n rust_detection_env python=3.9
conda activate rust_detection_env

# 安装PyTorch
pip install torch==1.9 torchvision torchaudio --extra-index-url https://download.pytorch.org/whl/cu111

# 安装其他依赖
pip install opencv-python pyqt5 ultralytics scikit-learn pandas matplotlib seaborn onnxruntime xml.etree.ElementTree
模型训练权重和指标可视化展示
我们将使用 YOLOv8 进行目标检测任务。
训练 YOLOv8
[<title="Training YOLOv8 for Rust Detection">]
from ultralytics import YOLO
import os

# Define paths
dataset_path = 'path/to/dataset'
weights_path = 'runs/train/exp/weights/best.pt'

# Create dataset.yaml
yaml_content = f"""
train: {os.path.join(dataset_path, 'images/train')}
val: {os.path.join(dataset_path, 'images/valid')}
test: {os.path.join(dataset_path, 'images/test')}

nc: 1
names: ['rust']
"""

with open(os.path.join(dataset_path, 'dataset.yaml'), 'w') as f:
    f.write(yaml_content)

# Train YOLOv8
model = YOLO('yolov8n.pt')  # Load a pretrained model (recommended for training)
results = model.train(data=os.path.join(dataset_path, 'dataset.yaml'), epochs=100, imgsz=640, save=True)

# Save the best weights
best_weights_path = os.path.join('runs', 'train', 'exp', 'weights', 'best.pt')
shutil.copy(best_weights_path, weights_path)
其次呢,请将 path/to/dataset 替换为实际的数据集路径。
模型评估
那么我们将使用 YOLOv8 提供的评估功能来评估训练好的模型性能。
评估 YOLOv8 模型
[<title="Evaluating YOLOv8 Model for Rust Detection">]
from ultralytics import YOLO

# Load the trained model
model = YOLO('runs/train/exp/weights/best.pt')

# Evaluate the model
results = model.val()

# Print evaluation results
metrics = results.metrics
print(metrics)
使用说明
-
配置路径:
- 将
path/to/dataset设置为存放数据集的目录路径。 - 确保
runs/train/exp/weights/best.pt是训练好的 YOLOv8 模型权重路径。
- 将
-
运行脚本:
- 在终端中运行
train_yolov8.py脚本来训练模型。 - 在终端中运行
evaluate_yolov8.py来评估模型性能。
- 在终端中运行
-
注意事项:
- 确保所有必要的工具箱已安装,特别是 PyTorch 和 ultralytics。
- 根据需要调整参数,如
epochs和imgsz。
示例
假设你的数据文件夹结构如下:
dataset/
├── images/
│   ├── train/
│   │   ├── image1.jpg
│   │   ├── image2.jpg
│   │   └── ...
│   ├── test/
│   │   ├── image3.jpg
│   │   ├── image4.jpg
│   │   └── ...
│   └── valid/
│       ├── image5.jpg
│       ├── image6.jpg
│       └── ...
├── annotations/
│   ├── train/
│   │   ├── image1.xml
│   │   ├── image2.xml
│   │   └── ...
│   ├── test/
│   │   ├── image3.xml
│   │   ├── image4.xml
│   │   └── ...
│   └── valid/
│       ├── image5.xml
│       ├── image6.xml
│       └── ...
└── labels/
    ├── train/
    │   ├── image1.txt
    │   ├── image2.txt
    │   └── ...
    ├── test/
    │   ├── image3.txt
    │   ├── image4.txt
    │   └── ...
    └── valid/
        ├── image5.txt
        ├── image6.txt
        └── ...
并且每个 .txt 文件中都有正确的 YOLO 标签。运行 main_window.py 后,你可以通过点击按钮来加载图像并进行疾病分类。
总结
构建一个完整的基于 YOLOv8 的输电塔锈蚀检测系统,包括数据集准备、环境部署、模型训练、指标可视化展示和评估。以下是所有相关的代码文件:
- 训练 YOLOv8 脚本 (
train_yolov8.py) - 评估 YOLOv8 模型脚本 (
evaluate_yolov8.py)
3
学习········


 357
357

 被折叠的 条评论
为什么被折叠?
被折叠的 条评论
为什么被折叠?
 到【灌水乐园】发言


