


v0.18.0 的特性5 通过OpenAI 的API 进行Agent 调用。本文基于这篇文章 RagFlow-v0.18.0 新特性-3 Agent 版本控制所创建的Agent 进行API 的调用。
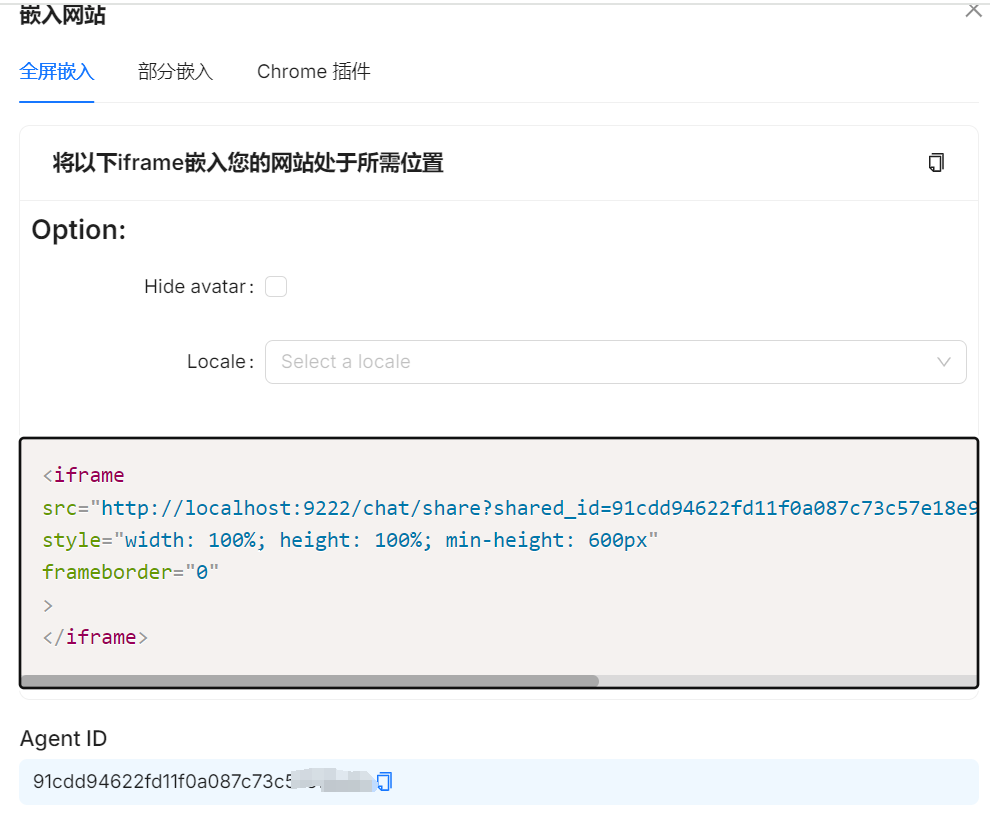
1.获取AgentID
在Agent 详情页面,“嵌入网站”功能中,最下面能够找到AgentID,复制AgentID
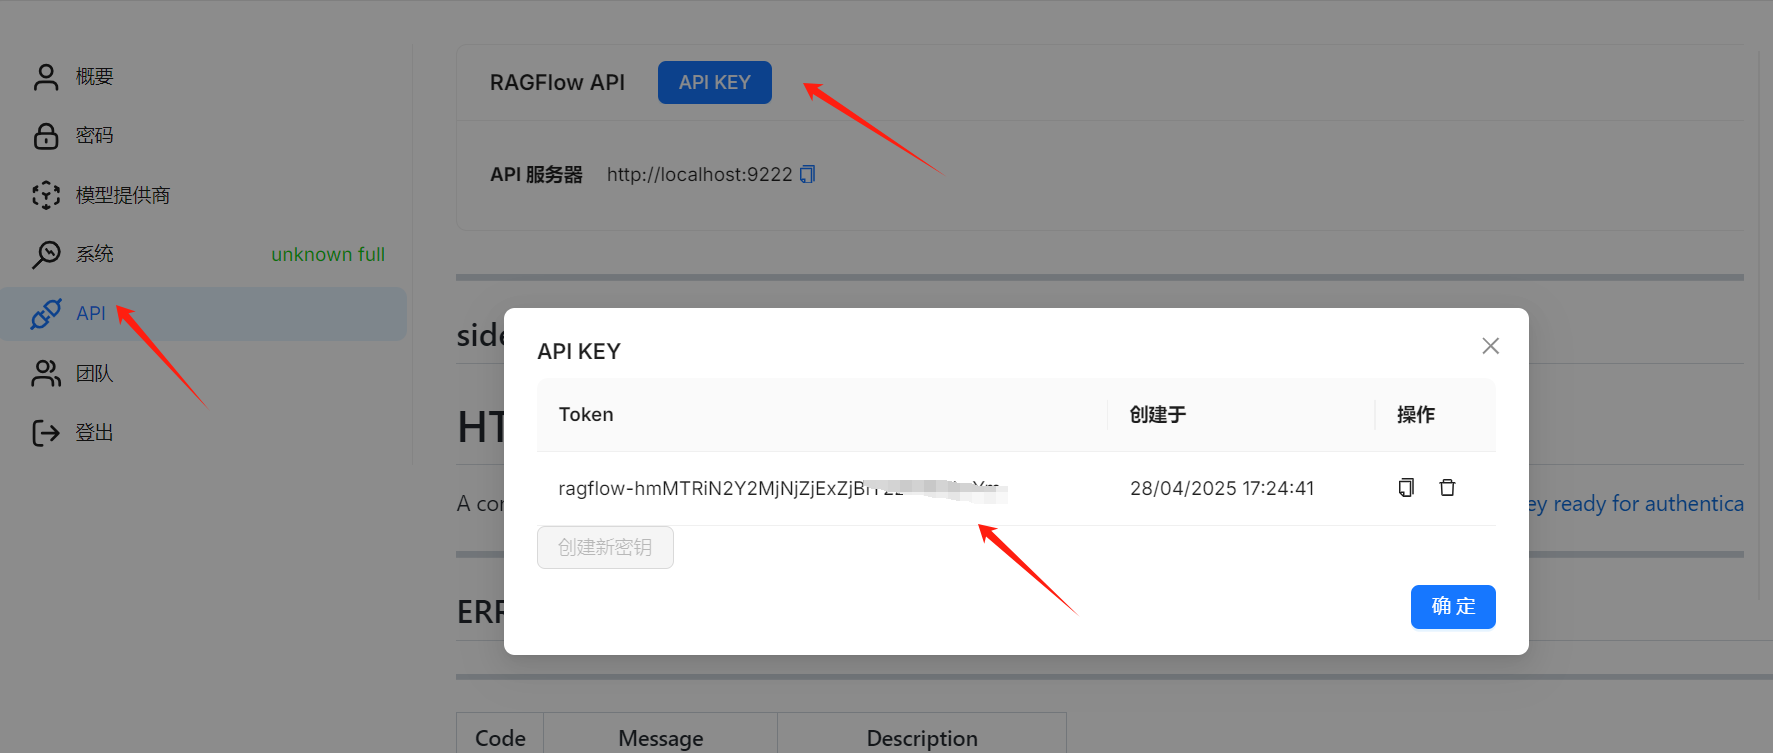
2.获取APK-KEY
3.撰写脚本进行Session 创建
curl --request POST \
     --url http://{address}/api/v1/agents/{agent_id}/sessions \
     --header 'Content-Type: application/json' \
     --header 'Authorization: Bearer <YOUR_API_KEY>' \
     --data '{
     }'


curl --request POST \
     --url http://localhost:9222/api/v1/agents/91cdd94622fd11f0a087c73c57e18e9b/sessions \
     --header 'Content-Type: application/json' \
     --header 'Authorization: Bearer ragflow-hmMTRiN2Y2MjNjZjExZjBiY2ZhODdmYm' \
     --data '{

     }'
address: 启动Ragflow 的url地址,我本地是localhost:9222
agent_id: 页面创建agent 的id
YOUR_API_KEY: 从RagFlow 页面的设置,API功能中获取API-KEY
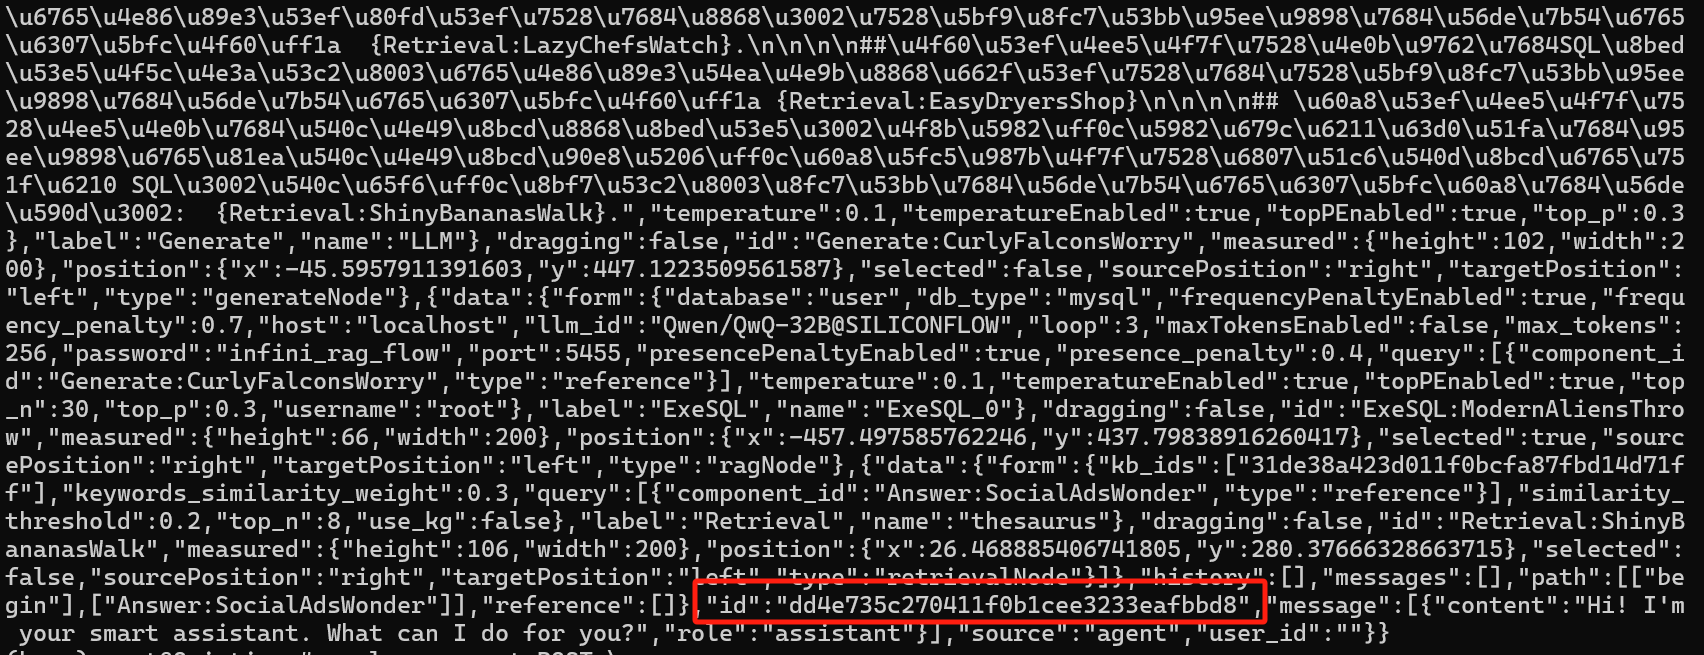
4. 借助步骤3中返回的SessionID 请求Agent
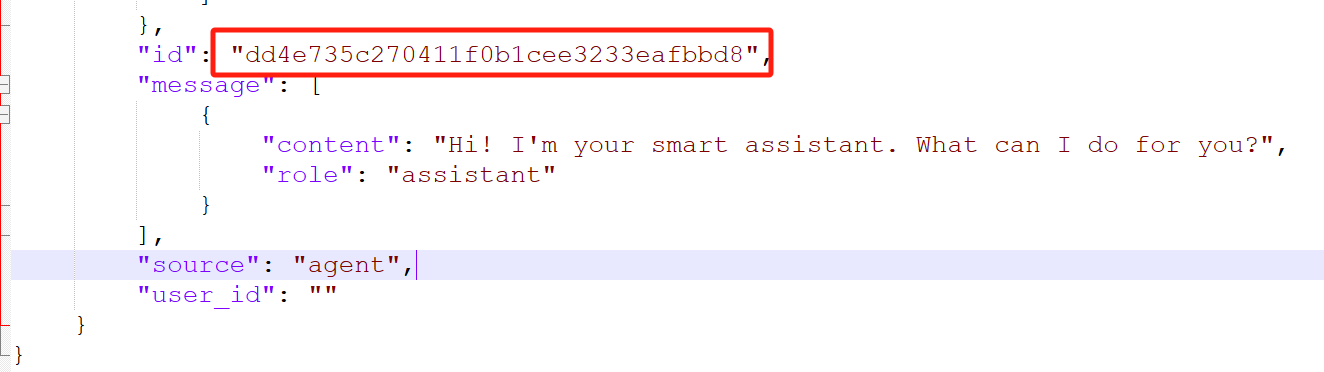
步骤3中,返回结果最后返回了id字段。
格式化一下:
编写脚本,请求Agent
curl --request POST \
     --url http://{address}/api/v1/agents/{agent_id}/completions \
     --header 'Content-Type: application/json' \
     --header 'Authorization: Bearer <YOUR_API_KEY>' \
     --data-binary '
     {
          "question": "问题",
          "stream": true,
          "session_id": "sessionID"
     }'


 curl --request POST  \
--url http://localhost:9222/api/v1/agents/91cdd94622fd11f0a087c73c57e18e9b/completions  \
--header 'Content-Type: application/json' \
--header 'Authorization: Bearer ragflow-hmMTRiN2Y2MjNjZjExZjBiY2ZhODdmYm'  \
--data-binary '
     {
          "question": "所有用户的邮箱",
          "stream": true,
          "session_id": "dd4e735c270411f0b1cee3233eafbbd8"
     }'
请求结果如下: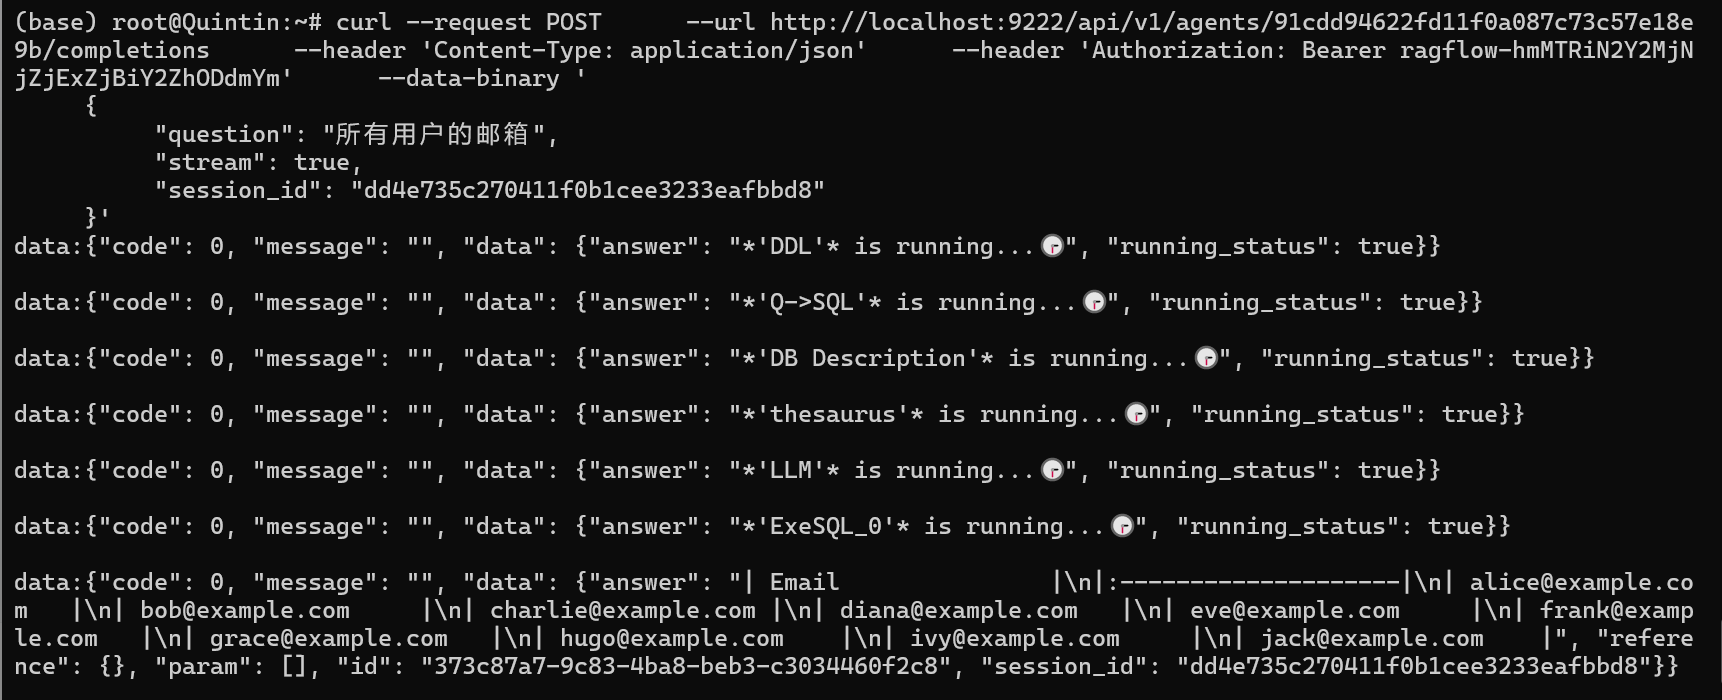
总结: 这个功能可以让RagFlow 的Agent 通过后台集成的方式集成到其他应用中。可以通过创建Session 并调用Agent接口来实现一个NL2SQL 的功能


 被折叠的 条评论
为什么被折叠?
被折叠的 条评论
为什么被折叠?
 到【灌水乐园】发言


