


一、目标检测介绍
目标检测(Object Detection)是计算机视觉领域的一项重要技术,旨在识别图像或视频中的特定目标并确定其位置。通过训练深度学习模型,如卷积神经网络(CNN),可以实现对各种目标的精确检测。常见的目标检测任务包括:人脸检测、行人检测、车辆检测等。目标检测在安防监控、自动驾驶、智能零售等领域具有广泛应用前景。
资料获取
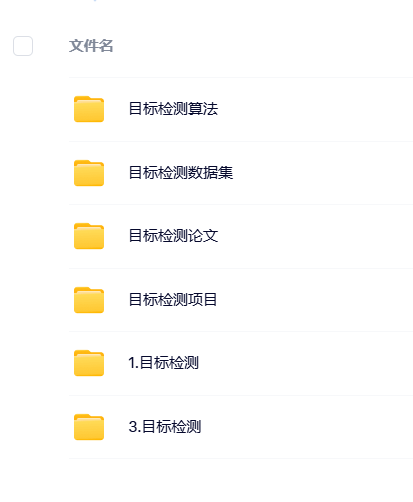
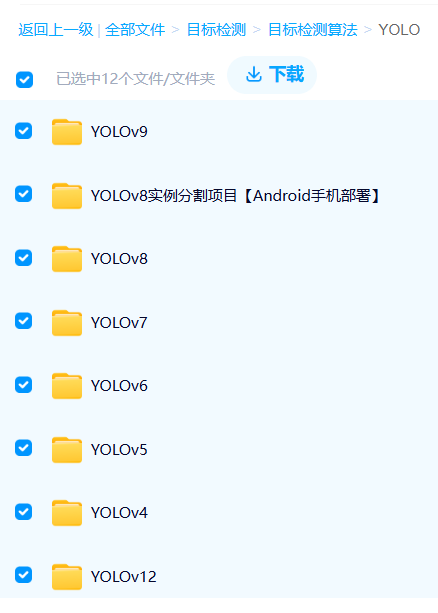
为了方便大家学习,我整理了一份目标检测的资料,包含YOLOv1-v12全系列的论文+代码+项目
除此之外还有100G人工智能学习资料
包含数学与Python编程基础、深度学习+机器学习入门到实战,计算机视觉+自然语言处理+大模型资料合集,不仅有配套教程讲义还有对应源码数据集。更有零基础入门学习路线,不论你处于什么阶段,这份资料都能帮助你更好地入门到进阶。
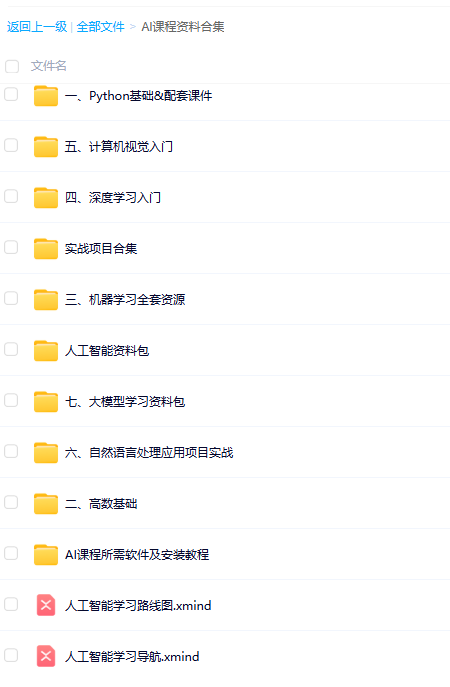
需要的兄弟可以按照这个图的方式免费获取

二、YOLOv8介绍
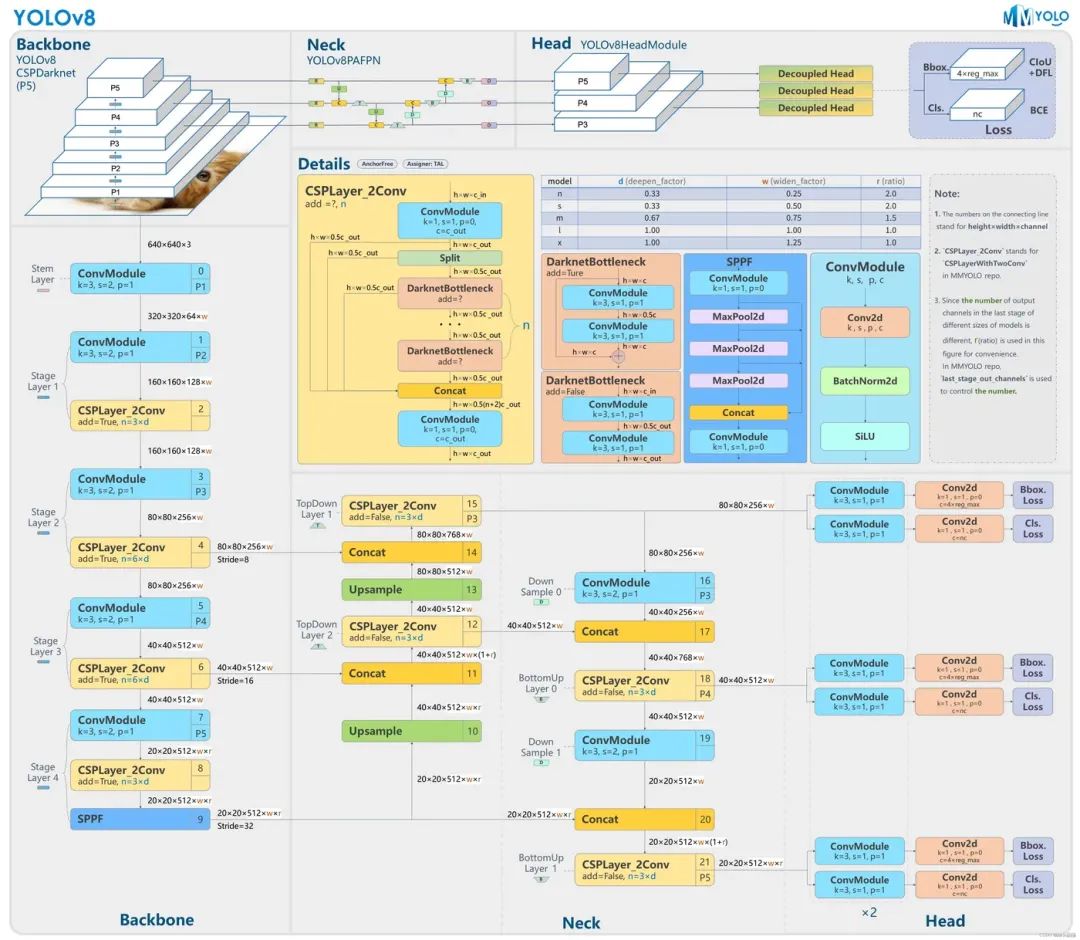
YOLOv8 是 Ultralytics 公司在 2023 年 1月 10 号开源的 YOLOv5 的下一个重大更新版本,目前支持图像分类、物体检测和实例分割任务,在还没有开源时就收到了用户的广泛关注。YOLOv8 抛弃了前几代模型的 Anchor-Base,提供了一个全新的 SOTA 模型,包括 P5 640 和 P6 1280 分辨率的目标检测网络和基于 YOLACT 的实例分割模型。和 YOLOv5 一样,基于缩放系数也提供了 N/S/M/L/X 尺度的不同大小模型,用于处理不同大小的输入图像 。
三、源码获取
https://github.com/ultralytics/ultralytics
四、环境搭建
CPU环境安装
conda create -n YOLOv8 python==3.8.1
pip install ultralytics -i https://pypi.tuna.tsinghua.edu.cn/simple
GPU环境安装参考这个链接:
https://developer.aliyun.com/article/1624222
# 安装CUDA、CUDNN、Python、Pytorch、Torchvision  这里每个版本要相互对应
pip install ultralytics -i https://pypi.tuna.tsinghua.edu.cn/simple
4.1 环境检测
下载yolov8n.pt和bus.jpg
https://github.com/ultralytics/assets/releases/download/v0.0.0/yolov8n.pt
https://ultralytics.com/images/bus.jpg
命令行输入:
yolo predict model=yolov8n.pt source='ultralytics/data/images/bus.jpg'
就会看到这个图片:

五、数据集准备
这时候说明环境是没问题的了,我们可以准备数据集了,数据集的格式就是TXT标签加原图片,可参考YOLOv5这个博客:
https://developer.aliyun.com/article/1626089
六、 模型训练
6.1 方式一
YOLO(“yolov8n.pt”) 表示用预训练模型
YOLO(“yolov8n.yaml”)表示正常训练
from ultralytics import YOLO
# Load a model
# model = YOLO("yolov8n.yaml") # build a new model from scratch
model = YOLO("yolov8n.pt") # load a pretrained model (recommended for training)
# Use the model
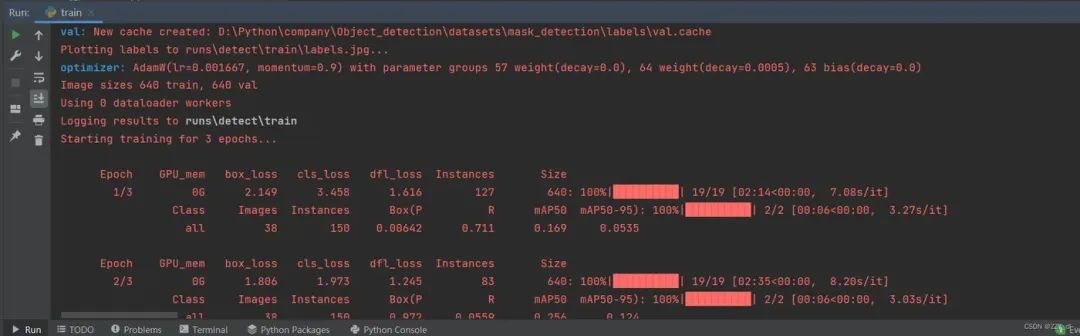
model.train(data="ultralytics/cfg/mask.yaml", epochs=3) # train the model
metrics = model.val() # evaluate model performance on the validation set
results = model("ultralytics/data/images/bus.jpg") # predict on an image
path = model.export(format="onnx") # export the model to ONNX format
6.2 方式二
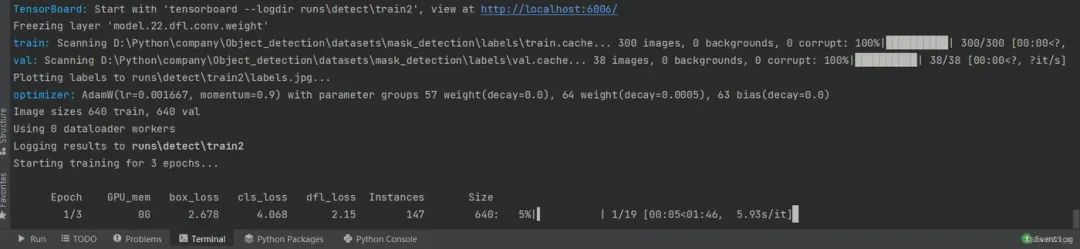
yolo task=detect mode=train model=yolov8n.pt data=ultralytics/cfg/mask.yaml epochs=3 batch=16
6.3 针对其他任务
包括四种:detect 、segment、classify 、pose
通过修改YOLO()导入正确任务的yaml配置文件,以及通过data来指定需要载入的对应任务的数据集即可。
这里的数据集我都是按照TXT标签和原图来进行划分的,具体格式如下:
-
images
-
train
-
val
-
labels
-
train
-
val
-
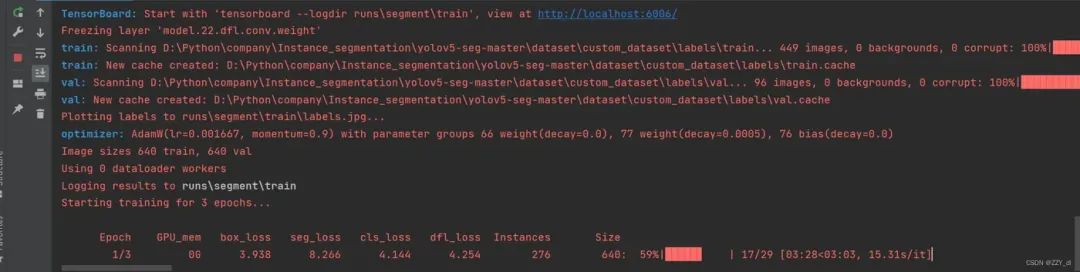
from ultralytics import YOLO

# Load a model
model = YOLO("ultralytics/cfg/models/v8/yolov8-seg.yaml")  # build a new model from scratch

# Use the model
model.train(data="ultralytics/cfg/custom_seg.yaml", epochs=3)  # train the model
metrics = model.val()  # evaluate model performance on the validation set
results = model("ultralytics/data/images/bus.jpg")  # predict on an image
path = model.export(format="onnx")  # export the model to ONNX format
针对实例分割任务也成功运行。
七、模型验证
yolo task=detect mode=val model=runs/detect/train/weights/best.pt data=ultralytics/cfg/mask.yaml device=cpu

八、模型测试
yolo task=detect mode=predict model=runs/detect/train/weights/best.pt source=ultralytics/data/images device=cpu
yolo task=detect mode=predict model=runs/detect/train/weights/best.pt source=ultralytics/data/images device=cpu

九、模型转换
9.1 转onnx
9.1.1 方式一
根据YOLOv8官网所给代码来实现:
yolo export model=yolov8s.pt format=onnx opset=12
其次,可以通过ultralytics API导出onnx模型,并同时将bbox解码器和NMS等后处理添加到onnx模型中。
YOLOv8-TensorRT:
https://github.com/triple-Mu/YOLOv8-TensorRT
python export-det.py \
--weights yolov8s.pt \
--iou-thres 0.65 \
--conf-thres 0.25 \
--topk 100 \
--opset 11 \
--sim \
--input-shape 1 3 640 640 \
--device cuda:0
9.2 转tensorRT
9.2.1 trtexec
最简单的方式是使用TensorRT的bin文件夹下的trtexec.exe可执行文件。
trtexec.exe --onnx=best.onnx --saveEngine=best.engine --fp16
9.2.2 代码转换
代码链接:YOLOv8-TensorRT
https://github.com/triple-Mu/YOLOv8-TensorRT
python3 build.py \
--weights yolov8s.onnx \
--iou-thres 0.65 \
--conf-thres 0.25 \
--topk 100 \
--fp16  \
--device cuda:0
9.2.3 推理代码
完整版代码查看链接:
https://developer.aliyun.com/article/1626090


 被折叠的 条评论
为什么被折叠?
被折叠的 条评论
为什么被折叠?
 到【灌水乐园】发言


