~~~~我的生活,我的点点滴滴!!
cpp-tests里面例子LabelTest和LabelNewTest里面演示了各种显示内容的方法及效果,大家可以自行去查看,我这里随便列点人看完需要记录一下的几
个例子。
我们最常用的4种文本标签是:Label, LabelAtlas, LabelTTF和LabelBMFont,其中3.x尤其提倡使用Lable代替LabelTTF和LabelBMFont,因为Label在渲
染速度上较其快。不过看源码注释LabelAtlas比Label更快。不过LabelAtlas支持的文字有限制,他是使用图片作为文字,只支持PNG文件和PLIST文件。
这样一来很多时候还是需要Label。
下面解释下LabelAtlas::create()的5个参数:
第一个参数:标签要显示的内容
第二个参数:图片资源的名称
第三个参数:每个字符的宽度,这个是在制作图片的时候自己设置的,上面代码中的字符宽度为48px,是制图时确定的
第四个参数:每个字符的高度,同理,我们使用的图的每个字符高度为64px
第五个参数:开始字符,该参数帮助找到第一个字符
代码样例:
auto label1 = LabelAtlas::create("123 Test", "fonts/tuffy_bold_italic-charmap.plist");
addChild(label1, 0, kTagSprite1);
label1->setPosition( Vec2(10,100) );
//设置透明度0-255
label1->setOpacity( 200 );
1、Label替代LabelAtlas的函数接口:
static Label * createWithCharMap(const std::string& charMapFile, int itemWidth, int itemHeight, int startCharMap);
static Label * createWithCharMap(Texture2D* texture, int itemWidth, int itemHeight, int startCharMap);
static Label * createWithCharMap(const std::string& plistFile);
这样一来,其实统一使用Label也是很方便的。上面LabelAtlas的使用样例改成Label的接口如下:
auto label1 = Label::createWithCharMap("fonts/tuffy_bold_italic-charmap.plist");
addChild(label1, 0, kTagSprite1);
label1->setAnchorPoint(Vec2::ANCHOR_BOTTOM_LEFT);
label1->setPosition( Vec2(10,100) );
label1->setOpacity( 200 );
2、Label替代BMFont的函数接口:
static Label* createWithBMFont(const std::string& bmfontFilePath, const std::string& text,
        const TextHAlignment& alignment = TextHAlignment::LEFT, int maxLineWidth = 0,
        const Vec2& imageOffset = Vec2::ZERO);
// Upper Label
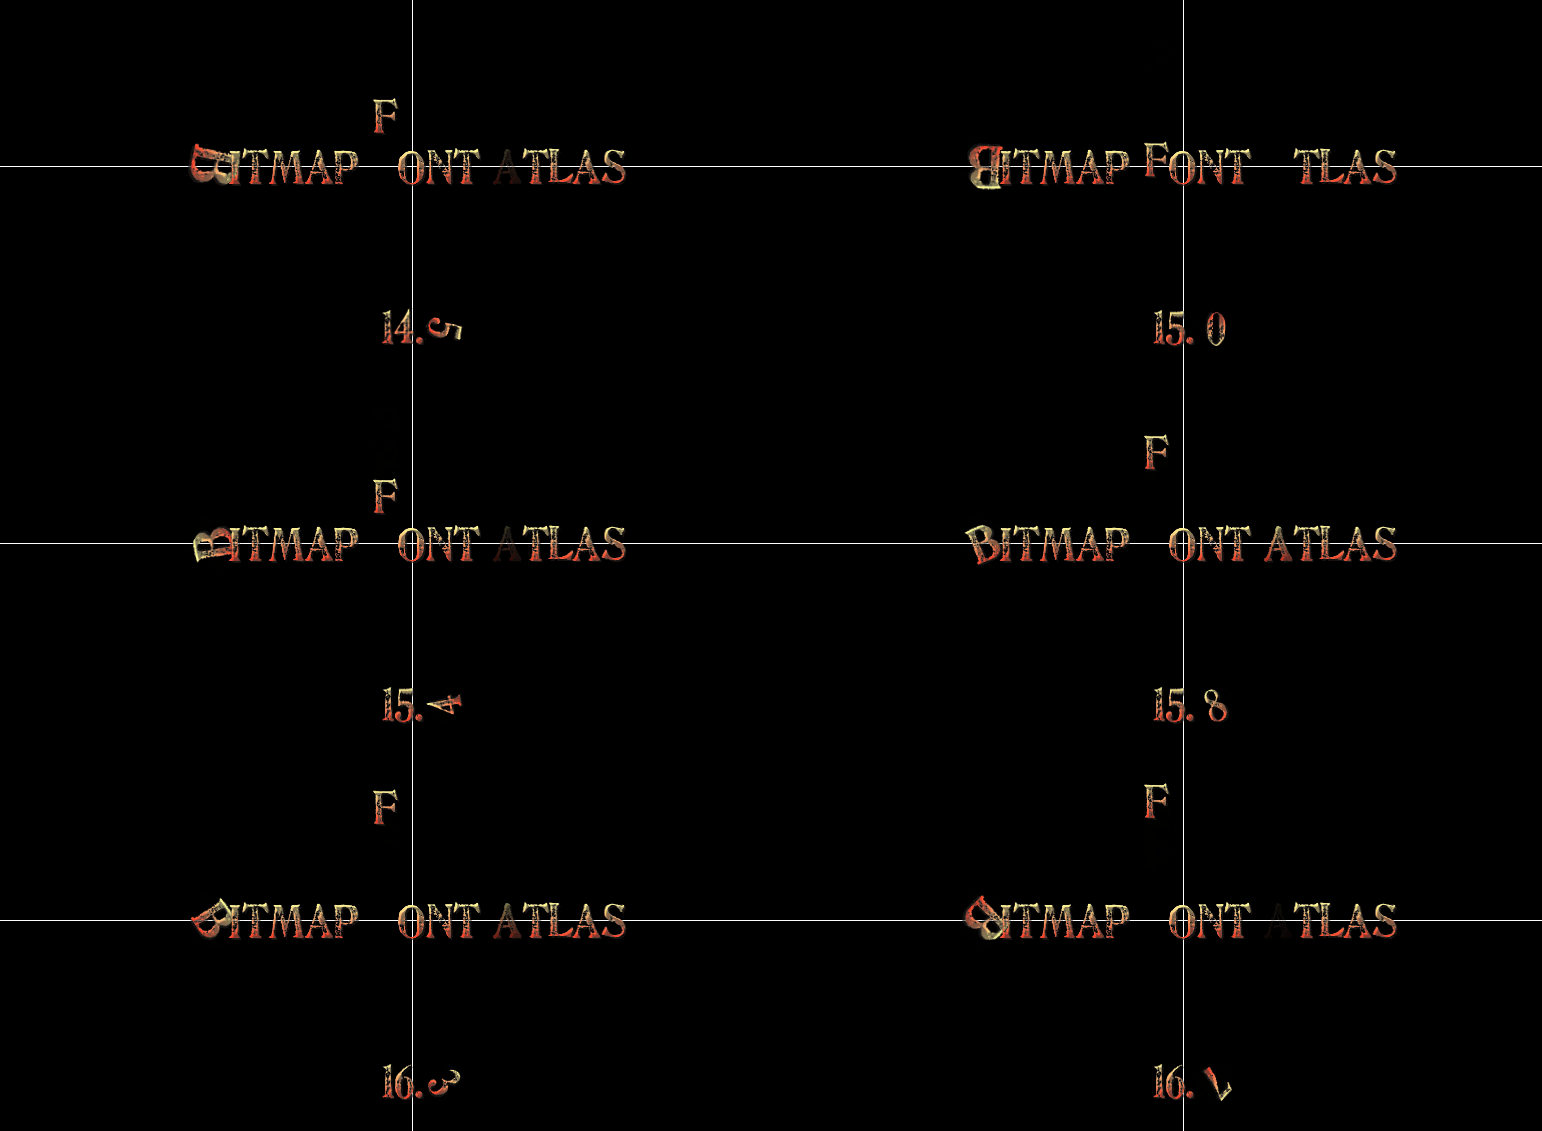
auto label = Label::createWithBMFont("fonts/bitmapFontTest.fnt", "Bitmap Font Atlas");
addChild(label);

auto s = Director::getInstance()->getWinSize();
label->setPosition( Vec2(s.width/2, s.height/2) );
//3.x以前这里用的不是getLetter()这个接口用的getChildByTag()
//那个接口第一眼看到时,我没有想到是里面一个一个单词作为其child
//也就是说其实没有使用getLetter()这么直白,让人一看就知道取的是里面的内容
//这个例子很有意思,把里面某一些位置的单词挑出来做一些运行,很让我开眼界,
//居然还可以这样玩。
auto BChar = (Sprite*) label->getLetter(0);
auto FChar = (Sprite*) label->getLetter(7);
auto AChar = (Sprite*) label->getLetter(12);

auto rotate = RotateBy::create(2, 360);
auto rot_4ever = RepeatForever::create(rotate);

//放大
auto scale = ScaleBy::create(2, 1.5f);
auto scale_back = scale->reverse();
auto scale_seq = Sequence::create(scale, scale_back,nullptr);
auto scale_4ever = RepeatForever::create(scale_seq);

//跳
auto jump = JumpBy::create(0.5f, Vec2::ZERO, 60, 1);
auto jump_4ever = RepeatForever::create(jump);

//淡入淡出
auto fade_out = FadeOut::create(1);
auto fade_in = FadeIn::create(1);
auto seq = Sequence::create(fade_out, fade_in, nullptr);
auto fade_4ever = RepeatForever::create(seq);

BChar->runAction(rot_4ever);
BChar->runAction(scale_4ever);
FChar->runAction(jump_4ever);
AChar->runAction(fade_4ever);
这个例子的效果很好玩,也给我开了视野,居然可以这样玩,让一行字符串里面单个字母做一些特殊的动作,但是这一行字符串是一个整体,即是一个BMFont对象。
3、Label替代TTF的函数接口
static Label * createWithTTF(const std::string& text, const std::string& fontFile, float fontSize,
        const Size& dimensions = Size::ZERO, TextHAlignment hAlignment = TextHAlignment::LEFT,
        TextVAlignment vAlignment = TextVAlignment::TOP);

    /** Create a label with TTF configuration
     * @warning Not support font name.
     * @warning Cache textures for each different font file when enable distance field.
     * @warning Cache textures for each different font size or font file when disable distance field.
     */
    static Label* createWithTTF(const TTFConfig& ttfConfig, const std::string& text, TextHAlignment alignment = TextHAlignment::LEFT, int maxLineWidth = 0);
看第二个接口里面有TTFConfig,他其实是一个结构体对象 ,里面包括一个属性,自行去看源码吧。
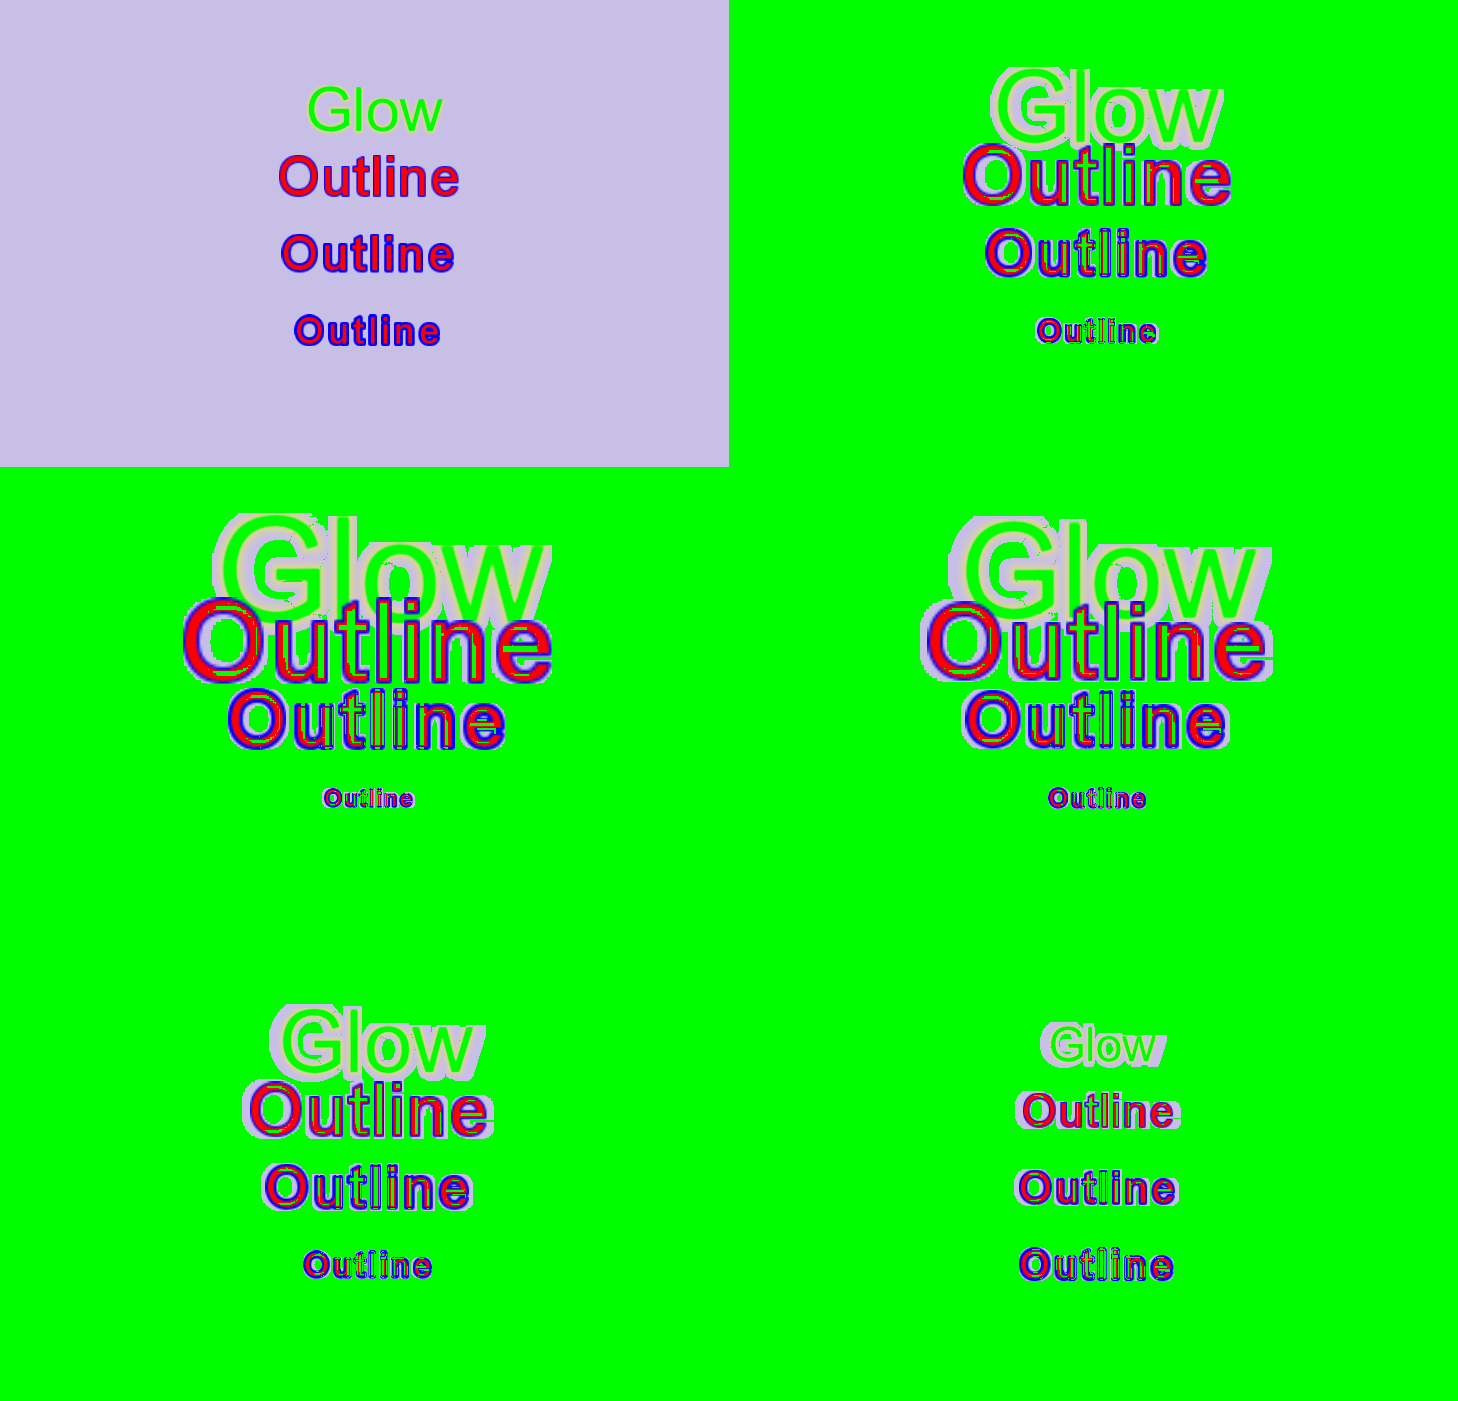
下面看一个利用TTF产生发光文字及做一个动作的例子:
利用TTFConfig简单的产生一个TTF文本对象
//auto size = Director::getInstance()->getWinSize();
使用TTFConfig来创建TTF
//TTFConfig ttfConfig("fonts/arial.ttf", 23);
//_label = Label::createWithTTF(ttfConfig,LongSentencesExample, TextHAlignment::CENTER, size.width);
//_label->setPosition( Vec2(size.width/2, size.height/2) );


auto size = Director::getInstance()->getWinSize();

auto bg = LayerColor::create(Color4B(200,191,231,255));
this->addChild(bg);

TTFConfig ttfConfig("fonts/arial.ttf", 40, GlyphCollection::DYNAMIC,nullptr,true);

auto label1 = Label::createWithTTF(ttfConfig,"Glow", TextHAlignment::CENTER, size.width);
label1->setPosition( Vec2(size.width/2, size.height*0.7) );
//设置字体颜色;
label1->setTextColor( Color4B::GREEN );
//设置字体外圈发光,只适用TTF;
label1->enableGlow(Color4B::YELLOW);
addChild(label1);
//设置变大变小效果;
ScaleBy *scaleBy1 = ScaleBy::create(2.0f, 4);
label1->runAction(RepeatForever::create(Sequence::create(scaleBy1,scaleBy1->reverse(), nullptr)));

ttfConfig.outlineSize = 1;
auto label2 = Label::createWithTTF(ttfConfig,"Outline", TextHAlignment::CENTER, size.width);
label2->setPosition( Vec2(size.width/2, size.height*0.6) );
label2->setTextColor( Color4B::RED );
//设置字体有外部轮廓,颜色为蓝色,只适用TTF;
label2->enableOutline(Color4B::BLUE);
addChild(label2);
ScaleBy *scaleBy2 = ScaleBy::create(2.0f, 3);
label2->runAction(RepeatForever::create(Sequence::create(scaleBy2,scaleBy2->reverse(), nullptr)));

//轮廓线的宽度;
ttfConfig.outlineSize = 2;
auto label3 = Label::createWithTTF(ttfConfig,"Outline", TextHAlignment::CENTER, size.width);
label3->setPosition( Vec2(size.width/2, size.height*0.48) );
label3->setTextColor( Color4B::RED );
label3->enableOutline(Color4B::BLUE);
addChild(label3);
ScaleBy *scaleBy3 = ScaleBy::create(2.0f, 2);
label3->runAction(RepeatForever::create(Sequence::create(scaleBy3,scaleBy3->reverse(), nullptr)));

ttfConfig.outlineSize = 3;
auto label4 = Label::createWithTTF(ttfConfig,"Outline", TextHAlignment::CENTER, size.width);
label4->setPosition( Vec2(size.width/2, size.height*0.36) );
label4->setTextColor( Color4B::RED );
label4->enableOutline(Color4B::BLUE);
addChild(label4);
ScaleBy *scaleBy4 = ScaleBy::create(2.0f, 0.5);
label4->runAction(RepeatForever::create(Sequence::create(scaleBy4,scaleBy4->reverse(), nullptr)));
效果图是带有一些特殊样式的文字做放大缩小的动作。
貌似录制软件录完后效果不是很好。
4、Lable支持的shadow
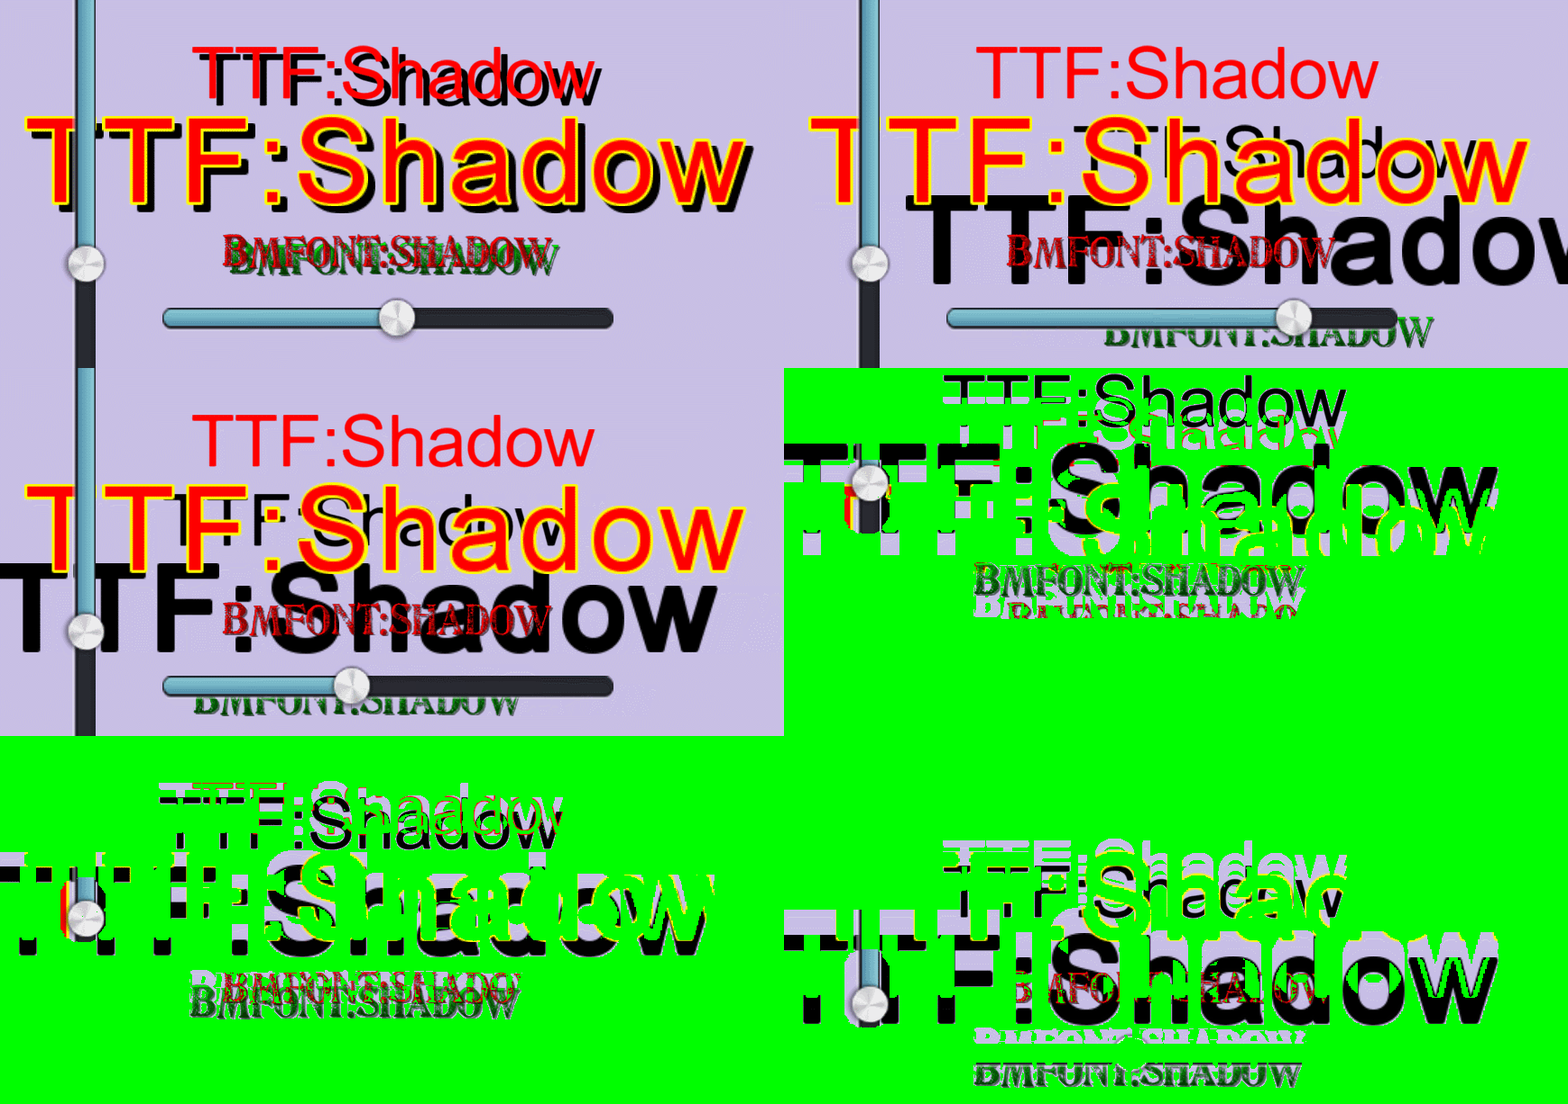
Label其实也支持一些简单的特效,上面的例子就能很好的说明,下面测试一下shadow效果
首先我们要用到ui::Slider这个类,所以我们需要先做下面两句操作
4.1、添加头文件#include "ui/CocosGUI.h"
4.2、添加命名空间using namespace ui; 当然可以不加,那写起来就带上ui::
代码:
auto size = Director::getInstance()->getWinSize();

auto bg = LayerColor::create(Color4B(200,191,231,255));
this->addChild(bg);

TTFConfig ttfConfig("fonts/arial.ttf", 40, GlyphCollection::DYNAMIC,nullptr,true);

shadowLabelTTF = Label::createWithTTF(ttfConfig,"TTF:Shadow");
shadowLabelTTF->setPosition( Vec2(size.width/2, size.height*0.65f) );
shadowLabelTTF->setTextColor( Color4B::RED );
//只支持模糊效果,后面还有一个默认参数表示偏移量
shadowLabelTTF->enableShadow(Color4B::BLACK);
addChild(shadowLabelTTF);

shadowLabelOutline = Label::createWithTTF(ttfConfig,"TTF:Shadow");
shadowLabelOutline->setPosition( Vec2(size.width/2, size.height*0.5f) );
shadowLabelOutline->setTextColor( Color4B::RED );
shadowLabelOutline->enableOutline(Color4B::YELLOW,1);
shadowLabelOutline->enableShadow(Color4B::BLACK);
addChild(shadowLabelOutline);

shadowLabelBMFont = Label::createWithBMFont("fonts/bitmapFontTest.fnt", "BMFont:Shadow");
shadowLabelBMFont->setPosition( Vec2(size.width/2, size.height*0.35f) );
shadowLabelBMFont->setColor( Color3B::RED );
shadowLabelBMFont->enableShadow(Color4B::GREEN);
addChild(shadowLabelBMFont);

//产生一个滑竿对象,所需要的头文件及域名上面有介绍
auto slider = ui::Slider::create();
slider->setTag(1);
//要开启自身能被touch
slider->setTouchEnabled(true);
//设置滑杆的纹理,即其值为0时整个滑杆的颜色
slider->loadBarTexture("cocosui/sliderTrack.png");
//设置滑杆的滑轮
slider->loadSlidBallTextures("cocosui/sliderThumb.png", "cocosui/sliderThumb.png", "");
//设置滑竿上的进度条
slider->loadProgressBarTexture("cocosui/sliderProgress.png");
slider->setPosition(Vec2(size.width / 2.0f, size.height * 0.15f + slider->getContentSize().height * 2.0f));
//设置初始百分值
slider->setPercent(52);
//绑定滑杆事件,会有一个回调函数来根据值产生相应的效果
slider->addEventListener(CC_CALLBACK_2(LabelShadowTest::sliderEvent, this));
addChild(slider);

//有没有发现,我们并没有设置他的方向,但是通过后面看效果图,你会发现他水平与竖直两个不同方向
//那么问题来了?不是去山东找蓝翔,是他的方向是怎么设置的,下面揭晓答案:
//ui::Slider是方向默认是水平的,要想改变方向,那就使用旋转吧setRotation();
auto slider2 = ui::Slider::create();
slider2->setTag(2);
slider2->setTouchEnabled(true);
slider2->loadBarTexture("cocosui/sliderTrack.png");
slider2->loadSlidBallTextures("cocosui/sliderThumb.png", "cocosui/sliderThumb.png", "");
slider2->loadProgressBarTexture("cocosui/sliderProgress.png");
slider2->setPosition(Vec2(size.width * 0.15f, size.height / 2.0));
//这里就是改变方向的秘密
slider2->setRotation(90);
slider2->setPercent(52);
slider2->addEventListener(CC_CALLBACK_2(LabelShadowTest::sliderEvent, this));
addChild(slider2);
ui::Slider自己管理了自己的触摸,不需要我去控制他是怎么移动的,所以我们只需要绑定监听事件addEventListener()去计算他的改变就ok了,下面是
他的监听回调函数。
void HelloWorld::sliderEvent(Ref *pSender, ui::Slider::EventType type)
{
	//计算偏移量
    if (type == Slider::EventType::ON_PERCENTAGE_CHANGED)
    {
        Slider*  slider = (Slider*)this->getChildByTag(1);
        Slider*  slider2 = (Slider*)this->getChildByTag(2);

        auto offset = Size(slider->getPercent()-50,50 - slider2->getPercent());
        shadowLabelTTF->enableShadow(Color4B::BLACK,offset);
        shadowLabelBMFont->enableShadow(Color4B::GREEN,offset);
        shadowLabelOutline->enableShadow(Color4B::BLACK,offset);
    }
}
效果图:
失真了。


 1266
1266

 被折叠的 条评论
为什么被折叠?


