


工具使用
安装

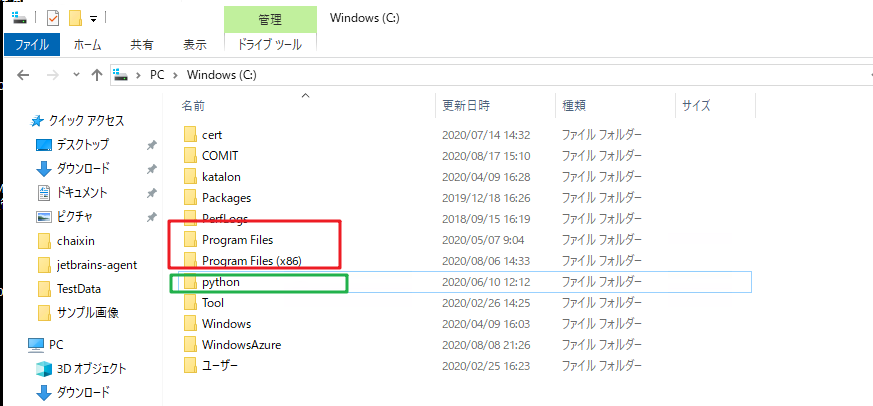
如果是往塔台上安装的话,不要安装在系统默认的路径下,另存一个目录,就有操作权限了
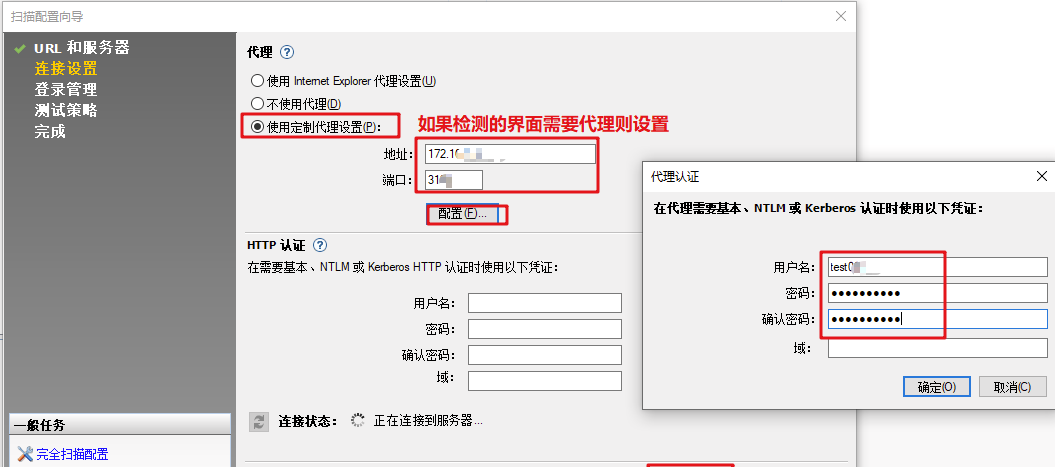
环境部署
打开界面后,展示如下
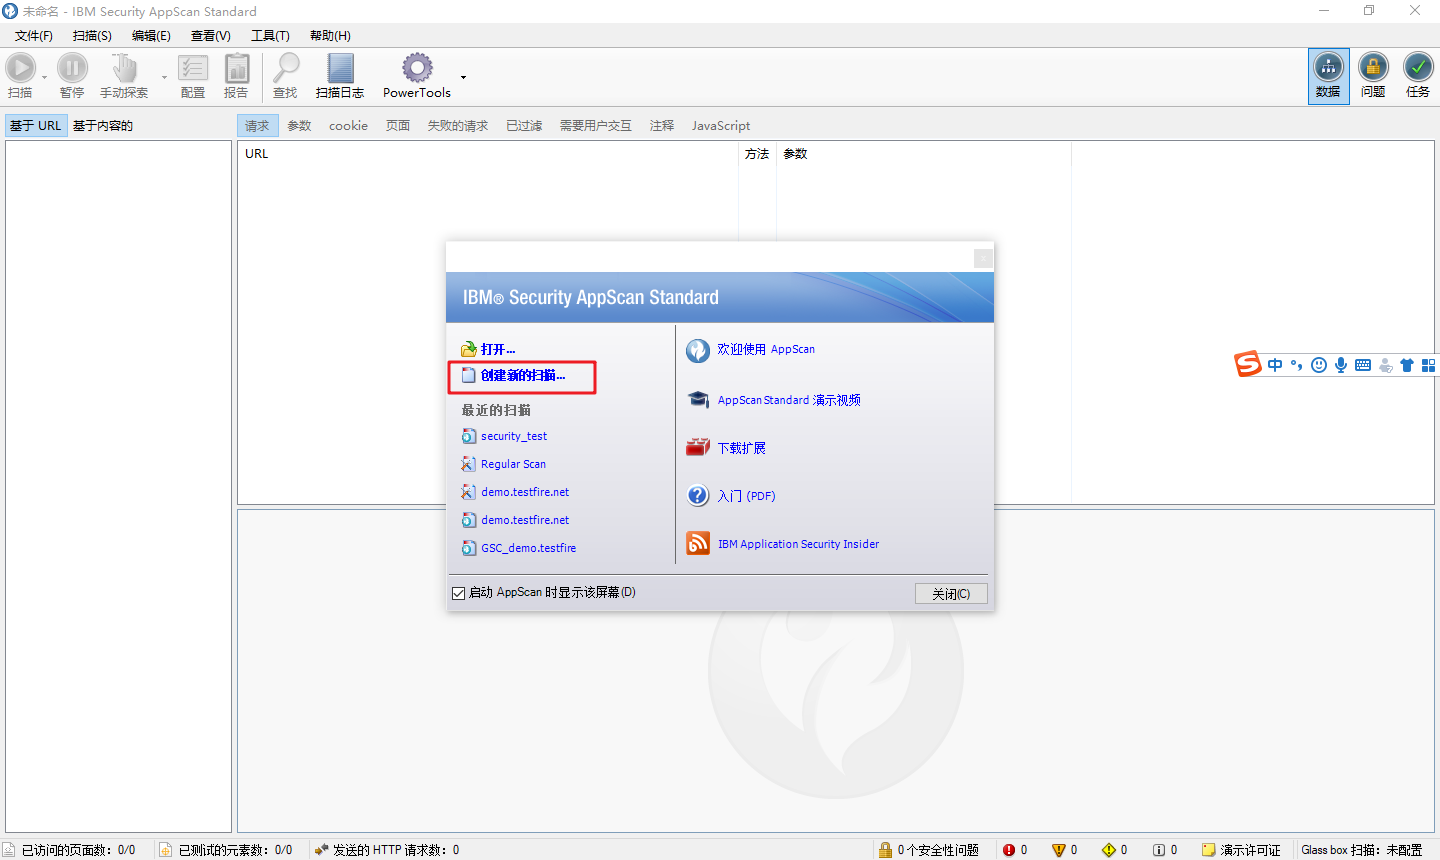
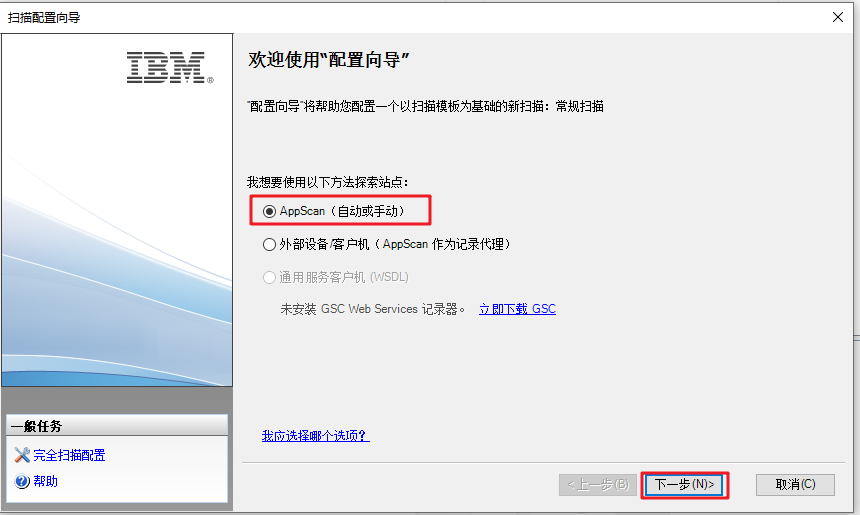
选择常规扫描

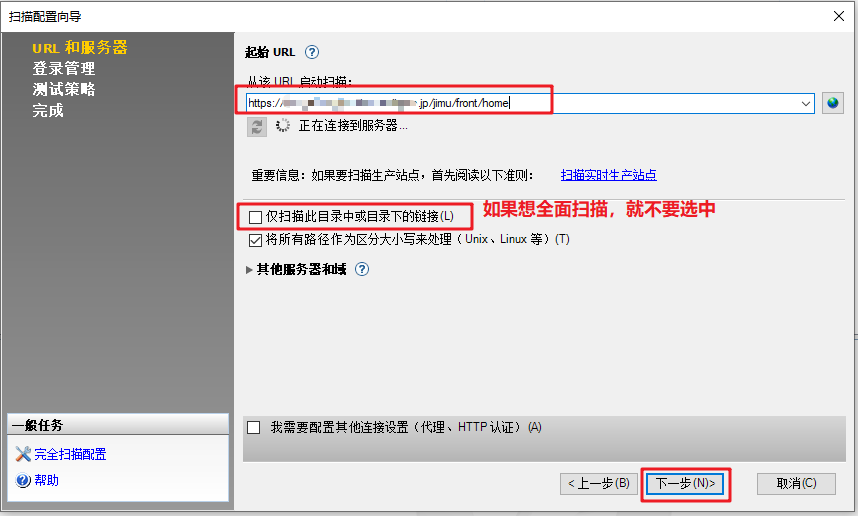
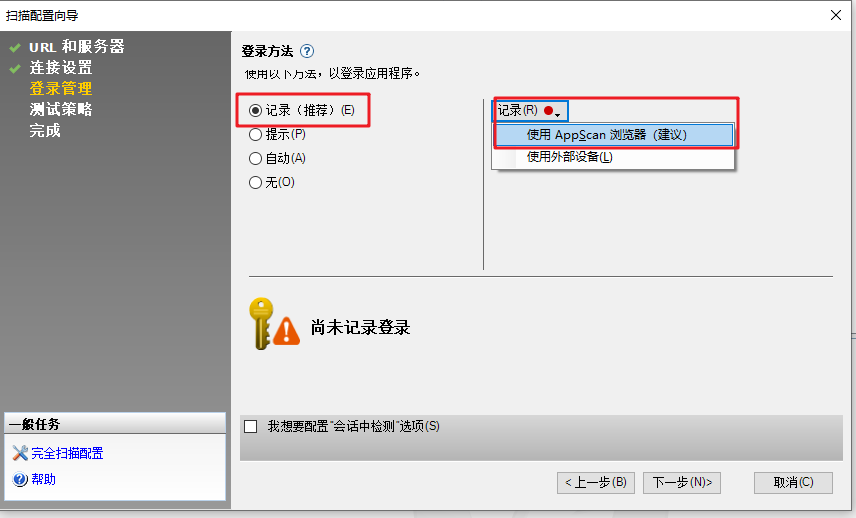
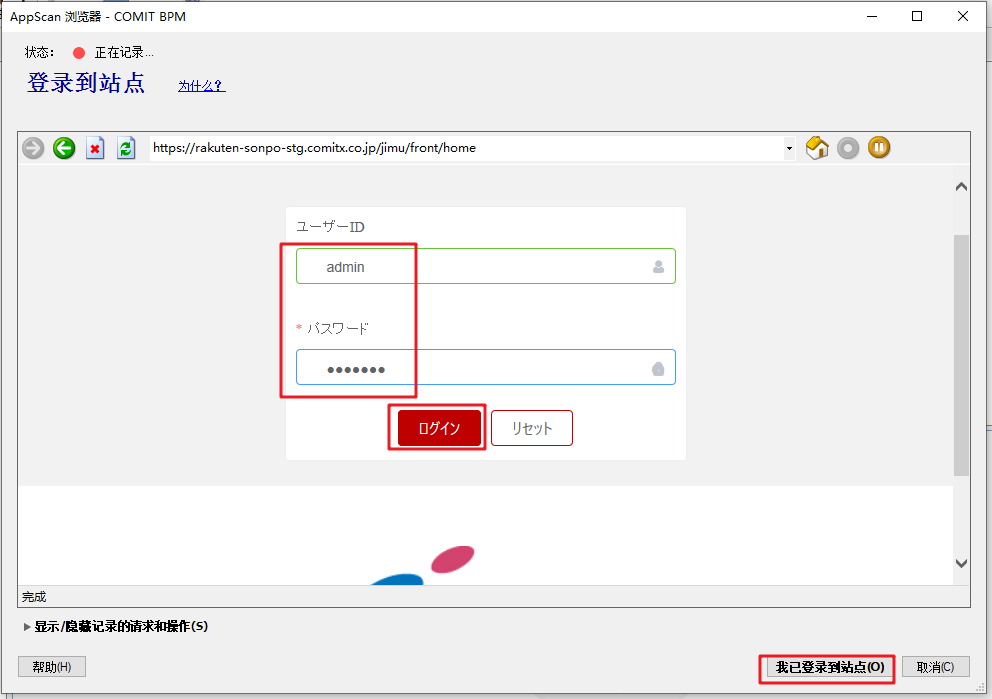
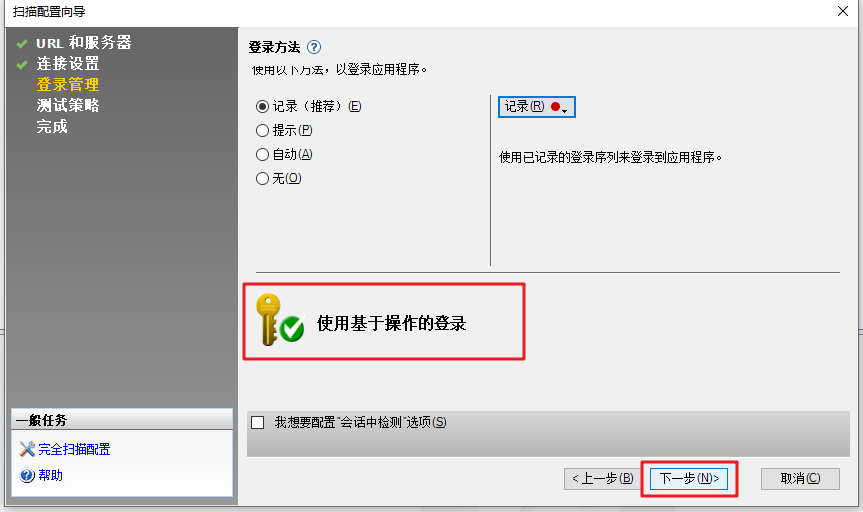
输入被测系统,登录系统,点击我已登录,等待系统自动记录登录密码和用户名
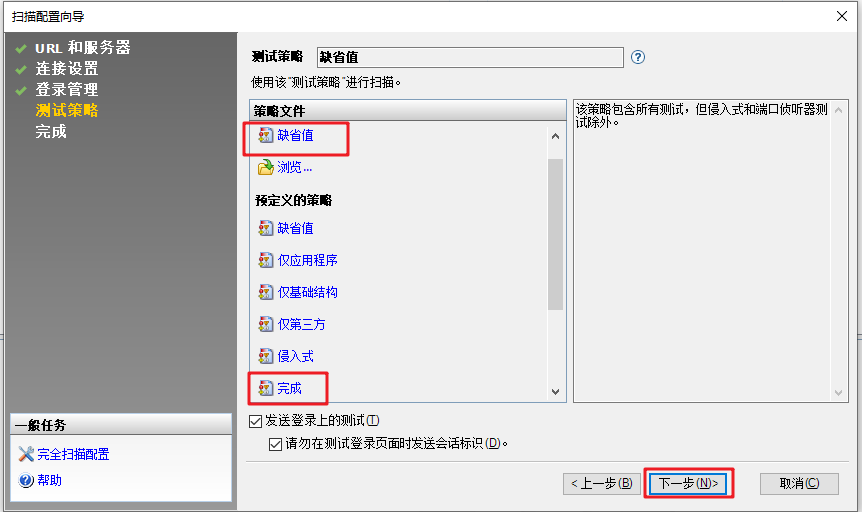
选择框中的两种模式的都有,暂时不太清楚应该选哪个
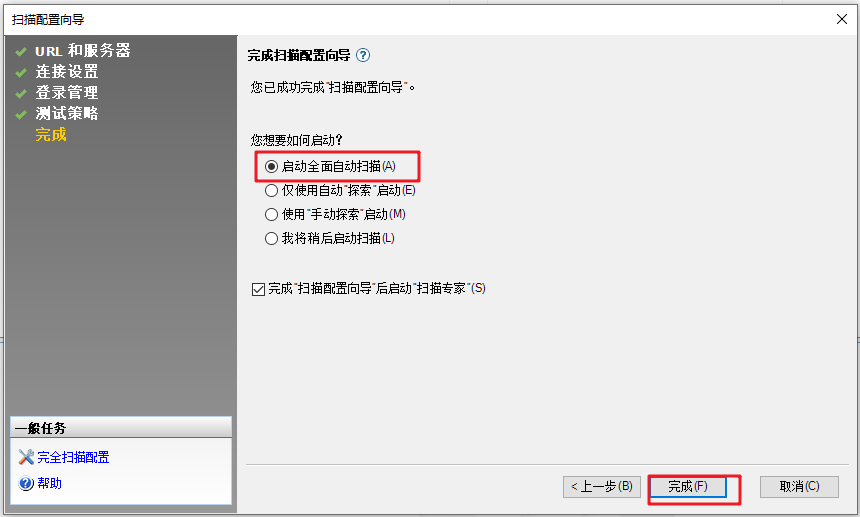
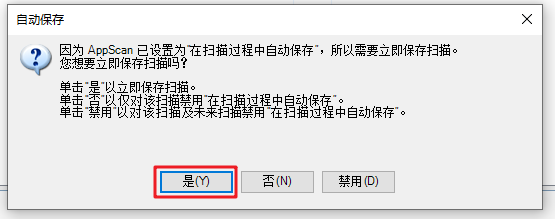
保存文件后,自动探索,可以随时关注进度
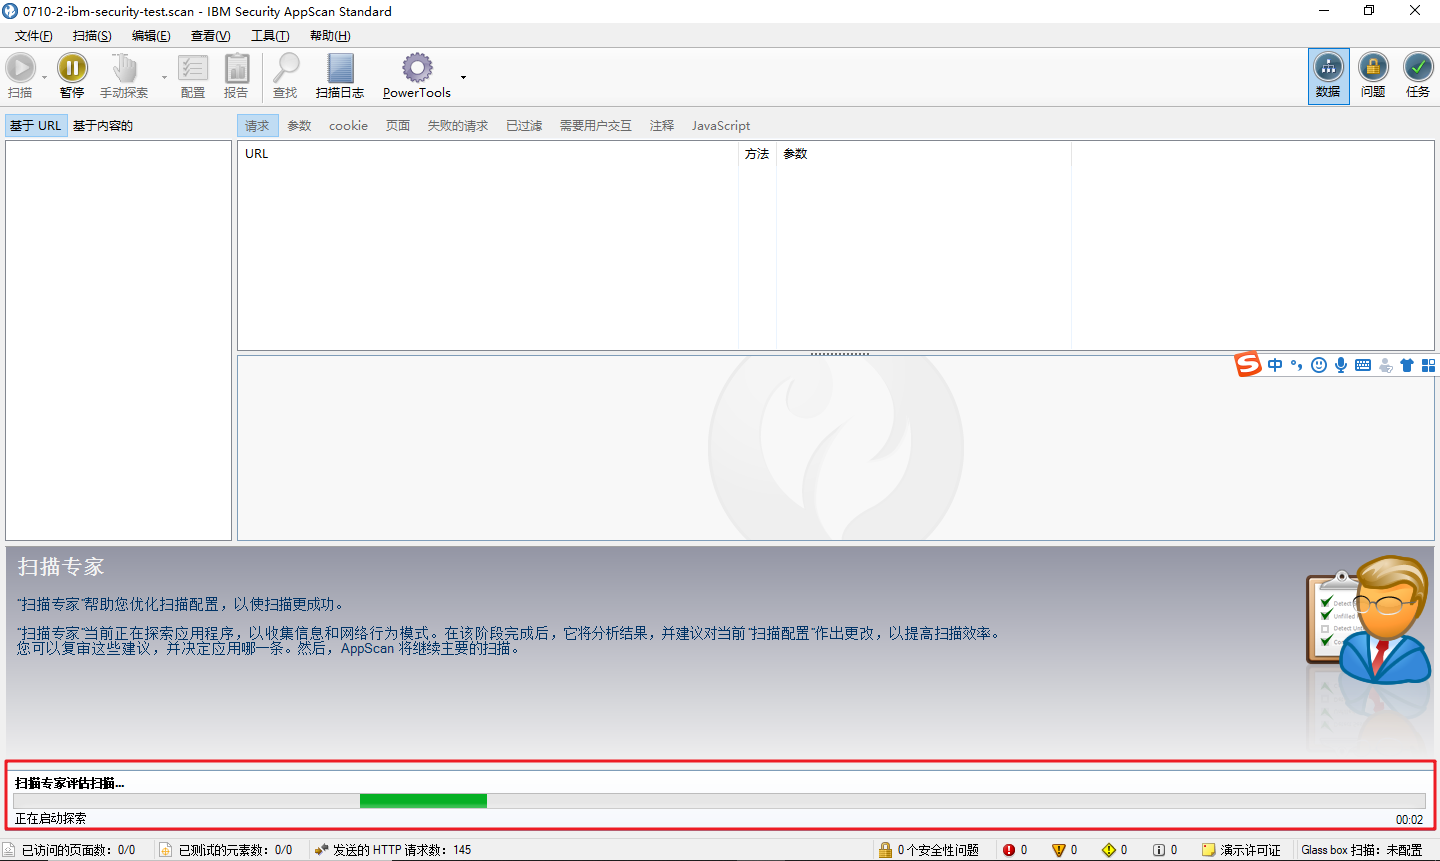
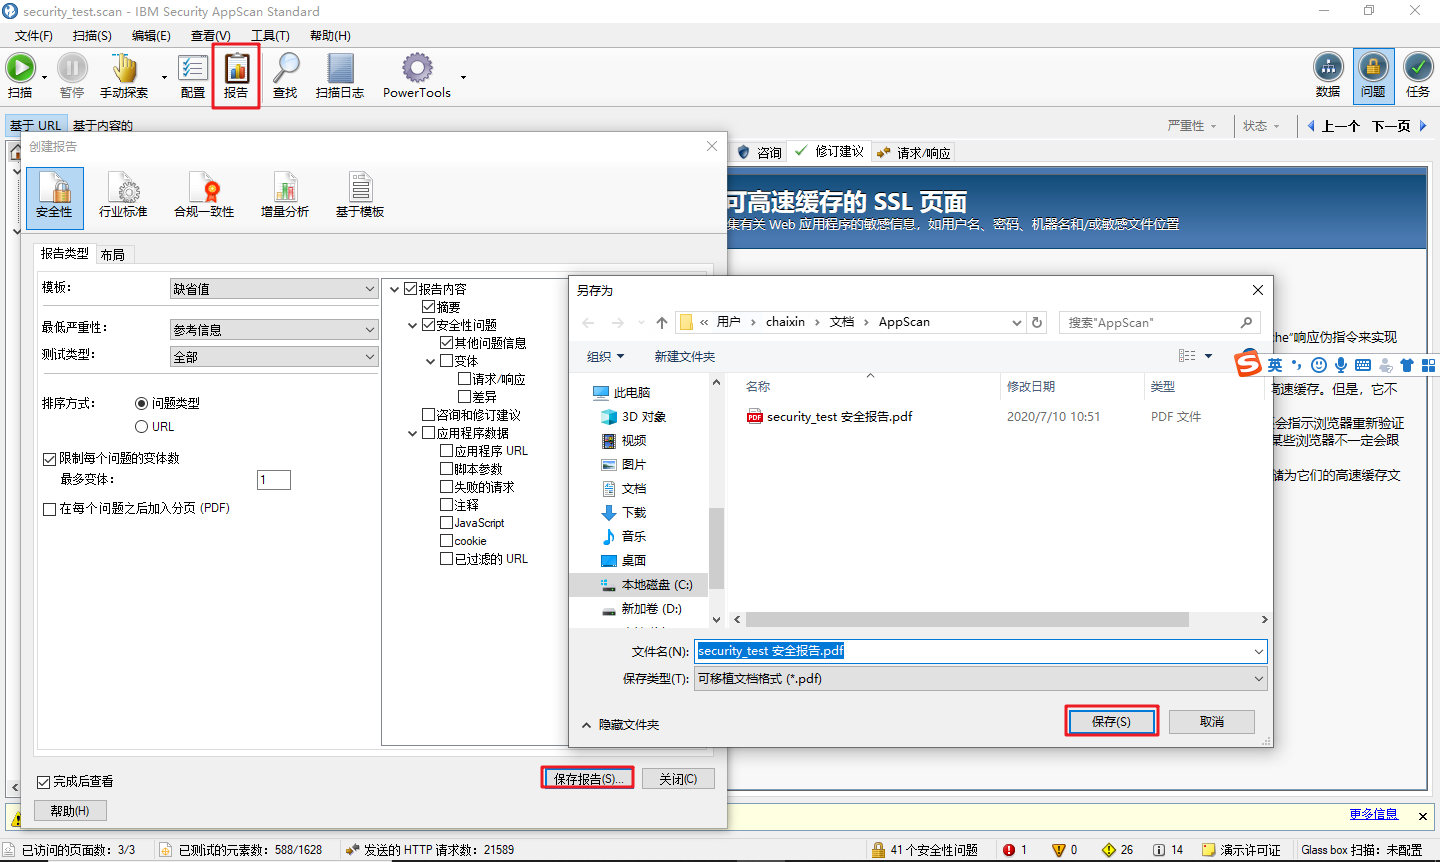
结果展示和保存报告
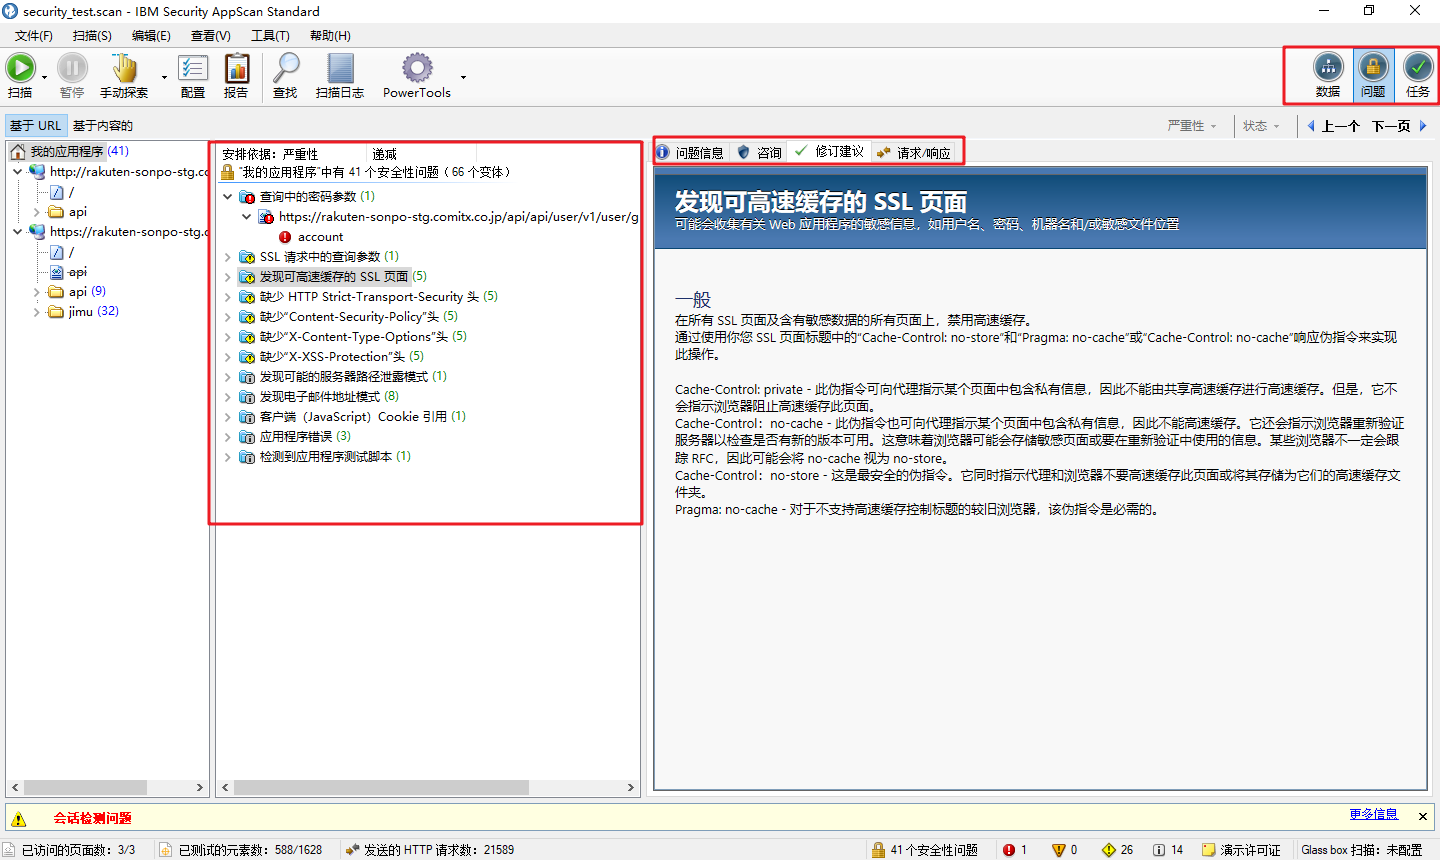
问题
注意,第一次点击执行后不会立刻执行,需要检查完环境后再点击一次
设置语言
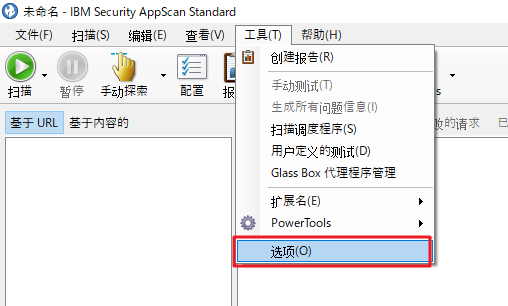
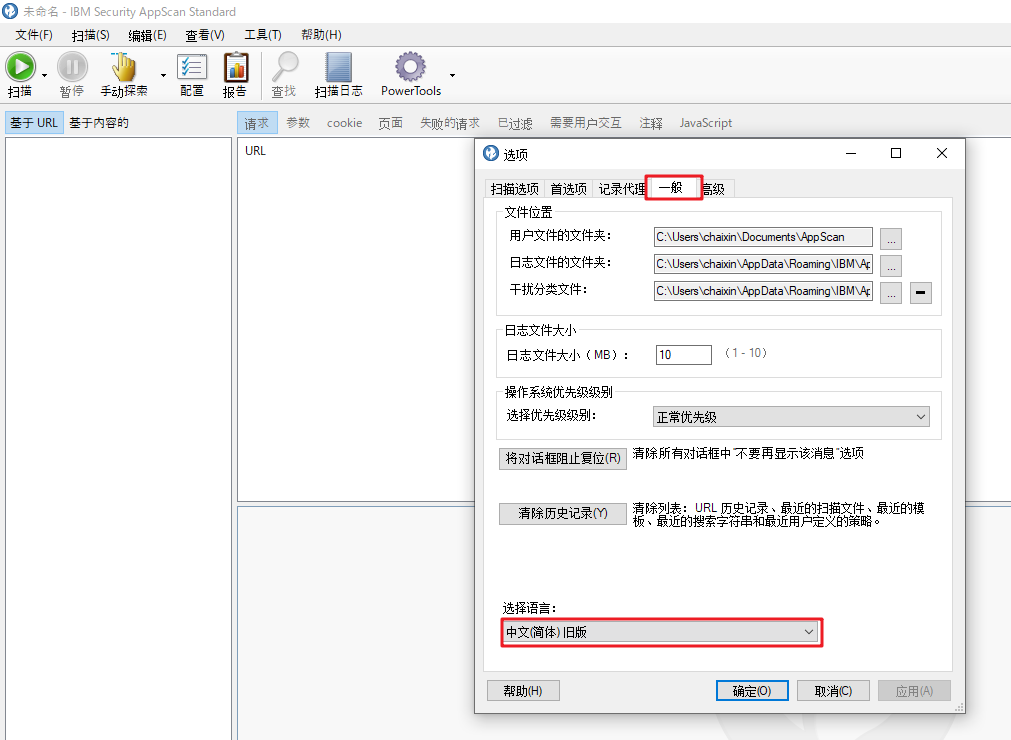
设置语言后需要重启才能生效


 772
772


 被折叠的 条评论
为什么被折叠?
被折叠的 条评论
为什么被折叠?
 到【灌水乐园】发言


