


高德密钥创建
进入控制台中
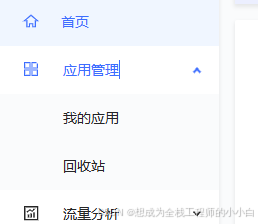
新建
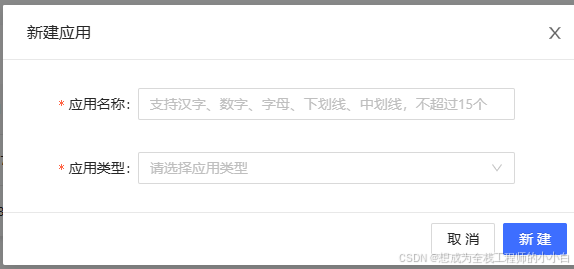
可以得到我们的密钥

高德插件安装
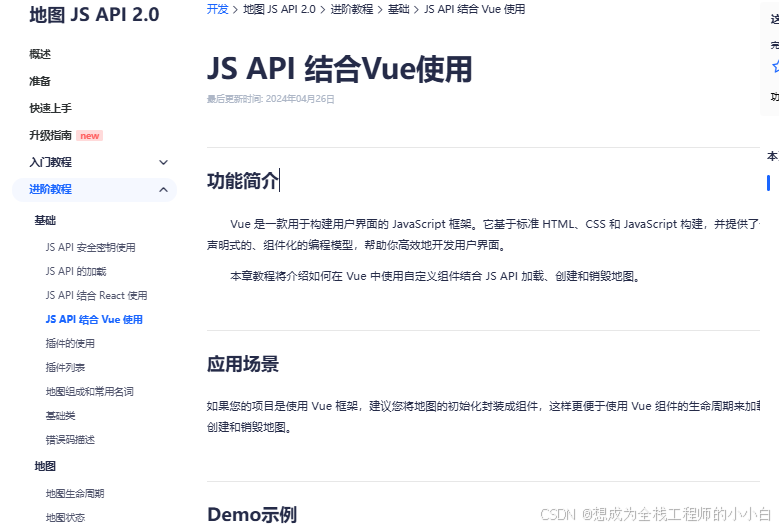
从官方文档中可看到 添加链接描述
安装高德依赖
npm i @amap/amap-jsapi-loader --save
创建地图容器
<template>
  <div id="container"></div>
</template>
设置地图容器样式
<style  scoped>
    #container{
        padding:0px;
        margin: 0px;
        width: 100%;
        height: 800px;
    }
</style>
引入 JS API Loade
import AMapLoader from '@amap/amap-jsapi-loader';
完整代码
<script setup>
import { onMounted, onUnmounted } from "vue";
import AMapLoader from "@amap/amap-jsapi-loader";

let map = null;

onMounted(() => {
  window._AMapSecurityConfig = {
    securityJsCode: "「你申请的安全密钥」",
  };
  AMapLoader.load({
    key: "", // 申请好的Web端开发者Key,首次调用 load 时必填
    version: "2.0", // 指定要加载的 JSAPI 的版本,缺省时默认为 1.4.15
    plugins: ["AMap.Scale"], //需要使用的的插件列表,如比例尺'AMap.Scale',支持添加多个如:['...','...']
  })
    .then((AMap) => {
      map = new AMap.Map("container", {
        // 设置地图容器id
        viewMode: "3D", // 是否为3D地图模式
        zoom: 11, // 初始化地图级别
        center: [116.397428, 39.90923], // 初始化地图中心点位置
      });
    })
    .catch((e) => {
      console.log(e);
    });
});

onUnmounted(() => {
  map?.destroy();
});
</script>

<template>
  <div id="container"></div>
</template>

<style scoped>
#container {
  width: 100%;
  height: 800px;
}
</style>
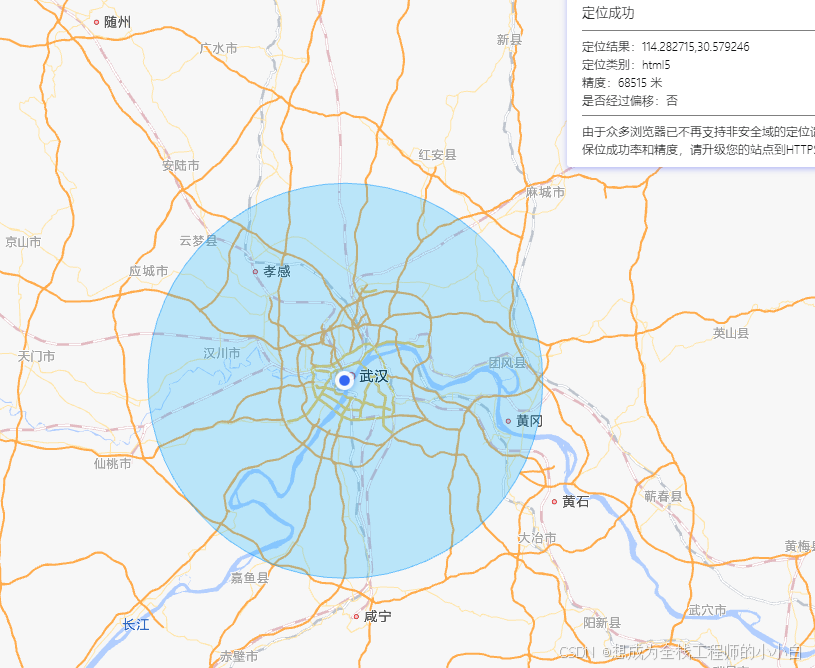
获取详细具体定位信息
上面我们已经可以在软件中获取基本的地图信息了
接下来进行配置具体定位信息包括经纬度等等
查看官方文档可查看到 AMap.Geolocation 插件
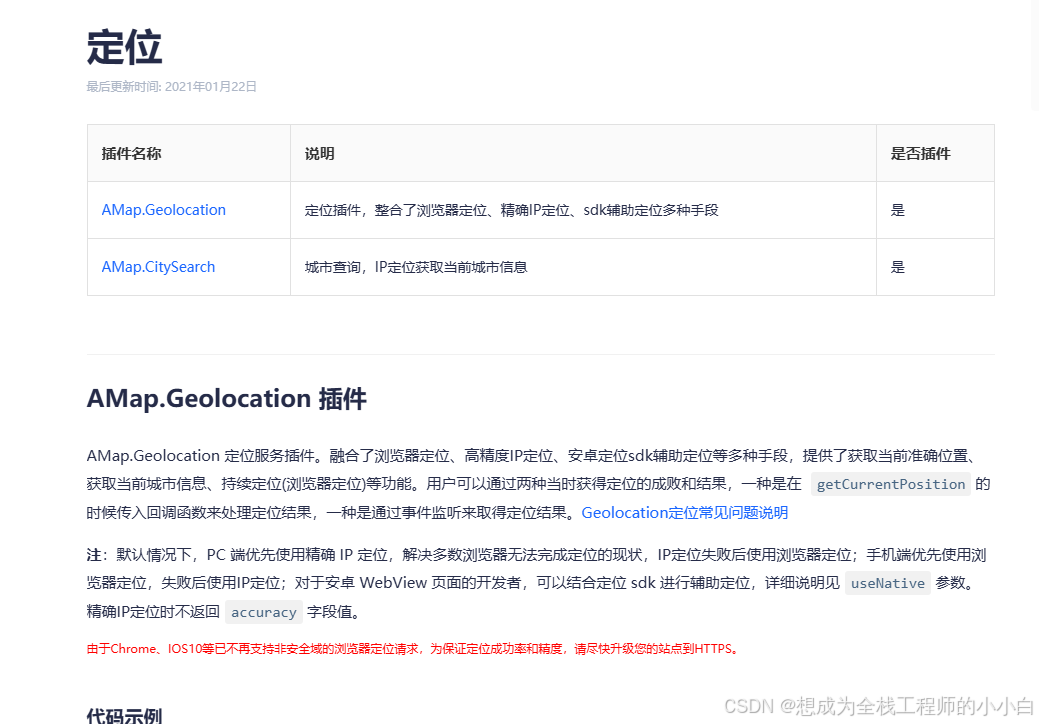
使用插件可进行配置
mapObj = new AMap.Map('iCenter');
mapObj.plugin('AMap.Geolocation', function () {
    geolocation = new AMap.Geolocation({
        enableHighAccuracy: true,//是否使用高精度定位,默认:true
        timeout: 10000,          //超过10秒后停止定位,默认:无穷大
        maximumAge: 0,           //定位结果缓存0毫秒,默认:0
        convert: true,           //自动偏移坐标,偏移后的坐标为高德坐标,默认:true
        showButton: true,        //显示定位按钮,默认:true
        buttonPosition: 'LB',    //定位按钮停靠位置,默认:'LB',左下角
        buttonOffset: new AMap.Pixel(10, 20),//定位按钮与设置的停靠位置的偏移量,默认:Pixel(10, 20)
        showMarker: true,        //定位成功后在定位到的位置显示点标记,默认:true
        showCircle: true,        //定位成功后用圆圈表示定位精度范围,默认:true
        panToLocation: true,     //定位成功后将定位到的位置作为地图中心点,默认:true
        zoomToAccuracy:true      //定位成功后调整地图视野范围使定位位置及精度范围视野内可见,默认:false
    });
    mapObj.addControl(geolocation);
    geolocation.getCurrentPosition();
    AMap.event.addListener(geolocation, 'complete', onComplete);//返回定位信息
    AMap.event.addListener(geolocation, 'error', onError);      //返回定位出错信息
});
结果如下
Vue3完整的代码如下
<script setup>
import { onMounted, onUnmounted } from "vue";
import AMapLoader from "@amap/amap-jsapi-loader";
import { ElMessage } from 'element-plus'
let map = null;

onMounted(() => {
  window._AMapSecurityConfig = {
    securityJsCode: "",
  };


  AMapLoader.load({
    key: "", // 申请好的Web端开发者Key,首次调用 load 时必填
    version: "2.0", // 指定要加载的 JSAPI 的版本,缺省时默认为 1.4.15
    plugins: ["AMap.Scale"], //需要使用的的插件列表,如比例尺'AMap.Scale',支持添加多个如:['...','...']
  })
    .then((AMap) => {
      map = new AMap.Map("container", {
        // 设置地图容器id
        resizeEnable: true,
        zoom: 15, // 初始化地图级别
      });

      AMap.plugin('AMap.Geolocation', function() {
        var geolocation = new AMap.Geolocation({
        enableHighAccuracy: true, // 是否使用高精度定位,默认:true
        timeout: 10000, // 设置定位超时时间,默认:无穷大
        offset: [10, 20],  // 定位按钮的停靠位置的偏移量
        zoomToAccuracy: true,  //  定位成功后调整地图视野范围使定位位置及精度范围视野内可见,默认:false
        position: 'RB', //  定位按钮的排放位置,  RB表示右下
        zoomToAccuracy:true  ,
      })
      map.addControl(geolocation);
      geolocation.getCurrentPosition(
        function(status,result){
            if(status=='complete'){
              onComplete(result)
            }else{
              onError(result)
            }
      }
    );
    })
    })
});
onUnmounted(() => {
  map?.destroy();
});
function onError(data) {

  ElMessage('定位失败')
  // ElMessage(data.message)


    }
function onComplete(data) {

        ElMessage('定位成功')

    }

</script>


 2500
2500

 被折叠的 条评论
为什么被折叠?
被折叠的 条评论
为什么被折叠?
 到【灌水乐园】发言


