


目录
参考
一、简介
企业机器人是钉钉为用户提供的组织内部使用的机器人,为组织数字化转型业务服务。本教程指导你为企业或组织开发一个内部机器人,企业内的其他成员可以在不同的群中添加该机器人,实现消息问答。
二、效果
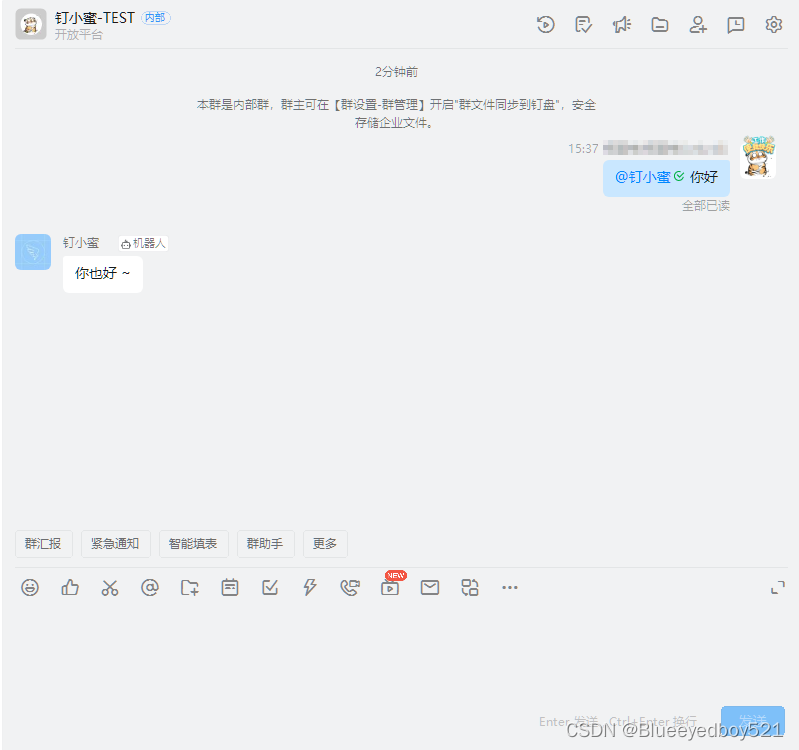
1、群聊自动回复
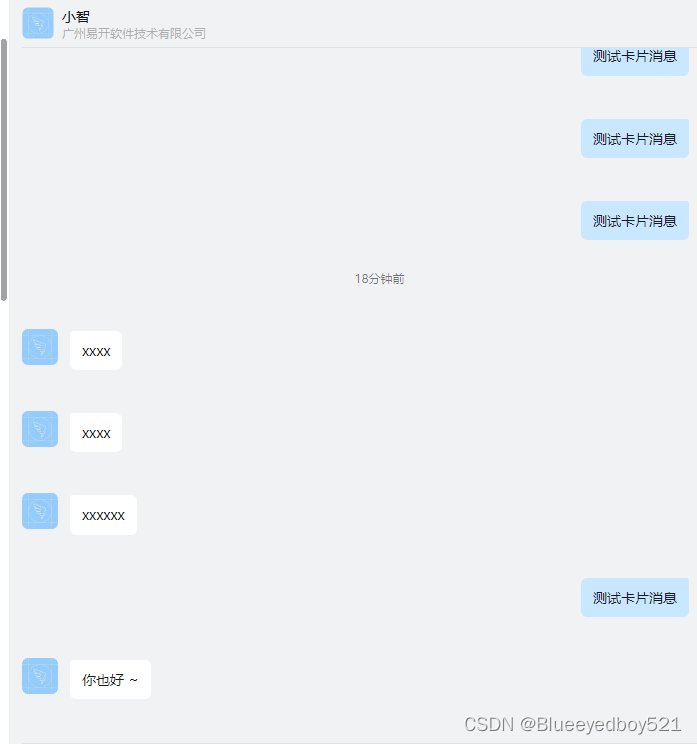
2、单聊
三、开始开发
1、下载代码
下载机器人服务代码
git clone https://github.com/open-dingtalk/org-mini-program-tutorial-java.git
下载公网内网穿透映射工具
git clone https://github.com/open-dingtalk/pierced.git
cd pierced
cd windows_64/
# 映射SpringBoot端口
./ding -config ding.cfg -subdomain dingrobot 8080
启动完客户端后,你访问 http://dingrobot.vaiwan.com/xxxxx 都会映射到 http://127.0.0.1:8080/xxxxx。
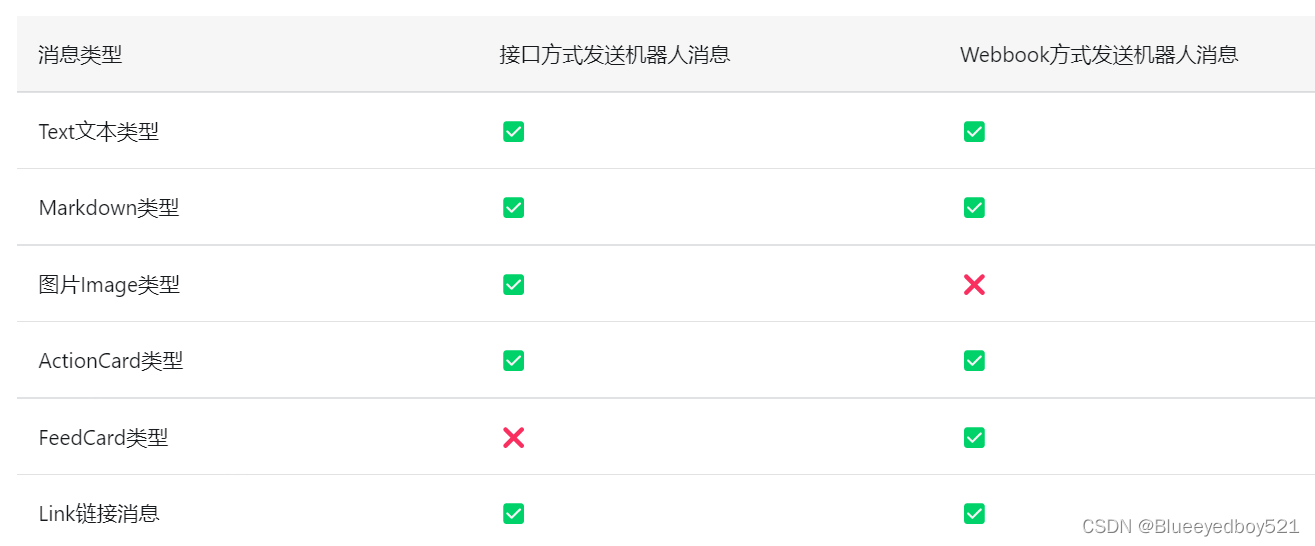
支持的消息类型
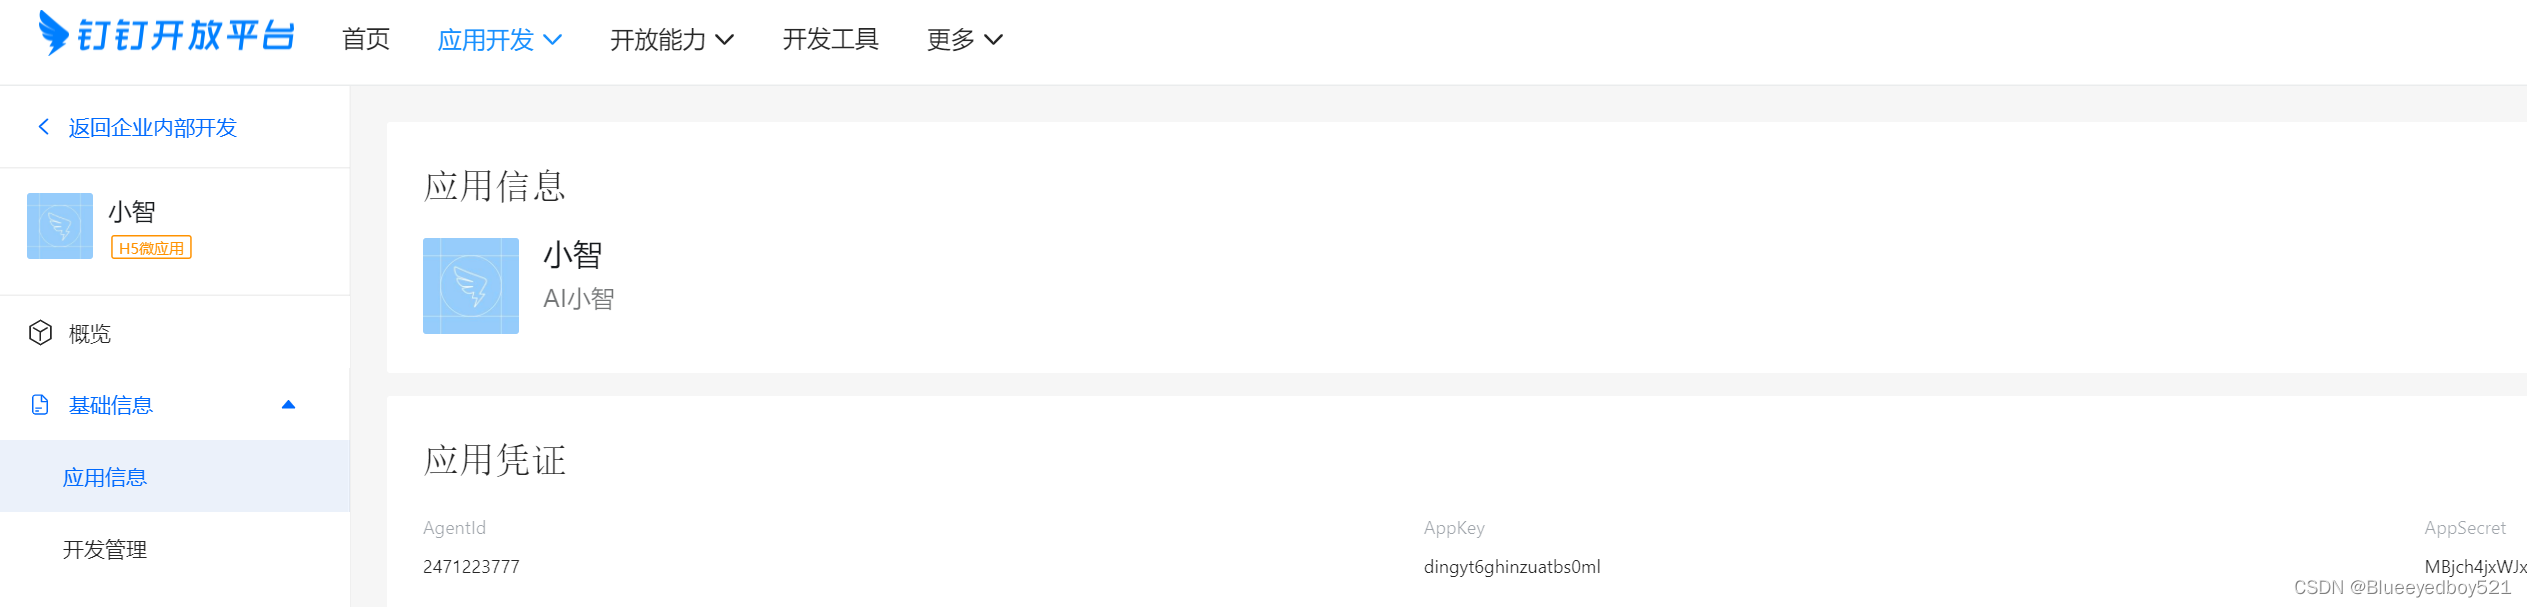
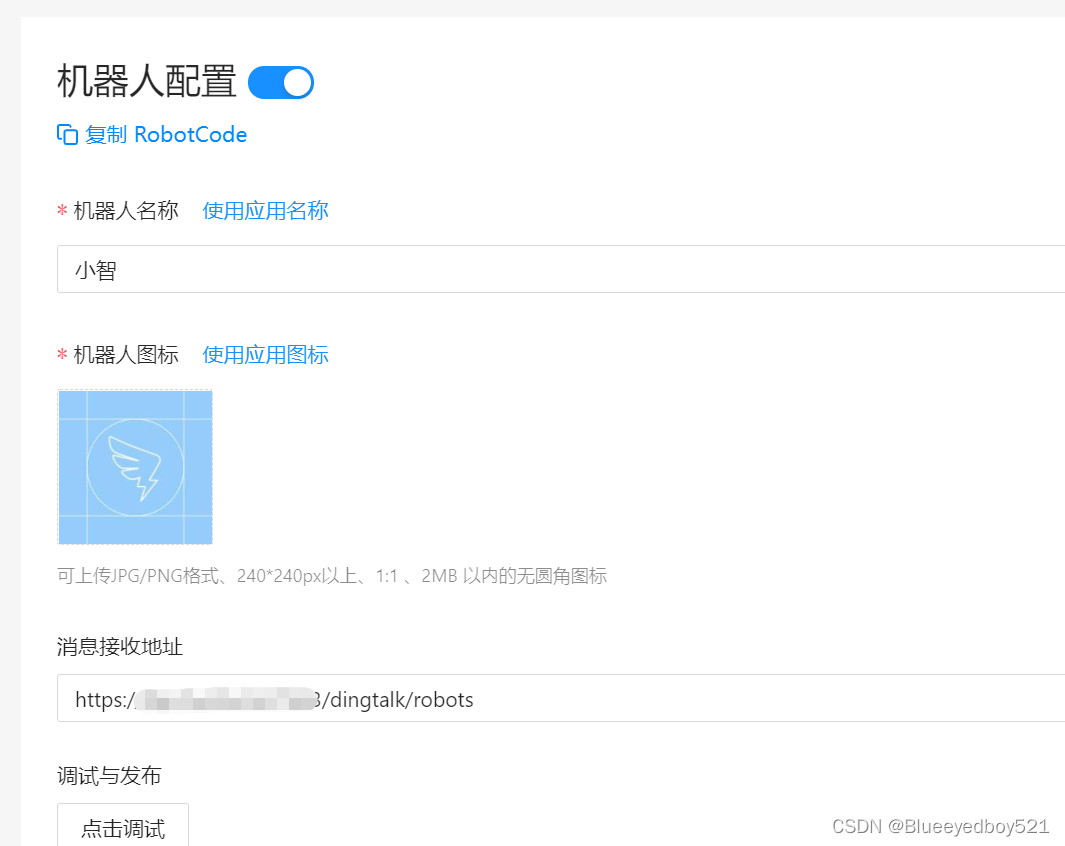
2、获取Appkey等参数
3、配置回调
4、机器人被@时触发接收消息并自动回复
/**
     * 响应群里@机器人毁掉
     * <a href="https://open.dingtalk.com/document/tutorial/create-a-robot">...</a>
     * @param json
     * @return
     */
    @RequestMapping(value = "/robots")
    public String helloRobots(@RequestBody(required = false) JSONObject json
    ) {
        System.out.println(json);
        String content = json.getJSONObject("text").get("content").toString().replaceAll(" ", "");
        if ("测试卡片消息".contains(content)) {
            // String mobile = getUserMobile(json.getString("senderStaffId"));
            String sessionWebhook = json.getString("sessionWebhook");
            DingTalkClient client = new DefaultDingTalkClient(sessionWebhook);
            hello(client);
            return null;
        }
        return learning();
    }
    /**
     * 回答你好
     */
    public void hello(DingTalkClient client) {
        try {
            OapiRobotSendRequest request = new OapiRobotSendRequest();
            request.setMsgtype("text");
            OapiRobotSendRequest.Text text = new OapiRobotSendRequest.Text();
            text.setContent("你也好 ~");
            request.setText(text);
            // OapiRobotSendRequest.At at = new OapiRobotSendRequest.At();
            // at.setAtMobiles(Arrays.asList(mobile));
            // isAtAll类型如果不为Boolean,请升级至最新SDK
            // at.setIsAtAll(false);
            // request.setAt(at);
            OapiRobotSendResponse response = client.execute(request);
            System.out.println(response.getBody());
        } catch (ApiException e) {
            e.printStackTrace();
        }
    }
收到的回调消息,字段说明参考:https://open.dingtalk.com/document/orgapp/receive-message
{
    "conversationId": "xxx",
    "atUsers": [
        {
            "dingtalkId": "xxx",
            "staffId":"xxx"
        }
    ],
    "chatbotCorpId": "dinge8a565xxxx",
    "chatbotUserId": "$:LWCP_v1:$Cxxxxx",
    "msgId": "msg0xxxxx",
    "senderNick": "杨xx",
    "isAdmin": true,
    "senderStaffId": "user123",
    "sessionWebhookExpiredTime": 1613635652738,
    "createAt": 1613630252678,
    "senderCorpId": "dinge8a565xxxx",
    "conversationType": "2",
    "senderId": "$:LWCP_v1:$Ff09GIxxxxx",
    "conversationTitle": "机器人测试-TEST",
    "isInAtList": true,
    "sessionWebhook": "https://oapi.dingtalk.com/robot/sendBySession?session=xxxxx",
    "text": {
        "content": " 你好"
    },
    "msgtype": "text"
}
回复功能通过解析回调中webhook方式,"https://oapi.dingtalk.com/robot/sendBySession?session=1bed7e87c19xxe95289d40265ba
五、消息推送
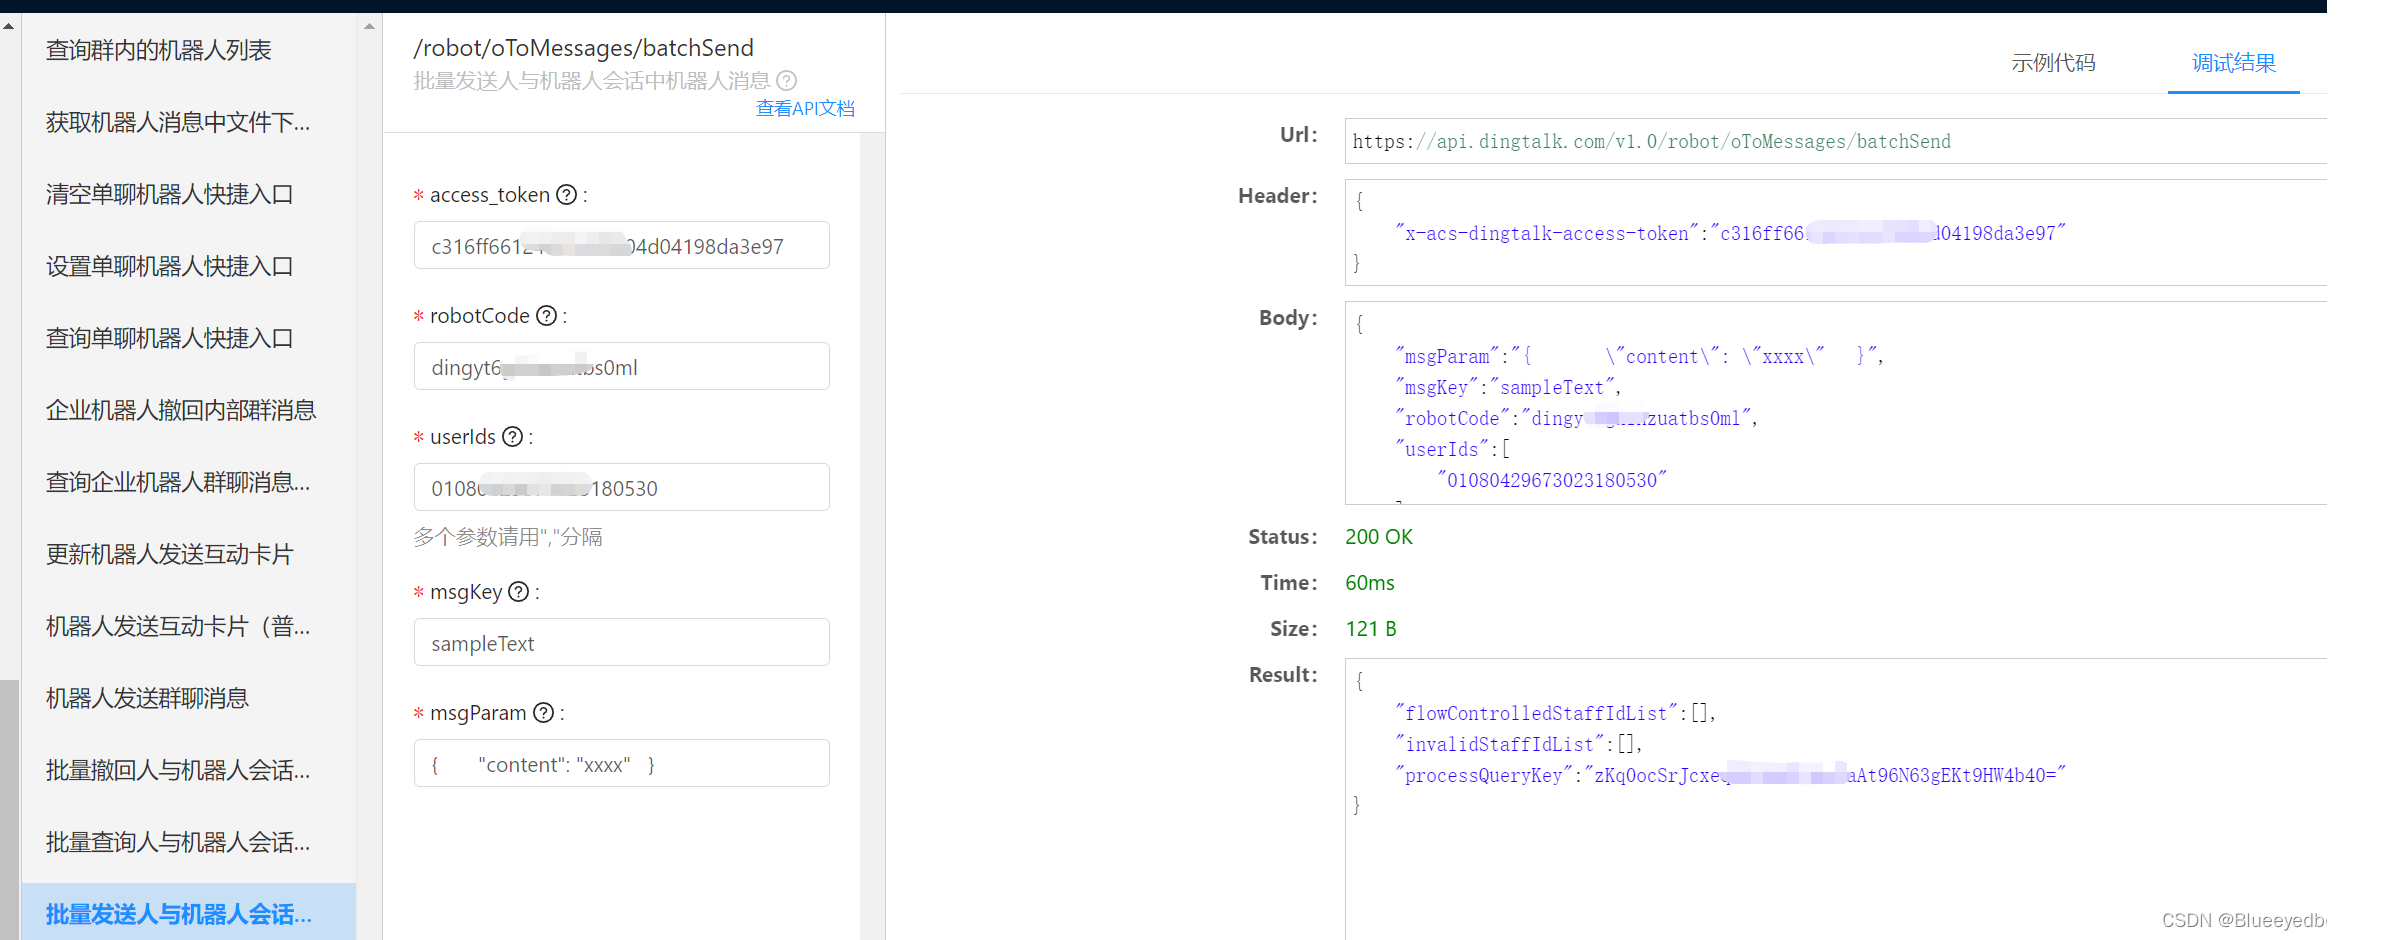
1、测试批量发送人与机器人会话消息(单聊)
https://open-dev.dingtalk.com/apiExplorer?spm=ding_open_doc.document.0.0.330b60e1hBuxK7#/?devType=org&api=robot_1.0%23BatchSendOTO
userIds获取方式可以通过用户先发送消息给机器人,机器人在回调中拿到"senderStaffId":"09605xxxx180530"即用户id
public void sendOtoMessage(){
        try {
            String accessToken = AccessTokenUtil.getAccessToken();
            DingTalkClient client = new CustomDingTalkClient("https://api.dingtalk.com/v1.0/robot/oToMessages/batchSend");
            CustomDingmiO2oSendRequest req = new CustomDingmiO2oSendRequest();
            Map<String,String> headers = new HashMap<>();
            headers.put("x-acs-dingtalk-access-token",accessToken);
            req.setTopApiCallType(null);
            req.setHeaderMap(headers);
            req.setMsgKey("sampleText");
            req.setRobotCode("dingytxxxxatbs0ml");
            req.setUserid("01080429xxx3180530,09605xxxx0530");
            req.setMsgParam("{\"content\":\"你好\"}");
            OapiDingmiO2oSendResponse response = client.execute(req,accessToken);
            System.out.println(response.getBody());
        } catch (ApiException e) {
            e.printStackTrace();
            throw new RuntimeException();
        }
    }
2、测试使用webhook方式发送群聊消息
每个群聊中的机器人,都会有一个webhook的url,可以通过这个推送群聊消息
 /**
     * 通过企业内机器人的webhook发送消息
     * https://open.dingtalk.com/document/orgapp/assign-a-webhook-url-to-an-internal-chatbot
     */
    public void sendCorpInnerGroupMsgByWebhook() throws ApiException {
            DingTalkClient client = new DefaultDingTalkClient("https://oapi.dingtalk.com/robot/send?access_token=ef2b84d53d9571e5fxxx01c1f24d29973311c4d42260c7fc470e06");
            OapiRobotSendRequest request = new OapiRobotSendRequest();
            request.setMsgtype("text");
            OapiRobotSendRequest.Text text = new OapiRobotSendRequest.Text();
            text.setContent("测试文本消息");
            request.setText(text);
            OapiRobotSendRequest.At at = new OapiRobotSendRequest.At();
            at.setAtMobiles(Arrays.asList("155xxxxxxxx"));
            at.setIsAtAll(false);
            request.setAt(at);
            OapiRobotSendResponse response = client.execute(request);
            System.out.println(response.getBody());
    }
3、发送工作通知
/**
     * 发送工作群通知
     * <a href="https://open.dingtalk.com/document/orgapp/message-notification-overview?spm=a2q3p.21071111.0.0.5e891cfaDlrCma">...</a>
     */
    public void sendText3(){
        try {
            String accessToken = AccessTokenUtil.getAccessToken();
            System.out.println("accessToken:"+accessToken);
            DingTalkClient client = new DefaultDingTalkClient("https://oapi.dingtalk.com/topapi/message/corpconversation/asyncsend_v2");
            OapiMessageCorpconversationAsyncsendV2Request req = new OapiMessageCorpconversationAsyncsendV2Request();
            req.setAgentId(2471223777L);
            req.setUseridList("0108xxxx180530");
            req.setToAllUser(false);
            OapiMessageCorpconversationAsyncsendV2Request.Msg msg = new OapiMessageCorpconversationAsyncsendV2Request.Msg();
            msg.setMsgtype("text");
            msg.setText(new OapiMessageCorpconversationAsyncsendV2Request.Text());
            msg.getText().setContent("test123456");
            req.setMsg(msg);

            OapiMessageCorpconversationAsyncsendV2Response response = client.execute(req, accessToken);
            System.out.println(response.getBody());
        } catch (ApiException e) {
            e.printStackTrace();
            throw new RuntimeException();
        }
    }


 210
210


 被折叠的 条评论
为什么被折叠?
被折叠的 条评论
为什么被折叠?
 到【灌水乐园】发言


