


声明:以下内容仅供学习参考,禁止用于任何商业用途
很久之前就想学爬虫了,但是一直没机会,这次终于有机会了
主要参考了《疯狂python讲义》的最后一章
首先安装Scrapy:
pip install scrapy
然后创建爬虫项目:
scrapy startproject 项目名
然后项目里面大概是长这样的:

__pycache__是python缓存,可以不管
scrapy.cfg是scrapy框架自带的配置文件,这个项目里面可以不用改
settings.py里面是爬虫的设置,可以在里面设置爬虫模仿的浏览器型号,以及访问一个页面的延迟(防止被反爬虫),以及是否遵循爬虫规则、是否使用cookies等等:
# Scrapy settings for exp1 project
#
# For simplicity, this file contains only settings considered important or
# commonly used. You can find more settings consulting the documentation:
#
#     https://docs.scrapy.org/en/latest/topics/settings.html
#     https://docs.scrapy.org/en/latest/topics/downloader-middleware.html
#     https://docs.scrapy.org/en/latest/topics/spider-middleware.html

BOT_NAME = "exp1"

SPIDER_MODULES = ["exp1.spiders"]
NEWSPIDER_MODULE = "exp1.spiders"


# Crawl responsibly by identifying yourself (and your website) on the user-agent
#USER_AGENT = "exp1 (+http://www.yourdomain.com)"

# Obey robots.txt rules
ROBOTSTXT_OBEY = True

# Configure maximum concurrent requests performed by Scrapy (default: 16)
#CONCURRENT_REQUESTS = 32

# Configure a delay for requests for the same website (default: 0)
# See https://docs.scrapy.org/en/latest/topics/settings.html#download-delay
# See also autothrottle settings and docs
DOWNLOAD_DELAY = 2
# The download delay setting will honor only one of:
#CONCURRENT_REQUESTS_PER_DOMAIN = 16
#CONCURRENT_REQUESTS_PER_IP = 16

# Disable cookies (enabled by default)
COOKIES_ENABLED = False

# Disable Telnet Console (enabled by default)
#TELNETCONSOLE_ENABLED = False

# Override the default request headers:
DEFAULT_REQUEST_HEADERS = {
   'User-Agent' : 'Mozilla/5.0 (Windows NT 6.1; Win 64; x64; rv:61.0) Gecko/20100101Firefox/61.0',
   'Accept' : 'text/htmp,application/xhtml+xml,application/xml;q=0.9,*/*;q=0.8'
}

# Enable or disable spider middlewares
# See https://docs.scrapy.org/en/latest/topics/spider-middleware.html
#SPIDER_MIDDLEWARES = {
#    "exp1.middlewares.Exp1SpiderMiddleware": 543,
#}

# Enable or disable downloader middlewares
# See https://docs.scrapy.org/en/latest/topics/downloader-middleware.html
#DOWNLOADER_MIDDLEWARES = {
#    "exp1.middlewares.Exp1DownloaderMiddleware": 543,
#}

# Enable or disable extensions
# See https://docs.scrapy.org/en/latest/topics/extensions.html
#EXTENSIONS = {
#    "scrapy.extensions.telnet.TelnetConsole": None,
#}

# Configure item pipelines
# See https://docs.scrapy.org/en/latest/topics/item-pipeline.html
ITEM_PIPELINES = {
   "exp1.pipelines.Exp1Pipeline": 300,
}

# Enable and configure the AutoThrottle extension (disabled by default)
# See https://docs.scrapy.org/en/latest/topics/autothrottle.html
AUTOTHROTTLE_ENABLED = True
# The initial download delay
AUTOTHROTTLE_START_DELAY = 5
# The maximum download delay to be set in case of high latencies
AUTOTHROTTLE_MAX_DELAY = 60
# The average number of requests Scrapy should be sending in parallel to
# each remote server
AUTOTHROTTLE_TARGET_CONCURRENCY = 1.0
# Enable showing throttling stats for every response received:
#AUTOTHROTTLE_DEBUG = False

# Enable and configure HTTP caching (disabled by default)
# See https://docs.scrapy.org/en/latest/topics/downloader-middleware.html#httpcache-middleware-settings
#HTTPCACHE_ENABLED = True
#HTTPCACHE_EXPIRATION_SECS = 0
#HTTPCACHE_DIR = "httpcache"
#HTTPCACHE_IGNORE_HTTP_CODES = []
#HTTPCACHE_STORAGE = "scrapy.extensions.httpcache.FilesystemCacheStorage"

# Set settings whose default value is deprecated to a future-proof value
REQUEST_FINGERPRINTER_IMPLEMENTATION = "2.7"
TWISTED_REACTOR = "twisted.internet.asyncioreactor.AsyncioSelectorReactor"
FEED_EXPORT_ENCODING = "utf-8"
爬虫需要爬取的内容定义在items.py里面:
# Define here the models for your scraped items
#
# See documentation in:
# https://docs.scrapy.org/en/latest/topics/items.html

import scrapy


class Exp1Item(scrapy.Item):
    # define the fields for your item here like:
    # name = scrapy.Field()
    # 电影名
    film_name = scrapy.Field()
    # 评论用户名
    user_name = scrapy.Field()
    # 评论时间
    comment_time =scrapy.Field()
    # 评论内容
    comment = scrapy.Field()
middlewares.py应该是中间件的定义,不是很明白它的工作原理,应该也不用改
pipelines.py是将爬取到的内容进行输出保存等处理的管道,也负责一些预处理和后处理的任务,例如把文件保存为json格式:
# Define your item pipelines here
#
# Don't forget to add your pipeline to the ITEM_PIPELINES setting
# See: https://docs.scrapy.org/en/latest/topics/item-pipeline.html
import json

# useful for handling different item types with a single interface
from itemadapter import ItemAdapter


class Exp1Pipeline(object):
    def __init__(self):
        self.json_file = open("data6.json","wb+")
        self.json_file.write('[\n'.encode("utf-8"))
    def close_spider(self, spider):
        print('--------关闭文件--------')
        self.json_file.seek(-2,1)
        self.json_file.write('\n]'.encode("utf-8"))
        self.json_file.close()
    def process_item(self, item, spider):
        print("电影名: ",item['film_name'])
        print("评论用户: ",item['user_name'])
        print("评论时间: ",item['comment_time'])
        print("评论内容: ",item['comment'])
        text = json.dumps(dict(item), ensure_ascii = False) + ",\n"
        self.json_file.write(text.encode("utf-8"))
spiders文件夹里面主要用来存储爬虫的主体
爬虫中的访问网页可以直接用scrapy.Request(网址,回调函数名,传参内容(可选))接口进行访问下一个网页。
接下来就是愉快的解析网站时间
由于本人刚入门爬虫技术有限,但是又时间紧迫,所以就只爬了豆瓣top250的电影的短评
首先进入top250的界面按F12查看源码
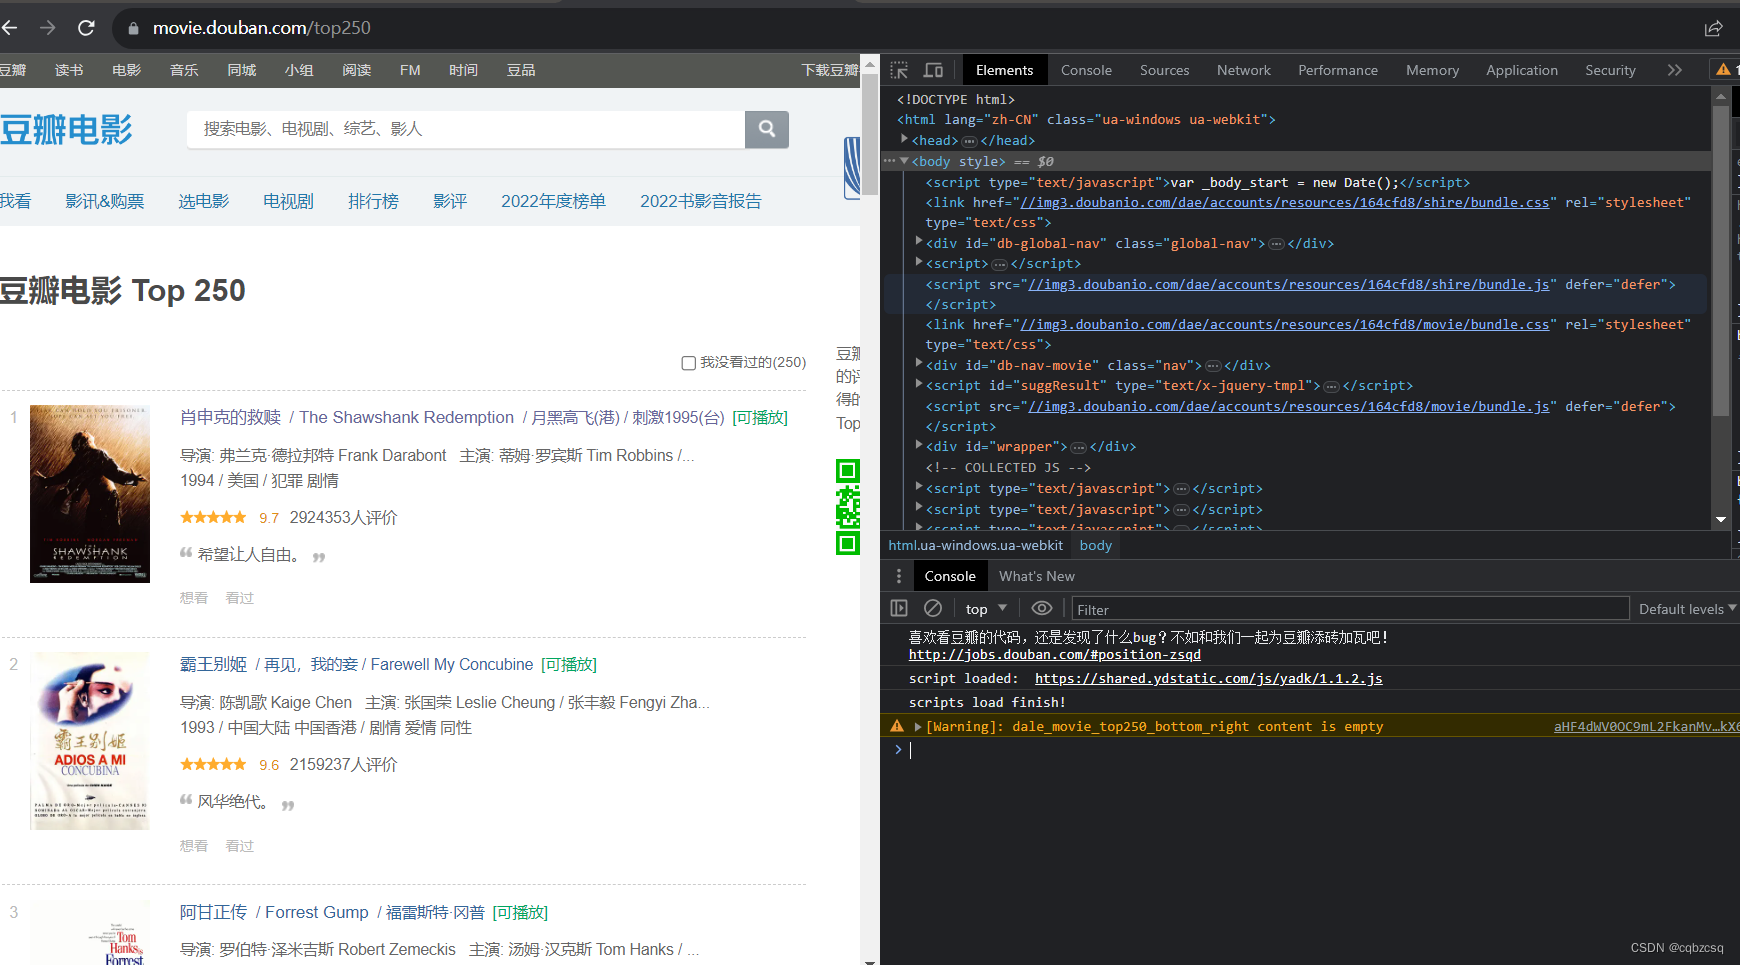
我们在榜单需要爬取的只有当前页的所有电影链接和下页的链接
我们可以使用scrapy shell协助我们解析网站
首先在终端输入:
scrapy shell -s USER_AGENT='Mozilla/5.0' 网址
接下来就会出现一个很酷的scrapy终端:

接下来我们先学习一下Xpath的用法
在F12打开的右半边窗口中,点击选择按钮

选择一个幸运的网页对象,点击一下


可以发现右侧窗口自动定位到了网页对应的源码
我们只需要从上到下找这些朝下的小三角形,就知道我们选择的内容具体位于哪一层
最终发现是位于:(电影网址)
body->div(id="wrapper")->div(id="content")->div->div(class="article")->ol
->li->div->div(class="info")->div(class="hd")->a节点的href属性

然后把上面这段话转换为Xpath的表达方式就是:
response.xpath('//body/div[@id="wrapper"]/div[@id="content"]/div/div[@class="article"]/ol/li/div/div[@class="info"]/div[@class="hd"]/a/@href')
具体解释一下:
// 表示匹配任意位置的节点
/ 表示匹配根节点
. 表示匹配当前位置的节点
.. 表示匹配父节点
@ 表示匹配属性
[] 里面表示对当前节点属性的限制(需要加限制的节点一般都是同层级下有相同节点名的节点)
然后把这段话输入进scrapy shell
发现它查出来了一大堆奇奇怪怪的东西:

这其实只是我们没有对内容进行解包,对Xpath的结果调用一下.extract()函数就行了
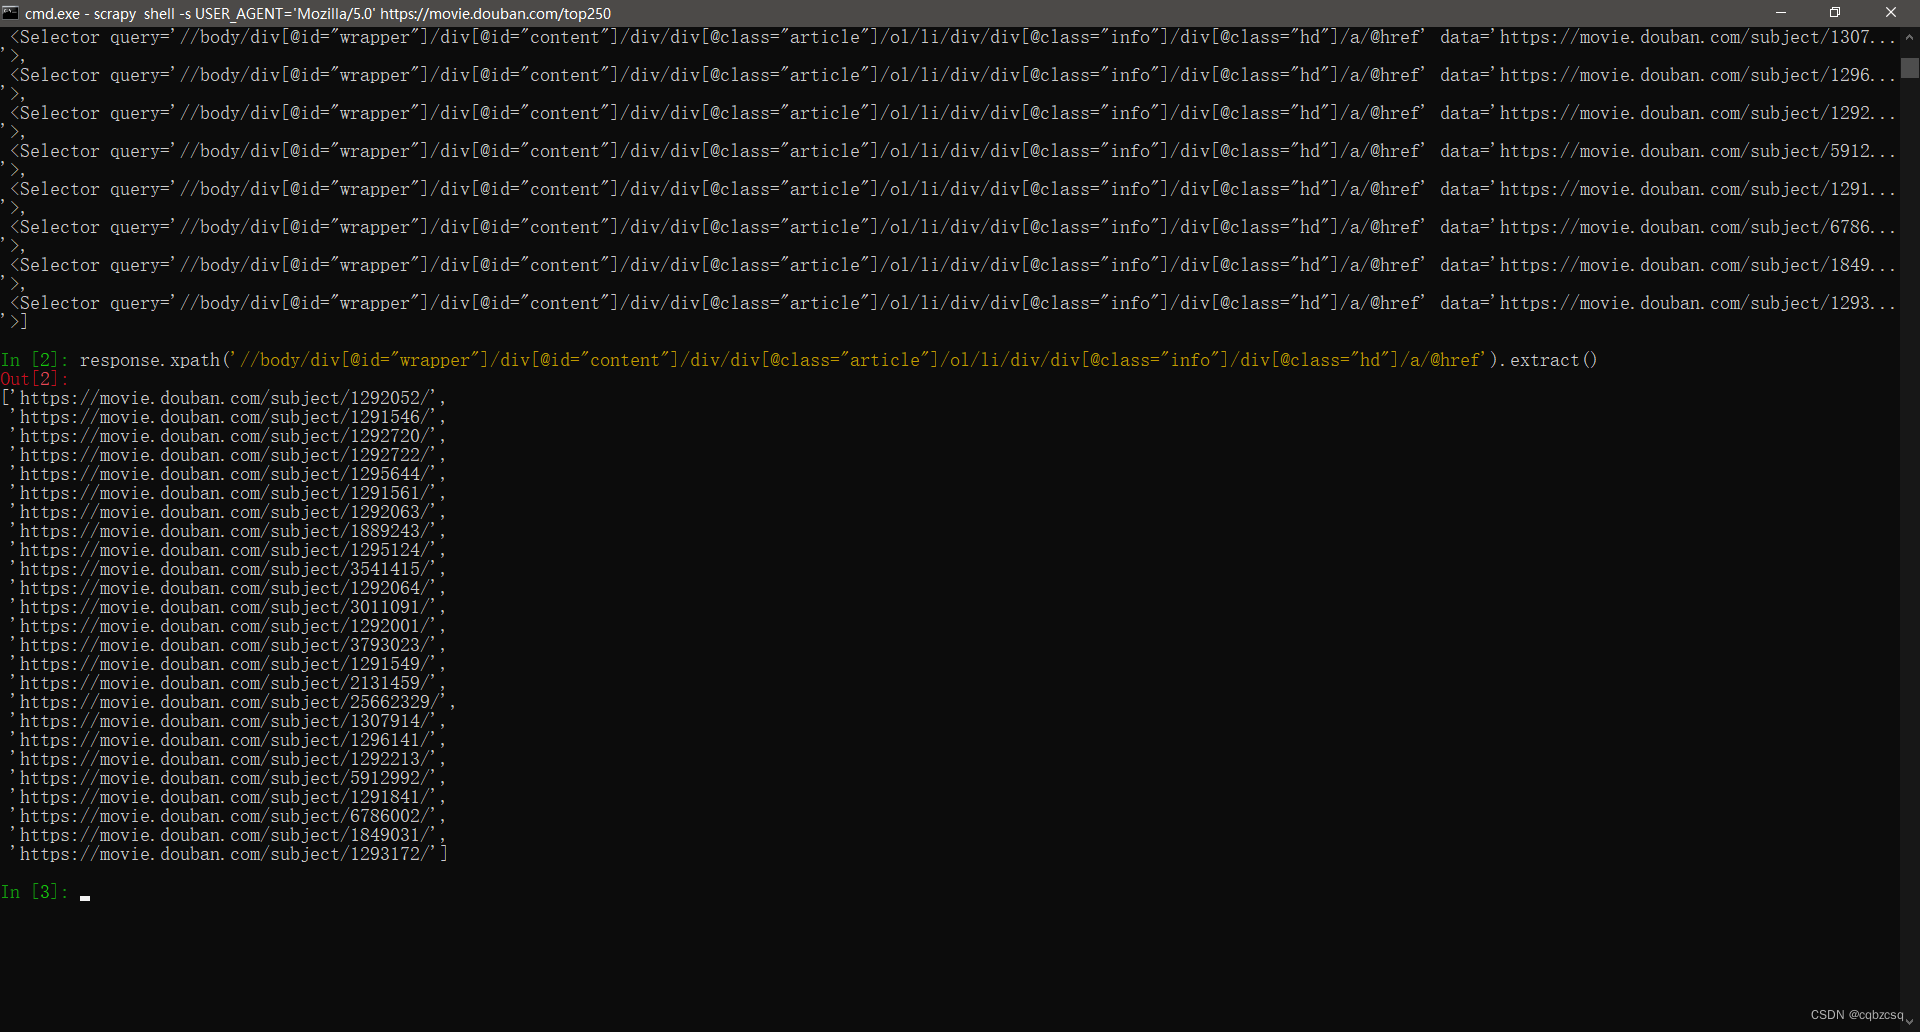
然后就会发现它的内容是一个列表:
接下来我们只需要依葫芦画瓢就行,把剩下的网站内容依次解析即可
至于为什么没有爬长评,是因为不会处理javascript的网站,但是短评就可以直接解析获取
不过selenium是可以做到的,具体怎么做还需要进一步的学习(挖坑)
但是selenium速度似乎好像会慢一些?
最后就是一些写爬虫的SB错误
之前不太理解yield的机制,搞了半天,发现爬虫爬取的顺序还是有很大问题,结果是用了全局变量导致它发生数据读写冲突了然后就寄了,最后通过Request传参,再用dict保存每个回调函数中获取的下一页位置,这才把问题解决了。另外那个cnt是因为豆瓣似乎限制了短评查看只能查看前10页,后面会无权访问?反正加一下也不是什么大事,但是也要注意不要使用全局变量。
温馨提示:这个代码爬两万条左右短评就会被封号(为了完成5w条的作业要求,被迫封了两个ip)(反反爬虫技术还是太菜了),似乎豆瓣并不是通过ip访问频率来判断爬虫的,而是用ip访问总次数来判断的???
dbspd.py:
import scrapy
from exp1.items import Exp1Item

class DoubanSpider(scrapy.Spider):
    name = 'douban'
    allowed_domain = ['movie.douban.com']
    start_urls = ['https://movie.douban.com/top250?start=0&filter=']
    comment_page_sub = '/comments?sort=time&status=P'
    cnt = {}
    film_pre = {}
    def parse_film(self, response):
        film_name = (response.xpath('//body/div[@id="wrapper"]/div[@id="content"]/h1/text()').extract())[0].split(" ")[0]
        self.film_pre[film_name] = response.meta['fp']
        user_name_list = response.xpath('//body/div[@id="wrapper"]/div[@id="content"]/div/div[@class="article"]/div[@id="comments"]/div/div[@class="comment"]/h3/span[@class="comment-info"]/a/text()').extract()
        comment_time_list = response.xpath('//body/div[@id="wrapper"]/div[@id="content"]/div/div[@class="article"]/div[@id="comments"]/div/div[@class="comment"]/h3/span[@class="comment-info"]/span[@class="comment-time "]/text()').extract()
        comment_list = response.xpath('//body/div[@id="wrapper"]/div[@id="content"]/div/div[@class="article"]/div[@id="comments"]/div/div[@class="comment"]/p/span/text()').extract()
        for (user_name,comment_time,comment) in zip(user_name_list,comment_time_list,comment_list):
            item = Exp1Item()
            item['film_name'] = film_name
            item['user_name'] = user_name
            item['comment_time'] = comment_time.split(" ")[20] + " " + comment_time.split(" ")[21][0:8]
            item['comment'] = comment
            yield item
        new_links_sub = response.xpath('//body/div[@id="wrapper"]/div[@id="content"]/div/div[@class="article"]/div[@id="comments"]/div[@id="paginator"]/a[@class="next"]/@href').extract()
        this_film_pre = self.film_pre.get(film_name, self.film_pre)
        this_film_cnt = self.cnt.get(film_name, 0)
        if(this_film_cnt < 8):
            print("next_page url:",this_film_pre + "comments" + new_links_sub[0])
            self.cnt[film_name] = this_film_cnt + 1
            yield scrapy.Request(this_film_pre + "comments" + new_links_sub[0], callback=self.parse_film, meta={'fp':self.film_pre[film_name]})
    def parse(self, response):
        film_list = response.xpath('//body/div[@id="wrapper"]/div[@id="content"]/div/div[@class="article"]/ol/li/div/div[@class="info"]/div[@class="hd"]/a/@href').extract()
        for film_pre in film_list:
            yield scrapy.Request(film_pre + self.comment_page_sub , callback=self.parse_film, meta={'fp':film_pre})
        new_links_sub = response.xpath('//body/div[@id="wrapper"]/div[@id="content"]/div/div[@class="article"]/div[@class="paginator"]/span[@class="next"]/a/@href').extract()
        print("next_rank_page url:","https://movie.douban.com/top250" + new_links_sub[0])
        yield scrapy.Request("https://movie.douban.com/top250" + new_links_sub[0], callback=self.parse)
最后用命令
scrapy crawl douban
就可以运行我们的爬虫啦!!
最后的最后,再提一嘴分词
先装一个jieba库
pip install jieba
然后直接开用lcut()函数就行了,禁用词列表在stop.txt中,一行一个
另外不知道为什么换行等一些空字符也会出现在分词结果中,所以还得单独处理一下。
import jieba
import json
stop = open("stop.txt", "r", encoding='utf-8').read()
stop = stop.splitlines()
# print(stop)

txt = open("film_comment_data.txt", "r", encoding='utf-8').read()
d = json.loads(txt)
cnt = 0
word_file = open("word.txt","wb+")
for item in d:
    words = jieba.lcut(item['comment'])
    print(cnt)
    cnt+=1
    for word in words:
        if word in stop:
            pass
        else:
            if word != "\n":
                word = word + "\n"
                word_file.write(word.encode("utf-8"))
word_file.close()


 9347
9347


 被折叠的 条评论
为什么被折叠?
被折叠的 条评论
为什么被折叠?
 到【灌水乐园】发言


