LaTex 分模块详解
LaTex 文件头
documentclass
article:用于写短篇文章、报告 report:用于写长篇报告、学位论文、技术报告等 book:用于编写书籍,具有章节、子章节和节的层次结构,并支持前言、目录、索引等 beamer:用于制作演示文稿
usepackage
amsmath:使用 LaTeX 数学公式的基本宏包。 graphicx:用于插入和处理图片,支持不同的图像格式,并提供了调整图像大小、旋转、裁剪等功能。 babel:多语言支持,可以根据需要加载不同的语言模块,以适应不同的语言和排版规则 inputenc 和 fontenc:分别用于设置输入编码和字体编码,以支持不同的字符集和字体。 geometry:用于设置页面布局和边距 hyperref:用于添加超链接、书签和交叉引用,使文档具有超链接功能 listings:用于插入源代码,并提供了代码高亮、行号、语法检查等功能。 fancyhdr:用于自定义页眉页脚样式,可以设置页眉页脚内容、位置、格式等。 natbib:用于管理和引用参考文献,支持不同的引用风格和格式。
\usepackage{indentfirst}:允许首行缩进
LaTex 文本格式
中文设置
设置中文字体:在导言区中使用fontspec宏包来设置中文字体
作者与文章的基本信息模块
\title{} \author{}
\date{date} \maketitle
同时执行上面三个指令,没有明确说明的话按默认值进行 \tableofcontents % 生成目录
	\title{My LaTeX Document}
	\author{River Chandler \and Rose Lan}
	\date{2023.6.7}
	\maketitle
section
section是用于组织文档结构的命令之一。它可以将文档分成不同的部分,并为每个部分提供一个标题。section命令的语法如下:\section{标题} LaTeX会自动为section生成一个适当的编号,并将其添加到目录中。 可以应用 subsection、subsubsection等 用于创建更小的section 可以通过添加星号(*)来创建一个不带编号的标题:\section*{标题} 通过命令\label{标签}为section添加一个标签,以便在文档中引用它:\section{标题} \label{sec:标题} 通过\ref{sec:标题}命令,你可以在文档中其他位置引用该section的编号。
LaTex 文本引用
使用\texttt{thebibliography}环境创建参考文献列表,并使用\texttt{bibitem}命令指定每个条目。 使用BibTeX来管理引用并生成参考文献列表。
需要创建一个\texttt{.bib}文件,并在其中指定引用条目。 使用\texttt{cite}命令和引用键引用BibTeX文件中的引用 引用样式可以通过使用\texttt{.bst}文件或引用包(如\texttt{natbib}或\texttt{biblatex})自定义 thebibliography
后面的括号表示字节数,控制换行的 这一部分将不会在目录中显示出来 插入目录需要加上这一命令 \addcontentsline{toc}{section}{\refname}
Raw citation is inserted \cite{citation1} here.

%\addcontentsline{toc}{section}{\refname}
\begin{thebibliography}{9}
	\bibitem{citation1}
	citation one 2023

	\bibitem{citation2}
	citation two 2023

\end{thebibliography}
LaTex 公式设计
当你不需要编号时,加上*即可 还有 gather 函数,使用方法类似 \documentclass{article}
\usepackage{amsmath}
\usepackage{indentfirst}
\begin{document}
This is an example of an inline equation: $E = mc^2$.
Here is an example of a displayed equation:
\[
E = mc^2
\]
We can also use the equation environment to display equations with numbering:
\begin{equation}
E = mc^2
\end{equation}
For multiple equations, we can use the align environment:
\begin{align}
a &= b + c \\
d &= e + f
\end{align}
If we don't want the equations to be numbered, we can use the \texttt{align*} environment:
\begin{align*}
a &= b + c \\
d &= e + f
\end{align*}
\end{document}
LaTex 表格设计
在tabular环境内部,我们使用|c|c|c|来定义表格的列格式。每个c表示一个居中对齐的列,并且通过|在列之间添加垂直线来创建竖直分隔线。 使用\hline命令创建水平分隔线,并使用&符号分隔每个单元格的内容 放置浮动环境(例如表格、图像等)的位置参数
h代表"here" b代表"bottom",表示浮动环境应该放置在页面的底部。 p代表"page",表示浮动环境应该放置在单独的页面上 t代表"top",表示浮动环境应该放置在页面的顶部 ht:LaTeX尝试首先将浮动环境放置在代码所在的位置,如果无法满足,则尝试将其放置在页面的顶部。 \documentclass{article}
\usepackage{amsmath}
\usepackage{indentfirst}
\begin{document}
\begin{table}[ht]
\centering
\caption{Example Table}
\begin{tabular}{|c | c|c|}
\hline
\textbf{Name} & \textbf{Age} & \textbf{City} \\
\hline
John & 25 & New York \\
\hline
Lisa & 30 & London \\
\hline
David & 28 & Paris \\
\hline
\end{tabular}
\end{table}
\end{document}
LaTex 表格的 合并单元格
\usepackage{multirow}
这需要很高的想象力
十分的复杂 这个时候就体现出来Office WPS的妙处了,当然,你排序排布不了的时候也别哭着喊着要LaTex \documentclass{article}
\usepackage{multirow}
\begin{document}
\begin{table}[ht]
\centering
\caption{Example Table with Merged Cells}
\begin{tabular}{|c|c|c|c|}
\hline
\multirow{2}{*}{\textbf{Name}} & \multicolumn{2}{c|}{\textbf{Details}} & \multirow{2}{*}{\textbf{CHECK}} \\
\cline{2-3}
& \textbf{Age} & \textbf{City} & \\
\hline
John & 25 & New York & \multirow{3}{*}{\textbf{CHECKED}}\\
\cline{1-3}
Lisa & 30 & London & \\
\cline{1-3}
David & \multicolumn{2}{c|}{Unknown} & \\
\hline
\end{tabular}
\end{table}
\end{document}
LaTex 图像的插入
\hfill 保证单行(列)插入 如果要单行插入,那么就不要有空行 \documentclass{article}
\usepackage{graphicx}
\usepackage{subcaption}
\begin{document}
\begin{figure}[ht]
\centering
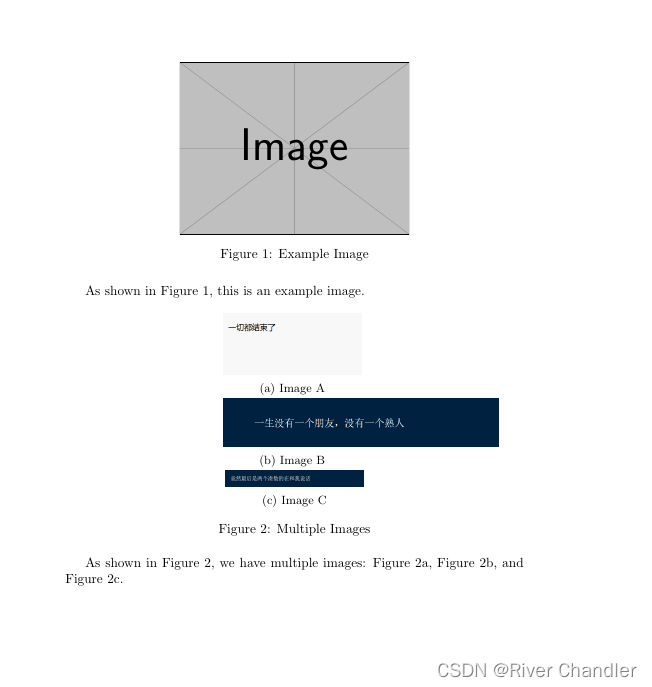
\includegraphics[width=0.5\textwidth]{example-image}
\caption{Example Image}
\label{fig:example}
\end{figure}
As shown in Figure \ref{fig:example}, this is an example image.
\begin{figure}[ht]
\centering
\begin{subfigure}[b]{0.3\textwidth}
\includegraphics[width=\textwidth]{0.png}
\caption{Image A}
\label{fig:image-a}
\end{subfigure}
\hfill
\begin{subfigure}[b]{0.3\textwidth}
\includegraphics[width=2\textwidth]{1.png}
\caption{Image B}
\label{fig:image-b}
\end{subfigure}
\hfill
\begin{subfigure}[b]{0.3\textwidth}
\includegraphics[width=\textwidth]{2.png}
\caption{Image C}
\label{fig:image-c}
\end{subfigure}
\caption{Multiple Images}
\label{fig:multiple-images}
\end{figure}
As shown in Figure \ref{fig:multiple-images}, we have multiple images: Figure \ref{fig:image-a}, Figure \ref{fig:image-b}, and Figure \ref{fig:image-c}.
\end{document}
\begin{figure}[ht]
	\centering

	\begin{subfigure}[b]{0.25\textwidth}
		\includegraphics[width=\textwidth]{图片1.png}
		\caption{Image A}
		\label{fig:image-a}
	\end{subfigure}
	\begin{subfigure}[b]{0.25\textwidth}
		\includegraphics[width=\textwidth]{图片2.png}
		\caption{Image B}
		\label{fig:image-b}
	\end{subfigure}
	\begin{subfigure}[b]{0.25\textwidth}
		\includegraphics[width=\textwidth]{图片3.png}
		\caption{Image C}
		\label{fig:image-c}
	\end{subfigure}

	\caption{Multiple Images}
	\label{fig:multiple-images}
\end{figure}


 1282
1282

 被折叠的 条评论
为什么被折叠?
被折叠的 条评论
为什么被折叠?
 到【灌水乐园】发言


