


首先,网上有很多关于CKEditor的博客教程等,但多数为CKEditor4,如果是用CKEditor5一定要去看第五版的官方文档,有很多改变。
1. 安装配置CKEditor5
此类教程有很多,这里推荐在官网下载,选择创建自己的编辑器ckeditor.com/ckeditor-5/download/.
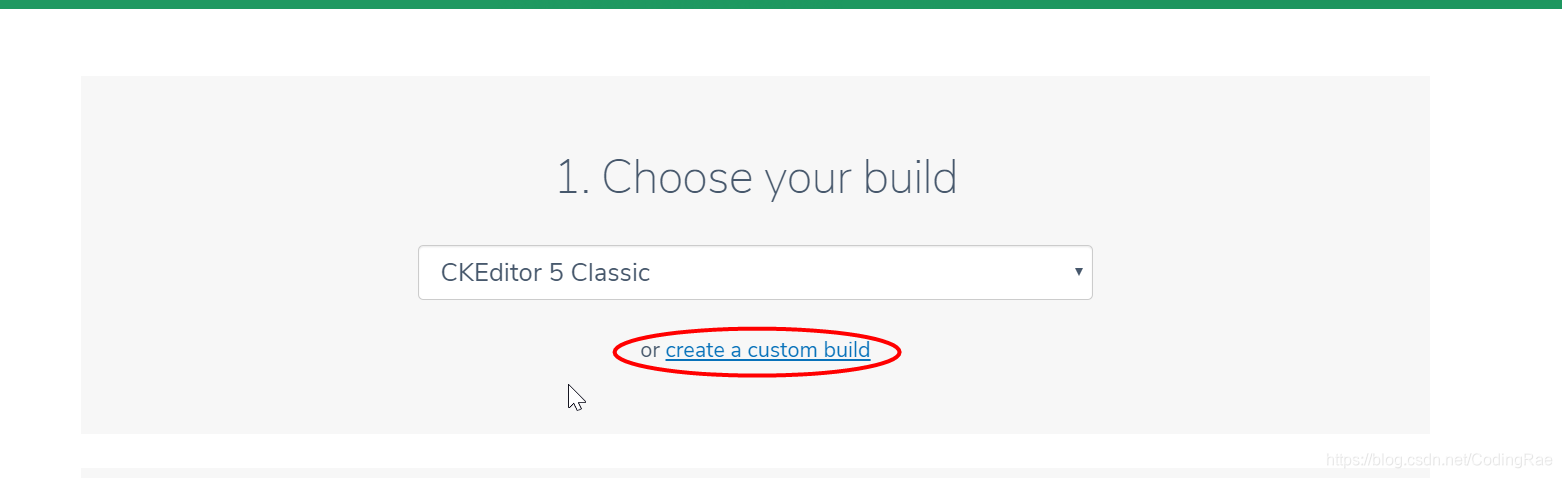
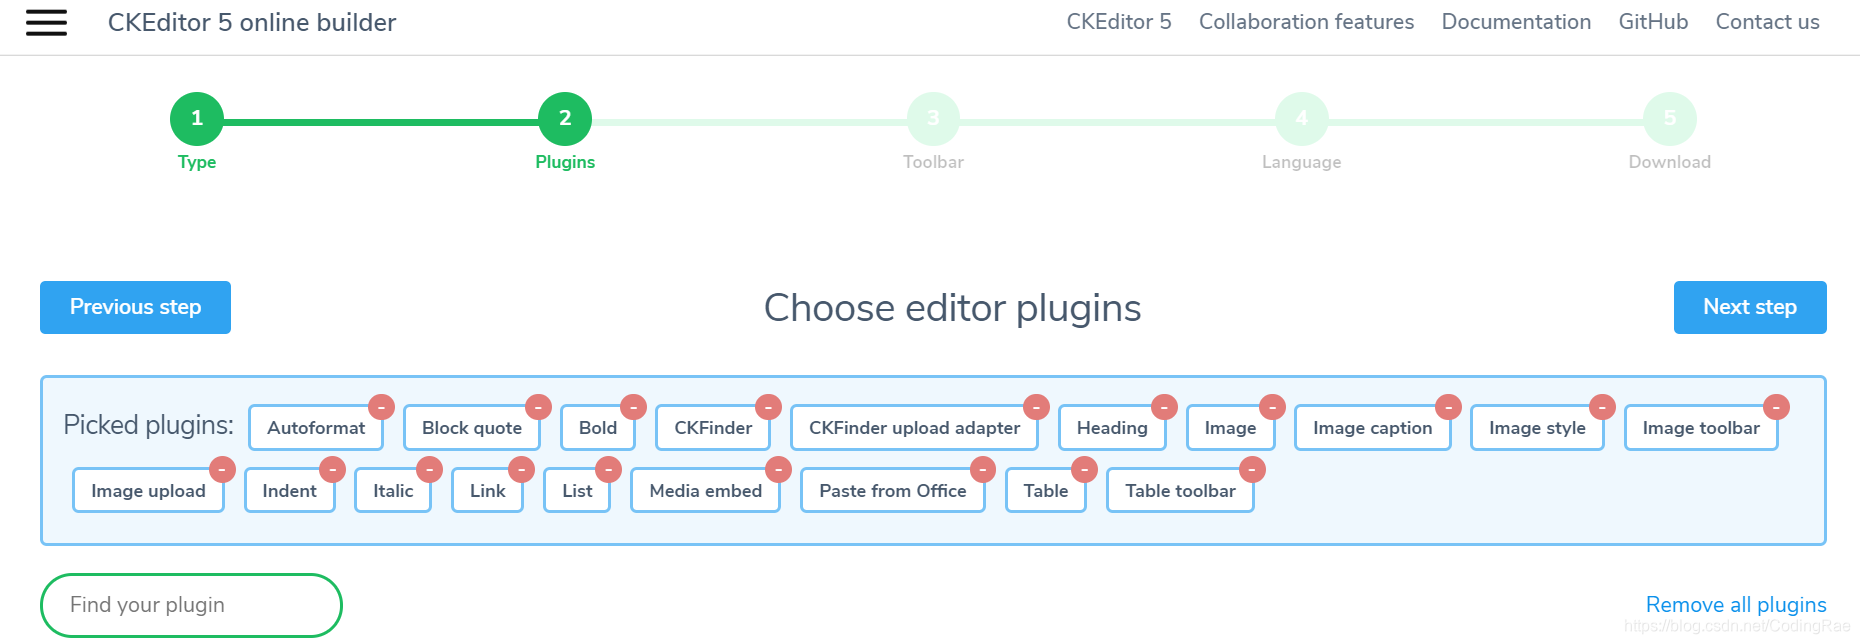
选择经典,然后就可以轻松的选择插件、工具栏排版、语言,最后下载压缩包。
解压后放在项目目录下(sample文件夹可删可不删,但其他目录一定不要修改)
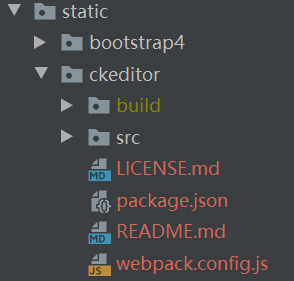
引用ckeditor.js,注意路径
<script type="text/javascript" src="../static/ckeditor/build/ckeditor.js"></script>
<div class="editor" ></div>
在此处,仍可修改你的编辑器
<script>
    let theEditor;
    ClassicEditor
			.create( document.querySelector( '.editor' ), {
				toolbar: {
					items: [
						'heading',
						'|',
						'bold',
						'italic',
						'link',
						'highlight',
						'|',
						'codeBlock',
					]
				},
				language: 'zh-cn',
				image: {
					toolbar: [
						'imageTextAlternative',
						'imageStyle:full',
						'imageStyle:side'
					]
				},
				table: {
					contentToolbar: [
						'tableColumn',
						'tableRow',
						'mergeTableCells'
					]
				},
				licenseKey: '',
			} )
			.then( editor => {
				theEditor = editor;
			} )
			.catch( error => {
				console.error( error );
			} );
</script>
2. 数据库储存
models.py
# content = models.TextField()
    content = RichTextField()
给编辑器添加一个保存按钮
<div>
	<a id="submit"  onclick="submit()">发布</a>
</div>
function submit() {
        var content = theEditor.getData();
        let editData = {};
        editData['solution'] = content;
        let url = "/submit/"
        $.ajax({
        url: url,
        data: JSON.stringify(editData),
        type: 'POST',
        dataType: 'json',
        beforeSend:function(xhr, settings){
            xhr.setRequestHeader("X-CSRFToken", "{{ csrf_token }}");
        },
        success: function(res) {
        },
    });
    }
添加url后,views.py:
def submit(request):
    submitInfo = request.body.decode('utf-8')
    received_json_data = json.loads(submitInfo)
    soluton = received_json_data['solution']

    Blog.objects.create(content=soluton)

    data = {'code': isSuccess}
    return JsonResponse(data, safe=False)
此时,就完成了数据库的保存
3. 富文本回显
数据库读取:
blog=Blog.objects.get(id=id)
content=blog.content
注意,如果不加操作单纯读入,就会导致直接显示带有html标签的文本。
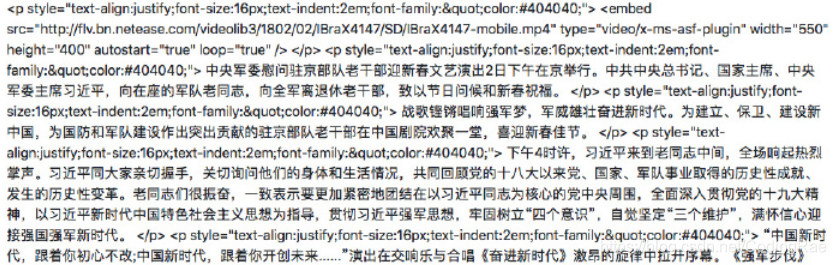
想要达到富文本的效果,只需要将存储的富文本内容用{% autoescape off %}包括起来就可以了。
{% autoescape off %}
    {{content}}
{% endautoescape %}


 681
681

 被折叠的 条评论
为什么被折叠?
被折叠的 条评论
为什么被折叠?
 到【灌水乐园】发言


