


闲话
昨晚睡得有点晚,早上八点多起来了,真想睡个午觉,但是又怕下午没时间看书
一、DI依赖注入
1、构造器注入(利用有参构造创建对象)
假设我们想要使用有参构造创建对象,那么我们就需要调整beans.xml配置文件,有以下三种配置可选
- 通过下标给属性赋值,下标从0开始
public class Bean {
  // 有参构造方法
  public Bean (int age, String name) {
      // ...
  }
}
<bean id="Bean" class="com.decade.pojo.Bean">
   <constructor-arg index="0" value="7500000"/>
   <constructor-arg index="1" value="42"/>
</bean>
- 通过参数的类型进行赋值,基本数据类型可以直接写,但是引用数据类型需要写完整
这种方法不建议使用,因为会出现2个参数都是同种类型的情况,这样就需要按照构造器中参数的顺序来进行声明
public class Bean {
  // 有参构造方法
  public Bean (int age, String name) {
      // ...
  }
}
<bean id="Bean" class="com.decade.pojo.Bean">
   <constructor-arg type="int" value="7500000"/>
   <constructor-arg type="java.lang.String" value="42"/>
</bean>
- 直接通过参数名来设置或者某个属性需要引用其他类的情况
public class Bean {
	// 有参构造方法
   public Bean (ThingTwo thingTow, String name) {
       // ...
   }
}
<beans>
   <bean id="beanOne" class="com.decade.pojo.Bean">
       <constructor-arg ref="beanTwo"/>
       <constructor-arg name="name" value="decade"/>
   </bean>

   <bean id="beanTwo" class="x.y.ThingTwo"/>
</beans>
2、set注入(利用无参构造创建对象)
依赖注入:依赖无参构造,注入属性
- 依赖:bean对象的创建依赖于容器
- 注入:bean对象中的所有属性,由容器来注入
1)结合demo做一个简单的了解
首先,我们创建一个实体类Hello,并且声明set方法,因为依赖注入就是使用set方法进行注入的
public class Hello {
   private String name;

   public String getName() {
       return name;
   }

   // 依赖注入就是使用set方法进行注入的,去掉此行,bean.xml里面使用property对对象属性进行赋值的操作就会报错
   public void setName(String name) {
       this.name = name;
   }

   @Override
   public String toString() {
       return "Hello{"
           + "name='" + name + '\''
           + '}';
   }
}
然后我们需要在resource路径下创建与bean相关的配置文件,这里就命名成beans.xml
注意,创建XML文件时,idea右上角会提示该配置文件没有配置到项目中,我们点击配置一下即可
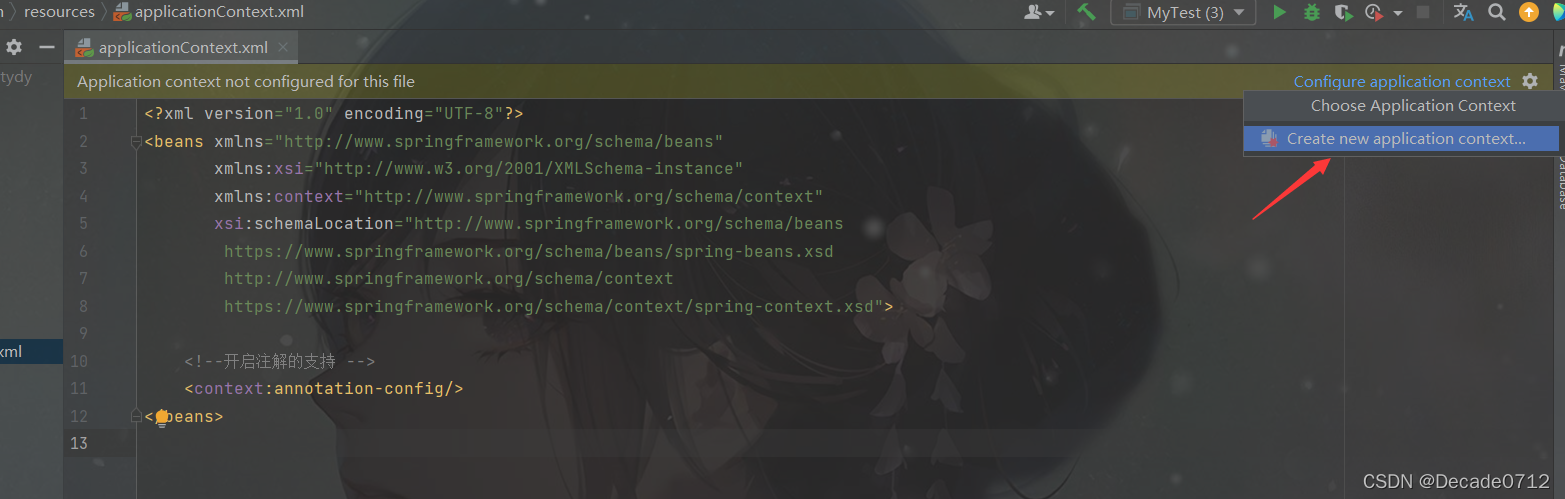
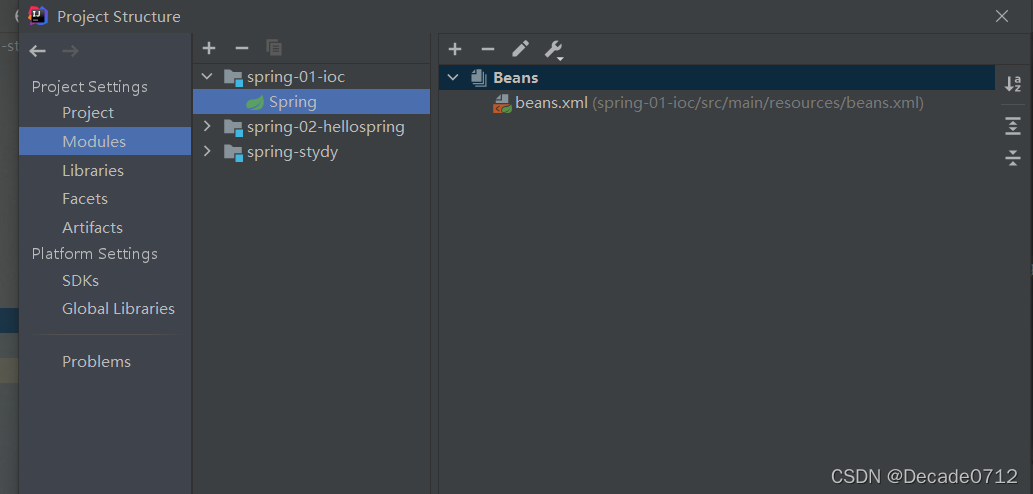
在这里可以查看哪些文件配置已经到项目中
ref:用来引用spring容器中创建好的bean对象
value:设置为具体的值,基本数据类型
<?xml version="1.0" encoding="UTF-8"?>
<beans xmlns="http://www.springframework.org/schema/beans"
       xmlns:xsi="http://www.w3.org/2001/XMLSchema-instance"
       xsi:schemaLocation="http://www.springframework.org/schema/beans
       http://www.springframework.org/schema/beans/spring-beans.xsd">

    <!-- 使用spring来创建对象,在spring中这些对象都称为bean
     原先创建对象的方式为    类型  变量名 = new 类型()
     创建一个Hello对象就是  Hello hello = new Hello()
     这里我们使用bean容器进行对象的创建,所以这里
     id = 变量名   class = 类型  property = 对象的属性,并且可以通过value对其赋值
     -->
    <bean id="hello" class="com.decade.pojo.Hello">
        <property name="name" value="decade"/>
    </bean>
</beans>
然后我们创建对应的测试类去测试一下
import com.decade.pojo.Hello;
import org.springframework.context.ApplicationContext;
import org.springframework.context.support.ClassPathXmlApplicationContext;

public class MyTest {
    public static void main(String[] args) {
        // 获取spring的IOC容器
        ApplicationContext context = new ClassPathXmlApplicationContext("beans.xml");

        // 我们创建的对象都在spring中,我们需要使用这些对象就需要去上下文中获取
        Hello hello = (Hello) context.getBean("hello");
        System.out.println("对象的name属性值为=====" + hello.getName());
    }
}
运行结果如下

2)深入拓展
实际开发中,我们需要创建很多复杂的对象,他的属性不可能仅仅是上面那些简单的基本数据类型
所以,我们还需要做一些拓展,也可以参照 spring官方文档
首先我们创建一个具有各种不同类型属性的实体类
public class Address {
    private String address;

    public String getAddress() {
        return address;
    }

    public void setAddress(String address) {
        this.address = address;
    }
}


import java.util.*;
public class Student {
    private String name;
    private Address address;
    private String[] books;
    private List<String> hobbies;
    private Map<String, String> card;
    private Set<String> games;
    private String phone;
    private Properties info;

    public String getName() {
        return name;
    }

    public void setName(String name) {
        this.name = name;
    }

    public Address getAddress() {
        return address;
    }

    public void setAddress(Address address) {
        this.address = address;
    }

    public String[] getBooks() {
        return books;
    }

    public void setBooks(String[] books) {
        this.books = books;
    }

    public List<String> getHobbies() {
        return hobbies;
    }

    public void setHobbies(List<String> hobbies) {
        this.hobbies = hobbies;
    }

    public Map<String, String> getCard() {
        return card;
    }

    public void setCard(Map<String, String> card) {
        this.card = card;
    }

    public Set<String> getGames() {
        return games;
    }

    public void setGames(Set<String> games) {
        this.games = games;
    }

    public String getPhone() {
        return phone;
    }

    public void setPhone(String phone) {
        this.phone = phone;
    }

    public Properties getInfo() {
        return info;
    }

    public void setInfo(Properties info) {
        this.info = info;
    }

    @Override
    public String toString() {
        return "Student{" +
            "name='" + name + '\''
            + ", address=" + address.toString()
            + ", books=" + Arrays.toString(books)
            + ", hobbies=" + hobbies
            + ", card=" + card
            + ", games=" + games
            + ", phone='" + phone + '\''
            + ", info=" + info
            + '}';
    }
}
然后通过beans.xml配置文件对属性进行赋值
<?xml version="1.0" encoding="UTF-8"?>
<beans xmlns="http://www.springframework.org/schema/beans"
       xmlns:xsi="http://www.w3.org/2001/XMLSchema-instance"
       xsi:schemaLocation="http://www.springframework.org/schema/beans
        https://www.springframework.org/schema/beans/spring-beans.xsd">

    <bean id="address" class="com.decade.pojo.Address">
        <property name="address" value="南京"/>
    </bean>

    <bean id="student" class="com.decade.pojo.Student">
        <!--普通属性注入 -->
        <property name="name" value="decade"/>

        <!--Bean注入 -->
        <property name="address" ref="address"/>

        <!--设置某个属性是数组 -->
        <property name="books">
            <array>
                <value>雪中悍刀行</value>
                <value>龙族</value>
                <value>吞噬星空</value>
                <!-- 如果数组中的元素是对象,那么可以这么设置
                    <ref bean="myDataSourceBean" />
                -->
            </array>
        </property>

        <!--设置某个属性是list集合 -->
        <property name="hobbies">
            <list>
                <value>听歌</value>
                <value>看电视</value>
                <value>打游戏</value>
                <!-- 如果list集合中的元素是对象,那么可以这么设置
                    <ref bean="myDataSourceBean" />
                -->
            </list>
        </property>

        <!--设置某个属性是map集合 -->
        <property name="card">
            <map>
                <entry key="ID" value="1024"/>
                <entry key="存款账户" value="一百一十爽"/>
                <!-- 如果map的value是对象,那么可以这么设置
                    <entry key="a ref" value-ref="myDataSource"/>
                -->
            </map>
        </property>

        <!--设置某个属性是set集合 -->
        <property name="games">
            <set>
                <value>LOL</value>
                <value>王者</value>
                <value>保卫萝卜</value>
                <!-- 如果set集合中的元素是对象,那么可以这么设置
                    <ref bean="myDataSourceBean" />
                -->
            </set>
        </property>

        <!--设置某个属性是空对象 -->
        <property name="phone">
            <!-- 如果要设置为空字符串,改为下面这个即可
                <property name="phone" value=""/>
            -->
            <null/>
        </property>

        <!--设置某个属性是配置文件 -->
        <property name="info">
            <props>
                <prop key="ip">127.0.0.1</prop>
                <prop key="port">3306</prop>
                <prop key="userId">root</prop>
            </props>
        </property>
    </bean>

</beans>
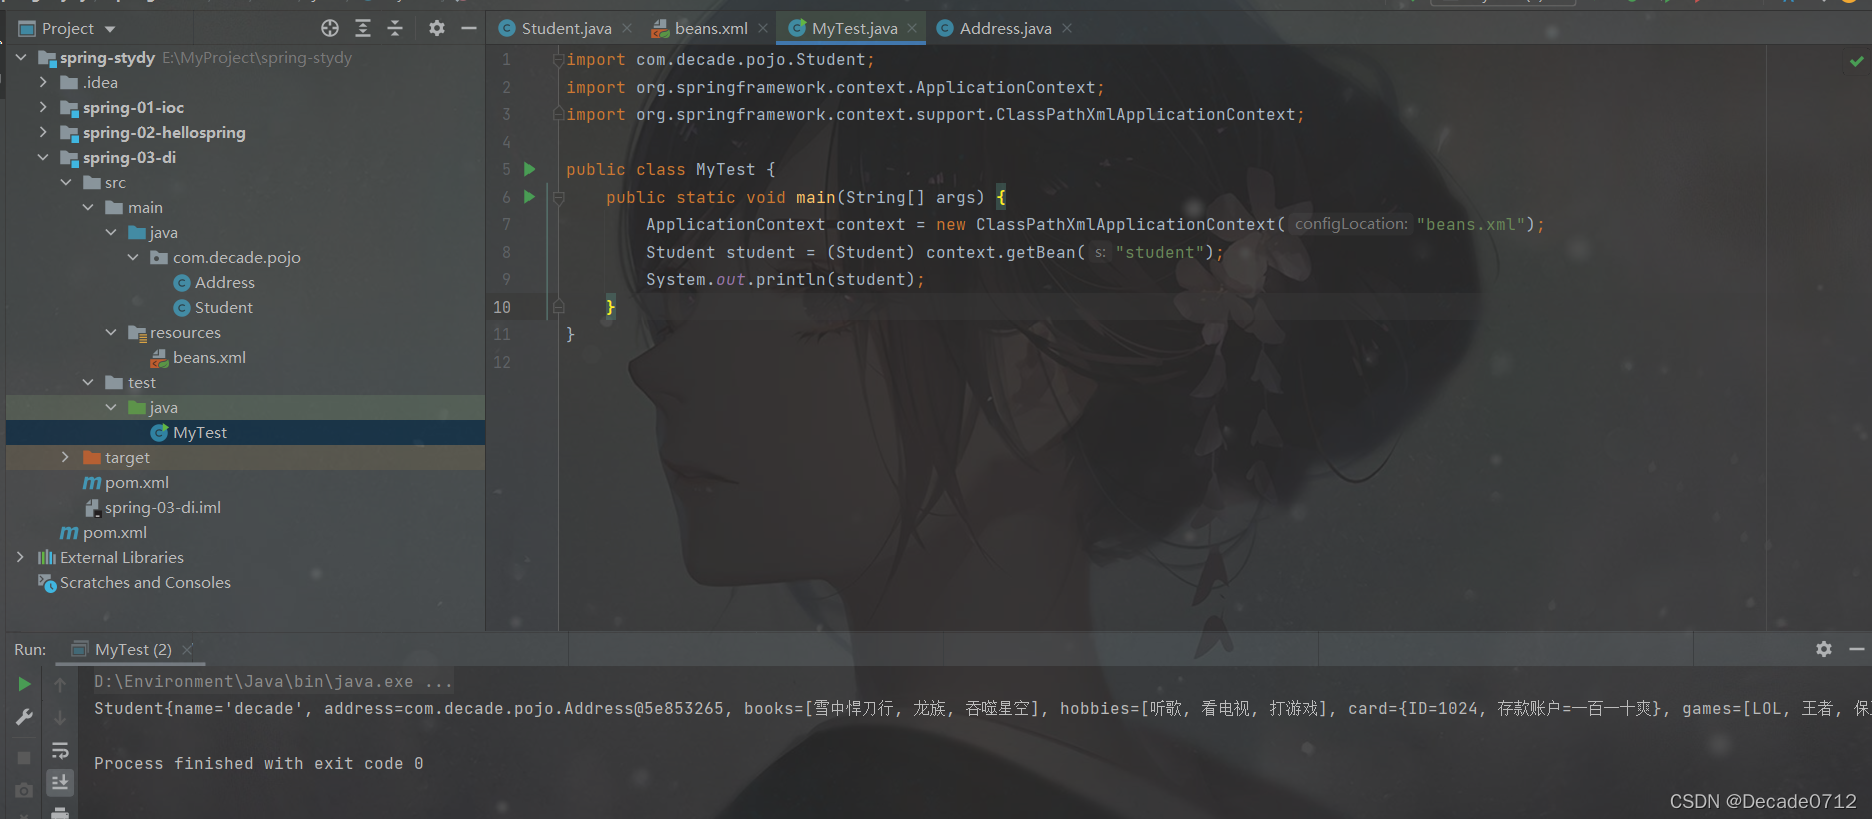
最后,我们写一个测试类进行测试
public class MyTest {
    public static void main(String[] args) {
        ApplicationContext context = new ClassPathXmlApplicationContext("beans.xml");
        Student student = (Student) context.getBean("student");
        System.out.println(student);
    }
}
运行结果如下
3、拓展方式注入
1)c命名和p命名空间注入
p命名空间是针对上面的set注入,而c命名空间是针对构造器注入
我们结合一个代码实例来进行分析
首先我们创建一个User实体类
public class User {
    private String name;
    private int age;
    private Address address;

    public User() {
    }

    public User(String name, int age, Address address) {
        this.name = name;
        this.age = age;
        this.address = address;
    }

    public String getName() {
        return name;
    }

    public void setName(String name) {
        this.name = name;
    }

    public int getAge() {
        return age;
    }

    public void setAge(int age) {
        this.age = age;
    }

    public Address getAddress() {
        return address;
    }

    public void setAddress(Address address) {
        this.address = address;
    }

    @Override
    public String toString() {
        return "User{" +
            "name='" + name + '\''
            + ", age=" + age
            + ", address=" + address.getAddress()
            + '}';
    }
}
然后我们使用XML配置文件去管理对象的创建
注意:使用p命名空间和c命名空间需要导入xml约束
xmlns:p=“http://www.springframework.org/schema/p”
xmlns:c=“http://www.springframework.org/schema/c”
<beans xmlns="http://www.springframework.org/schema/beans"
       xmlns:xsi="http://www.w3.org/2001/XMLSchema-instance"
       xmlns:p="http://www.springframework.org/schema/p"
       xmlns:c="http://www.springframework.org/schema/c"
       xsi:schemaLocation="http://www.springframework.org/schema/beans
        https://www.springframework.org/schema/beans/spring-beans.xsd">

    <bean id="address2" class="com.decade.pojo.Address">
        <property name="address" value="南京"/>
    </bean>

    <bean id="user" class="com.decade.pojo.User" p:age="18" p:name="decade" p:address-ref="address2"/>

    <bean id="user2" class="com.decade.pojo.User" c:age="18" c:name="decade_test" c:address-ref="address2"/>
</beans>
注意,c命名空间还可以使用下标和属性进行关联,如图

最后我们编写一个测试类进行测试
import com.decade.pojo.Student;
import com.decade.pojo.User;
import org.junit.Test;
import org.springframework.context.ApplicationContext;
import org.springframework.context.support.ClassPathXmlApplicationContext;

public class MyTest {
    @Test
    public void testMethod() {
        ApplicationContext context = new ClassPathXmlApplicationContext("userBeans.xml");
        User user = context.getBean("user", User.class);
        System.out.println("对象user的属性为" + user);
        System.out.println("========================");
        User user2 = context.getBean("user2", User.class);
        System.out.println("对象user2的属性为" + user2);
    }
}
运行结果如图

如有错误,欢迎指正


 201
201


 被折叠的 条评论
为什么被折叠?
被折叠的 条评论
为什么被折叠?
 到【灌水乐园】发言


