


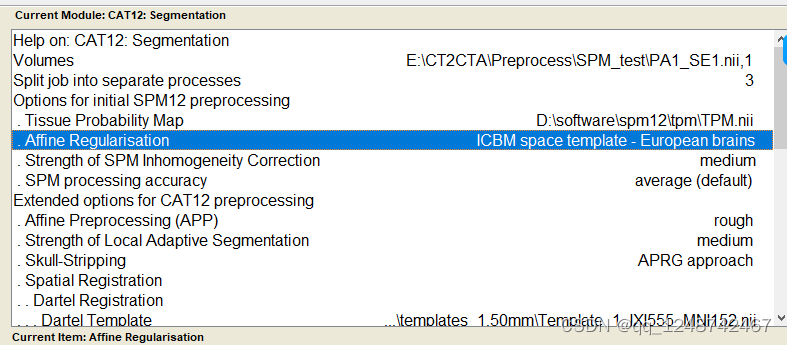
1. 颅骨去除


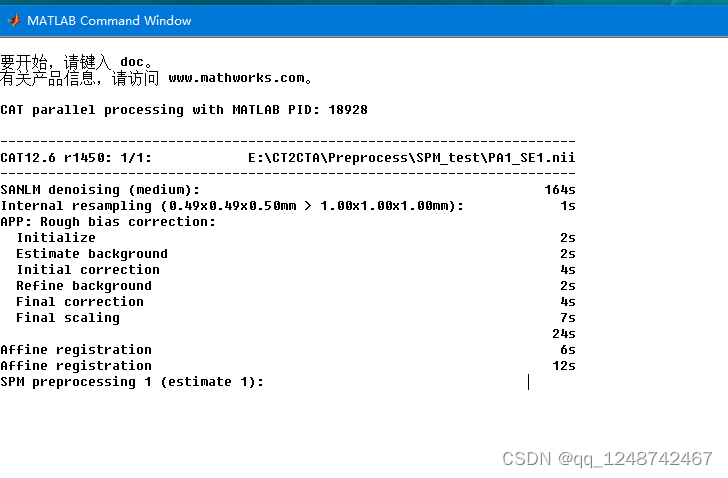
出现这个界面就一直等待即可:
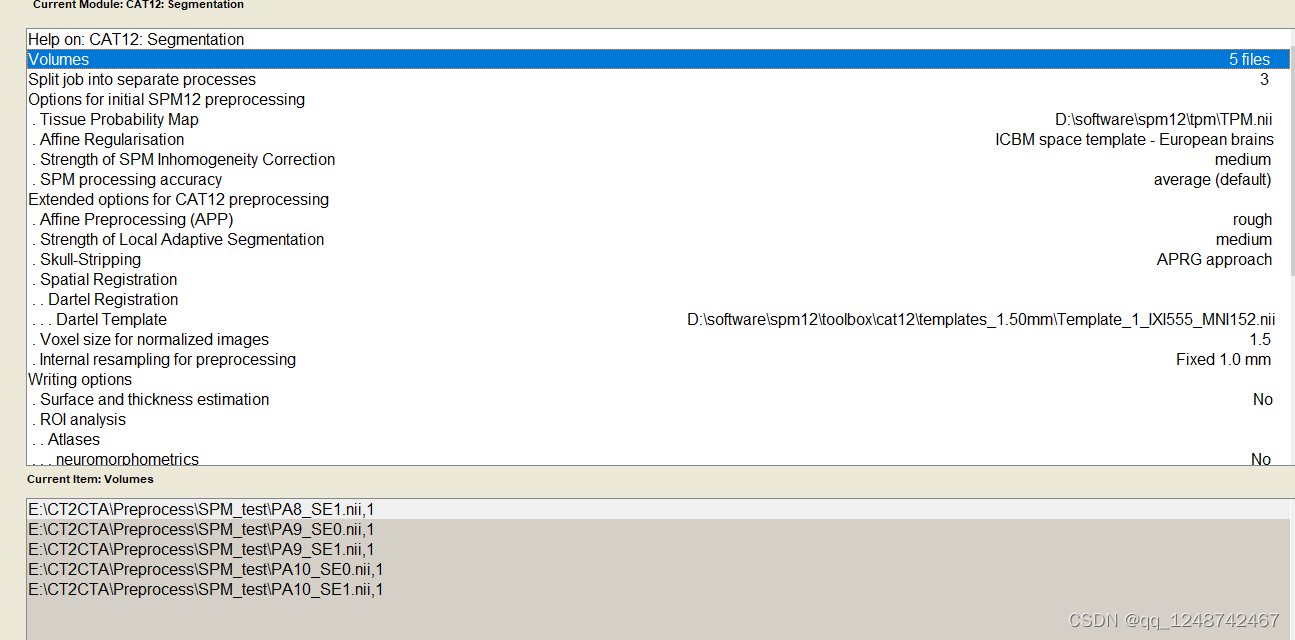
可以将surface and thickness estimation设置为False,那么就不会生成surf和label文件夹节省时间
segment的结果文件中会出现四个文件夹label、mri、report、surf
在mri文件中,mwp1是分割出来的灰质图像,mwp2是分割出来的白质图像,这两图像均是bias correction和空间配准后的。p0**应该是灰质+白质+脑脊液的图像,图像在原始空间上,没有配准。最后一个数据应该是去除头骨后的图像,bias correction和空间配准后的。
得到的wm.nii是模板的分辨率,那么需要使用p0作为mask,再通过以下代码得到去除颅骨的结果
from nibabel.viewers import OrthoSlicer3D
import nibabel as nib
import numpy as np

# 加载原始图像序列
orig_nii = nib.load('SPM_test/PA1_SE1.nii')
original_image = nib.load('SPM_test/PA1_SE1.nii').get_fdata()

# 加载蒙版序列
mask_sequence = nib.load('SPM_test/regis_1/mri/p0PA1_SE1.nii').get_fdata()

# 结合蒙版序列和原始图像序列,生成输出图像序列
output_sequence = original_image * mask_sequence

# 保存输出图像序列
output_image = nib.Nifti1Image(output_sequence, affine=orig_nii.affine)
nib.save(output_image, 'path_to_output_image.nii.gz')
不用写脚本也可以批量处理啦
2. dicom和nifti互转
import dicom2nifti
import SimpleITK as itk
# pytorch311

# dicom2nifti.dicom_series_to_nifti("CTA-GAN/PA1/SE1", "CTA-GAN/PA1/SE1.nii.gz", reorient_nifti=True)

# nifti2dicom 就使用3D slicer进行操作即可

for i in range (1, 11):
    dicom0_file = "PA" + str(i) + "/SE0"
    nifti0_path = "PA" + str(i) + "_SE0.nii"
    dicom2nifti.dicom_series_to_nifti(dicom0_file, nifti0_path, reorient_nifti=True)

    dicom1_file = "PA"+str(i)+"/SE1"
    nifti1_path = "PA"+str(i)+"_SE1.nii"
    dicom2nifti.dicom_series_to_nifti(dicom1_file, nifti1_path, reorient_nifti=True)

3. 配准到标准空间

或者是使用代码进行
- 安装antpyx ,推荐离线安装
- 运行代码
import os
import ants

# https://blog.csdn.net/qq_41624868/article/details/118597257
# https://blog.csdn.net/jz2580133981/article/details/129341353
# https://zhuanlan.zhihu.com/p/563840405  各个方法耗时时间
# 其余的311但是这个要310


fix_path = "SPM_test/skull_seg_PA2_SE1.nii.gz"
move_path = "SPM_test/skull_seg_PA1_SE1.nii.gz"
fixed = ants.image_read(fix_path)
moving =  ants.image_read(move_path)

"""types = ['Translation', 'Rigid', 'Similarity', 'QuickRigid', 'DenseRigid', 'BOLDRigid', 'Affine', 'AffineFast', 'BOLDAffine',
         'TRSAA', 'ElasticSyN', 'SyN', 'SyNRA', 'SyNOnly', 'SyNCC', 'SyNabp', 'SyNBold', 'SyNBoldAff', 'SyNAggro', 'TVMSQ']"""
SyN = ants.registration(fixed = fixed, moving = moving, typr_of_transform = 'Rigid')
result = ants.apply_transforms(fixed = fixed, moving = moving, transformlist = SyN['fwdtransforms'])
ants.image_write(result ,"SPM_test/PA1_regis_PA2.nii.gz")
4. .mat文件和nii文件转换
import scipy.io as sio
import pydicom
import numpy as np

import numpy as np
import scipy.io as sio
from nibabel import nifti1
from nibabel.nifti1 import Nifti1Image
import os

# 读取.mat文件
mat_data = sio.loadmat('T1T2P_normal_B1cor.mat')

# print(mat_data)
T1_find_all = mat_data['T1_find_all']
T2_find_all = mat_data['T2_find_all']
p_all = mat_data['p_all']

# print(T1_find_all.shape) # (328, 328, 328)
# print(T2_find_all, T2_find_all.shape)
print(p_all, p_all.shape)

# 将数据转换为nii格式
img = Nifti1Image(T1_find_all.astype(np.float32), np.eye(4))
# 设置输出文件名
output_file = 'T1_find_all.nii'
# 保存为.nii文件
nifti1.save(img, output_file)


# 将数据转换为nii格式
img = Nifti1Image(T2_find_all.astype(np.float32), np.eye(4))
# 设置输出文件名
output_file = 'T2_find_all.nii'
# 保存为.nii文件
nifti1.save(img, output_file)


# 将数据转换为nii格式
img = Nifti1Image(p_all.astype(np.float32), np.eye(4))
# 设置输出文件名
output_file = 'p_all.nii'
# 保存为.nii文件
nifti1.save(img, output_file)


 2921
2921


 被折叠的 条评论
为什么被折叠?
被折叠的 条评论
为什么被折叠?
 到【灌水乐园】发言


