


这次我们安装github.com/yysijie/st-gcn这个作者源码环境,安装流程十分复杂这里介绍大体流程。
1.首先编译openpose的python API接口这个编译难度较大,具体参考博文:windows编译openpose及在python中调用_python openpose-CSDN博客
这个博文是我参考别人的以及自己实际经验写的,流程和博文描述一致,环境要求
- windows 10 64bit
- openpose 1.7.0
- cuda 11.1
- cudnn 8.0.5.39
- visual studio 2019
- >=cmake 3.20.2
温馨提示:安装前电脑必须有nvidia显卡且显存>=6GB,否则本博文就不用看了,因为就算安装成功也不能用。
2. 安装torch和torhvision
pip install torch==1.9.0+cu111 torchvision==0.10.0+cu111 -f https://download.pytorch.org/whl/torch_stable.html
3.安装环境所需的其他python库
pip install -r requirements.txt
4. 安装ffmpeg
conda install ffmpeg
5. 安装torchlight
先切换到源码目录
cd ./torchlight
python setup.py install
6. 获取预训练模型
下载ST-GCN所需模型(.pt文件):
模型链接:gitee.com/FIRC/fircfiles/blob/master/st-gcn.md
1). 下载好的st_gcn.kinetics.pt等文件放到 st-gcn/models中。
2). pose_iter_440000.caffemodel(安装的openpose中的models/pose/coco下有)放到st-gcn/models/pose/coco中。
7. 安装PyYAML(如果不安装就会出现如下情况:AttributeError: module 'yaml' has no attribute 'FullLoader'AttributeError: module 'yaml' has no attribute 'FullLoader')
pip install -U PyYAML
9.执行检测代码
!python main.py demo --video ./resource/media/ta_chi.mp4 --openpose /content/openpose/build
然后就会出现结果了:
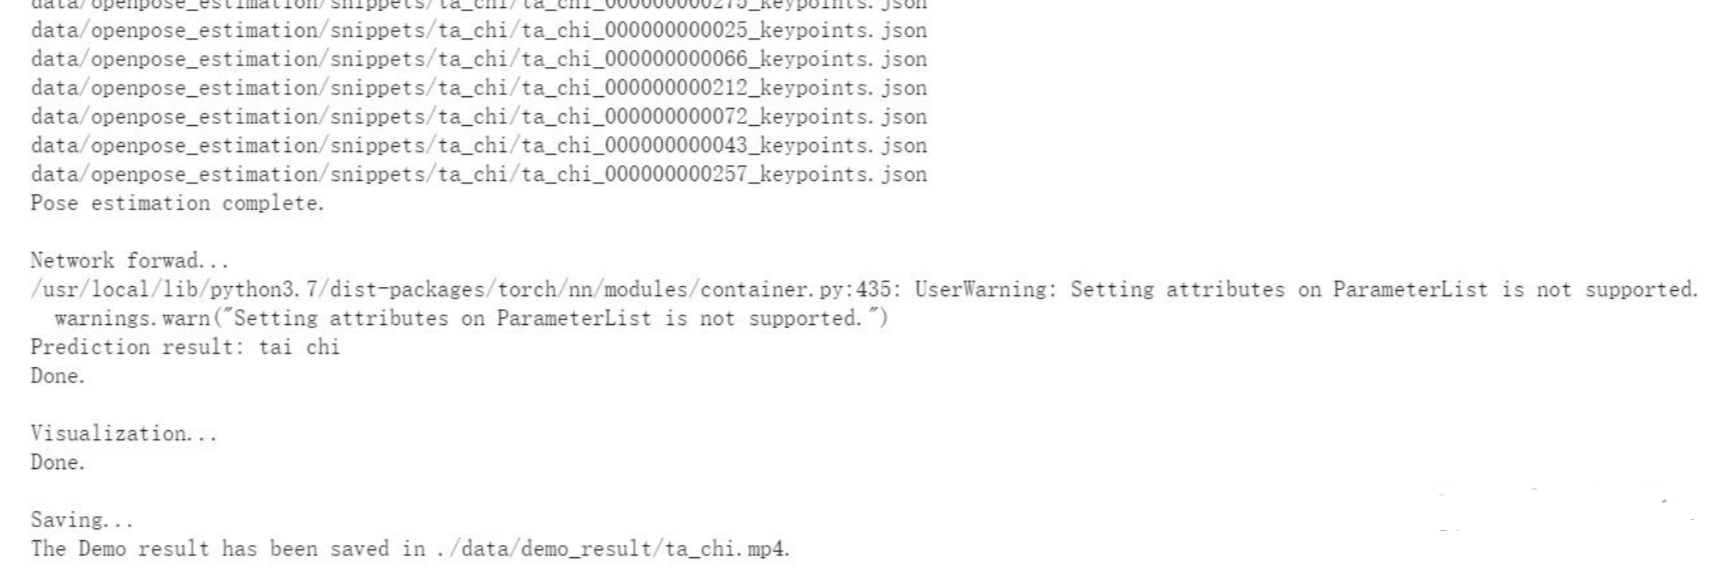
现实预测结果是tai_chi,可视化完成,并且把结果保存在 ./data/demo_result/ta_chi.mp4.
我们把它下载到本地,然后打开。

复现成功!!!
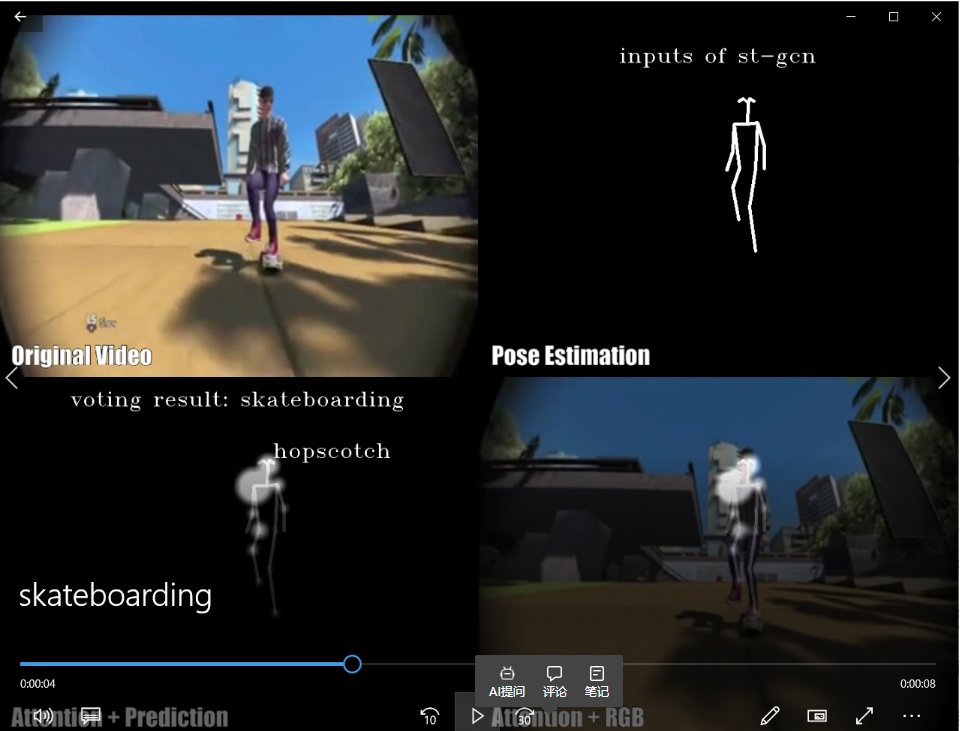
也可以换一个视频测试一下,比如执行
!python main.py demo --video ./resource/media/skateboarding.mp4 --openpose /content/openpose/build

大功告成。


 被折叠的 条评论
为什么被折叠?
被折叠的 条评论
为什么被折叠?
 到【灌水乐园】发言


