


【小白做项目-03】
本文为爱吃章鱼的熊二原创,转载请说明
一、效果展示


二、项目需求
- 设计一个淘宝类APP
- 包含登陆注册功能
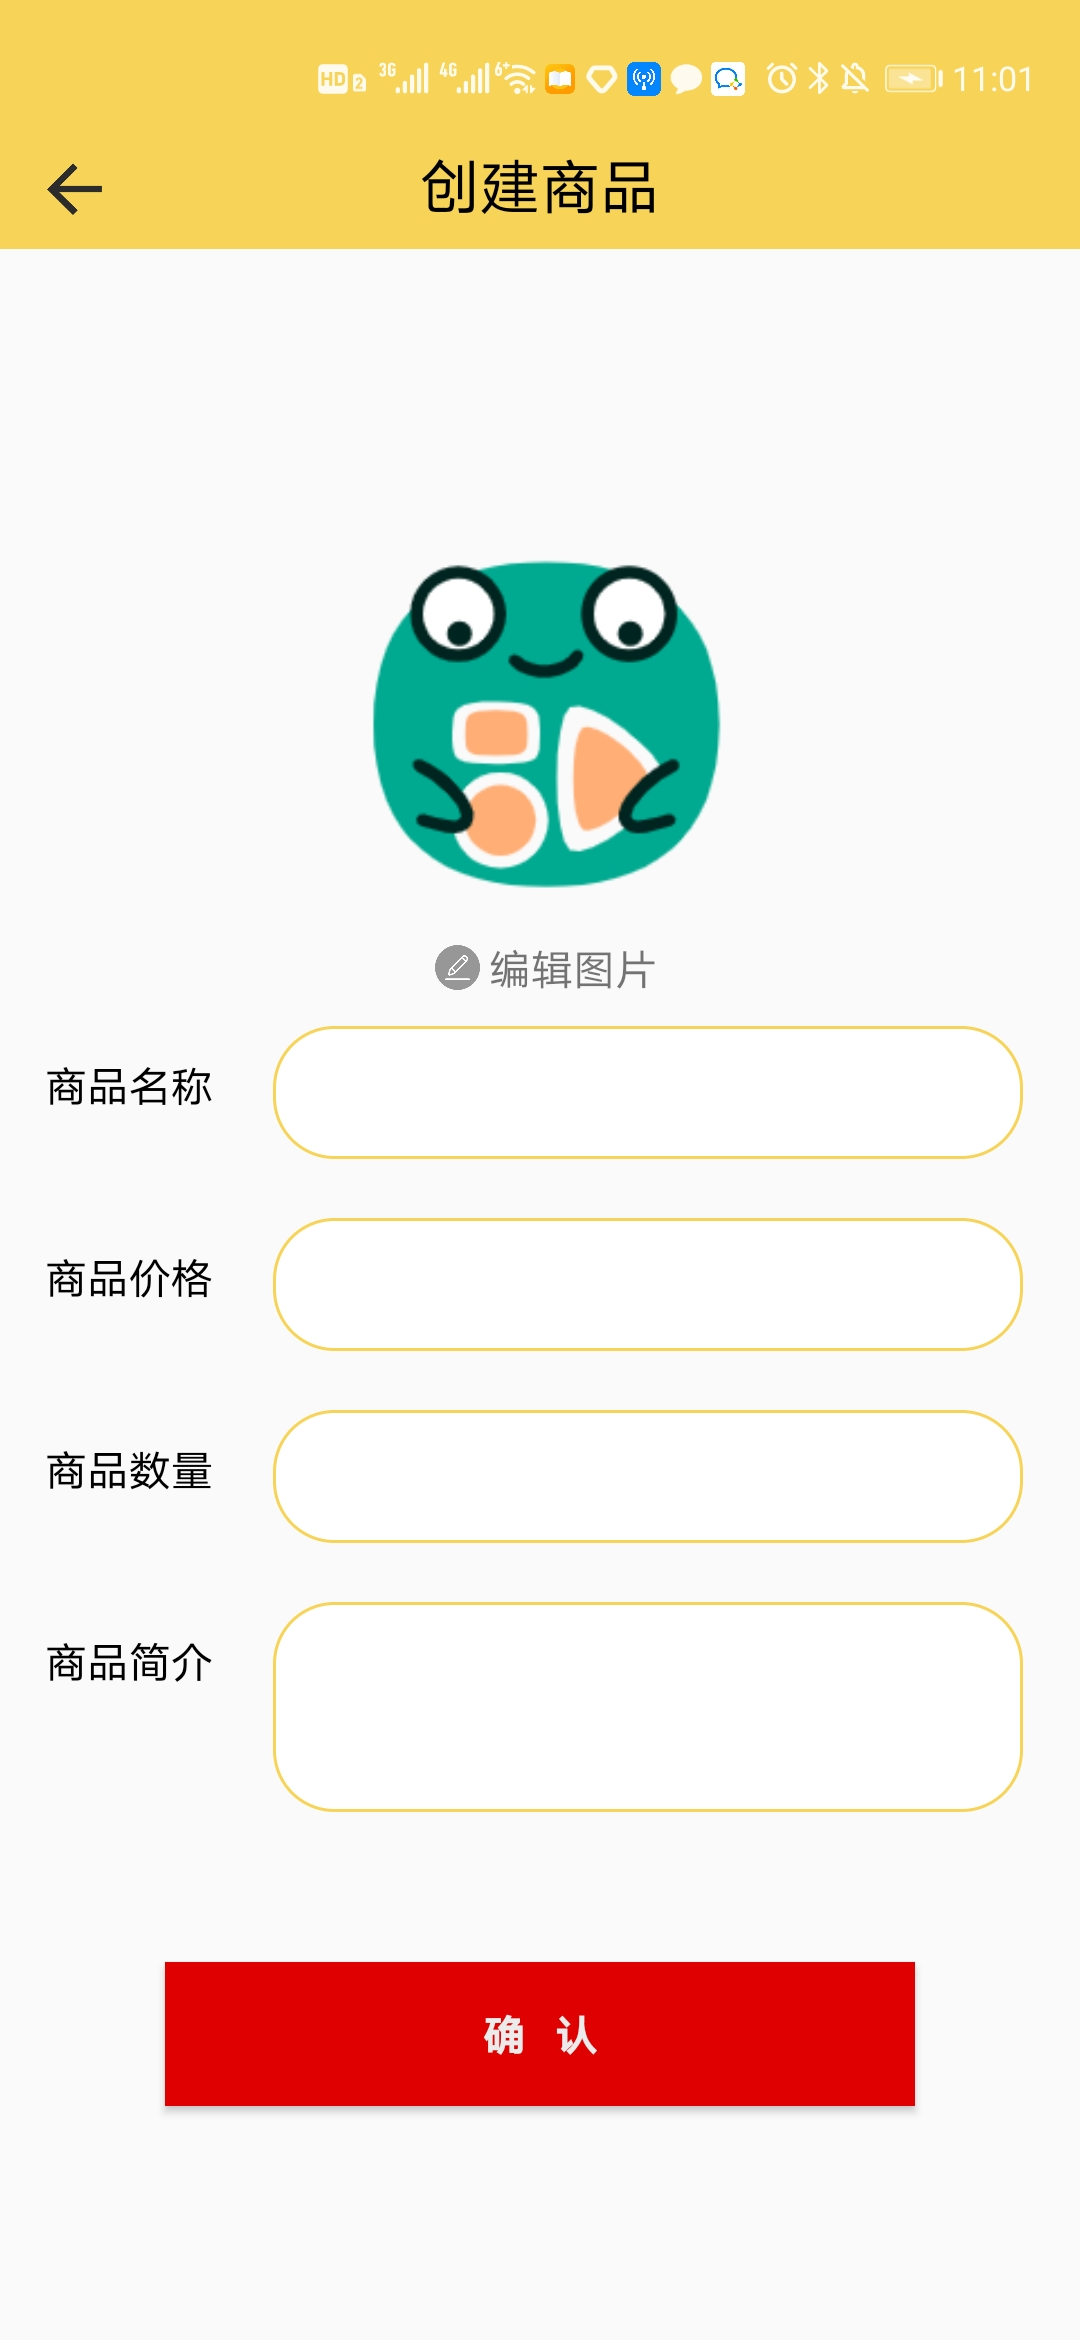
- 能够上架商品
- 能够购买商品
- 能够查看订单信息
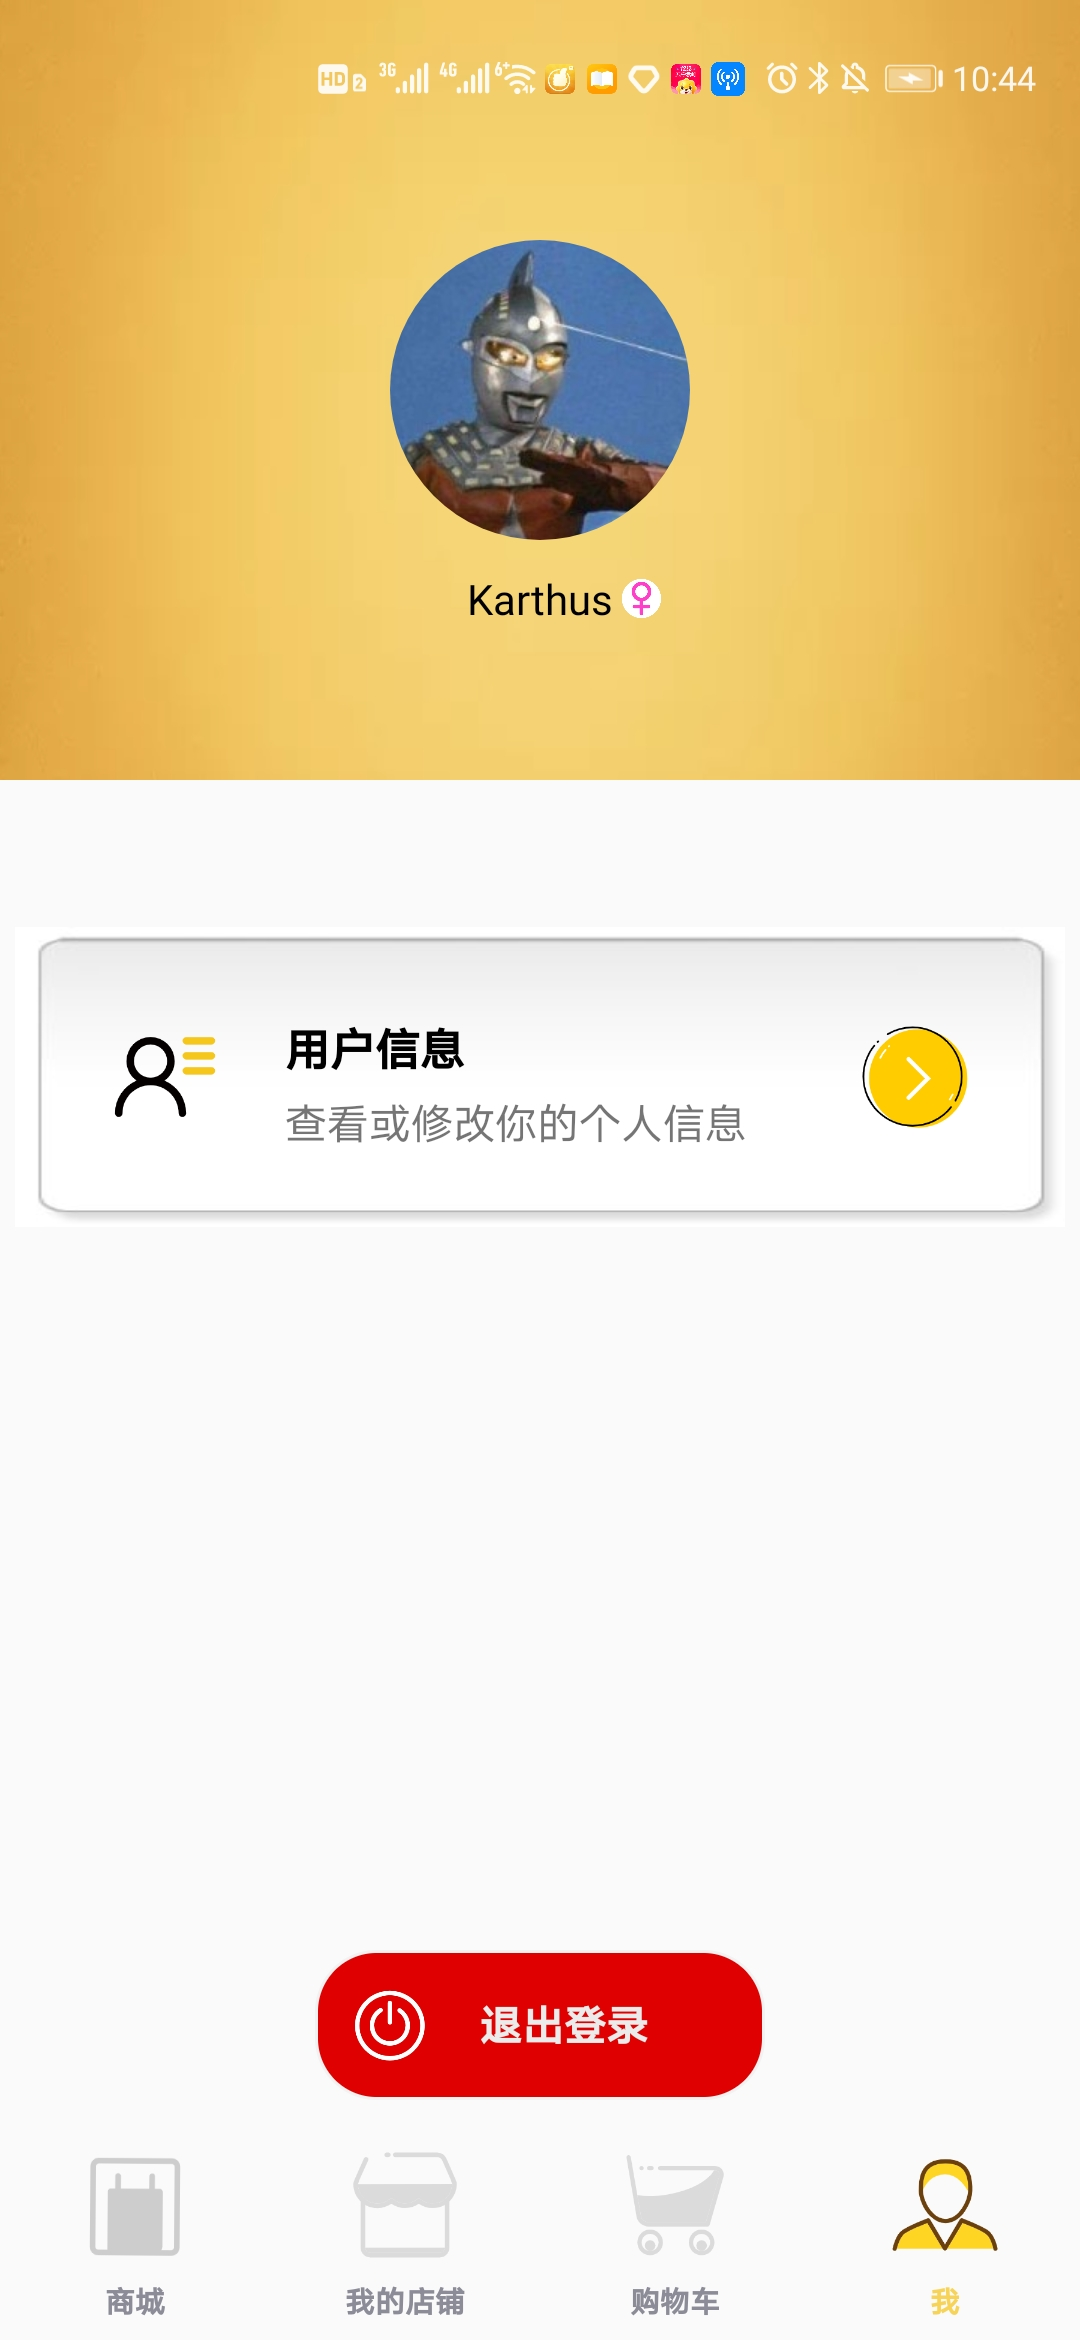
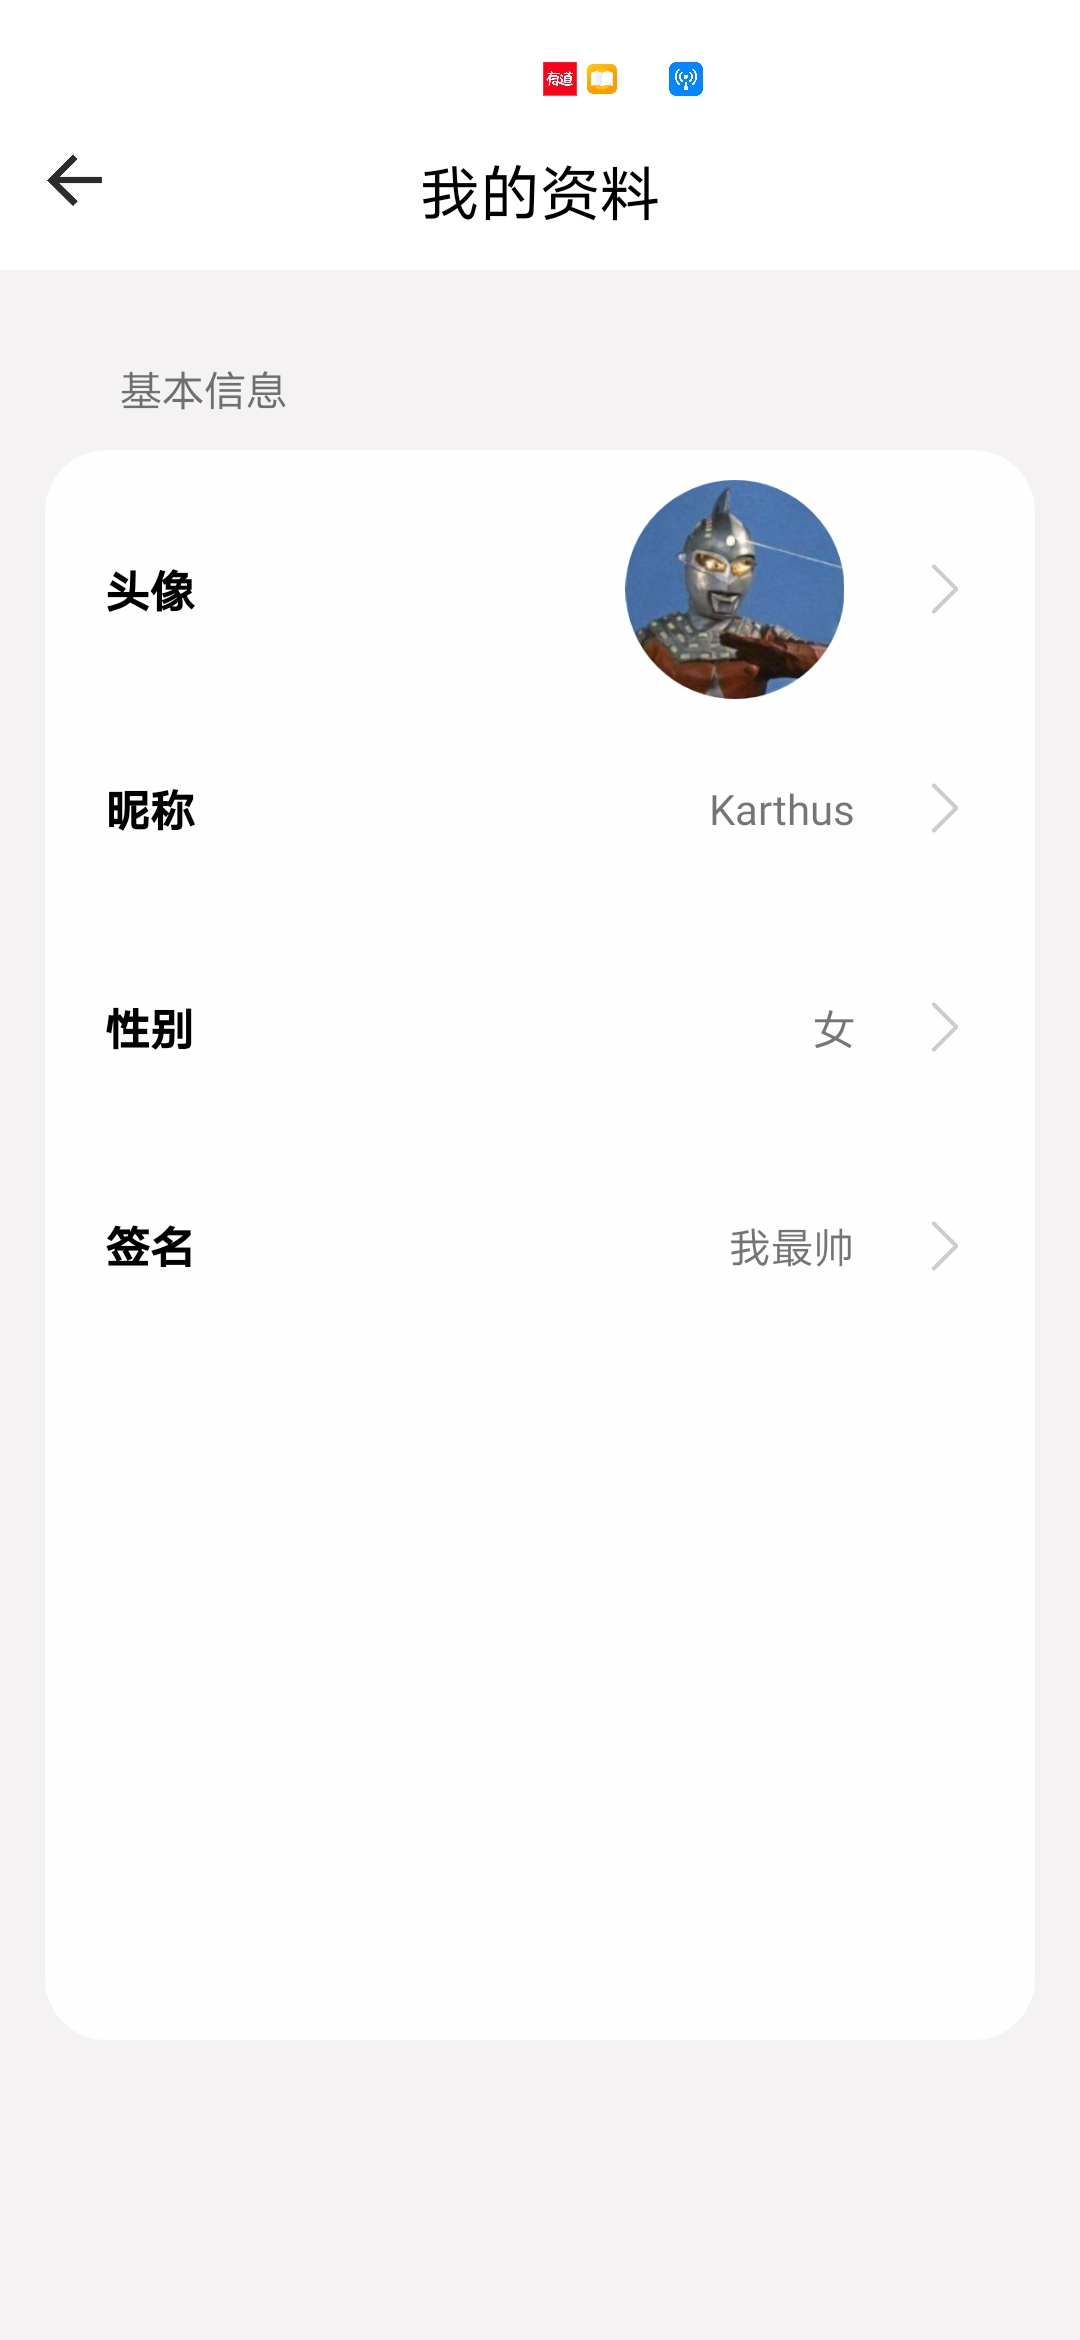
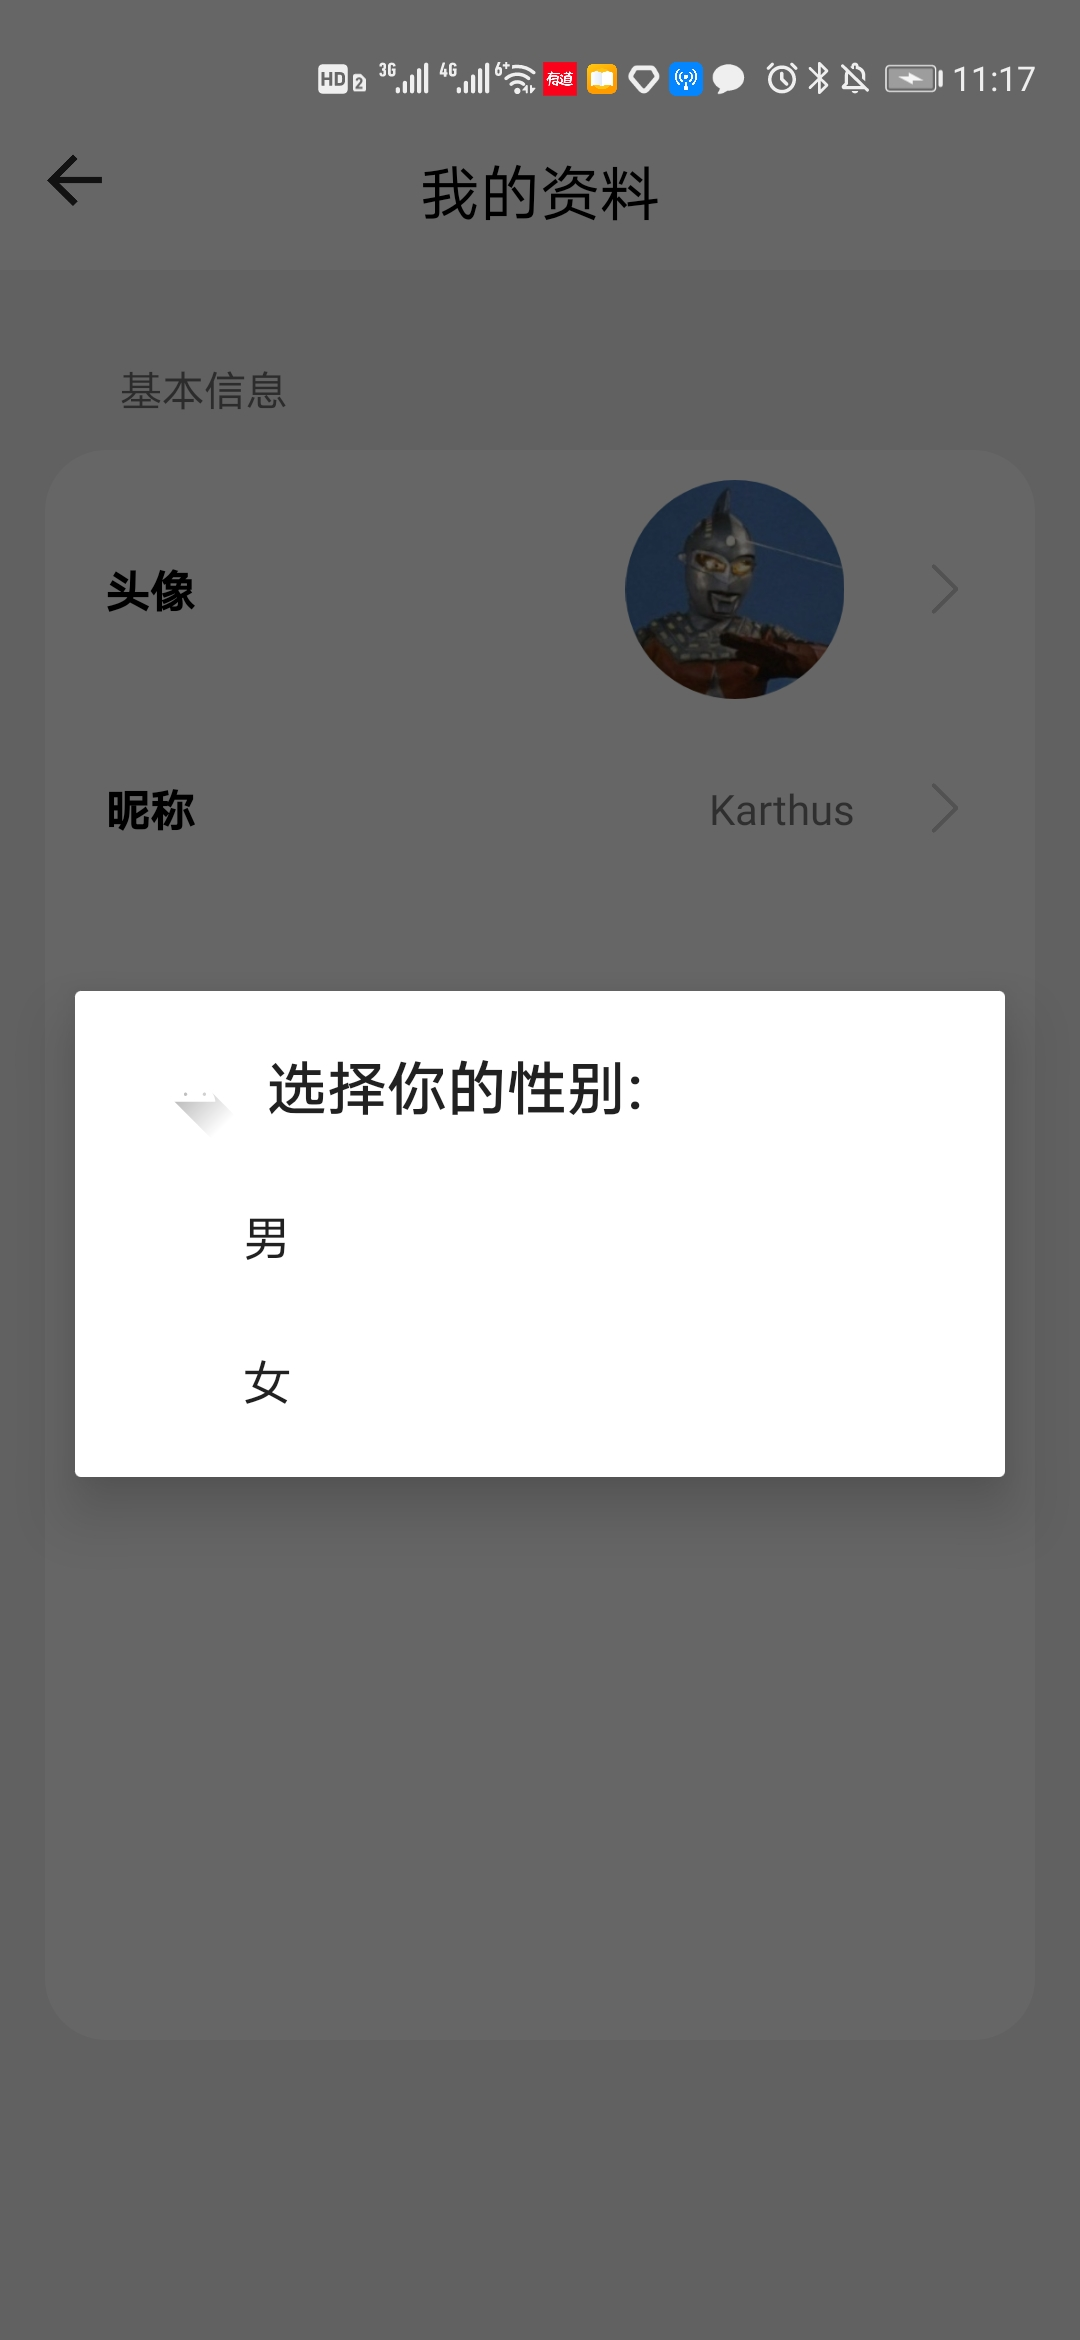
- 个人用户系统
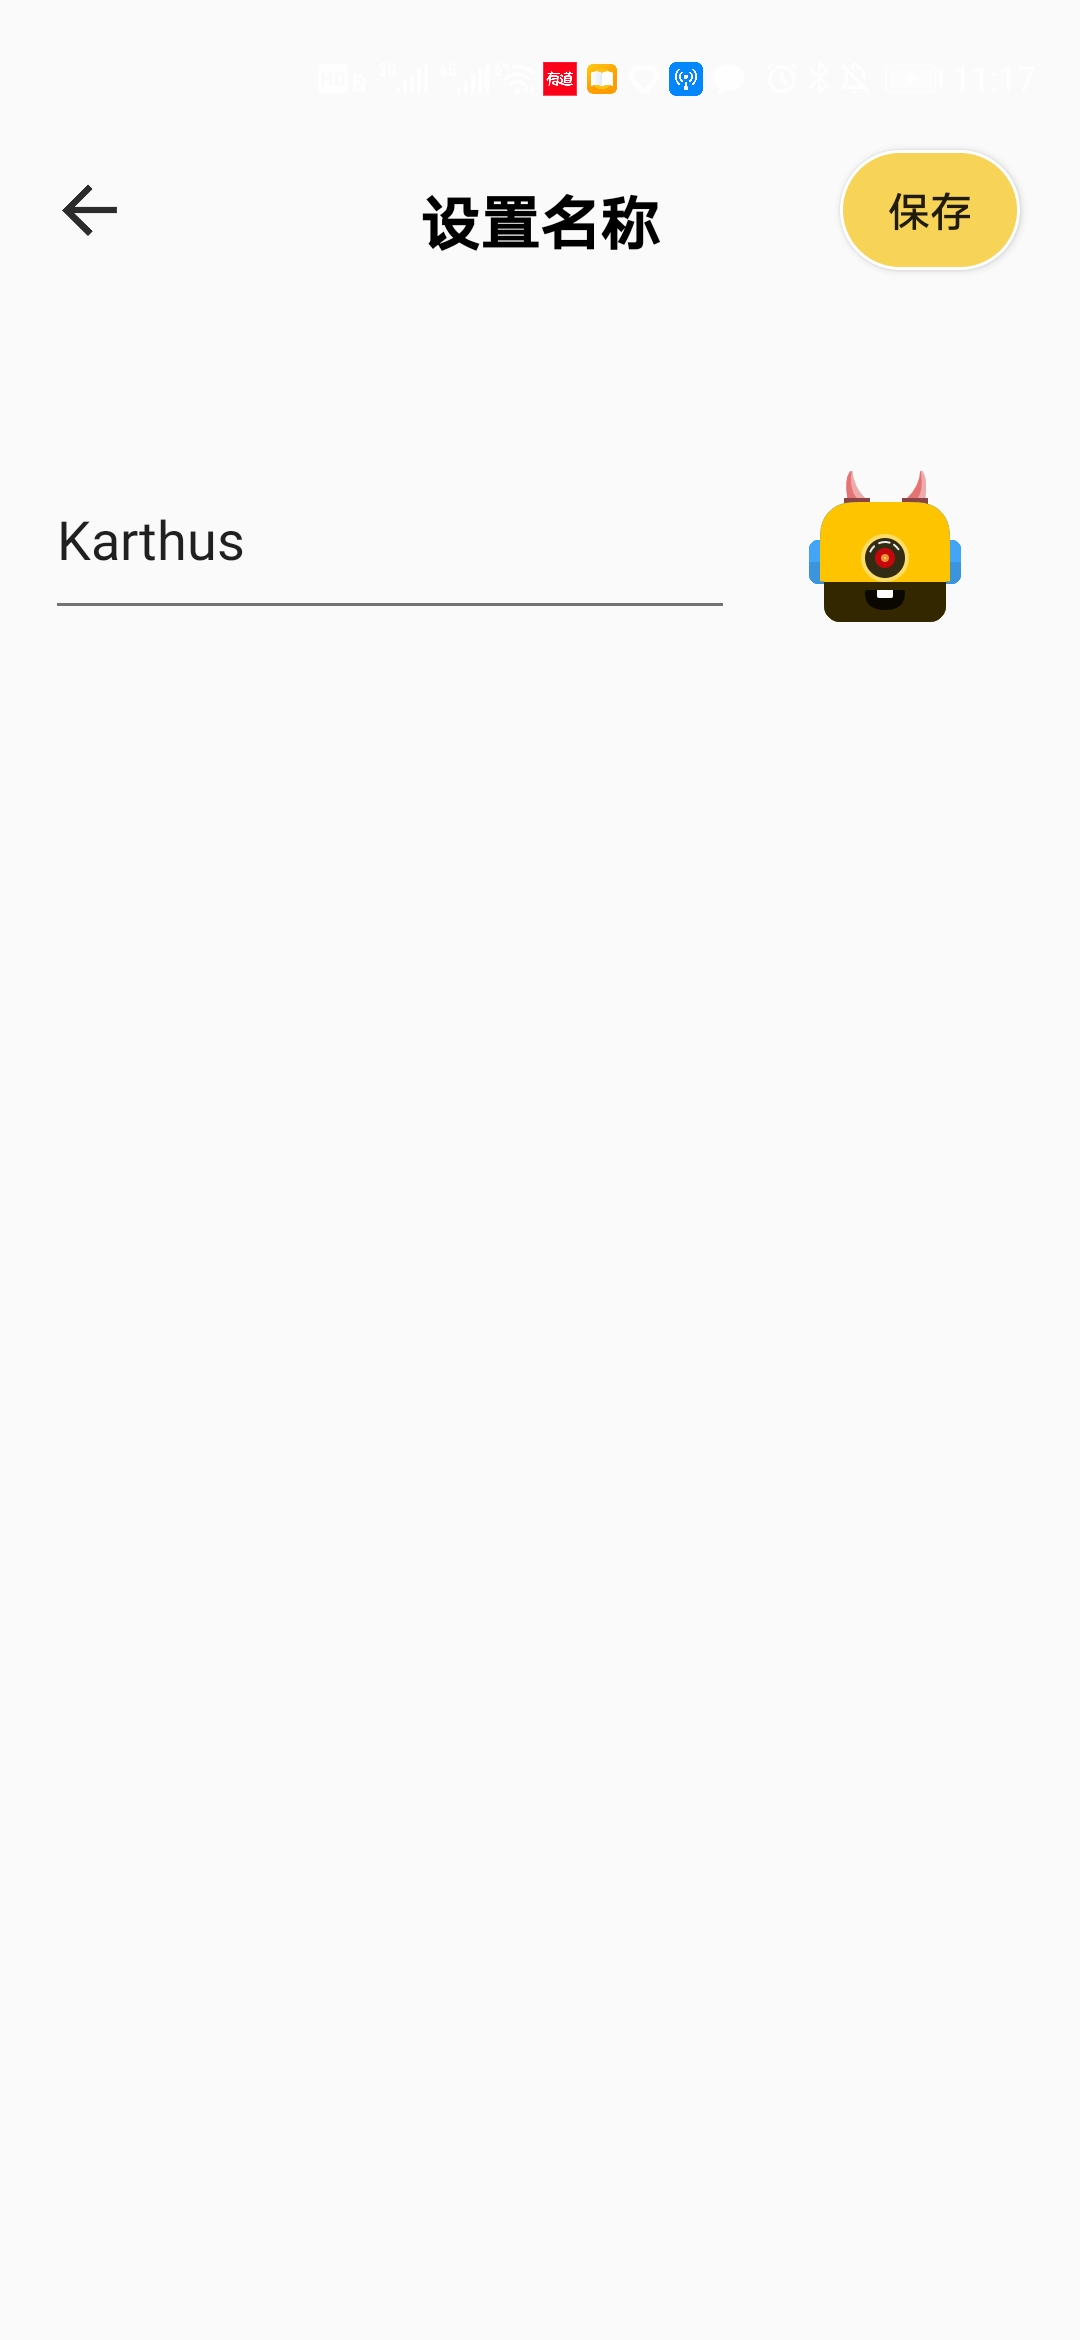
- 更换用户头像,修改
三、项目分析
这个项目涉及到前端和后端两个部分,作为安卓开发人员,我们主要关心前端的操作部分
在后端为我们准备好接口的情况下,这个项目的难点已经被大大简化。
我们的设计思路也显得很简单
根据接口,登录注册界面就很简单了
商品界面我们用recyclerview加载刷新
个人信息界面用get方法获取并显示。
判断用户登陆状态,我们用sharedPreferences保存登陆状态
相册拍照上传头像方法我们先获得对应的图片路径,再将它上传上去
联网部分我们用okhttp简化我们的联网获取信息的操作
用fragment展示我们的四个界面

四、实战操作
1.项目框架搭建
1.1导入依赖

1.2 Activity

1.3 xml文件

2.注册与登陆功能
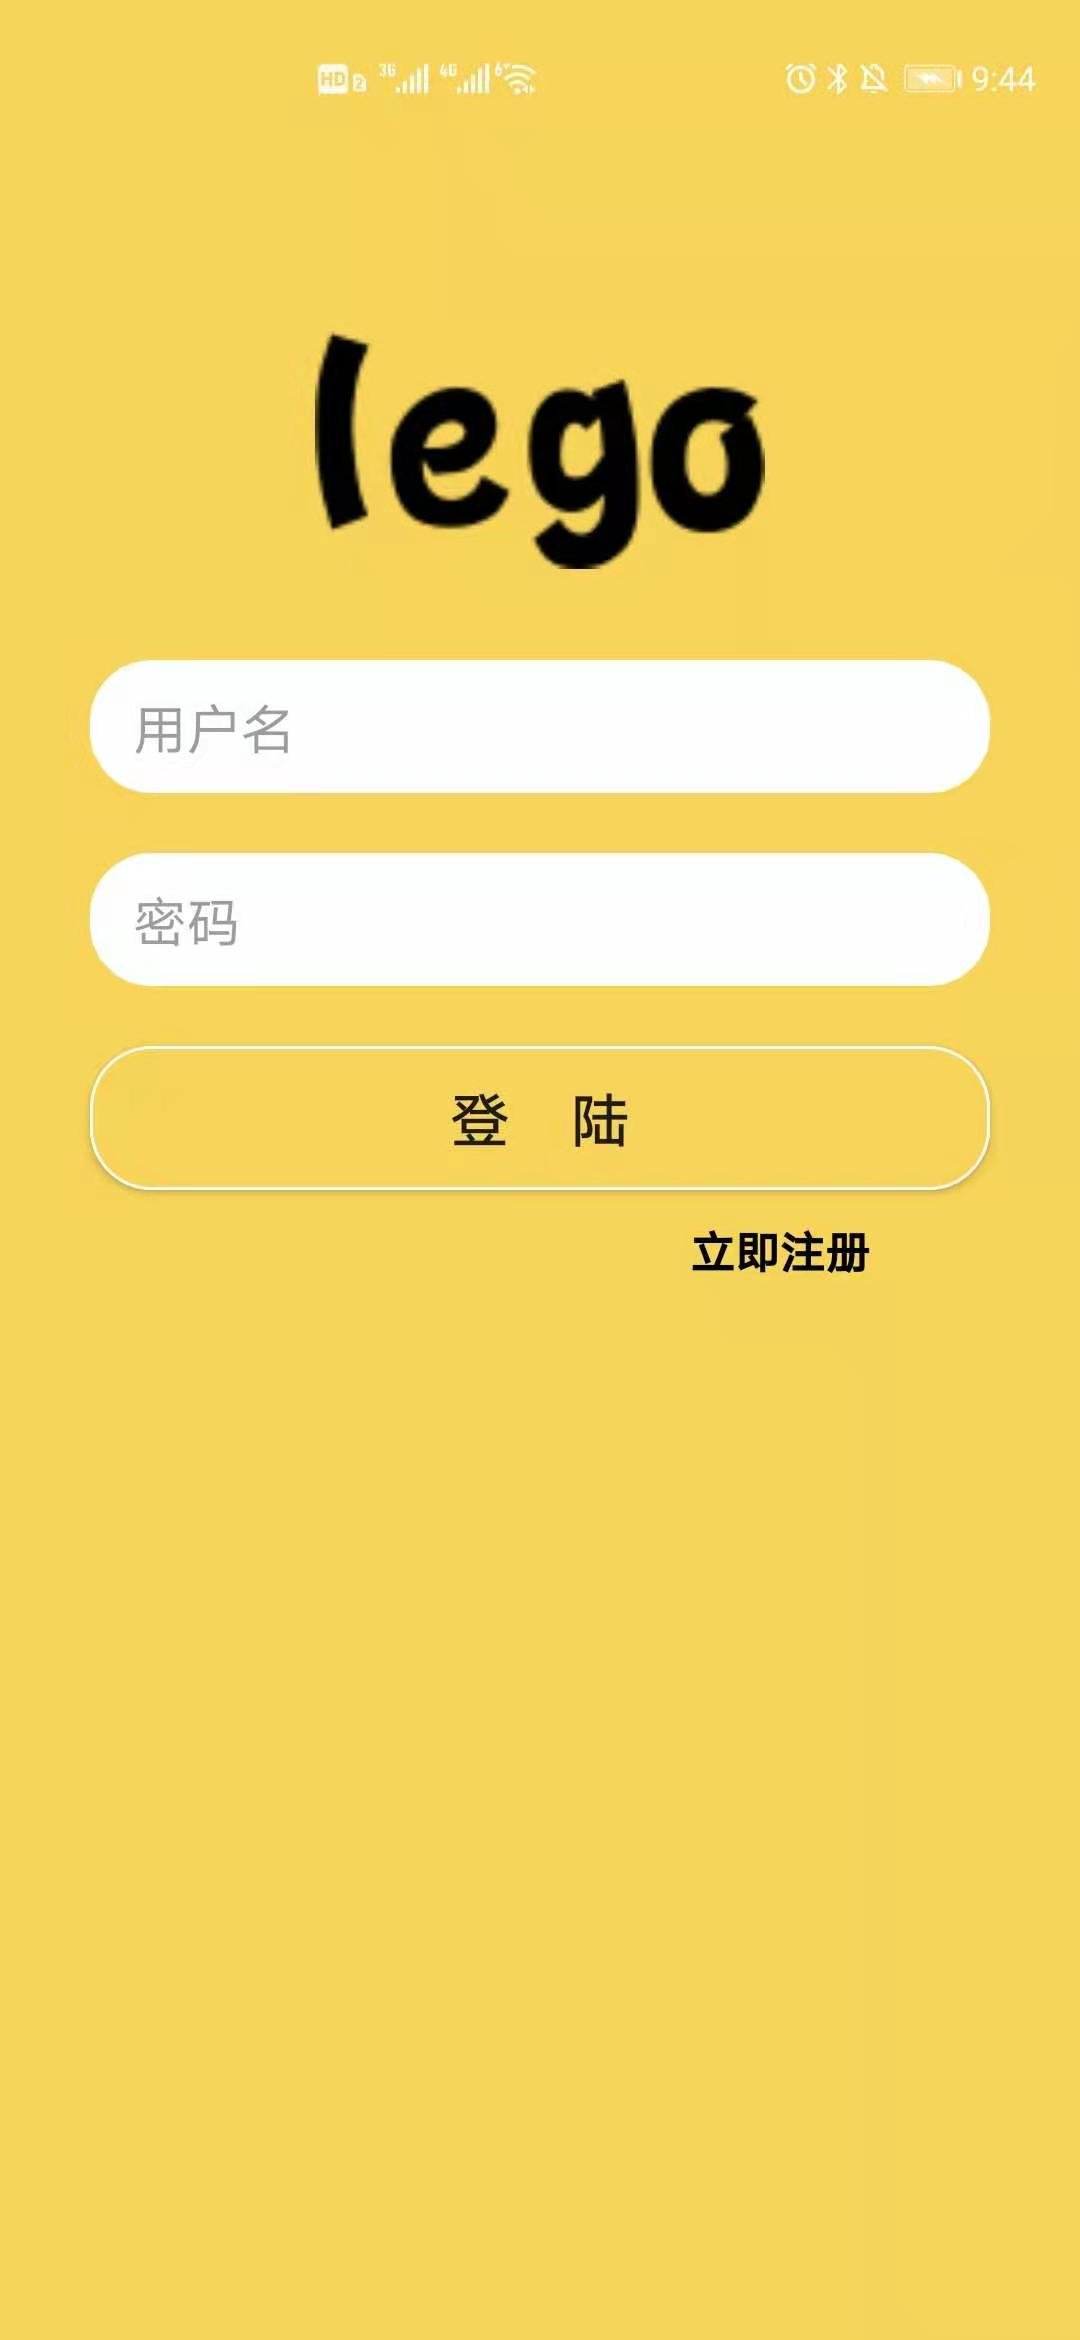
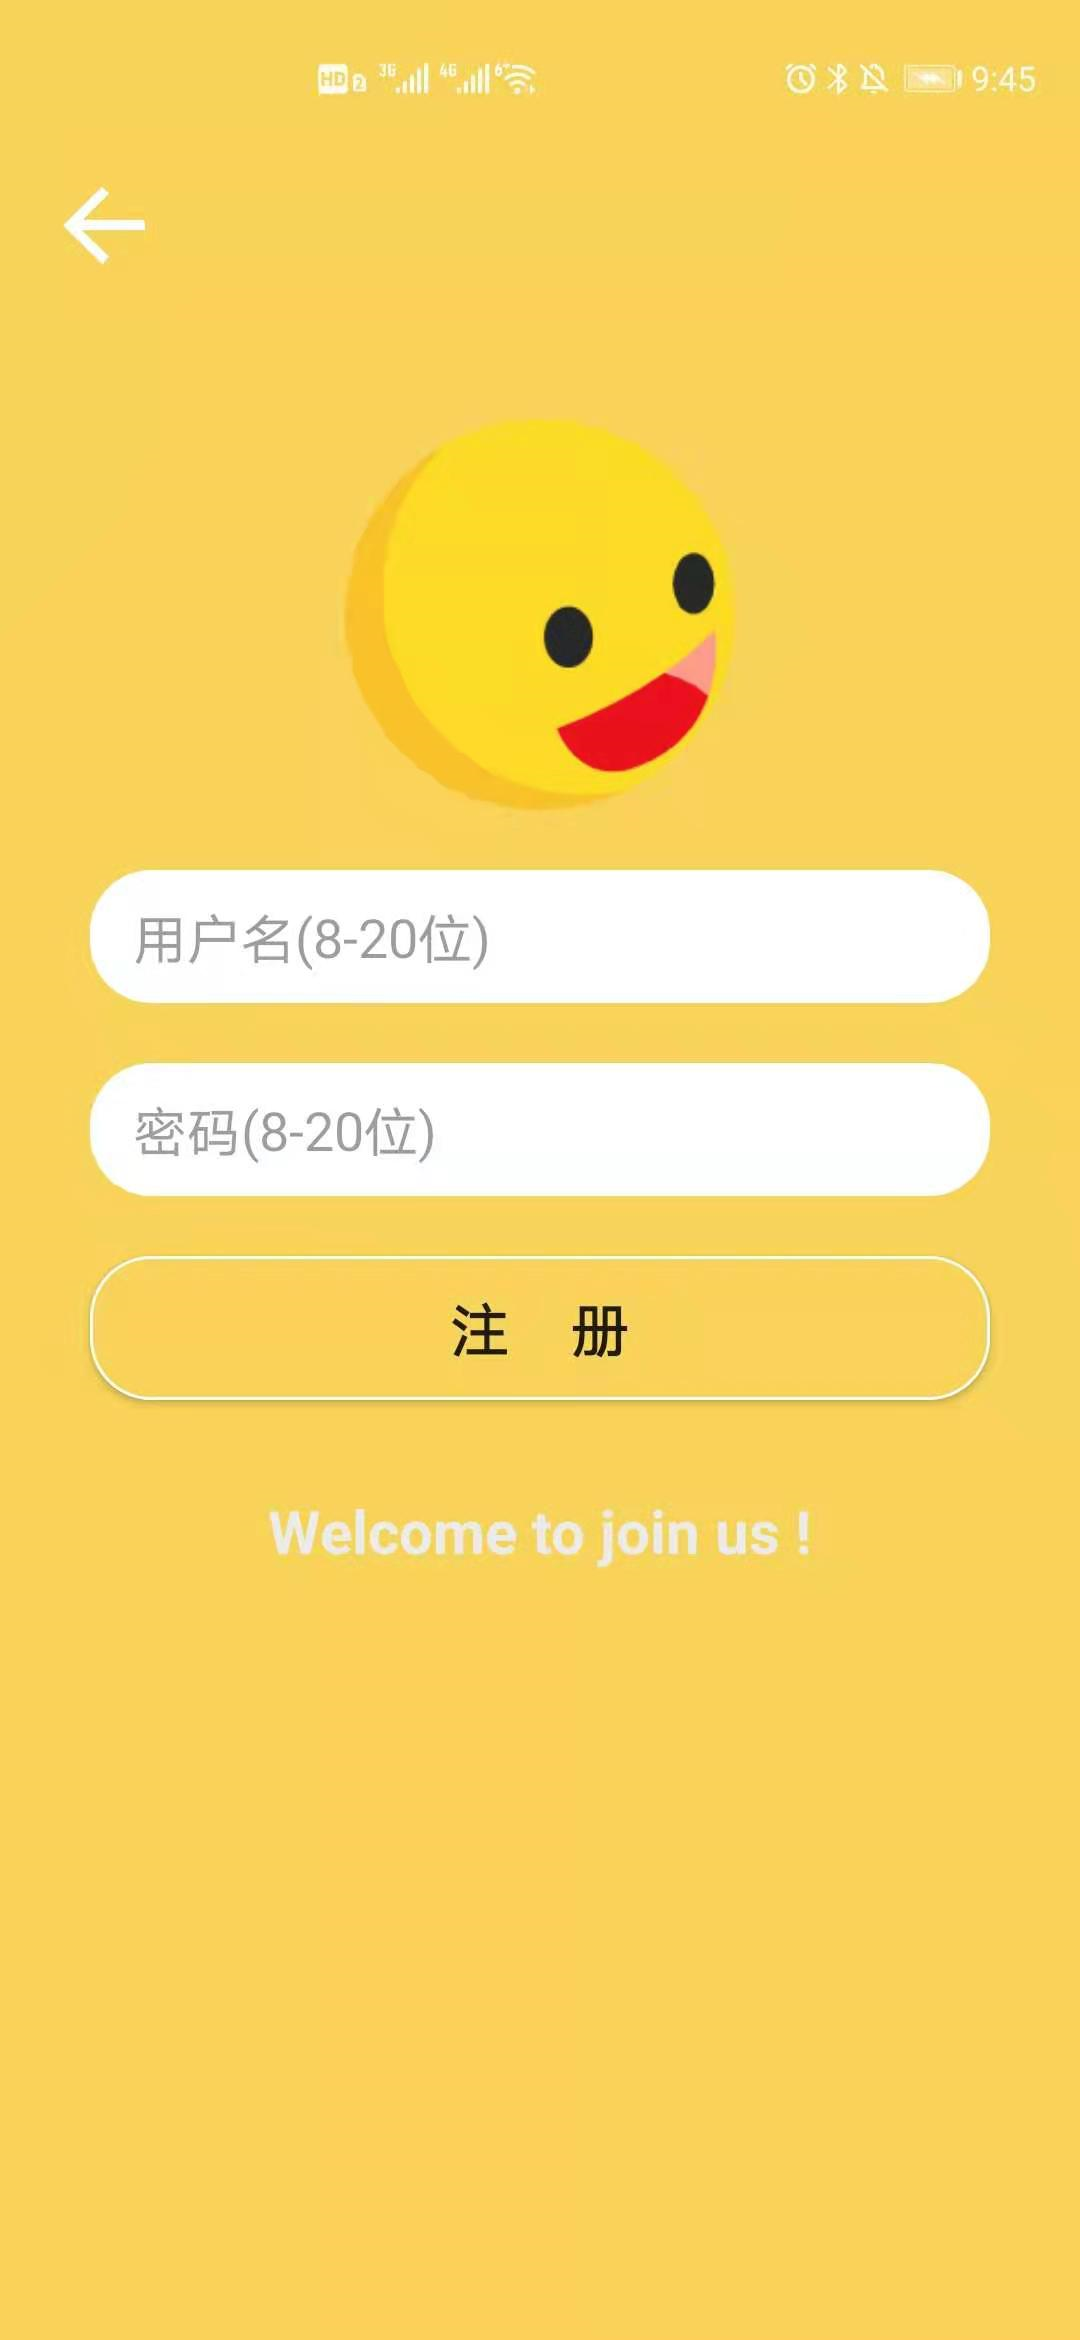
注册和登陆功能只需要对接口发送信号即可
我们利用post方法上传,注意接口对我们传输数据形式的要求,这里我们以Json形式利用okhttppost信息,先建立一个内部类,包含要上传的账号和密码信息
下面是post的代码

 new Thread(new Runnable() {

                        @Override
                        public void run() {

                            OkHttpClient client = new OkHttpClient();
                            Gson gson = new Gson();
                            user_register use = new user_register();
                            use.account = account;
                            use.password = password;
                            MediaType JSON = MediaType.parse("application/json; charset=utf-8");
                            RequestBody requestBody = RequestBody.create(JSON, gson.toJson(use));
                            Request request = new Request.Builder()
                                    .url("http://49.232.214.94/api/register")
                                    .post(requestBody)
                                    .build();
                            Response response = null;
                            try {

                                response = client.newCall(request).execute();
                                String responseData = response.body().string();
                                user user = gson.fromJson(responseData, com.example.lego.user.class);
                                msg = user.getMsg();
                                int code = user.getCode();
                                if (code == 200) {

                                    finish();
                                    Intent intent = new Intent(register.this, login.class);
                                    startActivity(intent);

                                }
                                Looper.prepare();
                                Toast.makeText(register.this, msg, Toast.LENGTH_SHORT).show();
                                Looper.loop();
                            } catch (IOException e) {

                                e.printStackTrace();
                            }
                        }
                    }).start();
在这部分中,我们利用gson将user转化成Json形式,在放入requestbody中进行post请求,如果post返回给我们的code是200,则表示我们注册成功,跳转到登陆界面。若不是200,则Toast显示返回给我们的信息以作提示。
同样的登陆部分采用的方法即可
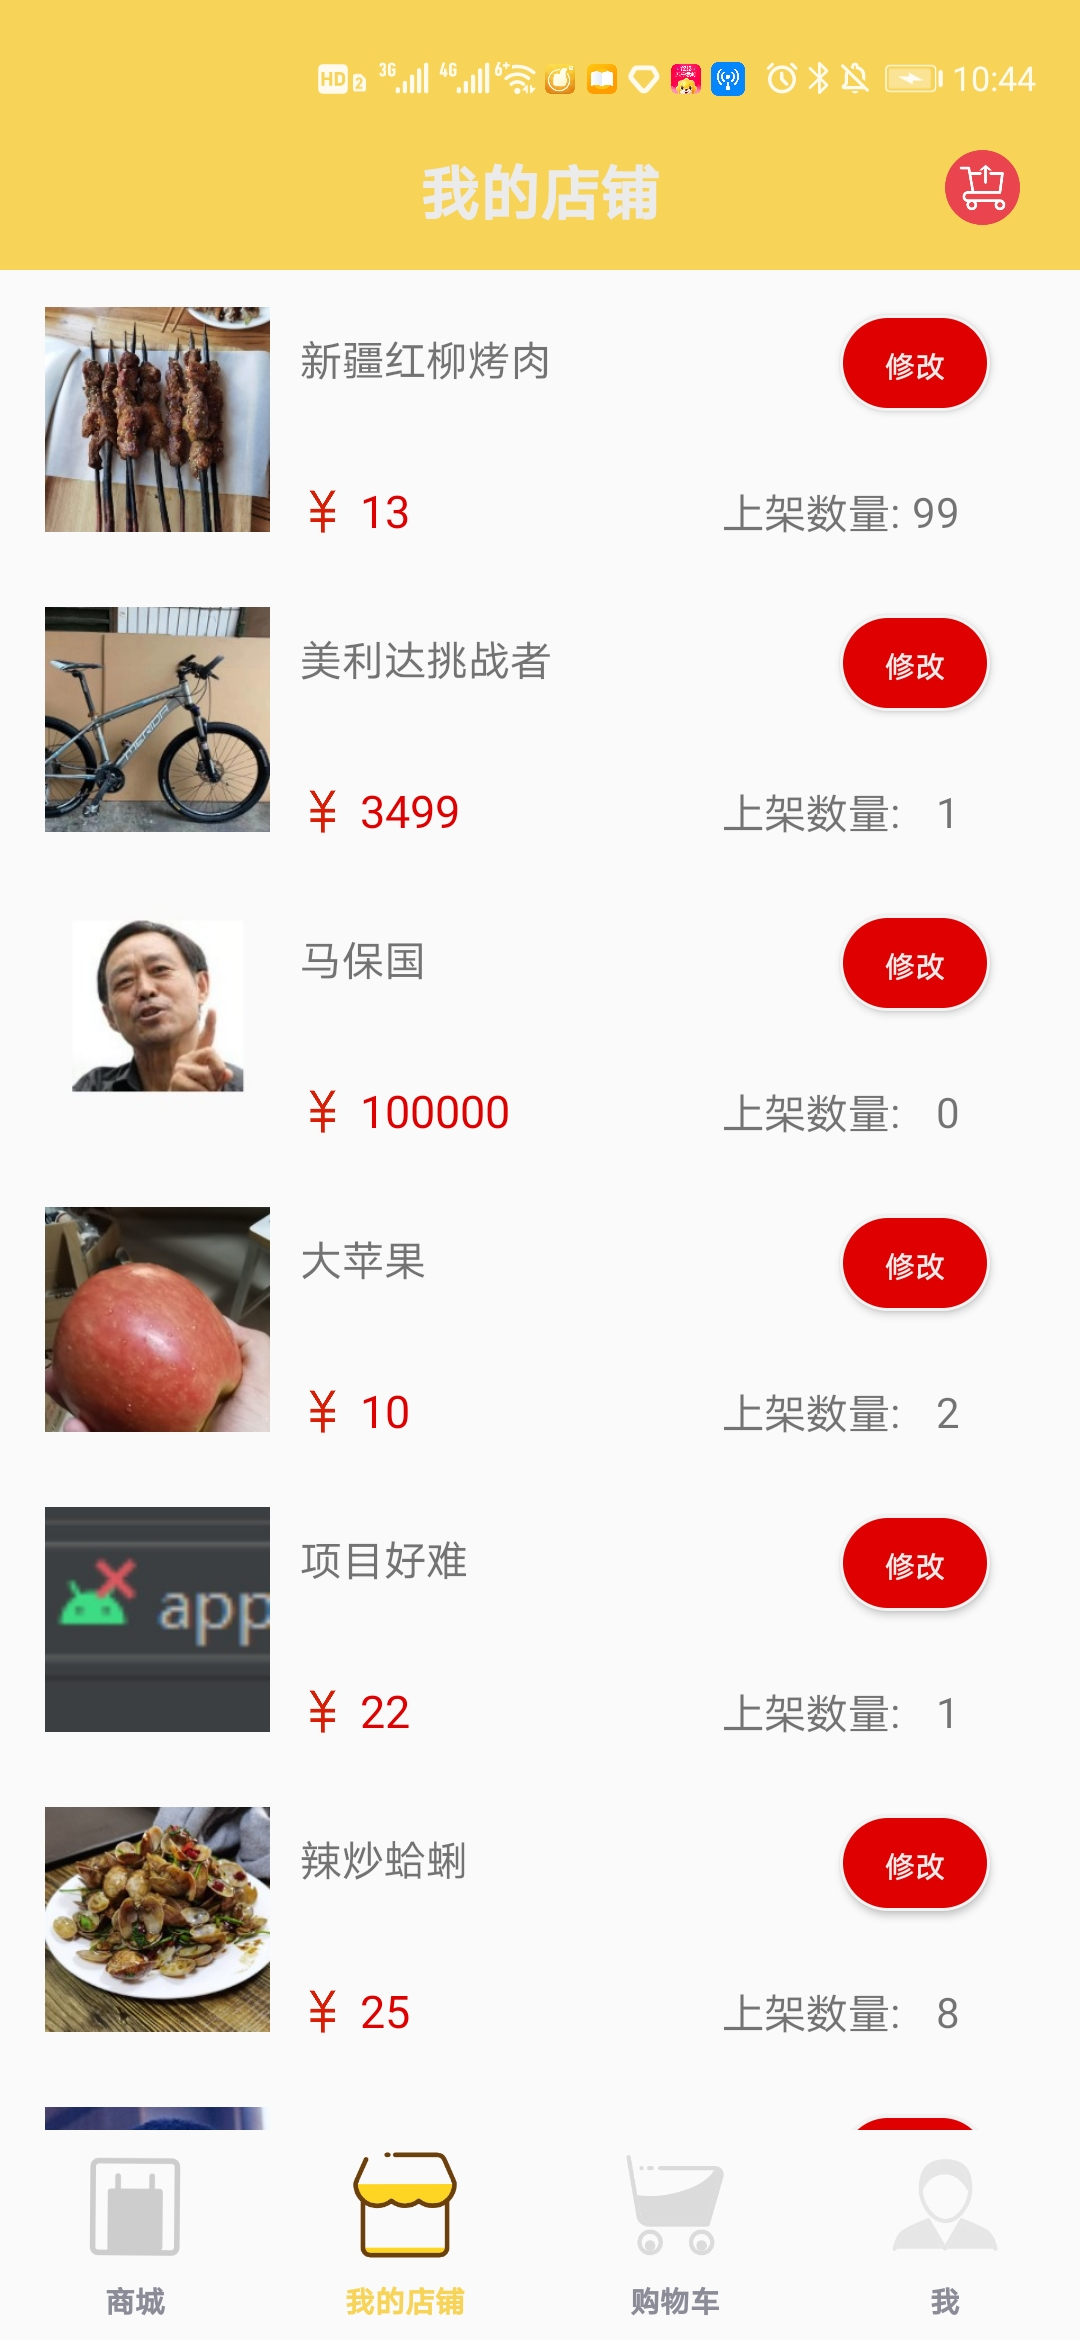
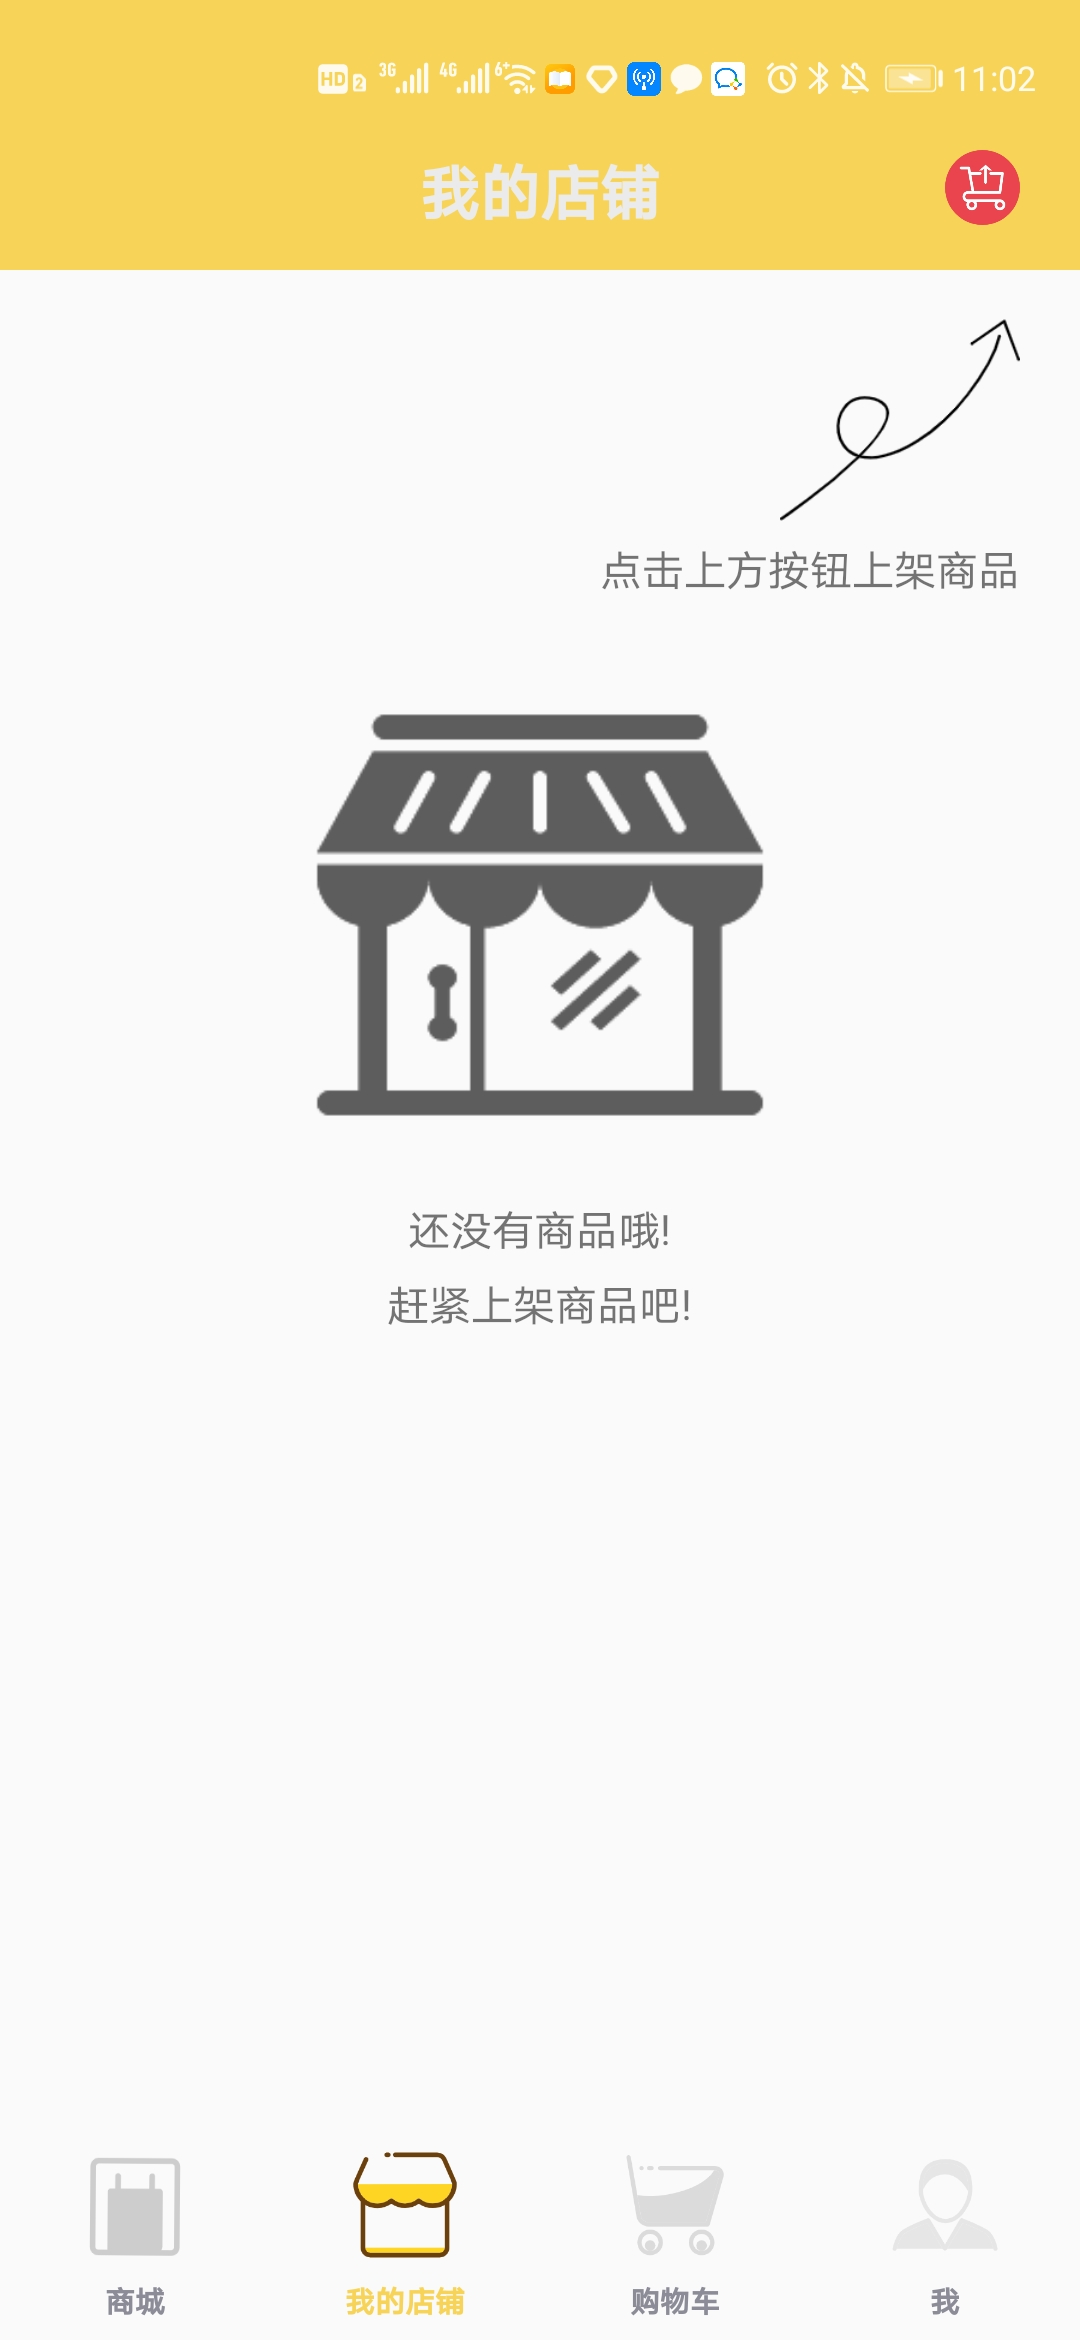
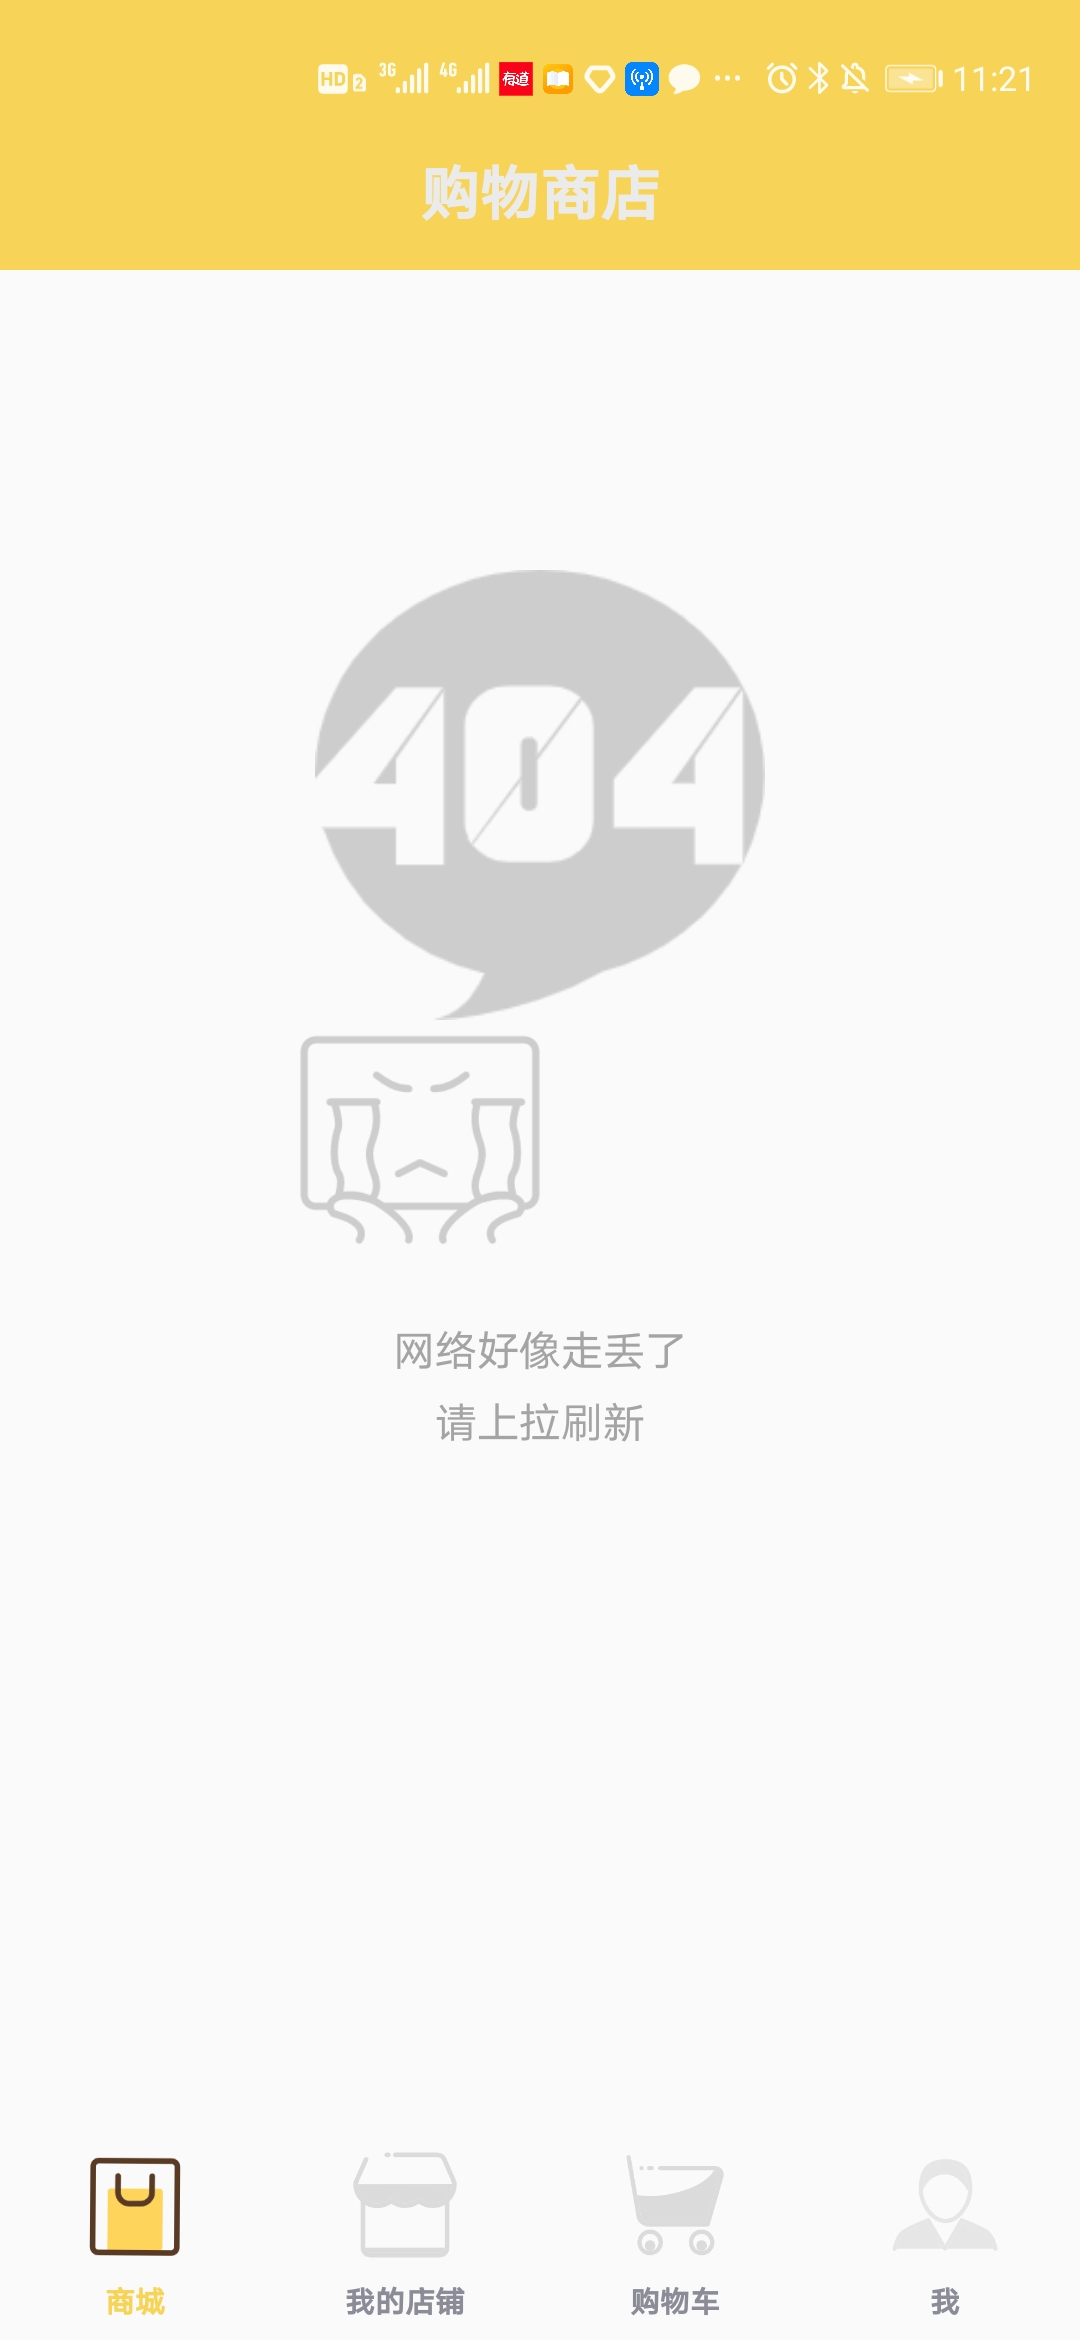
3.主体界面fragment设置
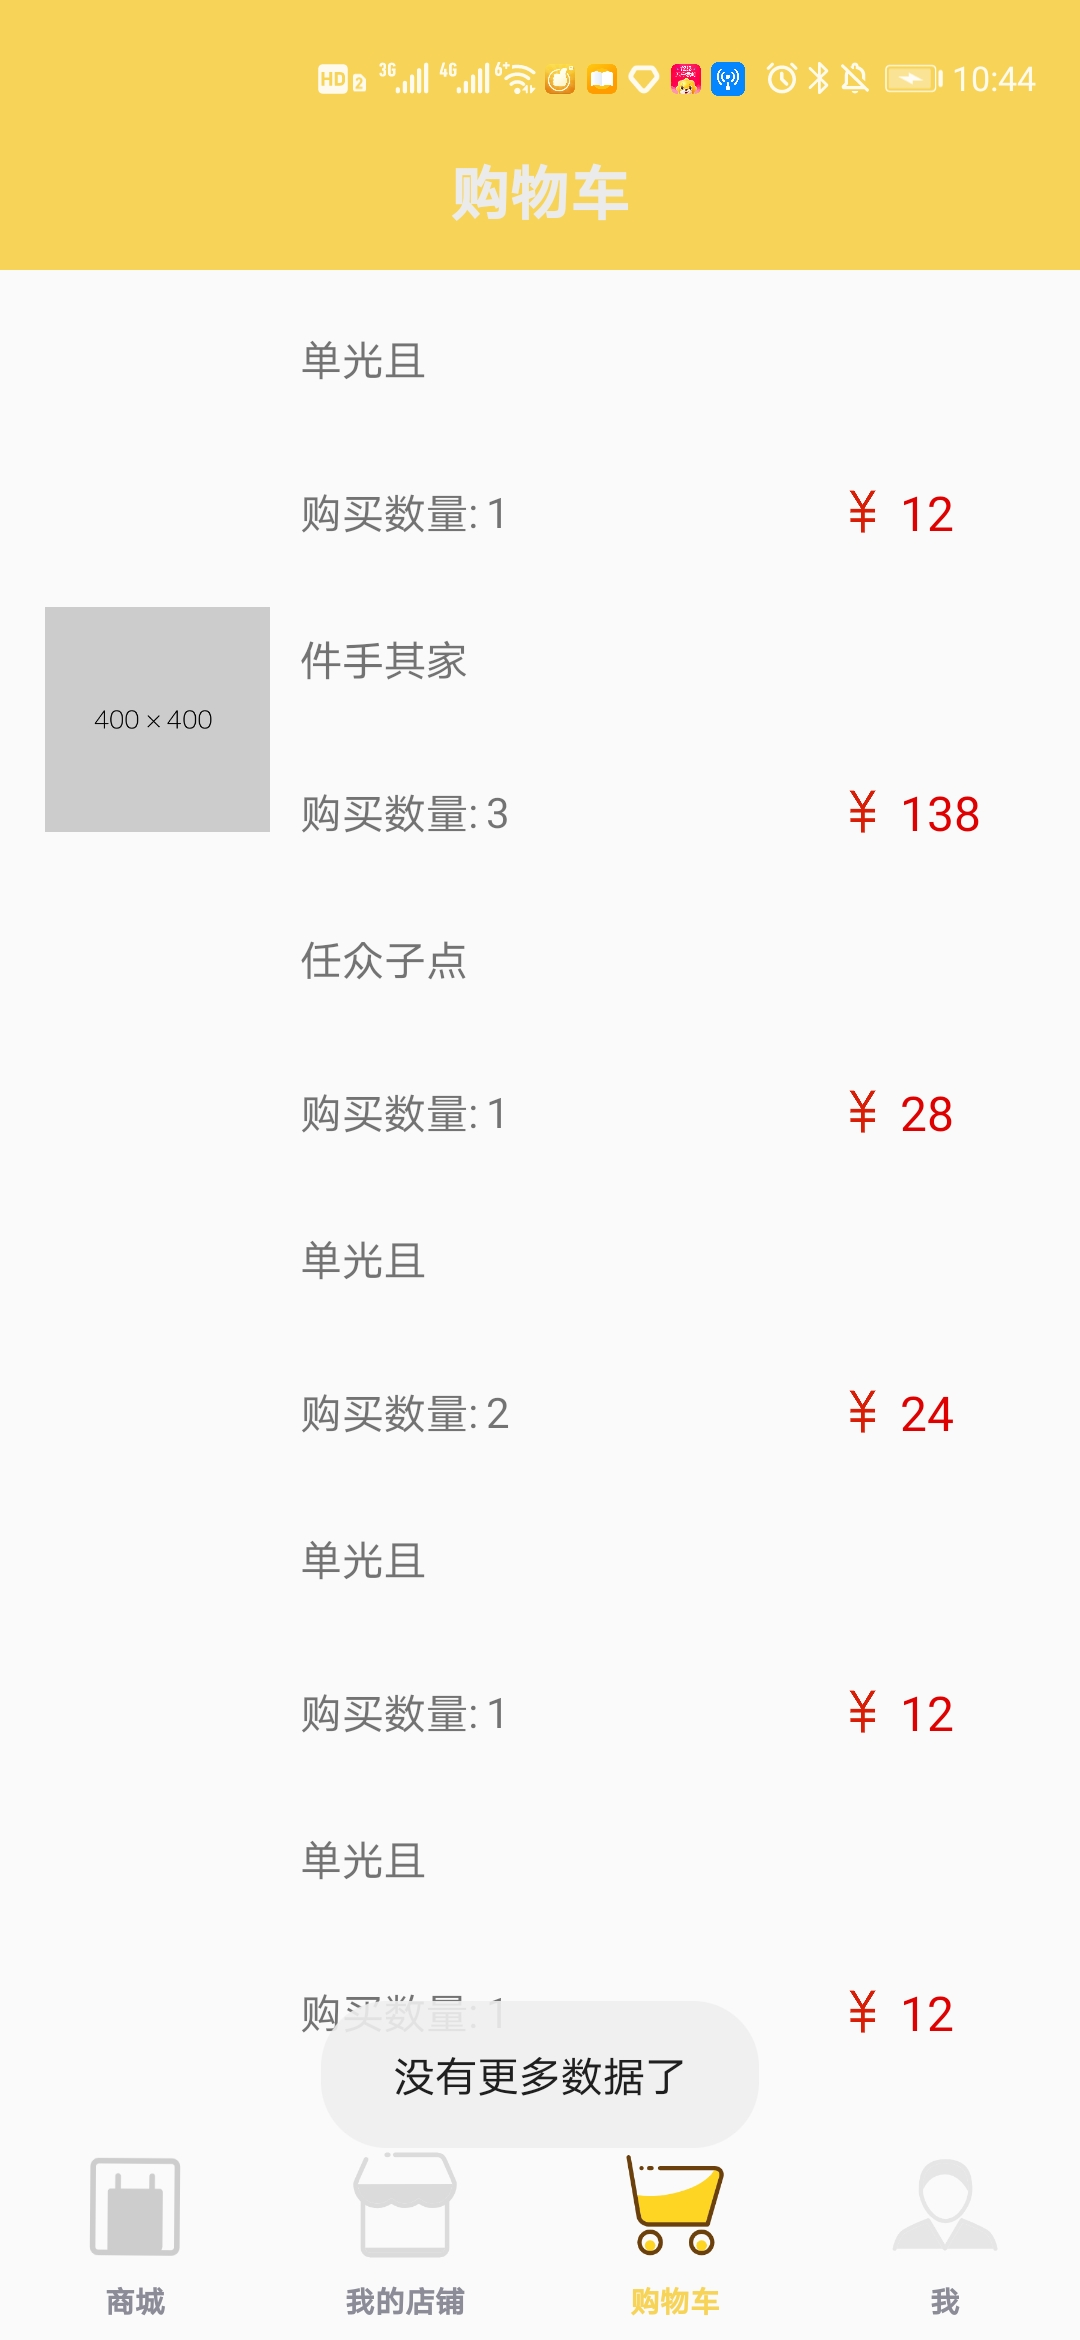
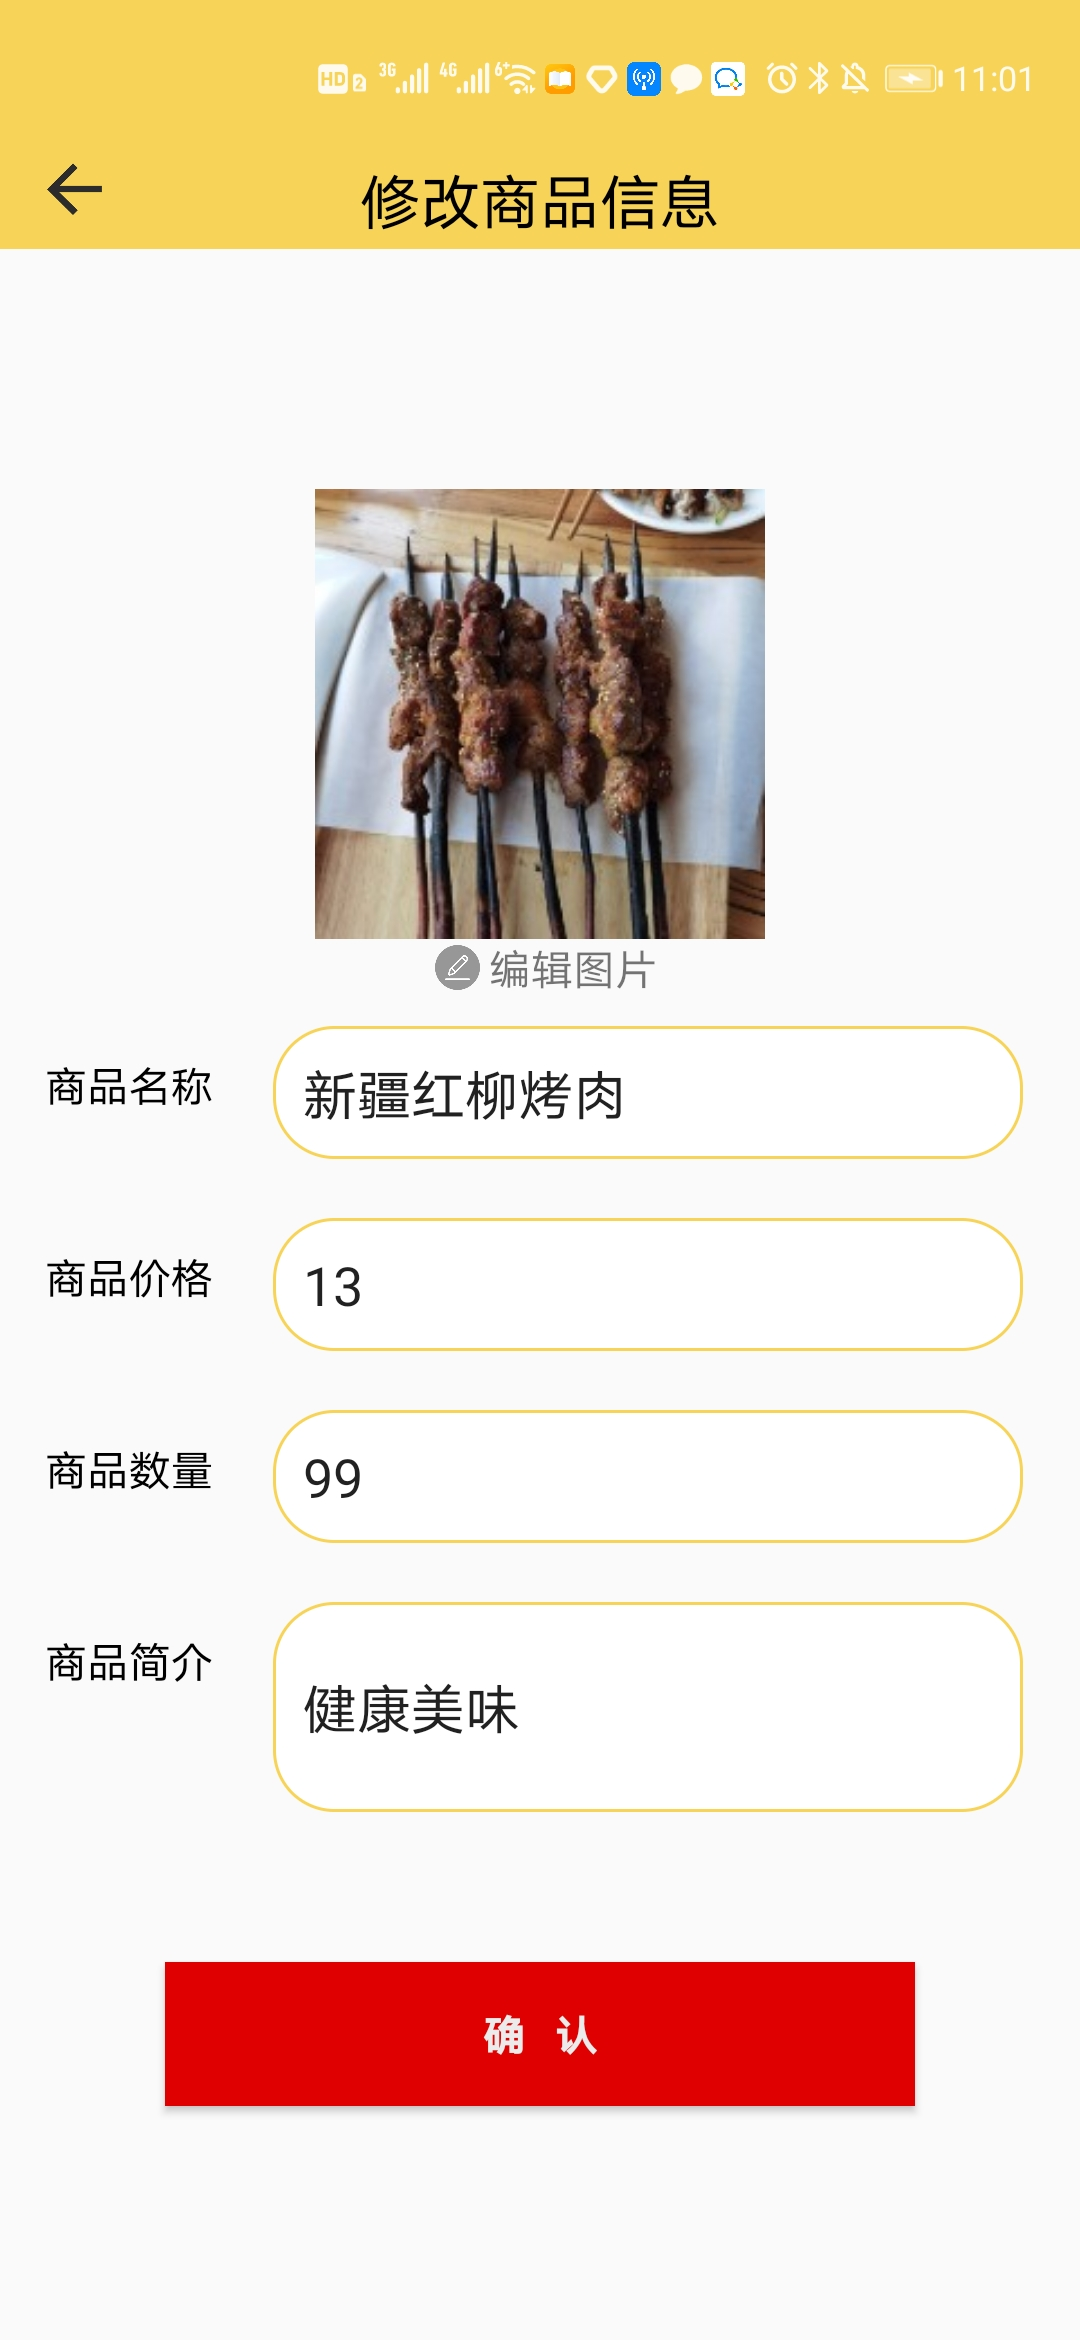
按照程序设计思路,在MainActivity中我们设计了4个fragment,分别对应商城、我的商店、购物车、我四部分,我们在商城界面展示商品,在我的商店部分上架和修改商品信息,在购物车部分查看订单,在我部分进行个人用户信息的修改与查看。
新建4个fragment
由于fragment属于activity的碎片,无法独立存在,因此,需要在mainactivity中预留一块布局给fragment以供显示,红线框住的部分即为fragment布局所占的位置,即使mainactivity中的Relativelayout部分
在fragment下方,我们设置了四个图标,以供点击不同图标达到切换fragment的目的。


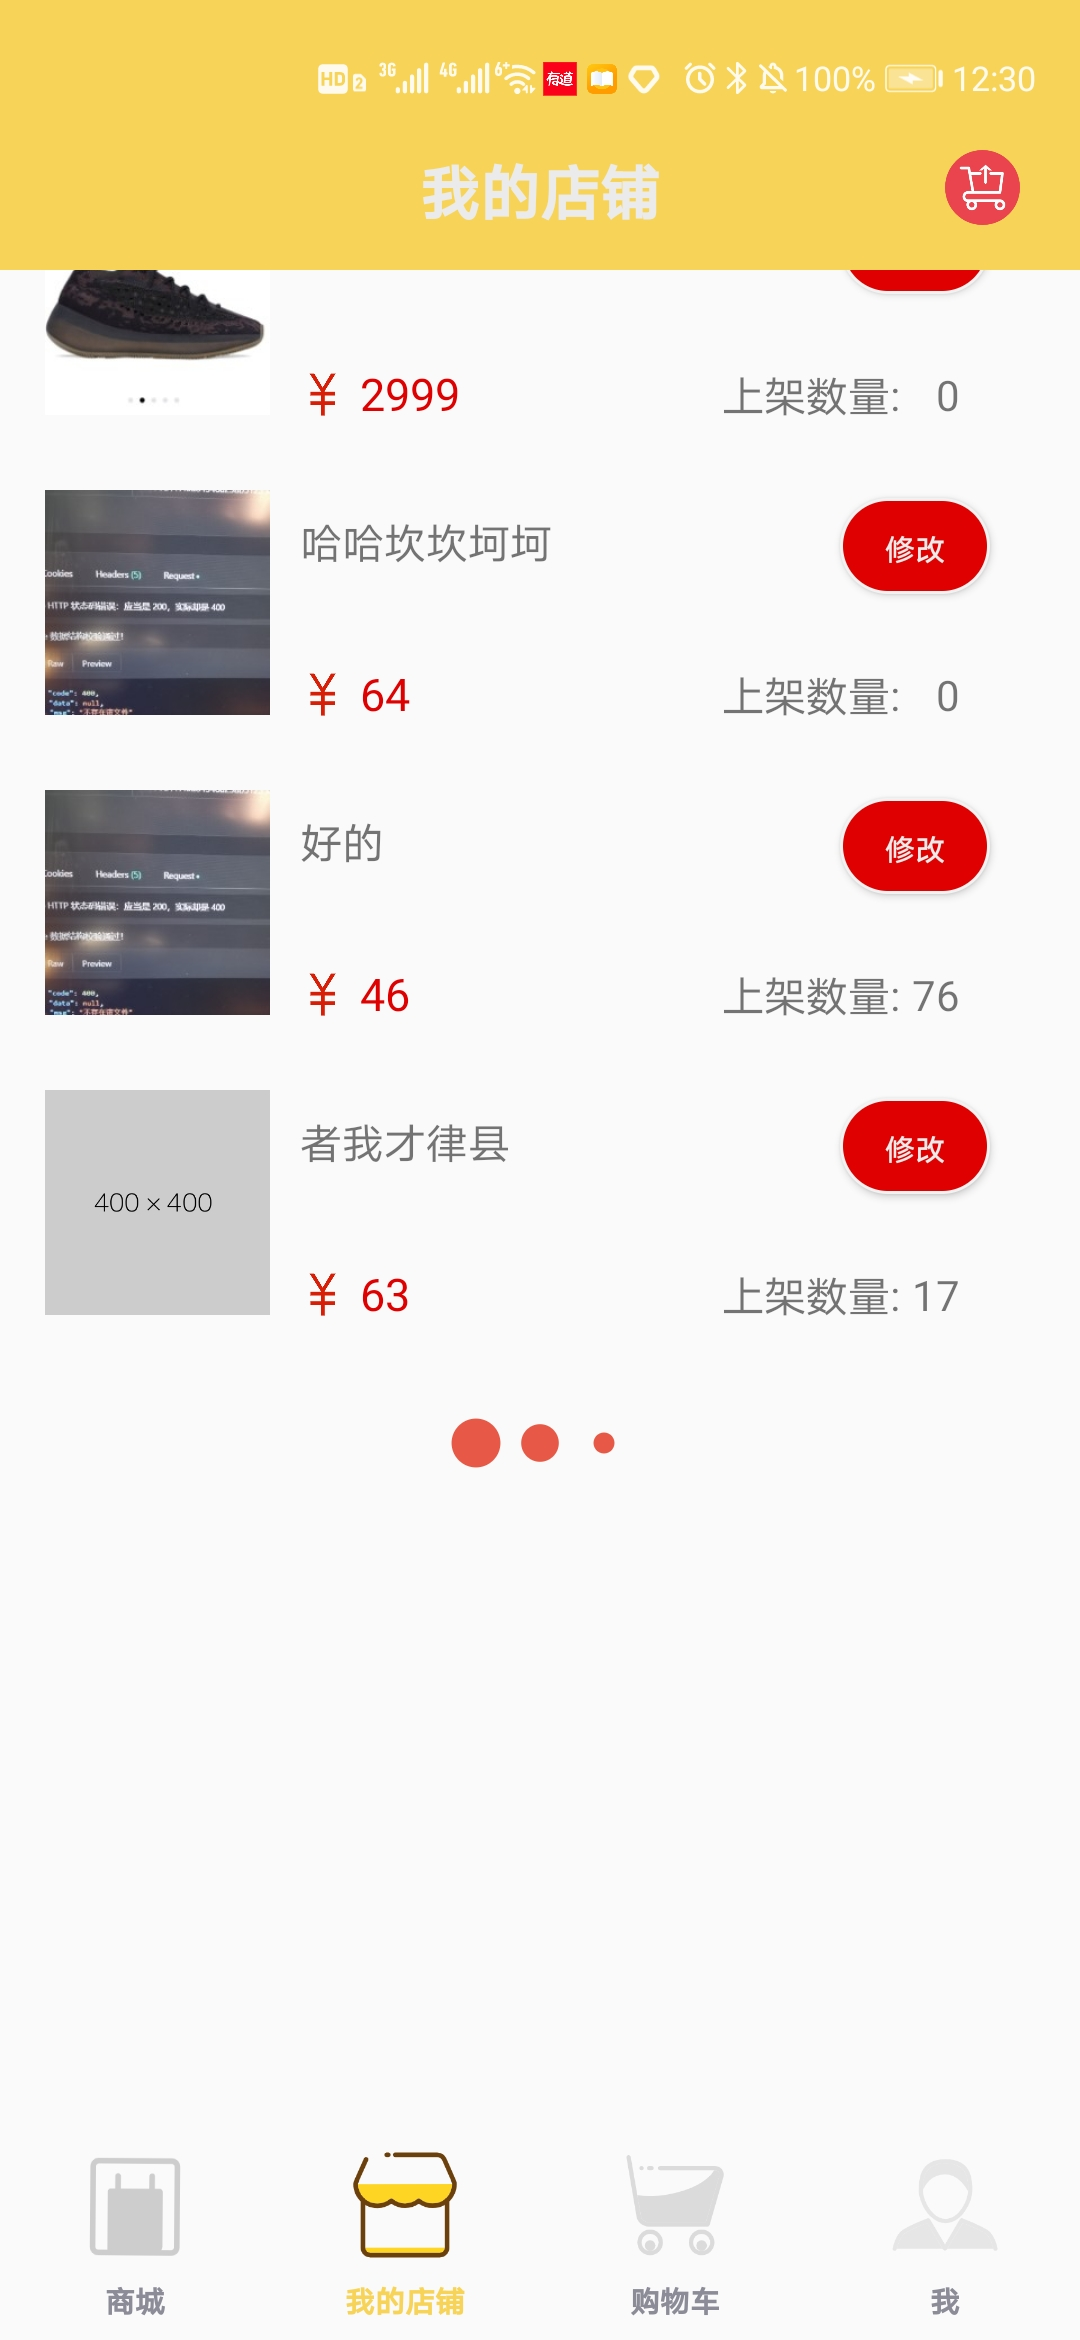
3.1 fragment切换与选中状态
我们可以从这张图中发现,在我们选中商店对应的fragment时,下方对应的图标也变成亮色状态。也就是说,我们再点击下方四个图片的时候,fragment被切换了,同时对应的图片也变换了。下面我们来说一下实现原理
fragment切换
我们为图标设置一个点击事件,点击对应图标即可跳转到对应的fragment
跳转的代码如下
getSupportFragmentManager().beginTransaction().replace(R.id.fragment,centerFragment).commit();
选中状态图片变换
图片变换实际就是换了一张图片
首先找到所需的两张图片资源
新建drawable resource文件
在文件中使用selector类进行图片选择


<selector xmlns:android="http://schemas.android.com/apk/res/android">
        <item android:drawable="@drawable/center1" android:state_selected="true"/>
        <item android:drawable="@drawable/center2" android:state_selected="false"/>
</selector>
放入两张图片,利用selcted状态来判断选择显示那张图片
在mainactivity中的代码如下

对应的每一个图标的点击事件,由此达到了切换fragment和判断fragment选中状态改变底部导航栏的目的
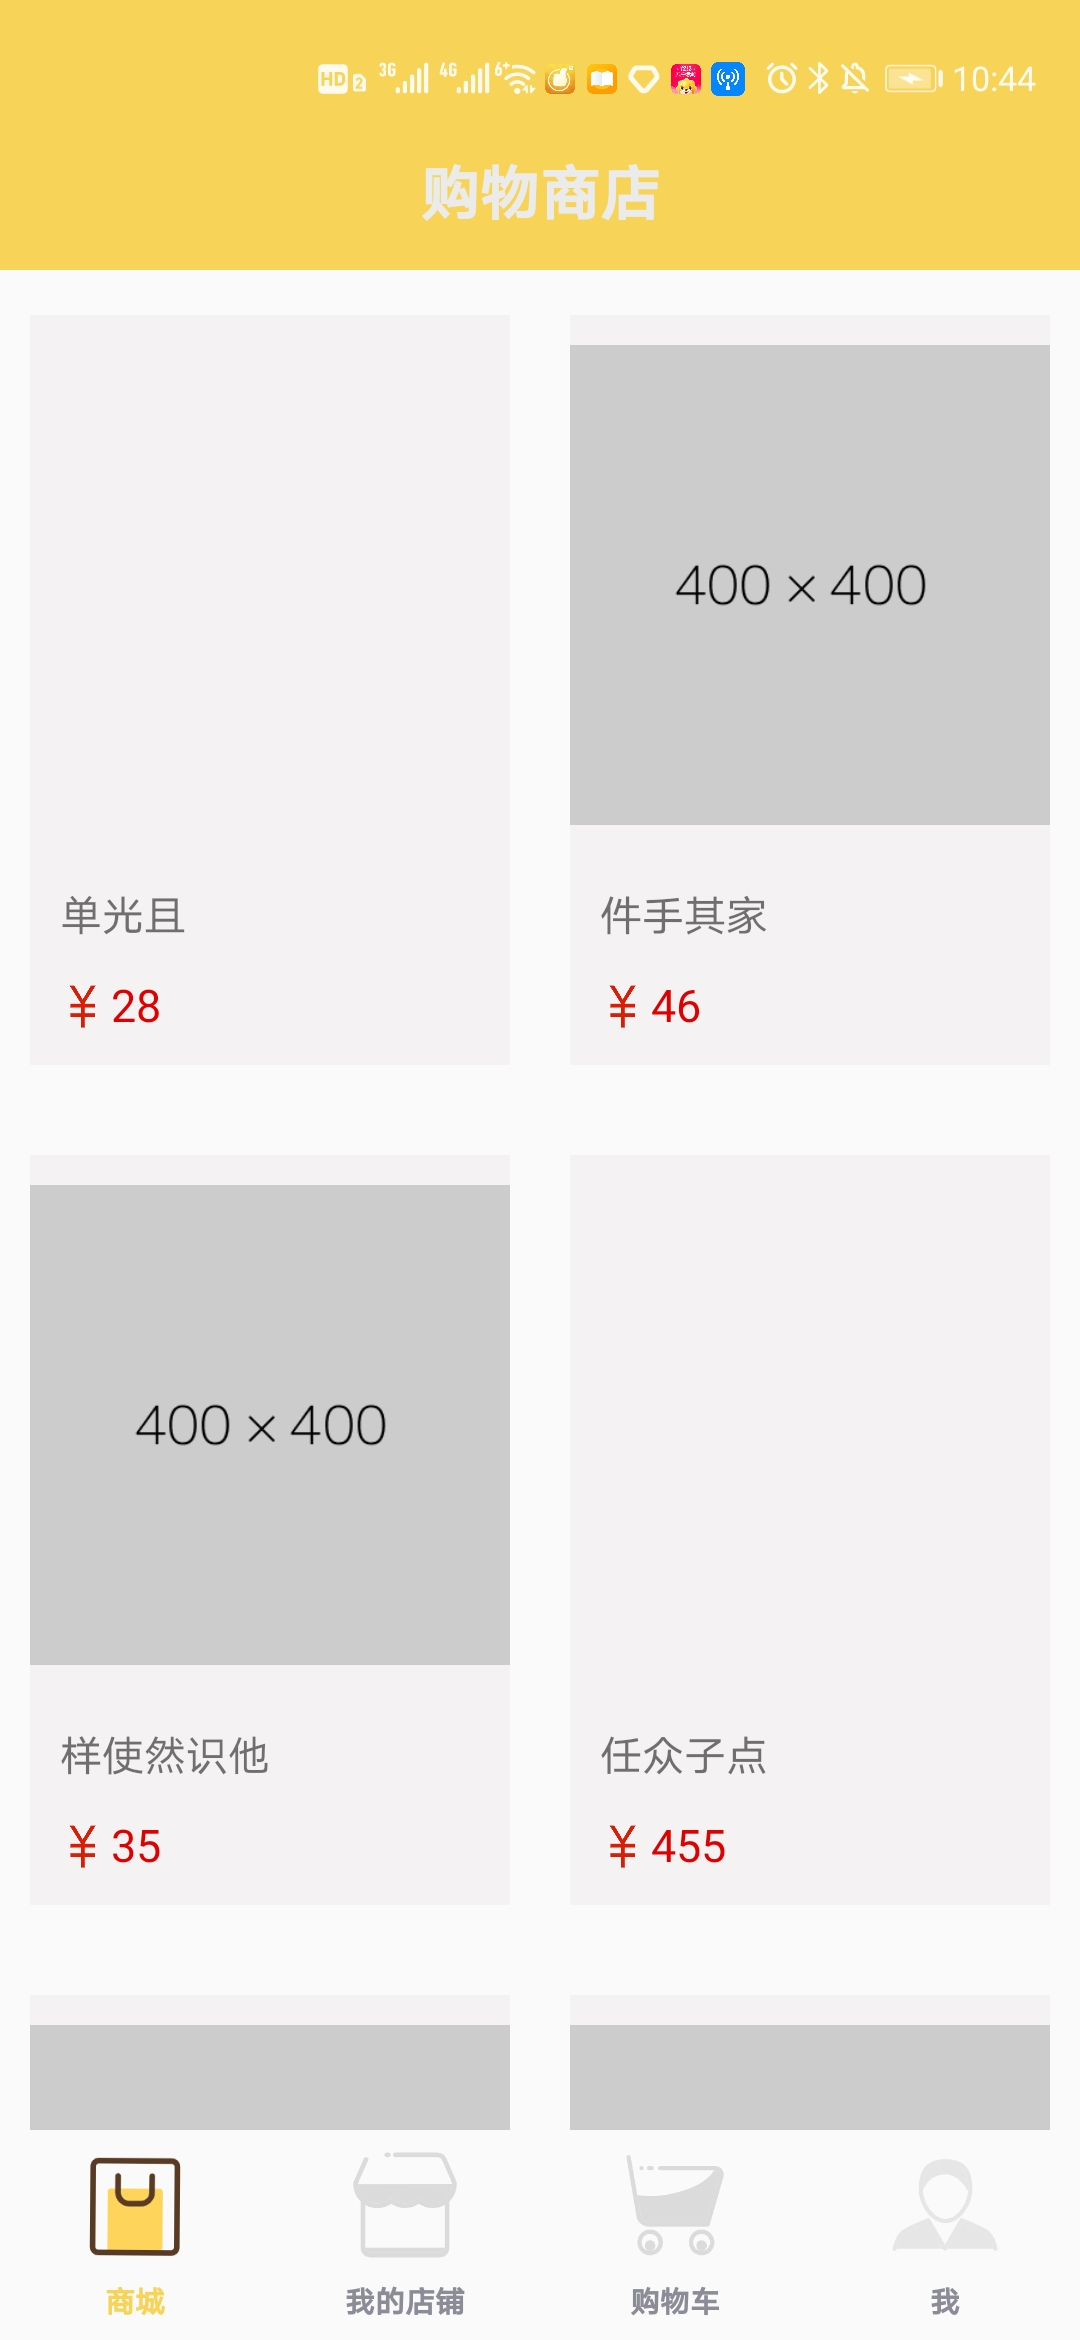
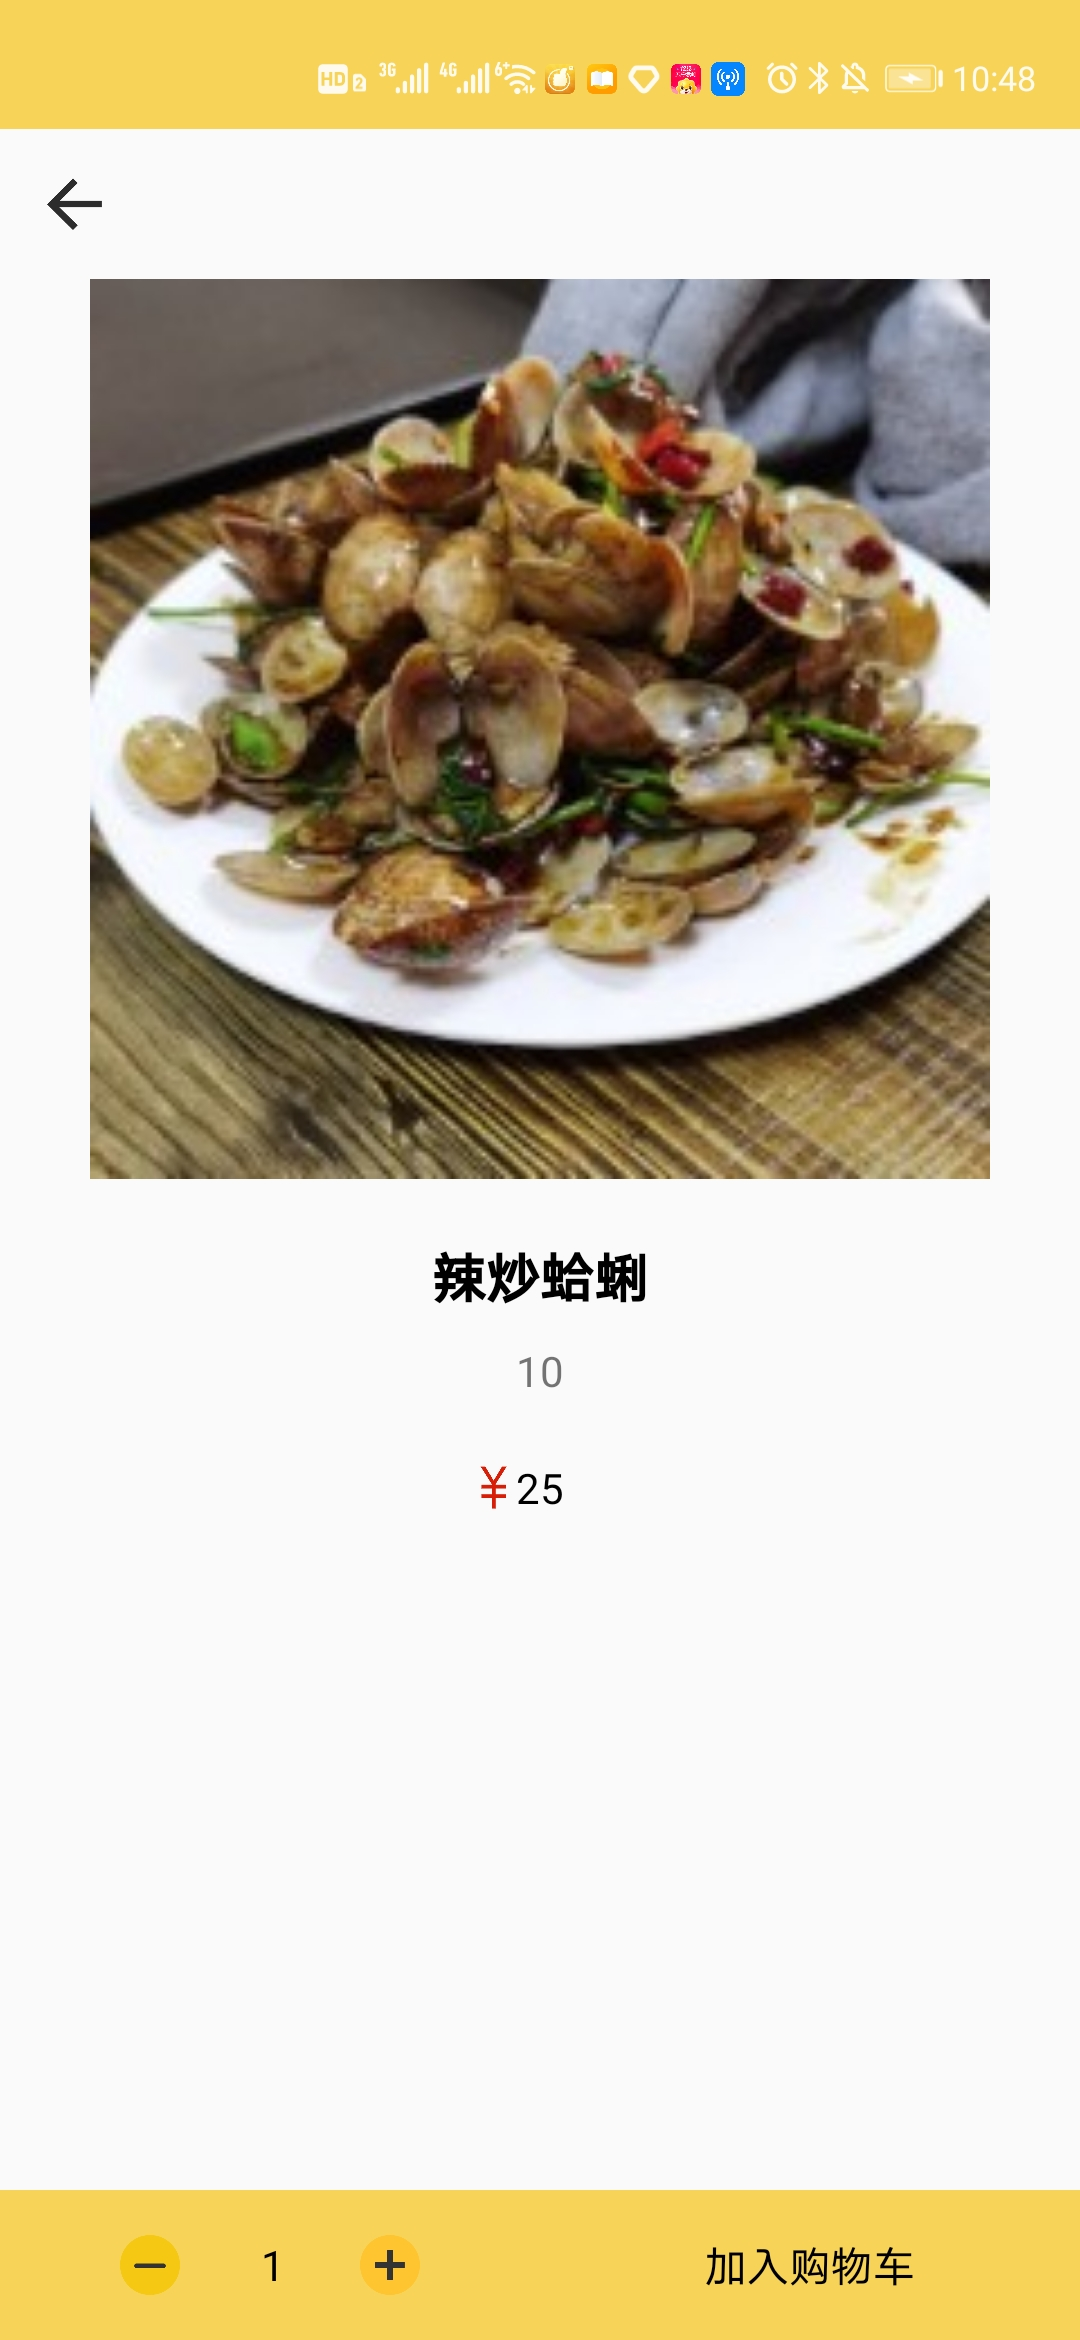
4.商店界面
商店界面是四个fragment之一
这部分主要注重与商品的展示与点击商品进入商品详情页进行购买
4.1 商品展示
该部分的内容与《小白做项目-02(仿知乎日报)》中的内容极为相似。唯一区别在与fragment和activity的不同。fragment在依托于Activity。而同一个fragment也可以被多个Activity重复调用。因此在fragment进行操作时要getActivity或者getContext,这是与直接使用Activity比较不同的地方。
在这一部分,我们利用get请求获取所有商品的信息(或者获取一部分商品的信息,之后利用刷新加载),展示部分我们选择以Recyclerview来进行展示。
这里我放上部分代码进行讲解
final Thread thread =new Thread(new Runnable() {

            @Override
            public void run() {

                try {

                    Thread.sleep(100);
                    final OkHttpClient okHttpClient = new OkHttpClient();
                    Gson gson = new Gson();
                    Request request = new Request.Builder()
                            .url("http://49.232.214.94/api/goods")
                            .build();
                    Response response = okHttpClient.newCall(request).execute();
                    String responseData = response.body().string();
                    final good good =gson.fromJson(responseData, com.example.lego.good.class);
                    final com.example.lego.good.DataBean dataBean =good.getData();
                    final List<com.example.lego.good.DataBean.GoodsBean> goodsBeanList = dataBean.getGoods();
                    list.clear();
                    getActivity().runOnUiThread(new Runnable() {

                        @Override
                        public void run() {


                            for( i=0;i<40;i++)
                            {

                                Map<String,Object> map=new HashMap<>();
                                com.example.lego.good.DataBean.GoodsBean goodsBean =goodsBeanList.get(i);
                                String name=goodsBean.getName();
                                int id =goodsBean.getGood_id();
                                String url=goodsBean.getImg();
                                String price=goodsBean.getPrice();
                                map.put("id",id);
                                map.put("name",name);
                                map.put("price",price);
                                map.put("image",url);
                                list.add(map);
                            }
                            count=goodsBeanList.size();
                            goodAdapter &
最低0.47元/天 解锁文章


 1770
1770

 被折叠的 条评论
为什么被折叠?
被折叠的 条评论
为什么被折叠?
 到【灌水乐园】发言


