


步骤
1、appsettings.json
"Jwt": {
  "Issuer": "http://localhost:7221",
  "Audience": "http://localhost:4200",
  "EXPIRATION_MINUTES": 1,
  "Key": "this is secret key for jwtthis is secret key for jwtthis is secret key for jwtthis is secret key for jwtthis is secret key for jwtthis is secret key for jwtthis is secret key for jwtthis is secret key for jwtthis is secret key for jwtthis is secret key for jwtthis is secret key for jwtthis is secret key for jwtthis is secret key for jwtthis is secret key for jwtthis is secret key for jwt"
},
"RefreshToken": {
  "EXPIRATION_MINUTES": 60
}
2、AuthenticationResponse.cs添加RefreshToken字段
using System;

namespace CitiesManager.Core.DTO
{
    public class AuthenticationResponse
    {
        public string? PersonName { get; set; } = string.Empty;
        public string? Email { get; set; } = string.Empty;
        public string? Token { get; set; } = string.Empty;
        public DateTime Expiration { get; set; }

        public string? RefreshToken { get; set; } = string.Empty;
        public DateTime RefreshTokenExpirationDateTime { get; set; }
    }
}
3、ApplicationUser.cs添加RefreshToken字段
using Microsoft.AspNetCore.Identity;
namespace CitiesManager.Core.Identity
{
public class ApplicationUser : IdentityUser<Guid>
{
public string? PersonName { get; set; }
public string? RefreshToken { get; set; }
public DateTime RefreshTokenExpirationDateTime { get; set; }
}
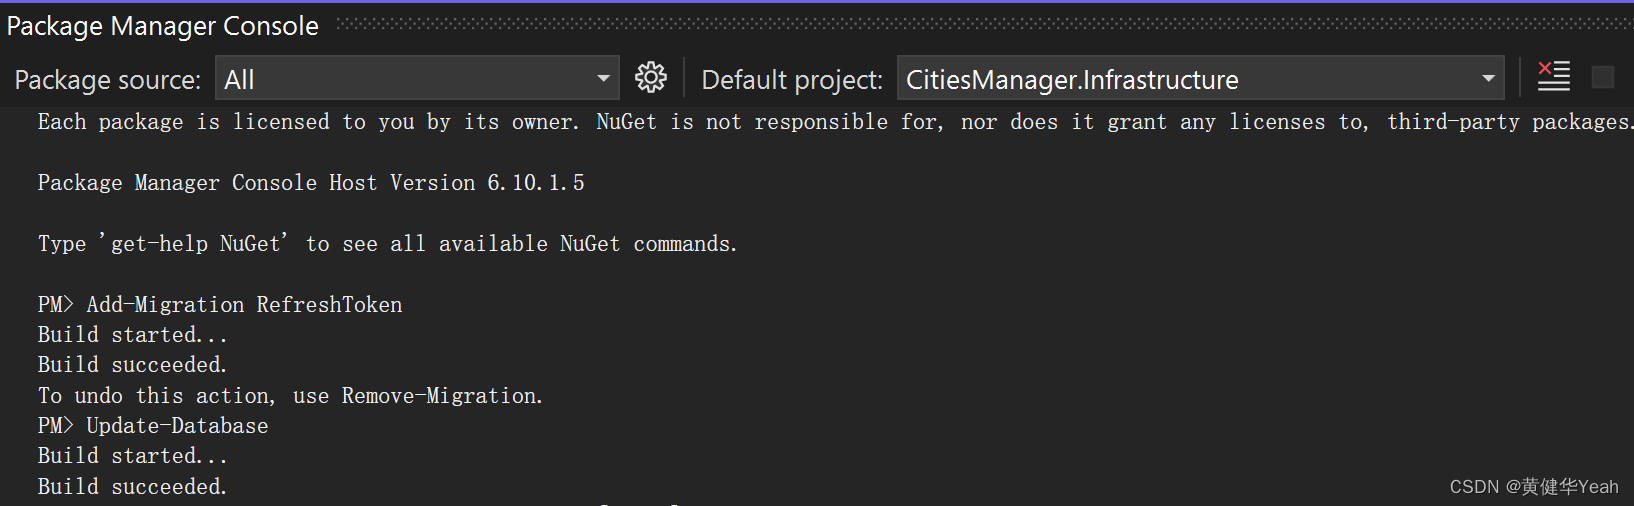
}Add-Migration RefreshToken
4、JwtService中生成RefreshToken
using CitiesManager.Core.DTO;
using CitiesManager.Core.Identity;
using CitiesManager.Core.ServiceContracts;
using Microsoft.Extensions.Configuration;
using Microsoft.IdentityModel.Tokens;
using System;
using System.IdentityModel.Tokens.Jwt;
using System.Security.Claims;
using System.Security.Cryptography;
using System.Text;
namespace CitiesManager.Core.Services
{
    public class JwtService : IJwtService
    {
        private readonly IConfiguration _configuration;
        public JwtService(IConfiguration configuration)
        {
            _configuration = configuration;
        }
        /// <summary>
        /// Generates a JWT token using the given user's information and the configuration settings.
        /// </summary>
        /// <param name="user">ApplicationUser object</param>
        /// <returns>AuthenticationResponse that includes token</returns>
        public AuthenticationResponse CreateJwtToken(ApplicationUser user)
        {
            // Create a DateTime object representing the token expiration time by adding the number of minutes specified in the configuration to the current UTC time.
            DateTime expiration = DateTime.UtcNow.AddHours(8).AddMinutes(Convert.ToDouble(_configuration["Jwt:EXPIRATION_MINUTES"]));
            // Create an array of Claim objects representing the user's claims, such as their ID, name, email, etc.
            Claim[] claims = new Claim[] {
                 new Claim(JwtRegisteredClaimNames.Sub, user.Id.ToString()), //Subject (user id)
                 new Claim(JwtRegisteredClaimNames.Jti, Guid.NewGuid().ToString()), //JWT unique ID
                 new Claim(JwtRegisteredClaimNames.Iat, DateTime.UtcNow.ToString()), //Issued at (date and time of token generation)
                 new Claim(ClaimTypes.NameIdentifier, user.Email), //Unique name identifier of the user (Email)
                 new Claim(ClaimTypes.Name, user.PersonName) //Name of the user
                 };
            // Create a SymmetricSecurityKey object using the key specified in the configuration.
            SymmetricSecurityKey securityKey = new SymmetricSecurityKey(Encoding.UTF8.GetBytes(_configuration["Jwt:Key"]));
            // Create a SigningCredentials object with the security key and the HMACSHA256 algorithm.
            SigningCredentials signingCredentials = new SigningCredentials(securityKey, SecurityAlgorithms.HmacSha256);
            // Create a JwtSecurityToken object with the given issuer, audience, claims, expiration, and signing credentials.
            JwtSecurityToken tokenGenerator = new JwtSecurityToken(
            _configuration["Jwt:Issuer"],
            _configuration["Jwt:Audience"],
            claims,
            expires: expiration,
            signingCredentials: signingCredentials
            );
            // Create a JwtSecurityTokenHandler object and use it to write the token as a string.
            JwtSecurityTokenHandler tokenHandler = new JwtSecurityTokenHandler();
            string token = tokenHandler.WriteToken(tokenGenerator);
            // Create and return an AuthenticationResponse object containing the token, user email, user name, and token expiration time.
            return new AuthenticationResponse()
            {
                Token = token,
                Email = user.Email,
                PersonName = user.PersonName,
                Expiration = expiration,
                RefreshToken = GenerateRefreshToken(),
                RefreshTokenExpirationDateTime = DateTime.UtcNow.AddHours(8).AddMinutes(Convert.ToInt32(_configuration["RefreshToken:EXPIRATION_MINUTES"]))
            };
        }
        //Creates a refresh token (base 64 string of random numbers)
        private string GenerateRefreshToken()
        {
            byte[] bytes = new byte[64];
            var randomNumberGenerator = RandomNumberGenerator.Create();
            randomNumberGenerator.GetBytes(bytes);
            return Convert.ToBase64String(bytes);
        }
    }
}
5、AccountController.cs
register和login中如下代码更新
if (result.Succeeded)
{
    //sign-in
    await _signInManager.SignInAsync(user, isPersistent: false);
    var authenticationResponse = _jwtService.CreateJwtToken(user);
    user.RefreshToken = authenticationResponse.RefreshToken;
    user.RefreshTokenExpirationDateTime = authenticationResponse.RefreshTokenExpirationDateTime;

    await _userManager.UpdateAsync(user);
    return Ok(authenticationResponse);
}
6、register.component.ts/login.component.ts
添加如下代码
localStorage["refreshToken"] = response.refreshToken;结果
登录以后成功生成refreshToken

Gitee获取源码:


 1597
1597


 被折叠的 条评论
为什么被折叠?
被折叠的 条评论
为什么被折叠?
 到【灌水乐园】发言


