


android简单的逐帧动画
文章目录
逐帧动画定义
逐帧动画是一种常见的动画形式(Frame By Frame),其原理是在“连续的关键帧”中分解动画动作,也就是在时间轴的每帧上逐帧绘制不同的内容,使其连续播放而成动画。 因为逐帧动画的帧序列内容不一样,不但给制作增加了负担而且最终输出的文件量也很大,但它的优势也很明显:逐帧动画具有非常大的灵活性,几乎可以表现任何想表现的内容,而它类似与电影的播放模式,很适合于表演细腻的动画。
简单说来,就是我们发的动态gif表情例如:

制作逐帧动画
我找了这张图片
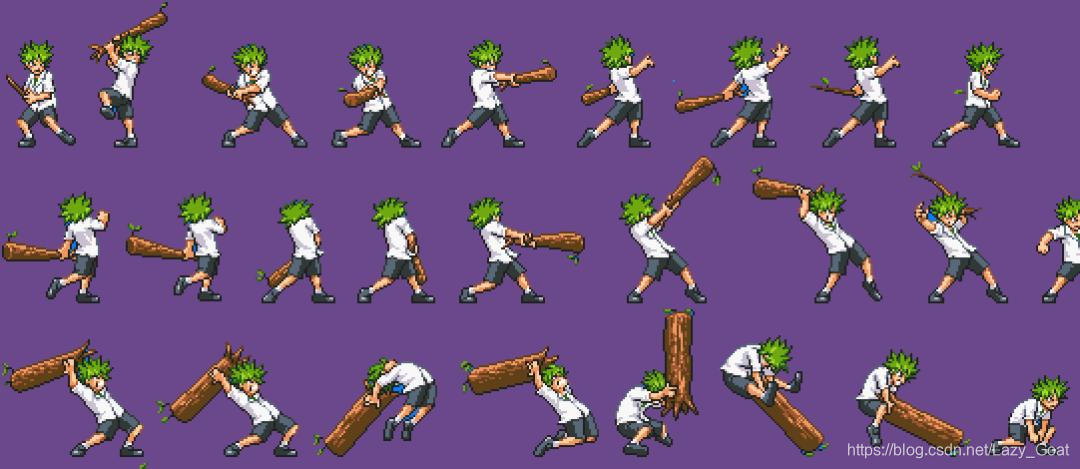
找图片剪裁图片
用画板剪裁并且使用一定的命名规律命名(img_00.png):
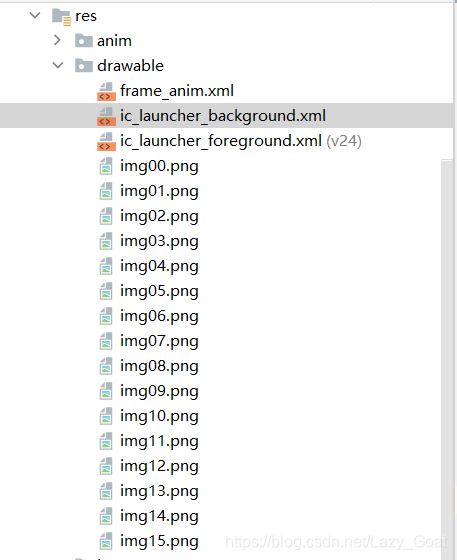
在res目录的drawable目录下放置这些图片:


帧动画配置文件
在res目录的drawable目录下创建frame_anim.xml
创建frame_anim.xml
<?xml version="1.0" encoding="utf-8"?>
<animation-list xmlns:android="http://schemas.android.com/apk/res/android"
    android:oneshot="true" >

    <!-- animation-list 帧动画 -->
    <!-- android:oneshot的值为 false代表播放多次,true代表只播放一次 -->
    <!-- duration代表每张图片的播放时间 ,定义一个持续时间为50毫秒的动画帧 -->
    <item
        android:drawable="@drawable/img00"
        android:duration="300"/>
    <item
        android:drawable="@drawable/img01"
        android:duration="300"/>
    <item
        android:drawable="@drawable/img02"
        android:duration="300"/>
    <item
        android:drawable="@drawable/img03"
        android:duration="300"/>
    <item
        android:drawable="@drawable/img04"
        android:duration="300"/>
    <item
        android:drawable="@drawable/img05"
        android:duration="300"/>
    <item
        android:drawable="@drawable/img06"
        android:duration="300"/>
    <item
        android:drawable="@drawable/img07"
        android:duration="300"/>
    <item
        android:drawable="@drawable/img08"
        android:duration="300"/>
    <item
        android:drawable="@drawable/img09"
        android:duration="300"/>
    <item
        android:drawable="@drawable/img10"
        android:duration="300"/>
    <item
        android:drawable="@drawable/img11"
        android:duration="300"/>
    <item
        android:drawable="@drawable/img12"
        android:duration="300"/>
    <item
        android:drawable="@drawable/img13"
        android:duration="300"/>
    <item
        android:drawable="@drawable/img14"
        android:duration="300"/>
    <item
        android:drawable="@drawable/img15"
        android:duration="300"/>
</animation-list>
播放和暂停的布局
修改res目录下的layout目录下的activity_main.xml文件
布局配置activity_main.xml
activity_main.xml:
<RelativeLayout xmlns:android="http://schemas.android.com/apk/res/android"
    xmlns:tools="http://schemas.android.com/tools"
    android:layout_width="match_parent"
    android:layout_height="match_parent"
    tools:context="com.example.myapplication.MainActivity" >

    <ImageView
        android:id="@+id/imageView"
        android:layout_width="wrap_content"
        android:layout_height="wrap_content"
        android:layout_centerInParent="true" />
    <!-- android:background="@drawable/frame_anim" -->

    <LinearLayout
        android:layout_width="match_parent"
        android:layout_height="wrap_content"
        android:layout_alignParentBottom="true"
        android:orientation="horizontal"
        android:padding="10dp" >

        <Button
            android:id="@+id/start"
            android:layout_width="0dp"
            android:layout_height="wrap_content"
            android:layout_weight="1"
            android:text="播放" />

        <Button
            android:id="@+id/stop"
            android:layout_width="0dp"
            android:layout_height="wrap_content"
            android:layout_weight="1"
            android:text="停止" />
    </LinearLayout>

</RelativeLayout>
调用逐帧动画
编写MainActivity.java
package com.example.myapplication;

import android.app.Activity;
import android.graphics.drawable.AnimationDrawable;
import android.os.Bundle;
import android.view.View;
import android.widget.ImageView;


public class MainActivity extends Activity implements View.OnClickListener {

    private ImageView imageView;
    private AnimationDrawable animationDrawable;

    @Override
    protected void onCreate(Bundle savedInstanceState) {
        super.onCreate(savedInstanceState);
        setContentView(R.layout.activity_main);

        imageView = (ImageView) findViewById(R.id.imageView);
        findViewById(R.id.start).setOnClickListener(this);
        findViewById(R.id.stop).setOnClickListener(this);

        setXml2FrameAnim1();
        // setXml2FrameAnim2();

    }

    /**
     * 通过XML添加帧动画方法一
     */
    private void setXml2FrameAnim1() {

        // 把动画资源设置为imageView的背景,也可直接在XML里面设置
        imageView.setBackgroundResource(R.drawable.frame_anim);
        animationDrawable = (AnimationDrawable) imageView.getBackground();
    }

    /**
     * 通过XML添加帧动画方法二
     */
    private void setXml2FrameAnim2() {

        // 通过逐帧动画的资源文件获得AnimationDrawable示例
        animationDrawable = (AnimationDrawable) getResources().getDrawable(
                R.drawable.frame_anim);
        imageView.setBackground(animationDrawable);
    }

    @Override
    public void onClick(View v) {

        switch (v.getId()) {
            case R.id.start:
                if (animationDrawable != null && !animationDrawable.isRunning()) {
                    animationDrawable.start();
                }
                break;
            case R.id.stop:
                if (animationDrawable != null && animationDrawable.isRunning()) {
                    animationDrawable.stop();
                }
                break;

            default:
                break;
        }
    }

}
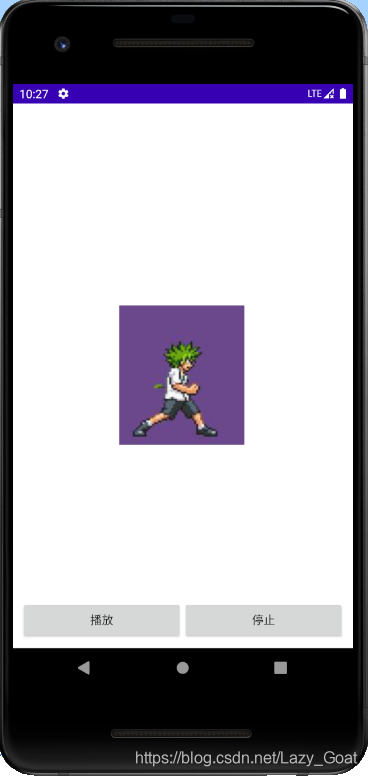
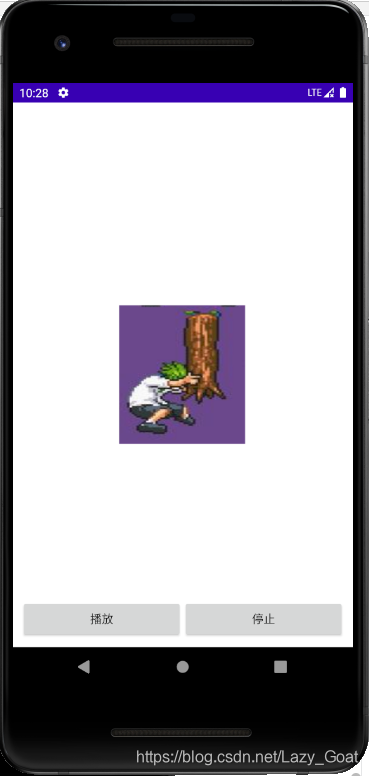
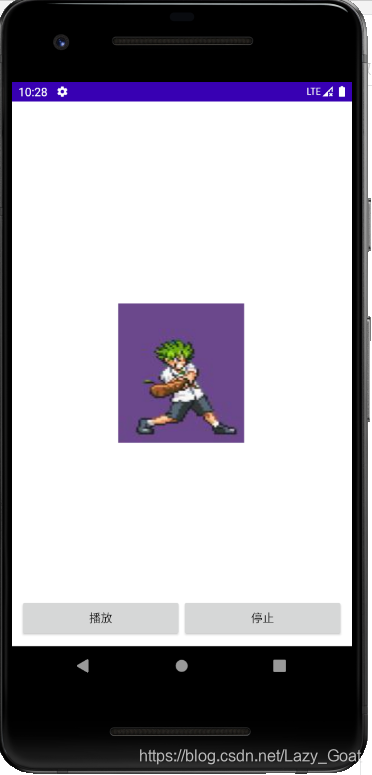
效果演示


 1万+
1万+


 被折叠的 条评论
为什么被折叠?
被折叠的 条评论
为什么被折叠?
 到【灌水乐园】发言


