


Vue3 + Element-UI开发示例
1、说明:如果安装使用过vue脚手架,或使用过vue2,请先卸载!卸载语句如下:
输入 npm uninstall vue-cli -g 回车
运行完毕后,就是一个干净的脚手架工具了!
2、安装脚手架:npm install -g @vue/cli 回车运行即可。
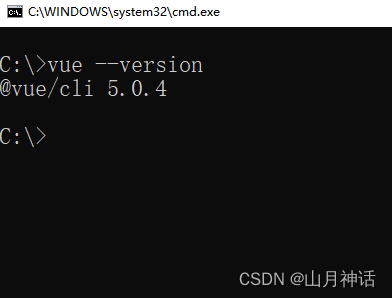
3、查看脚手架版本
vue --version
4、创建项目:
A、进入你需要放项目的文件夹。D:\webworkspace
B:初始化项目文件夹,如我的项目名是 myvue3 ,输入 vue create myvue3 回车运行即可。
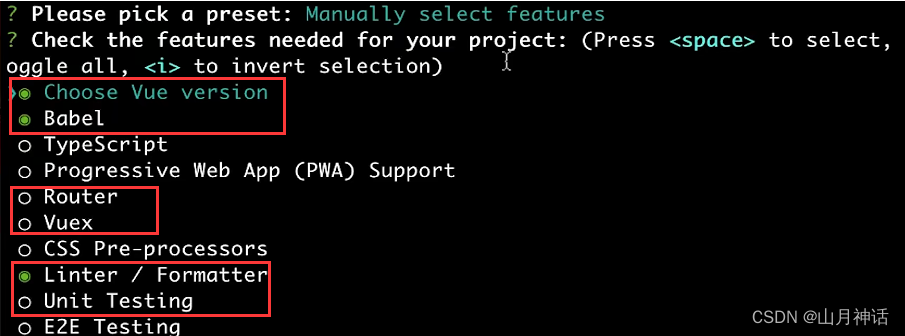
C:根据自己的需求选择项目需要的功能。
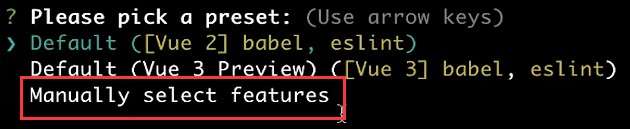
也可以选择默认的vue3,即可不必做以下勾选。
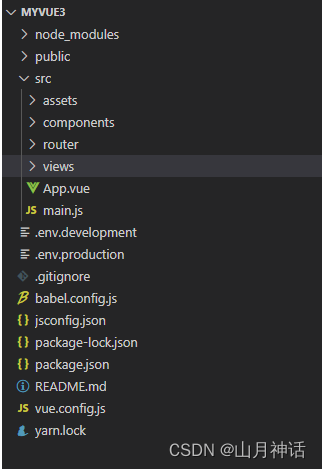
5、创建完毕后,进入你的项目根目录D:\webworkspace\myvue3,再输入 npm run serve 回车运行程序即可。
6、打开浏览器,在地址栏输入 http://localhost:8080 即可看到你创建的初始项目。
7、安装router、安装axios、安装element-ui
npm install vue-router@4
npm install axios --save
npm install --save element-plus (vue2: npm i element-ui --save)
main.js

import router from './router'
import axios from 'axios';
import ElementPlus from 'element-plus';
//import 'element-plus/lib/theme-chalk/index.css'; (路径不准确)
import 'element-plus/dist/index.css'
import locale from 'element-plus/lib/locale/lang/zh-cn'

const app = createApp(App).use(router).use(ElementPlus, { locale })

// 全局配置
app.config.globalProperties.$axios = axios
// 请求超时时间配置
axios.defaults.timeout=60000

app.mount('#app')
8、src/router/index.js
import { createRouter, createWebHashHistory } from 'vue-router'
import HomeView from '../views/HomeView.vue'
import TableView from '../views/TableView.vue'

const routes = [
  {
    path: '/',
    name: 'home',
    component: HomeView
  },
  {
    path: '/about',
    name: 'about',
    component: () => import(/* webpackChunkName: "about" */ '../views/AboutView.vue')
  },
  {
    path: '/table',
    name: 'table',
    component: TableView
  }
]

const router = createRouter({
  history: createWebHashHistory(process.env.BASE_URL),
  routes
})

export default router
这里配置遇到了一个问题:
刷新页面,报404,而点击相应的tab就可以正常访问

解决方案:
history: createWebHistory(process.env.BASE_URL), --H5模式
改为:
history: createWebHashHistory(process.env.BASE_URL), --Hash模式(url会多#号)
当使用这种历史模式时,URL 会看起来很 “正常”,例如 https://example.com/user/id。 不过,问题来了。由于我们的应用是一个单页的客户端应用,如果没有适当的服务器配置,用户在浏览器中直接访问 https://example.com/user/id,就会得到一个 404 错误。
如果是用nginx部署项目,vue官网有解决方案(服务器配置)。
9、App.vue
<template>
  <nav>
    <router-link to="/">Home</router-link> |
    <router-link to="/about">About</router-link> |
    <router-link to="/table">Table</router-link>
  </nav>
  <router-view/>
</template>

<style>
#app {
  font-family: Avenir, Helvetica, Arial, sans-serif;
  -webkit-font-smoothing: antialiased;
  -moz-osx-font-smoothing: grayscale;
  text-align: center;
  color: #2c3e50;
}

nav {
  padding: 30px;
}

nav a {
  font-weight: bold;
  color: #2c3e50;
}

nav a.router-link-exact-active {
  color: #42b983;
}
</style>
10、main.js
import { createApp } from 'vue'
import App from './App.vue'
import router from './router'
import axios from 'axios';

import ElementPlus from 'element-plus';
//import 'element-plus/lib/theme-chalk/index.css';
import 'element-plus/dist/index.css'
import locale from 'element-plus/lib/locale/lang/zh-cn'

const app = createApp(App).use(router).use(ElementPlus, { locale })

// 全局配置
app.config.globalProperties.$axios = axios
// 请求超时时间配置
axios.defaults.timeout=60000

app.mount('#app')
11、.env.development
# 开发环境配置
ENV = 'development'

VUE_APP_SERVER_URL = 'http://localhost:8083/web'
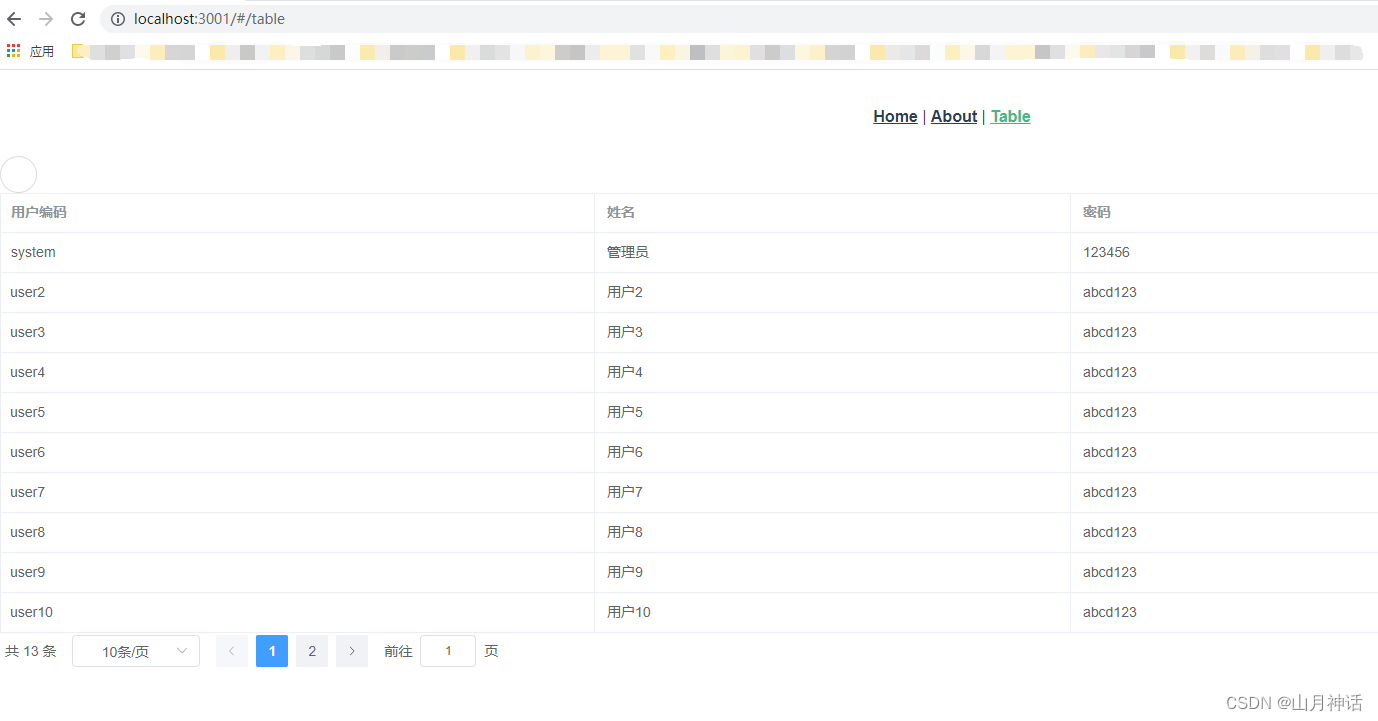
12、view/TableView.vue
<template>
  <div class="dataTable">

      <div class="zo-item" title="刷新" @click="refreshList"><i class="el-icon-refresh"></i></div>

      <el-table border :data="dataList" size="medium" class="table">

        <el-table-column prop="userCode" min-width="100" show-overflow-tooltip label="用户编码">
        </el-table-column>
        <el-table-column prop="userName" min-width="80" show-overflow-tooltip label="姓名">
        </el-table-column>
        <el-table-column prop="password" min-width="140" show-overflow-tooltip label="密码">
        </el-table-column>
    </el-table>

    <el-pagination @size-change="sizeChangeHandle" @current-change="currentChangeHandle"
        :current-page="pageNum" :page-sizes="[10, 20, 50, 100]" :page-size="pageSize" :total="total"
        background layout="total, sizes, prev, pager, next, jumper">
    </el-pagination>

  </div>
</template>

<script>
export default {
  name: 'DataTable',
  data () {
    return {
      dataList: [],
      pageNum: 1,
      pageSize: 10,
      total: 0,
      orderBy: ''
    }
  },
   methods: {
    // 获取数据列表
    refreshList() {
        this.$axios({
            url: '/api/user/findList',
            method: 'post',
            data: {
                'pageNum': this.pageNum,
                'pageSize': this.pageSize,
                'orderBy': this.orderBy
            }
        }).then(({
            data
        }) => {
            if (data) {
                this.dataList = data.list
                this.total = data.total
            }
        })
    },
    // 每页数
    sizeChangeHandle(val) {
        this.pageSize = val
        this.pageNum = 1
        this.refreshList()
    },
    // 当前页
    currentChangeHandle(val) {
        this.pageNum = val
        this.refreshList()
    }
  }
}
</script>

<!-- Add "scoped" attribute to limit CSS to this component only -->
<style scoped>
.zo-item{
    width: 35px;height: 35px;border: 1px solid #DCDCDC;
    border-radius: 50%;margin-right: 7px;background: #FFF;
    cursor: pointer;text-align: center;line-height: 33px;color: #A0A0A0;
}
</style>
13、vue.config.js
const { defineConfig } = require('@vue/cli-service')
module.exports = defineConfig({
  transpileDependencies: true,

  publicPath: "./",
  productionSourceMap: false,

  css: {
    loaderOptions: {
      less: {
        modifyVars: {
        },
        javascriptEnabled: true,
      }
    }
  },
  outputDir: './dist',
  devServer: {
    port: 3001, // 前端端口
    proxy: {
      '/api': {
        target: process.env.VUE_APP_SERVER_URL,  // 后端服务地址
        changeOrigin: true,
        pathRewrite: {
          '^/api': '/'
        }
      }
    }
  },

  lintOnSave: undefined
})
效果:
=END=


 3万+
3万+


 被折叠的 条评论
为什么被折叠?
被折叠的 条评论
为什么被折叠?
 到【灌水乐园】发言


