


 本文介绍了如何在Android中自定义EditText的光标和下划线颜色,包括修改光标颜色、取消背景、自定义主题、全局修改颜色以及在不同情况下实现下划线效果。通过设置textCursorDrawable、自定义主题、使用layer-list等方法,实现EditText的个性化定制。
最近在写些小Demo复习基础,在用到EditText的时候突然发现之前几乎没有注意到它的光标和下划线的颜色,于是花了不少时间,看了不少博客,现在就来总结和分享一下收获。
1、第一印象:原生的EditText
我们要在原生的EditText上修改,首先当然要认识一下它的本来面目。在Android Studio中新建一个工程,让MainActivity继承于AppCompatActivity(为什么要这样做,后面再说),然后在MainActivity的布局中放置一个EditText:
<LinearLayout xmlns:android="http://schemas.android.com/apk/res/android"
xmlns:app="http://schemas.android.com/apk/res-auto"
android:orientation="vertical"
xmlns:tools="http://schemas.android.com/tools"
android:layout_width="match_parent"
android:layout_height="match_parent"
tools:context="com.lindroid.edittext.MainActivity">
<EditText
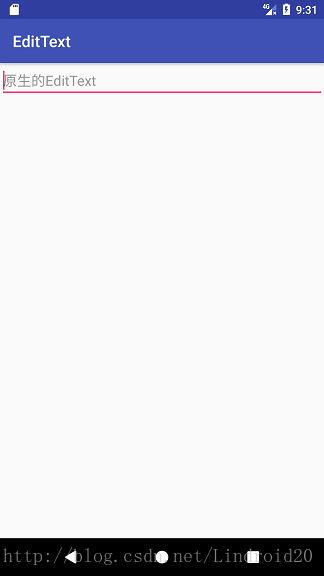
android:hint="原生的EditText"
android:layout_width="match_parent"
android:layout_height="wrap_content" />
</LinearLayout>运行工程,仔细观察可以看到光标和下划线都是粉红色的。现在就让我们循序渐进,先修改它的光标颜色。
2、自定义光标颜色
EditText 有一个属性:android:textCursorDrawable ,它就是用来设置光标样式的。为了加深认识,大家先额外做个小实验:将textCursorDrawable设置为@null,表示去除系统默认的样式,但我们都记得隐藏光标的属性是android:cursorVisible , 那么这时光标会是什么样子的呢?你可以给文字(android:textColor)和提示文字(android:textColorHint属性)设置不同的颜色,运行之后就会发现此时光标的颜色是跟文字的保持一致的。
了解了android:textCursorDrawable 的作用之后,我们可以在drawable资源文件夹下新建一个cursor_color.xml文件,内容如下
<?xml version="1.0" encoding="utf-8"?>
<shape xmlns:android="http://schemas.android.com/apk/res/android"
    android:shape="rectangle">
    <size android:width="2dp" />
    <solid android:color="@android:color/holo_blue_light" />
</shape>
光标的颜色为系统自带的浅蓝色,宽度为2dp。在原生的EditText下面放置一个新的EditText:
    <EditText
        android:textCursorDrawable="@drawable/cursor_color"
        android:hint="自定义光标颜色"
        android:layout_width=
最低0.47元/天 解锁文章


 237
237

 被折叠的 条评论
为什么被折叠?
被折叠的 条评论
为什么被折叠?
 到【灌水乐园】发言


