


Ansible 自动化运维工具--部署以及命令行模块
ansible 的概述
ansible简介
Ansible是一款为类Unix系统开发的自由开源的配置和自动化工具。
它用Python写成,类似于saltstack和Puppet,但是有一个不同和优点是我们不需要在节点中安装任何客户端。
它使用SSH来和节点进行通信。Ansible基于 Python paramiko 开发,分布式,无需客户端,轻量级,配置语法使用 YMAL 及 Jinja2模板语言,更强的远程命令执行操作。
Ansible是一个基于Python开发的配置管理和应用部署工具,现在也在自动化管理领域大放异彩。它融合了众多老牌运维工具的优点,Pubbet和Saltstack能实现的功能,Ansible基本上都可以实现
• Ansible能批量配置、部署、管理上千台主机。比如以前需要切换到每个主机上执行的一或多个操作,使用Ansible只需在固定的一台Ansible控制节点上去完成所有主机的操作
• Ansible是基于模块工作的,它只是提供了一种运行框架,它本身没有完成任务的能力,真正执行操作的是Ansible的模块,
比如copy模块用于拷贝文件到远程主机上,service模块用 于管理服务的启动、停止、重启等
官方网站
https://www.ansible.com/
ansible 的特点
1、部署简单,没有客户端,只需在主控端部署Ansible环境,被控端无需做任何操作;
-
模块化:调用特定的模块,完成特定任务
-
默认使用SSH协议对设备进行管理;
-
主从集中化管理;
5、配置简单、功能强大、扩展性强;
6、支持API及自定义模块,可通过Python轻松扩展;
7、通过Playbooks来定制强大的配置、状态管理
-
对云计算平台、大数据都有很好的支持;
-
具有幂等性:一个操作在一个主机上执行一遍和执行N遍的结果是一样的
ansible是基于模块工作的,本身没有批量部署的能力。真正具有批量部署的是ansible所运行的模块,ansible只是提供一种框架。主要包括:
(1)、连接插件connection plugins:负责和被监控端实现通信;
(2)、host inventory:指定操作的主机,是一个配置文件里面定义监控的主机;
(3)、各种模块核心模块、command模块、自定义模块;
(4)、借助于插件完成记录日志邮件等功能;
(5)、playbook:剧本执行多个任务时,非必需可以让节点一次性运行多个任务
Ansible其中一个比较鲜明的特性是Agentless,即无Agent的存在,它就像普通命令一样, 并非c/s软件,也只需在某个作为控制节点的主机上安装一次Ansible即可, 通常它基于ssh连接来控制远程主机,远程主机上不需要安装Ansible或其它额外的服务。
ansible的工作原理:使用者在使用时,在服务器终端输入命令或者playbooks,会通过预定好的规则将playbook拆解为play,再组织成ansible可以识别的任务,调用模块和插件,根据主机清单通过SSH将临时文件发给远程的客户端执行并返回结果,执行结束后自动删除
• Ansible的另一个比较鲜明的特性是它的绝大多数模块都具备幂等性(idempotence)。所谓幂等性,指的是多次操作或多次执行对系统资源的影响是一致的。比如执行systemctl stop xxx命令来停止服务,当发现要停止的目标服务已经处于停止状态,它什么也不会做,所以多次停止的结果仍然是停止,不会改变结果,它是幂等的,而systemctl restart xxx是非幂等的
• Ansible的很多模块在执行时都会先判断目标节点是否要执行任务,所以,可以放心大胆地让Ansible去执行任务,重复执行某个任务绝大多数时候不会产生任何副作用
ansible的工作机制
Ansible 在管理节点将 Ansible 模块通过 SSH 协议推送到被管理端执行,执行完之后自动删除,可以使用 SVN 等来管理自定义模块及编排
ansible的组成模块
Ansible的组成由以下模块组成:
Ansible: ansible的核心模块
Host Inventory:主机清单,也就是被管理的主机列表
Playbooks:ansible的剧本,可想象为将多个任务放置在一起,一块执行
Core Modules:ansible的核心模块
Custom Modules:自定义模块
Connection Plugins:连接插件,用于与被管控主机之间基于SSH建立连接关系
Plugins:其他插件,包括记录日志等
ansible部署
环境准备
管理端:20.0.0.100 ansible
被管理端:20.0.0.200 20.0.0.210
Asible的安装
管理端安装epel扩展源并安装ansible
[root@docker01 ~]# yum -y install epel-release
[root@docker01 ~]# yum -y install ansible
树型查询工具
[root@docker01 ~]# yum -y install tree
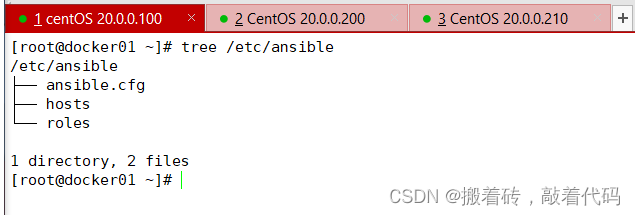
/etc/ansible
├── ansible.cfg #ansible的配置文件,一般无需修改
├── hosts #ansible的主机清单,用于存储需要管理的远程主机的相关信息
└── roles #公共角色目录
1 directory, 2 files
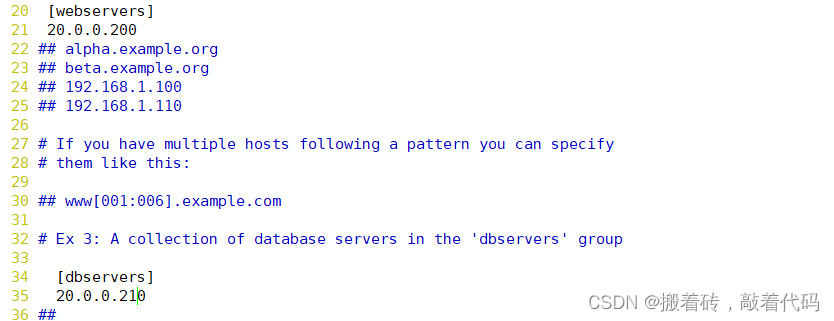
配置主机清单
[root@docker01 ~]# cd /etc/ansible
[root@docker01 ansible]# vim hosts
 20  [webservers]
  #配置组名
 21  20.0.0.200
 #组里包含的被管理的主机IP地址或主机名(主机名需要先修改/etc/hosts文件)

 34   [dbservers]
 35   20.0.0.210
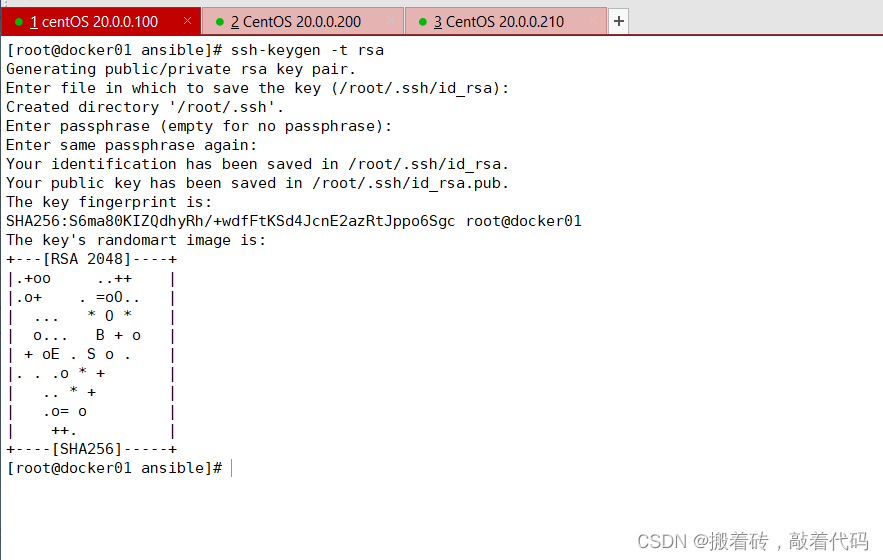
配置密钥对验证
[root@docker01 ansible]# ssh-keygen -t rsa
#一直回车,使用免密登录
Generating public/private rsa key pair.
Enter file in which to save the key (/root/.ssh/id_rsa):
Created directory '/root/.ssh'.
Enter passphrase (empty for no passphrase):
Enter same passphrase again:
Your identification has been saved in /root/.ssh/id_rsa.
Your public key has been saved in /root/.ssh/id_rsa.pub.
The key fingerprint is:
SHA256:S6ma80KIZQdhyRh/+wdfFtKSd4JcnE2azRtJppo6Sgc root@docker01
The key's randomart image is:
+---[RSA 2048]----+
|.+oo     ..++    |
|.o+    . =oO..   |
|  ...   * O *    |
|  o...   B + o   |
| + oE . S o .    |
|. . .o * +       |
|   .. * +        |
|   .o= o         |
|    ++.          |
+----[SHA256]-----+
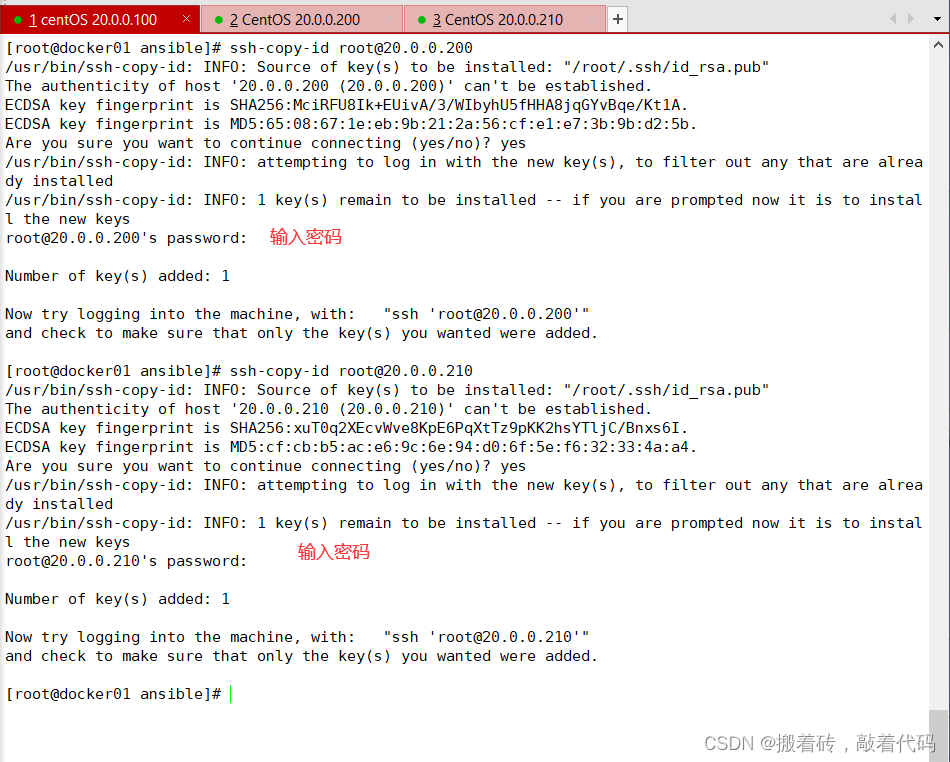
[root@docker01 ansible]# ssh-copy-id root@20.0.0.200
/usr/bin/ssh-copy-id: INFO: Source of key(s) to be installed: "/root/.ssh/id_rsa.pub"
The authenticity of host '20.0.0.200 (20.0.0.200)' can't be established.
ECDSA key fingerprint is SHA256:MciRFU8Ik+EUivA/3/WIbyhU5fHHA8jqGYvBqe/Kt1A.
ECDSA key fingerprint is MD5:65:08:67:1e:eb:9b:21:2a:56:cf:e1:e7:3b:9b:d2:5b.
Are you sure you want to continue connecting (yes/no)? yes
/usr/bin/ssh-copy-id: INFO: attempting to log in with the new key(s), to filter out any that are already installed
/usr/bin/ssh-copy-id: INFO: 1 key(s) remain to be installed -- if you are prompted now it is to install the new keys
root@20.0.0.200's password:

Number of key(s) added: 1

Now try logging into the machine, with:   "ssh 'root@20.0.0.200'"
and check to make sure that only the key(s) you wanted were added.

[root@docker01 ansible]# ssh-copy-id root@20.0.0.210
/usr/bin/ssh-copy-id: INFO: Source of key(s) to be installed: "/root/.ssh/id_rsa.pub"
The authenticity of host '20.0.0.210 (20.0.0.210)' can't be established.
ECDSA key fingerprint is SHA256:xuT0q2XEcvWve8KpE6PqXtTz9pKK2hsYTljC/Bnxs6I.
ECDSA key fingerprint is MD5:cf:cb:b5:ac:e6:9c:6e:94:d0:6f:5e:f6:32:33:4a:a4.
Are you sure you want to continue connecting (yes/no)? yes
/usr/bin/ssh-copy-id: INFO: attempting to log in with the new key(s), to filter out any that are already installed
/usr/bin/ssh-copy-id: INFO: 1 key(s) remain to be installed -- if you are prompted now it is to install the new keys
root@20.0.0.210's password:

Number of key(s) added: 1

Now try logging into the machine, with:   "ssh 'root@20.0.0.210'"
and check to make sure that only the key(s) you wanted were added.
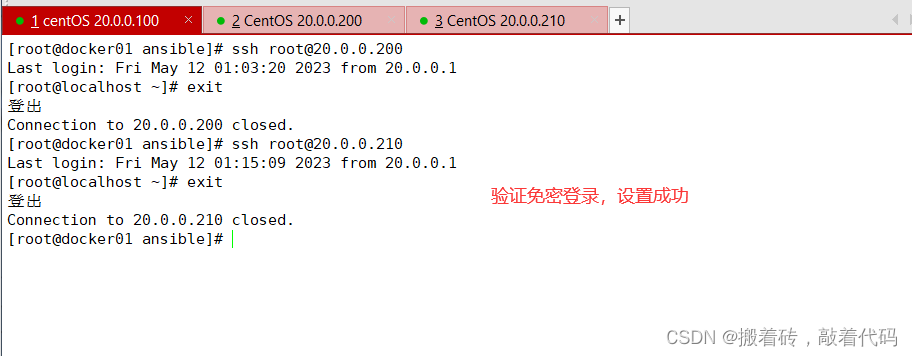
[root@docker01 ansible]# ssh root@20.0.0.200
Last login: Fri May 12 01:03:20 2023 from 20.0.0.1
[root@localhost ~]# exit
登出
Connection to 20.0.0.200 closed.
[root@docker01 ansible]# ssh root@20.0.0.210
Last login: Fri May 12 01:15:09 2023 from 20.0.0.1
[root@localhost ~]# exit
登出
Connection to 20.0.0.210 closed.
ansible 命令行模块
命令格式:ansible <组名> -m <模块> -a <参数列表>
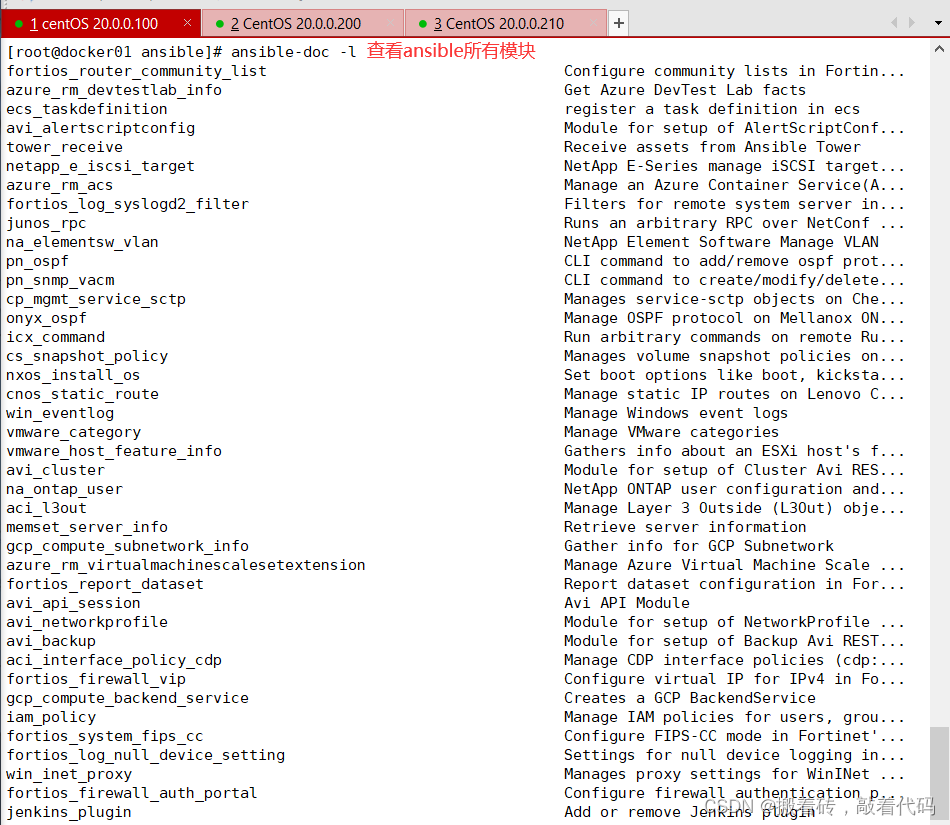
ansible-doc -l #列出所有已安装的模块,按q退出
command 模块
在远程主机执行命令,不支持管道,重定向等shell的特性。
command : ansible的默认模块,不指定-m参数的时候,使用的就是command模块;
常见的命令都可以使用,但命令的执行不是通过shell来执行的,所以< > | and & z这些操作都不可以,不支持管道,没法批量执行命令
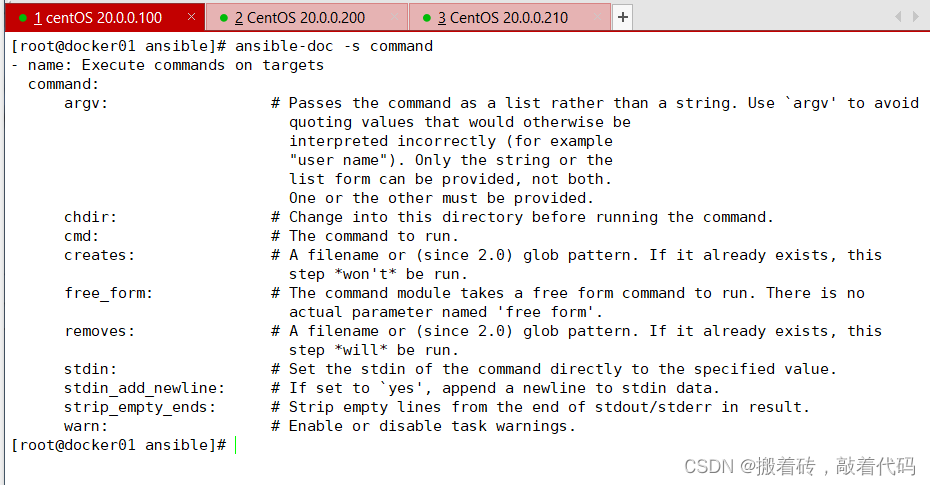
[root@docker01 ansible]# ansible-doc -s command
#-s 列出指定模块的描述信息和操作动作

- name: Execute commands on targets
  command:
      argv:                  # Passes the command as a list rather than a string. Use `argv' to avoid
                               quoting values that would otherwise be
                               interpreted incorrectly (for example
                               "user name"). Only the string or the
                               list form can be provided, not both.
                               One or the other must be provided.
      chdir:                 # Change into this directory before running the command.
      cmd:                   # The command to run.
      creates:               # A filename or (since 2.0) glob pattern. If it already exists, this
                               step *won't* be run.
      free_form:             # The command module takes a free form command to run. There is no
                               actual parameter named 'free form'.
      removes:               # A filename or (since 2.0) glob pattern. If it already exists, this
                               step *will* be run.
      stdin:                 # Set the stdin of the command directly to the specified value.
      stdin_add_newline:     # If set to `yes', append a newline to stdin data.
      strip_empty_ends:      # Strip empty lines from the end of stdout/stderr in result.
      warn:                  # Enable or disable task warnings.
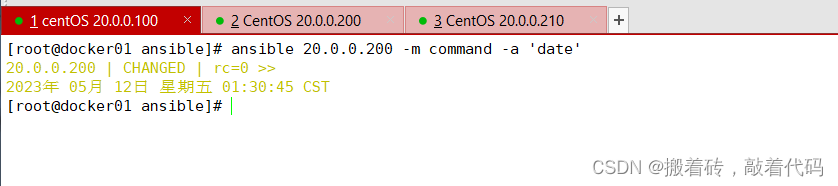
[root@docker01 ansible]# ansible 20.0.0.200 -m command -a 'date'
#指定 ip 执行 date

20.0.0.200 | CHANGED | rc=0 >>
2023年 05月 12日 星期五 01:30:45 CST
[root@docker01 ansible]# ansible webservers -m command -a 'date'
 #指定webservers 组执行 date

20.0.0.200 | CHANGED | rc=0 >>
2023年 05月 12日 星期五 01:31:24 CST

[root@docker01 ansible]# ansible dbservers -m command -a 'date'
# 指定dbservers 组执行 date

20.0.0.210 | CHANGED | rc=0 >>
2023年 05月 12日 星期五 01:32:10 CST

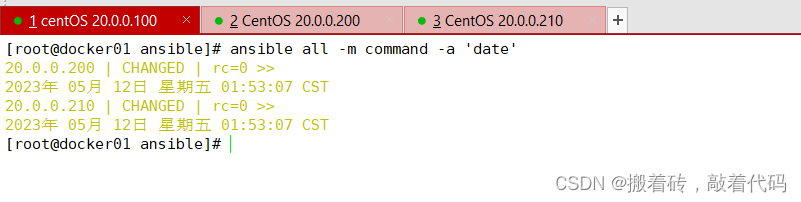
[root@docker01 ansible]# ansible all -m command -a 'date'
#all 代表所有 hosts 主机

20.0.0.200 | CHANGED | rc=0 >>
2023年 05月 12日 星期五 01:53:07 CST
20.0.0.210 | CHANGED | rc=0 >>
2023年 05月 12日 星期五 01:53:07 CST
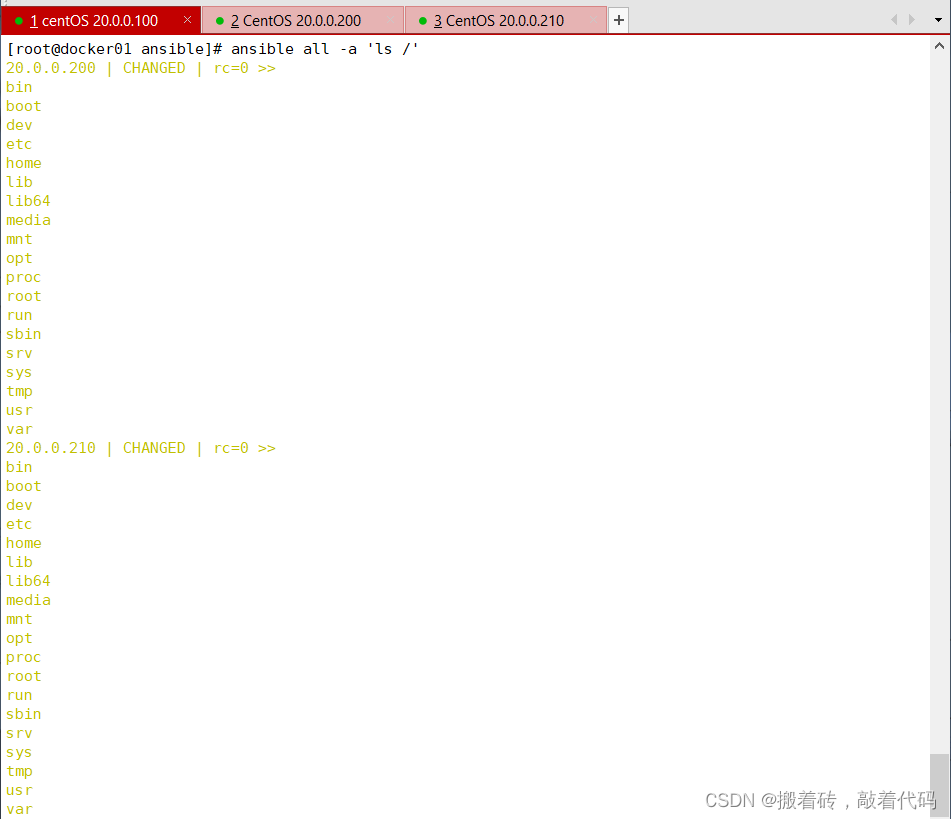
[root@docker01 ansible]# ansible all -a 'ls /'
#如省略 -m 模块,则默认运行 command 模块


20.0.0.200 | CHANGED | rc=0 >>
bin
boot
dev
etc
home
lib
lib64
media
mnt
opt
proc
root
run
sbin
srv
sys
tmp
usr
var
20.0.0.210 | CHANGED | rc=0 >>
bin
boot
dev
etc
home
lib
lib64
media
mnt
opt
proc
root
run
sbin
srv
sys
tmp
usr
var
常用的参数:
chdir:在远程主机上运行命令前提前进入目录
creates:判断指定文件是否存在,如果存在,不执行后面的操作
removes:判断指定文件是否存在,如果存在,执行后面的操作
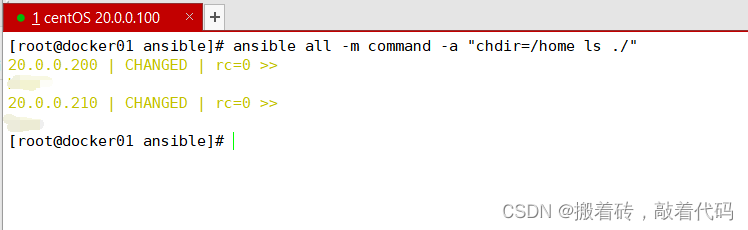
[root@docker01 ansible]# ansible all -m command -a "chdir=/home ls ./"
# chdir切换目录,然后执行ls
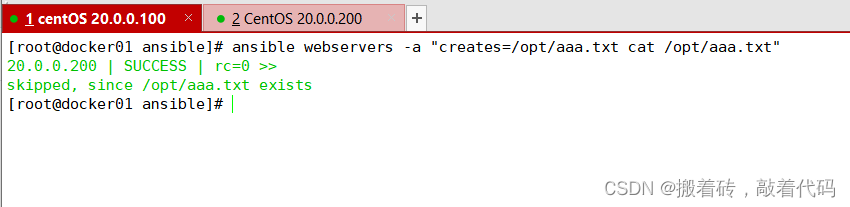
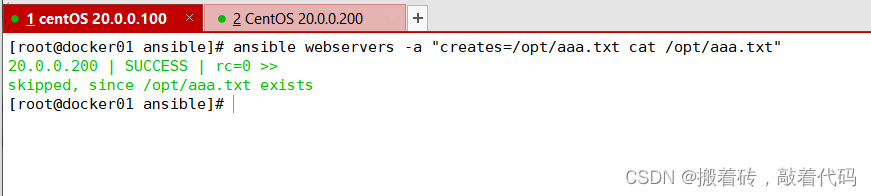
[root@docker01 ansible]# ansible webservers -a "creates=/opt/aaa.txt cat /opt/aaa.txt"
20.0.0.200 | SUCCESS | rc=0 >>
skipped, since /opt/aaa.txt exists
[root@docker01 ansible]# ansible webservers -a "creates=/opt/aaa.txt cat /opt/aaa.txt"
20.0.0.200 | SUCCESS | rc=0 >>
skipped, since /opt/aaa.txt exists
#creates判断文件是否存在,存在则不执行后面的操作
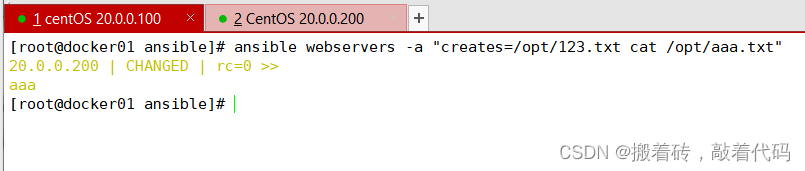
[root@docker01 ansible]# ansible webservers -a "creates=/opt/123.txt cat /opt/aaa.txt"
20.0.0.200 | CHANGED | rc=0 >>
aaa
#creates判断文件是否存在,不存在则执行后面的操作
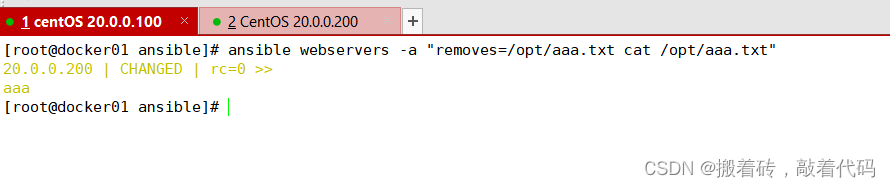
[root@docker01 ansible]# ansible webservers -a "removes=/opt/aaa.txt cat /opt/aaa.txt"
20.0.0.200 | CHANGED | rc=0 >>
aaa
#removes判断文件是否存在,存在则执行后面的操作
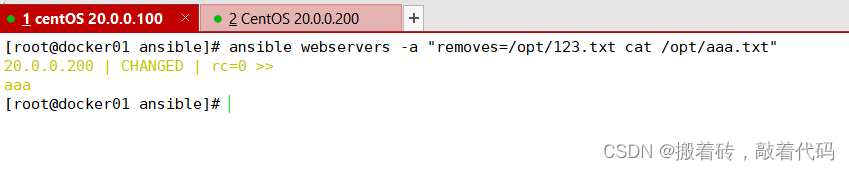
[root@docker01 ansible]# ansible webservers -a "removes=/opt/123.txt cat /opt/aaa.txt"
20.0.0.200 | CHANGED | rc=0 >>
aaa
#removes判断文件是否存在,不存在则不执行后面的操作
shell 模块
在远程主机执行命令,相当于调用远程主机的shell进程,然后在该shell下打开一个子shell运行命令(支持管道符号等功能)
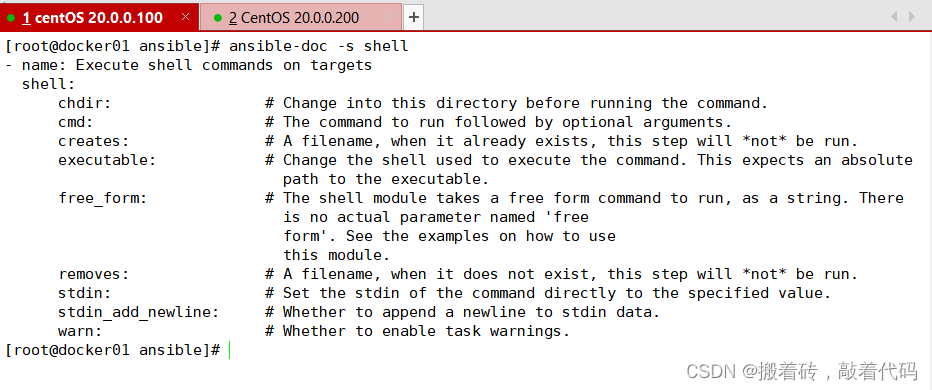
[root@docker01 ansible]# ansible-doc -s shell
 #查看shell模块的详细信息

- name: Execute shell commands on targets
  shell:
      chdir:                 # Change into this directory before running the command.
      cmd:                   # The command to run followed by optional arguments.
      creates:               # A filename, when it already exists, this step will *not* be run.
      executable:            # Change the shell used to execute the command. This expects an absolute
                               path to the executable.
      free_form:             # The shell module takes a free form command to run, as a string. There
                               is no actual parameter named 'free
                               form'. See the examples on how to use
                               this module.
      removes:               # A filename, when it does not exist, this step will *not* be run.
      stdin:                 # Set the stdin of the command directly to the specified value.
      stdin_add_newline:     # Whether to append a newline to stdin data.
      warn:                  # Whether to enable task warnings.
[root@docker01 ansible]# ansible dbservers -m shell -a 'useradd test'
20.0.0.210 | CHANGED | rc=0 >>
# 添加用户test

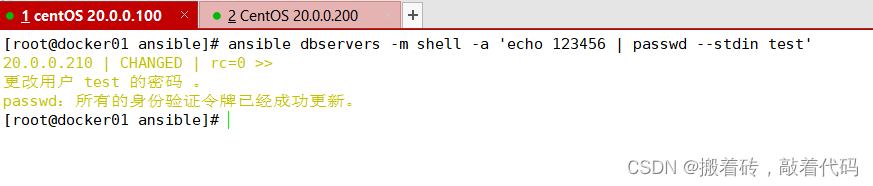
[root@docker01 ansible]# ansible dbservers -m shell -a 'echo 123456 | passwd --stdin test'
20.0.0.210 | CHANGED | rc=0 >>
更改用户 test 的密码 。
passwd:所有的身份验证令牌已经成功更新。

#给远程主机test用户设置密码
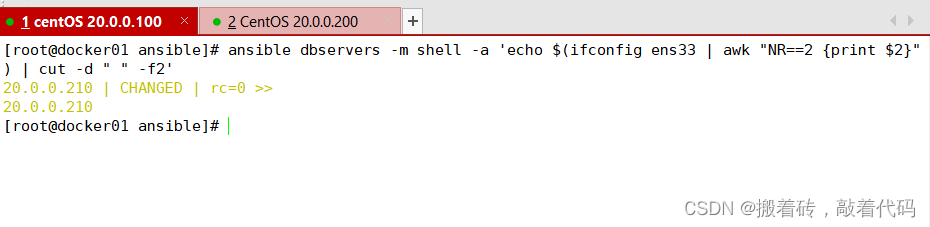
[root@docker01 ansible]# ansible dbservers -m shell -a 'echo $(ifconfig ens33 | awk "NR==2 {print $2}") | cut -d " " -f2'
20.0.0.210 | CHANGED | rc=0 >>
20.0.0.210

# 截取远程主机ip
[root@docker01 ansible]# ansible dbservers -m shell -a 'echo $(ifconfig ens33 | awk "NR==2 {print \$2}")'
20.0.0.210 | CHANGED | rc=0 >>
20.0.0.210

# 截取远程主机ip

cron 模块
在远程主机定义任务计划。其中有两种状态(state):present表示添加(可以省略),absent表示移除。
ansible-doc -s cron #按 q 退出
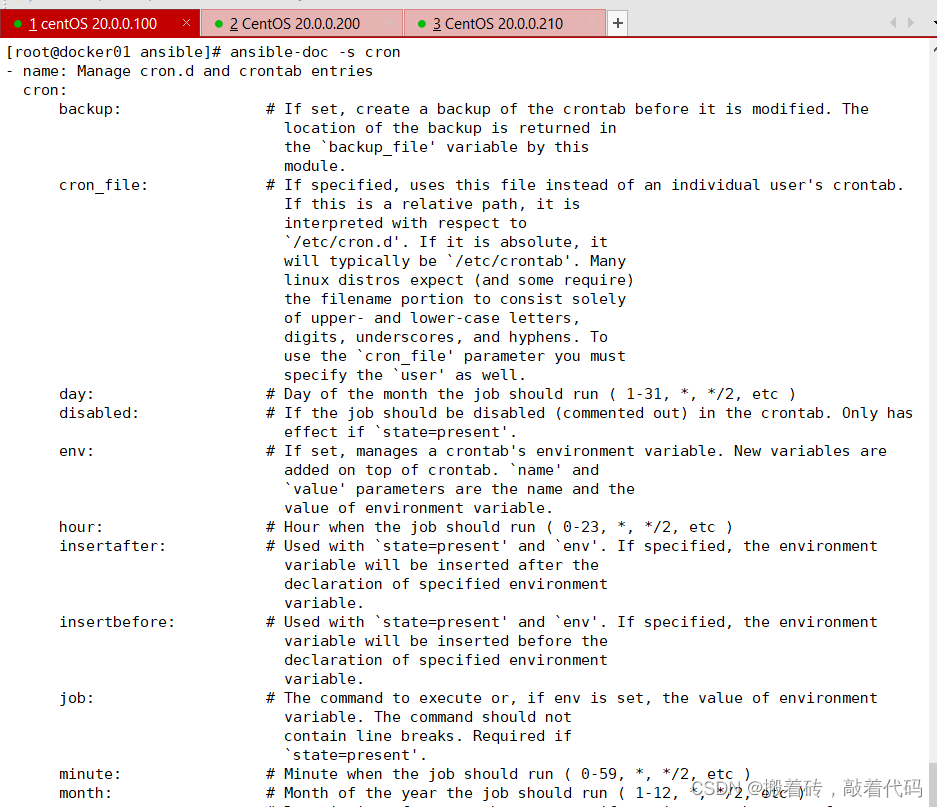
常用的参数
minute/hour/day/month/weekday:分/时/日/月/周
job:任务计划要执行的命令
name:任务计划的名称


[root@docker01 ansible]# ansible webservers -m cron -a 'minute="*/1" job="/bin/echo helloworld" name="test crontab"'
20.0.0.200 | CHANGED => {
    "ansible_facts": {
        "discovered_interpreter_python": "/usr/bin/python"
    },
    "changed": true,
    "envs": [],
    "jobs": [
        "test crontab"
    ]
}

## 为远程主机设置计划任务

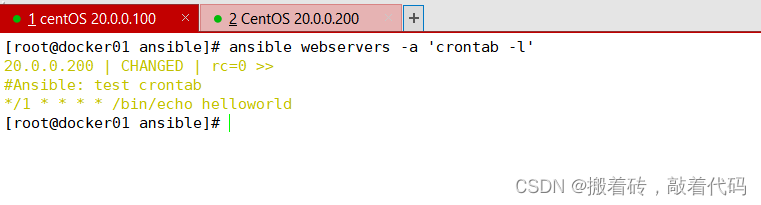
[root@docker01 ansible]# ansible webservers -a 'crontab -l'
20.0.0.200 | CHANGED | rc=0 >>
#Ansible: test crontab
*/1 * * * * /bin/echo helloworld
## 查看是否设置成功
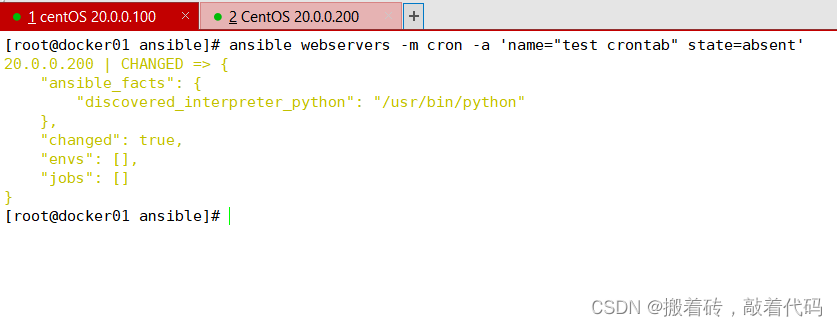
[root@docker01 ansible]# ansible webservers -m cron -a 'name="test crontab" state=absent'
20.0.0.200 | CHANGED => {
    "ansible_facts": {
        "discovered_interpreter_python": "/usr/bin/python"
    },
    "changed": true,
    "envs": [],
    "jobs": []
}

#移除计划任务,假如该计划任务没有取名字,name=None即可
[root@docker01 ansible]# ansible webservers -a 'crontab -l'
20.0.0.200 | CHANGED | rc=0 >>
## 再次查看,删除成功
user 模块
用户管理的模块
ansible-doc -s user

//常用的参数:
name:用户名,必选参数
state=present|absent:创建账号或者删除账号,present表示创建,absent表示删除
system=yes|no:是否为系统账号
uid:用户uid
group:用户基本组
shell:默认使用的shell
move_home=yes|no:如果设置的家目录已经存在,是否将已经存在的家目录进行移动
password:用户的密码,建议使用加密后的字符串
comment:用户的注释信息
remove=yes|no:当state=absent时,是否删除用户的家目录
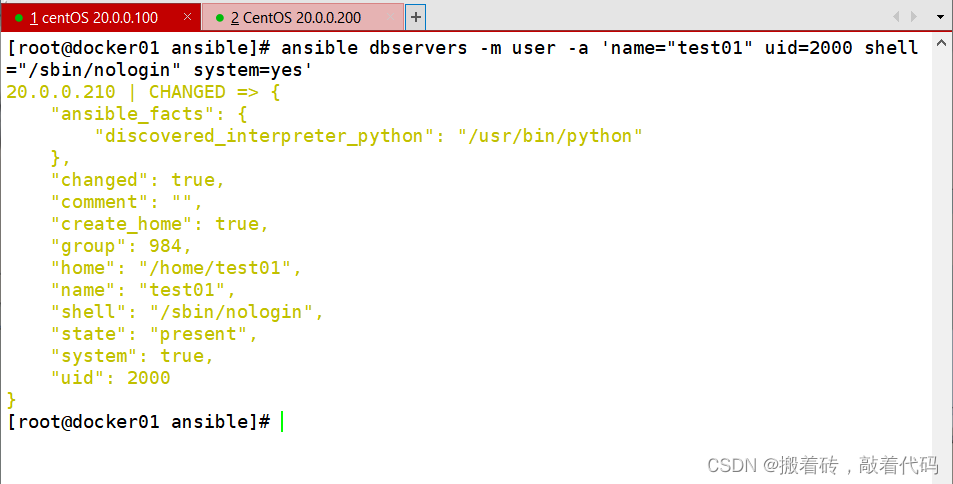
[root@docker01 ansible]# ansible dbservers -m user -a 'name="test01" uid=2000 shell="/sbin/nologin" system=yes'
## 创建用户并设置uid以及shell设置为不可登录

20.0.0.210 | CHANGED => {
    "ansible_facts": {
        "discovered_interpreter_python": "/usr/bin/python"
    },
    "changed": true,
    "comment": "",
    "create_home": true,
    "group": 984,
    "home": "/home/test01",
    "name": "test01",
    "shell": "/sbin/nologin",
    "state": "present",
    "system": true,
    "uid": 2000
}
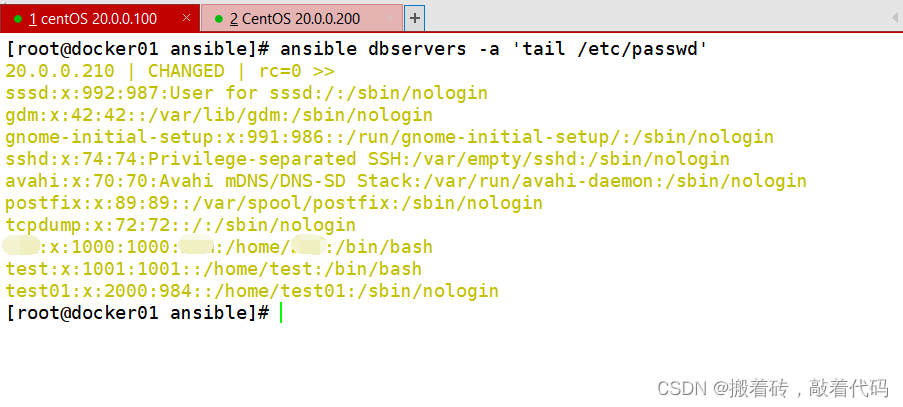
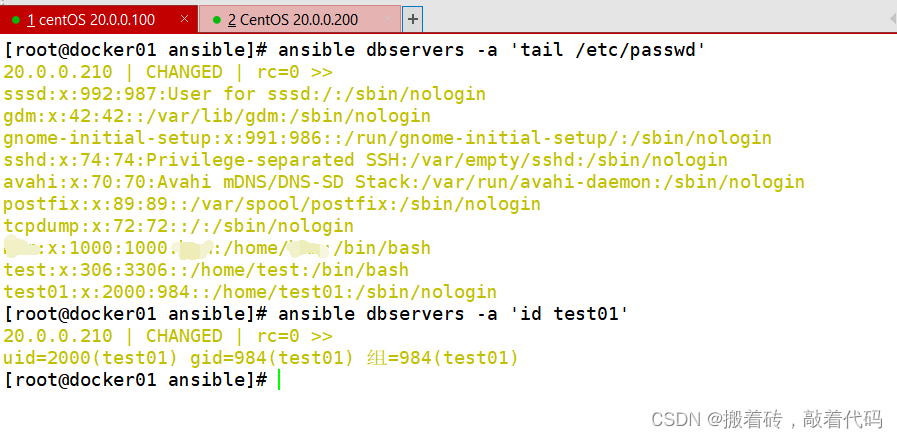
[root@docker01 ansible]# ansible dbservers -a 'tail /etc/passwd'
20.0.0.210 | CHANGED | rc=0 >>
sssd:x:992:987:User for sssd:/:/sbin/nologin
gdm:x:42:42::/var/lib/gdm:/sbin/nologin
gnome-initial-setup:x:991:986::/run/gnome-initial-setup/:/sbin/nologin
sshd:x:74:74:Privilege-separated SSH:/var/empty/sshd:/sbin/nologin
avahi:x:70:70:Avahi mDNS/DNS-SD Stack:/var/run/avahi-daemon:/sbin/nologin
postfix:x:89:89::/var/spool/postfix:/sbin/nologin
tcpdump:x:72:72::/:/sbin/nologin
...:x:1000:1000:...:/home/...:/bin/bash
test:x:1001:1001::/home/test:/bin/bash
test01:x:2000:984::/home/test01:/sbin/nologin
## 查看是否设置成功
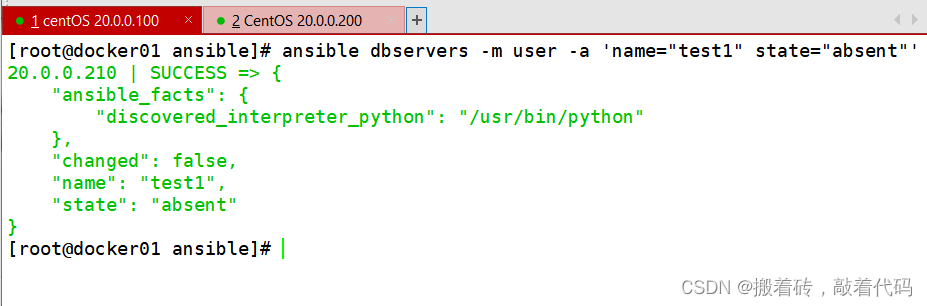
[root@docker01 ansible]# ansible dbservers -m user -a 'name="test1" state="absent"'20.0.0.210 | SUCCESS => {
    "ansible_facts": {
        "discovered_interpreter_python": "/usr/bin/python"
    },
    "changed": false,
    "name": "test1",
    "state": "absent"
}

## 删除用户
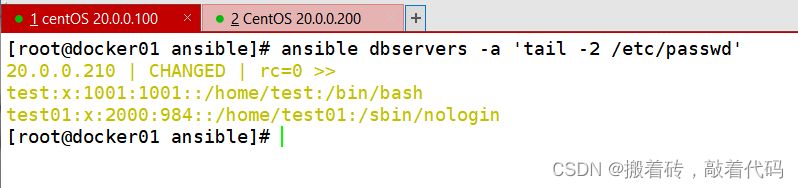
[root@docker01 ansible]# ansible dbservers -a 'tail -2 /etc/passwd'
20.0.0.210 | CHANGED | rc=0 >>
test:x:1001:1001::/home/test:/bin/bash
test01:x:2000:984::/home/test01:/sbin/nologin

## 查看是否删除
group 模块
用户组管理的模块
ansible-doc -s group
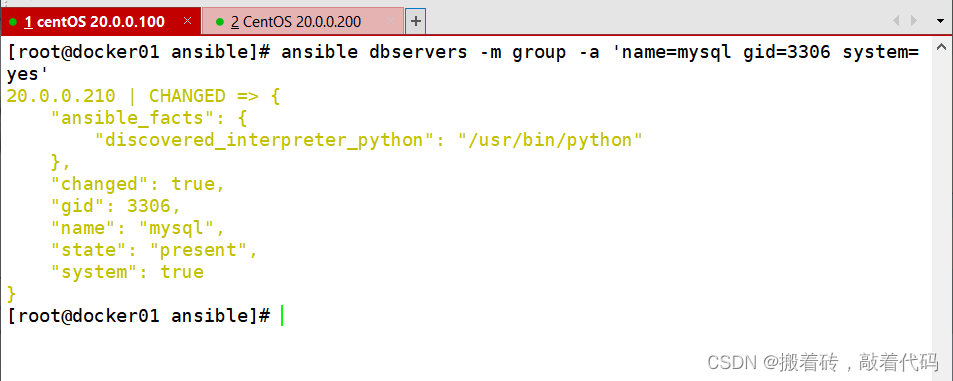
ansible dbservers -m group -a 'name=mysql gid=3306 system=yes' #创建mysql组
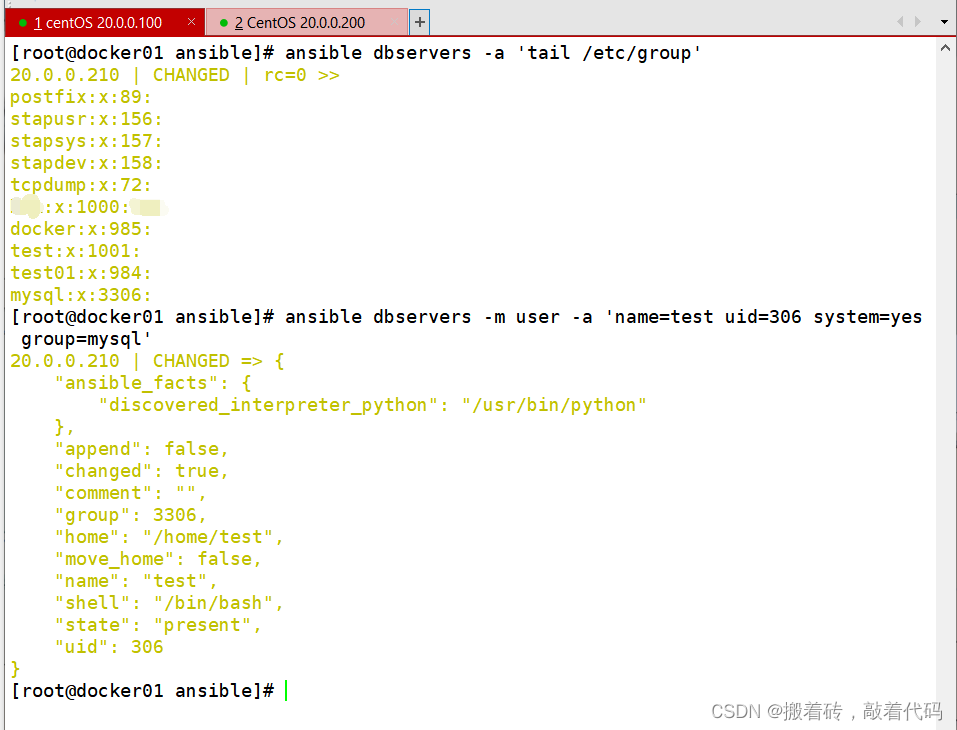
[root@docker01 ansible]# ansible dbservers -a 'tail /etc/group'
20.0.0.210 | CHANGED | rc=0 >>
postfix:x:89:
stapusr:x:156:
stapsys:x:157:
stapdev:x:158:
tcpdump:x:72:
...:x:1000:...
docker:x:985:
test:x:1001:
test01:x:984:
mysql:x:3306:

[root@docker01 ansible]# ansible dbservers -m user -a 'name=test uid=306 system=yes group=mysql'
20.0.0.210 | CHANGED => {
    "ansible_facts": {
        "discovered_interpreter_python": "/usr/bin/python"
    },
    "append": false,
    "changed": true,
    "comment": "",
    "group": 3306,
    "home": "/home/test",
    "move_home": false,
    "name": "test",
    "shell": "/bin/bash",
    "state": "present",
    "uid": 306
}
#将test01用户添加到mysql组中
[root@docker01 ansible]# ansible dbservers -a 'tail /etc/passwd'
## 查看文件,看用户是否创建成功

20.0.0.210 | CHANGED | rc=0 >>
sssd:x:992:987:User for sssd:/:/sbin/nologin
gdm:x:42:42::/var/lib/gdm:/sbin/nologin
gnome-initial-setup:x:991:986::/run/gnome-initial-setup/:/sbin/nologin
sshd:x:74:74:Privilege-separated SSH:/var/empty/sshd:/sbin/nologin
avahi:x:70:70:Avahi mDNS/DNS-SD Stack:/var/run/avahi-daemon:/sbin/nologin
postfix:x:89:89::/var/spool/postfix:/sbin/nologin
tcpdump:x:72:72::/:/sbin/nologin
...:x:1000:1000:...:/home/...:/bin/bash
test:x:306:3306::/home/test:/bin/bash
test01:x:2000:984::/home/test01:/sbin/nologin
[root@docker01 ansible]# ansible dbservers -a 'id test01'
## 查看test101的详细信息,可以看到所在组即为mysql
20.0.0.210 | CHANGED | rc=0 >>
uid=2000(test01) gid=984(test01) 组=984(test01)
copy 模块
用于复制指定主机文件到远程主机的
ansible-doc -s copy
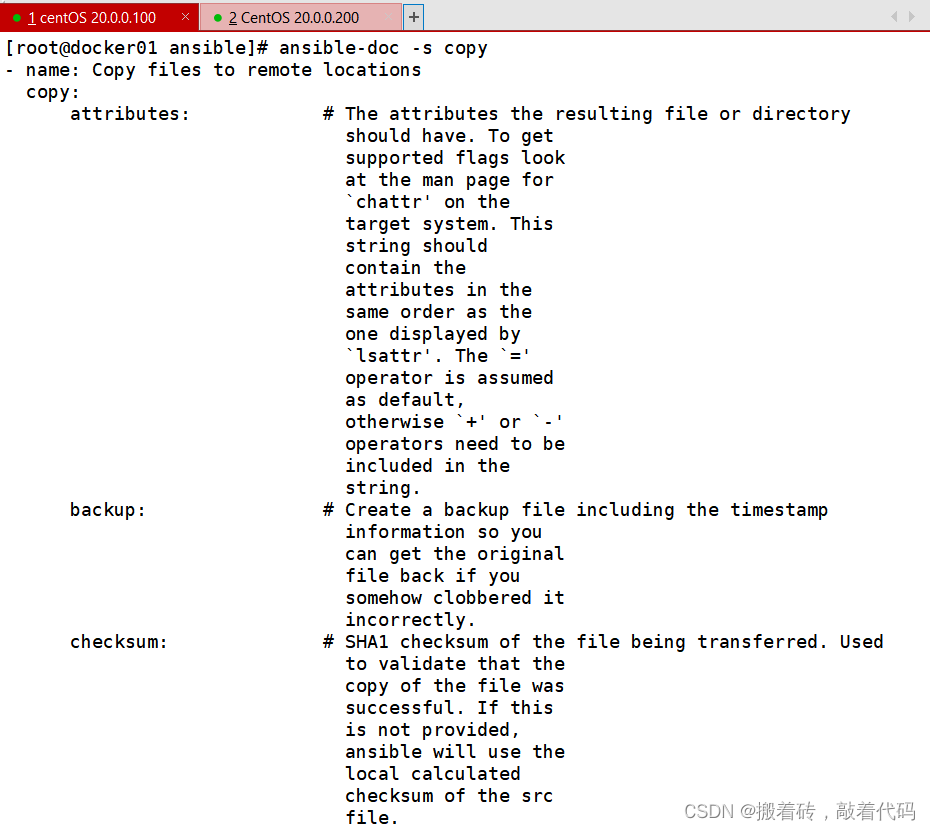
常用的参数:
| 参数 | 含义 |
|---|---|
| dest | 指出复制文件的目标及位置,使用绝对路径,如果是源目录,指目标也要是目录,如果目标文件已经存在会覆盖原有的内容 |
| src | 指出源文件的路径,可以使用相对路径或绝对路径,支持直接指定目录,如果源是目录则目标也要是目录 |
| mode | 指出复制时,目标文件的权限 |
| owner | 指出复制时,目标文件的属主 |
| group | 指出复制时,目标文件的属组 |
| content | 指出复制到目标主机上的内容,不能与src一起使用 |
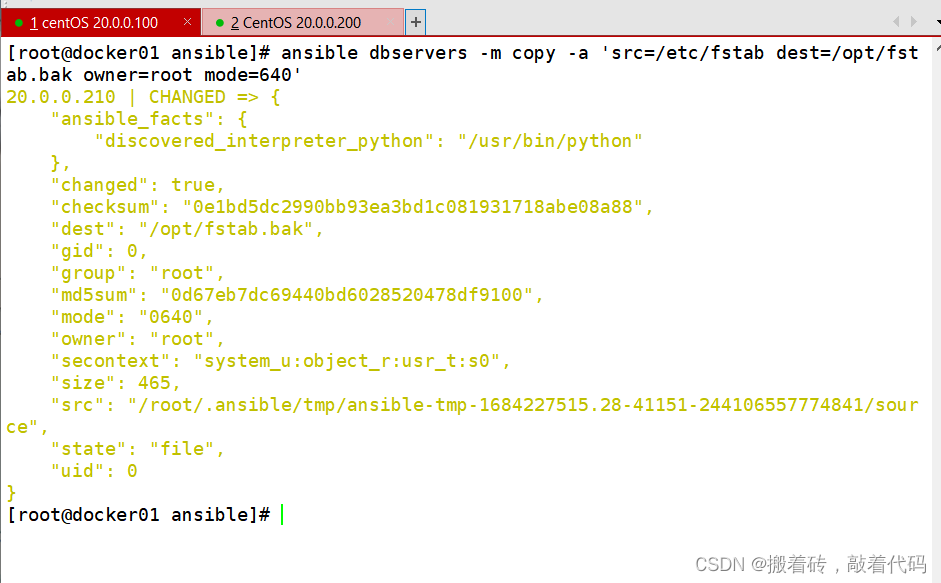
[root@docker01 ansible]# ansible dbservers -m copy -a 'src=/etc/fstab dest=/opt/fstab.bak owner=root mode=640'

20.0.0.210 | CHANGED => {
    "ansible_facts": {
        "discovered_interpreter_python": "/usr/bin/python"
    },
    "changed": true,
    "checksum": "0e1bd5dc2990bb93ea3bd1c081931718abe08a88",
    "dest": "/opt/fstab.bak",
    "gid": 0,
    "group": "root",
    "md5sum": "0d67eb7dc69440bd6028520478df9100",
    "mode": "0640",
    "owner": "root",
    "secontext": "system_u:object_r:usr_t:s0",
    "size": 465,
    "src": "/root/.ansible/tmp/ansible-tmp-1684227515.28-41151-244106557774841/source",
    "state": "file",
    "uid": 0
}
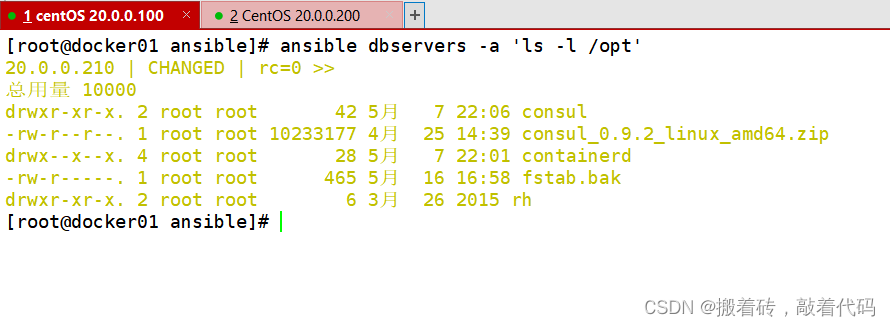
[root@docker01 ansible]# ansible dbservers -a 'ls -l /opt'
20.0.0.210 | CHANGED | rc=0 >>
总用量 10000
drwxr-xr-x. 2 root root       42 5月   7 22:06 consul
-rw-r--r--. 1 root root 10233177 4月  25 14:39 consul_0.9.2_linux_amd64.zip
drwx--x--x. 4 root root       28 5月   7 22:01 containerd
-rw-r-----. 1 root root      465 5月  16 16:58 fstab.bak
drwxr-xr-x. 2 root root        6 3月  26 2015 rh
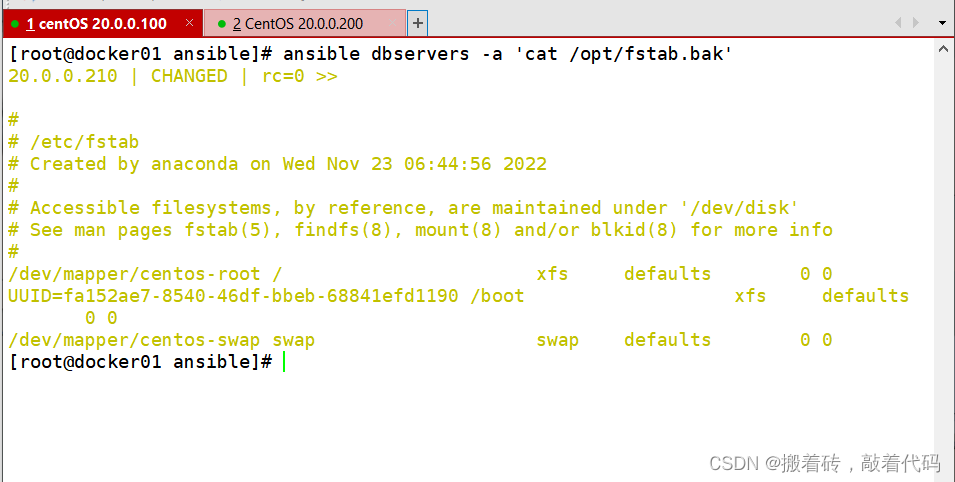
[root@docker01 ansible]# ansible dbservers -a 'cat /opt/fstab.bak'
20.0.0.210 | CHANGED | rc=0 >>

#
# /etc/fstab
# Created by anaconda on Wed Nov 23 06:44:56 2022
#
# Accessible filesystems, by reference, are maintained under '/dev/disk'
# See man pages fstab(5), findfs(8), mount(8) and/or blkid(8) for more info
#
/dev/mapper/centos-root /                       xfs     defaults        0 0
UUID=fa152ae7-8540-46df-bbeb-68841efd1190 /boot                   xfs     defaults        0 0
/dev/mapper/centos-swap swap                    swap    defaults        0 0
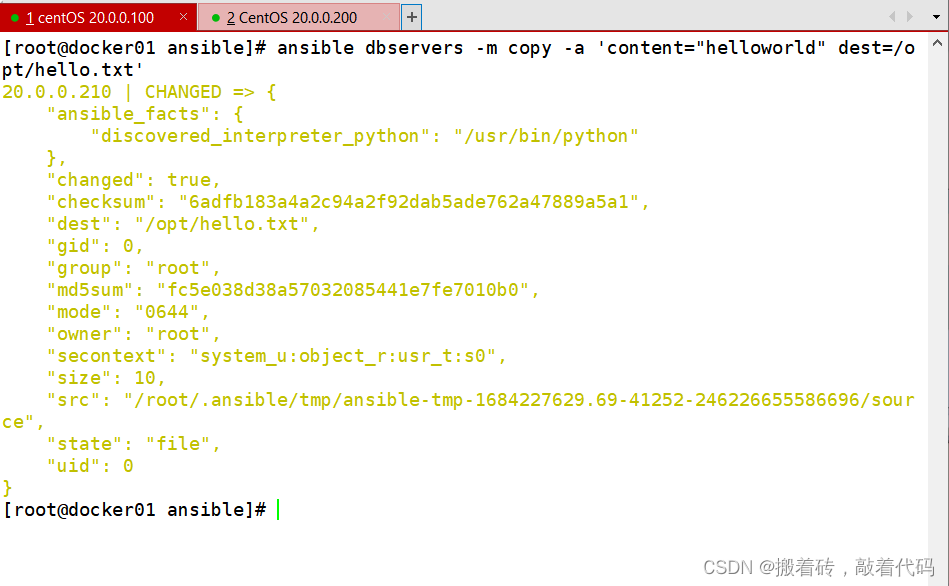
[root@docker01 ansible]# ansible dbservers -m copy -a 'content="helloworld" dest=/opt/hello.txt'
 #将helloworld写入/opt/hello.txt文件中

20.0.0.210 | CHANGED => {
    "ansible_facts": {
        "discovered_interpreter_python": "/usr/bin/python"
    },
    "changed": true,
    "checksum": "6adfb183a4a2c94a2f92dab5ade762a47889a5a1",
    "dest": "/opt/hello.txt",
    "gid": 0,
    "group": "root",
    "md5sum": "fc5e038d38a57032085441e7fe7010b0",
    "mode": "0644",
    "owner": "root",
    "secontext": "system_u:object_r:usr_t:s0",
    "size": 10,
    "src": "/root/.ansible/tmp/ansible-tmp-1684227629.69-41252-246226655586696/source",
    "state": "file",
    "uid": 0
}
[root@docker01 ansible]# ansible dbservers -a 'cat /opt/hello.txt'
20.0.0.210 | CHANGED | rc=0 >>
helloworld

file 模块
设置文件属性
ansible-doc -s file

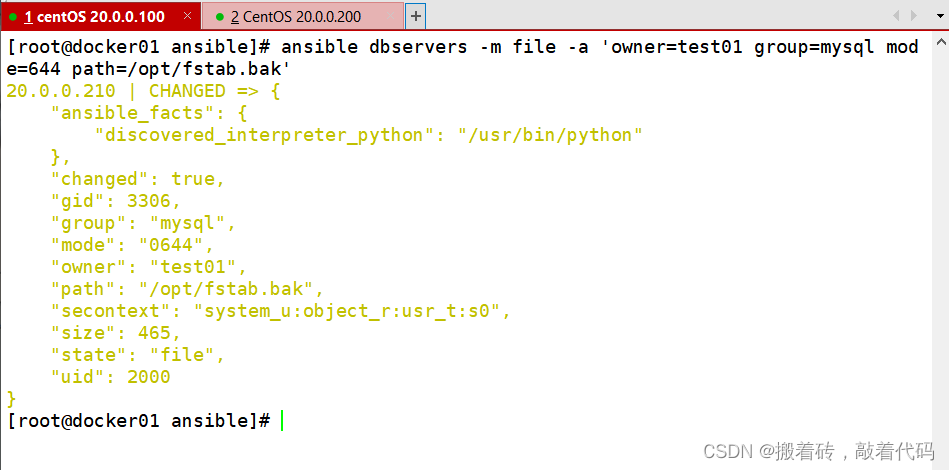
[root@docker01 ansible]# ansible dbservers -m file -a 'owner=test01 group=mysql mode=644 path=/opt/fstab.bak'
20.0.0.210 | CHANGED => {
    "ansible_facts": {
        "discovered_interpreter_python": "/usr/bin/python"
    },
    "changed": true,
    "gid": 3306,
    "group": "mysql",
    "mode": "0644",
    "owner": "test01",
    "path": "/opt/fstab.bak",
    "secontext": "system_u:object_r:usr_t:s0",
    "size": 465,
    "state": "file",
    "uid": 2000
}

#修改文件的属主属组权限等
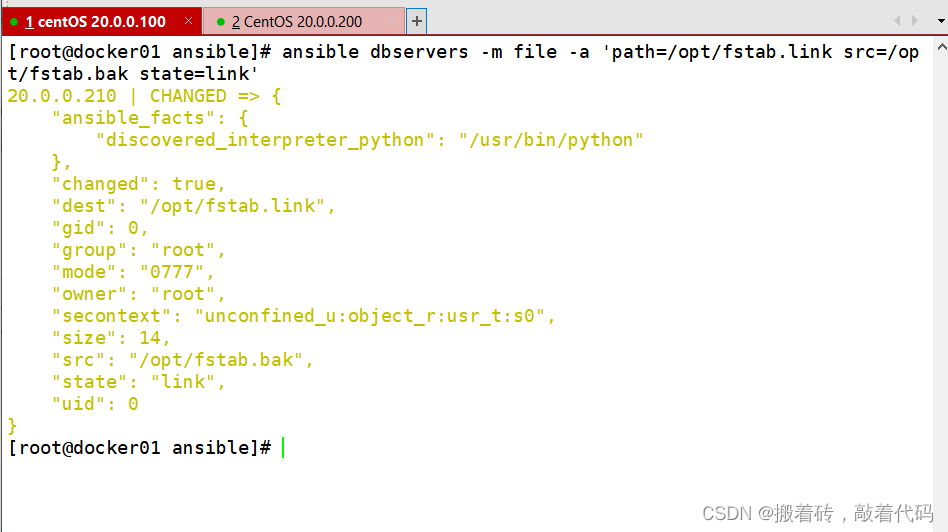
[root@docker01 ansible]# ansible dbservers -m file -a 'path=/opt/fstab.link src=/opt/fstab.bak state=link'
20.0.0.210 | CHANGED => {
    "ansible_facts": {
        "discovered_interpreter_python": "/usr/bin/python"
    },
    "changed": true,
    "dest": "/opt/fstab.link",
    "gid": 0,
    "group": "root",
    "mode": "0777",
    "owner": "root",
    "secontext": "unconfined_u:object_r:usr_t:s0",
    "size": 14,
    "src": "/opt/fstab.bak",
    "state": "link",
    "uid": 0
}

#设置/opt/fstab.link为/opt/fstab.bak的链接文件
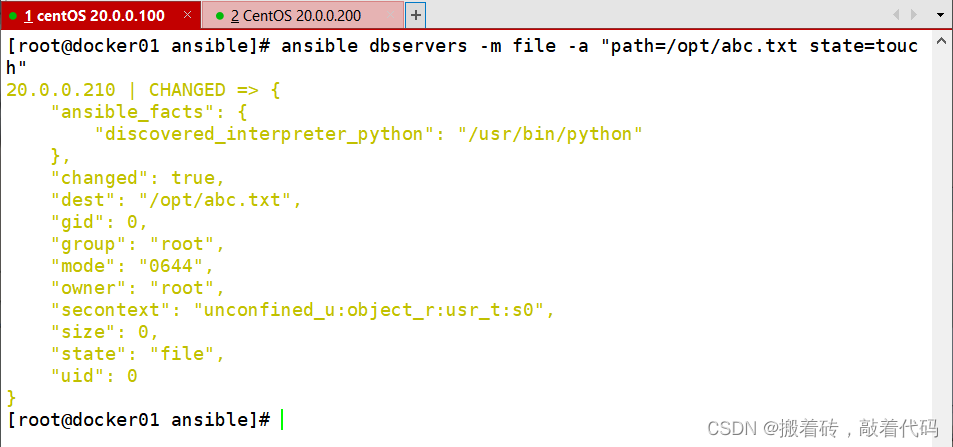
[root@docker01 ansible]# ansible dbservers -m file -a "path=/opt/abc.txt state=touch"
20.0.0.210 | CHANGED => {
    "ansible_facts": {
        "discovered_interpreter_python": "/usr/bin/python"
    },
    "changed": true,
    "dest": "/opt/abc.txt",
    "gid": 0,
    "group": "root",
    "mode": "0644",
    "owner": "root",
    "secontext": "unconfined_u:object_r:usr_t:s0",
    "size": 0,
    "state": "file",
    "uid": 0
}
#创建一个文件
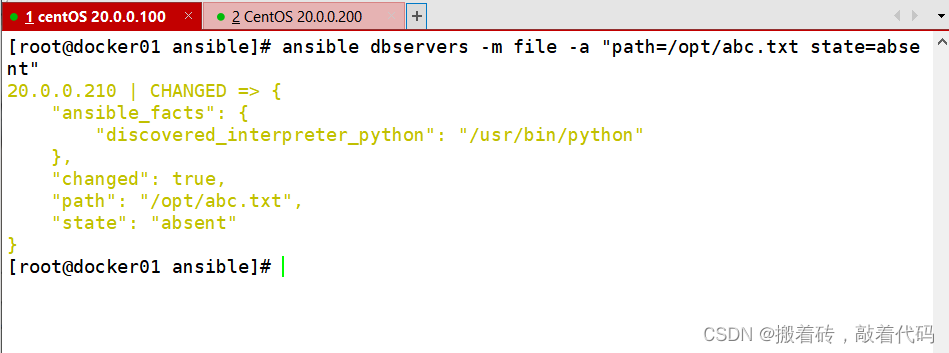
[root@docker01 ansible]# ansible dbservers -m file -a "path=/opt/abc.txt state=absent"
20.0.0.210 | CHANGED => {
    "ansible_facts": {
        "discovered_interpreter_python": "/usr/bin/python"
    },
    "changed": true,
    "path": "/opt/abc.txt",
    "state": "absent"
}

 #删除一个文件
hostname 模块
用于管理远程主机上的主机名
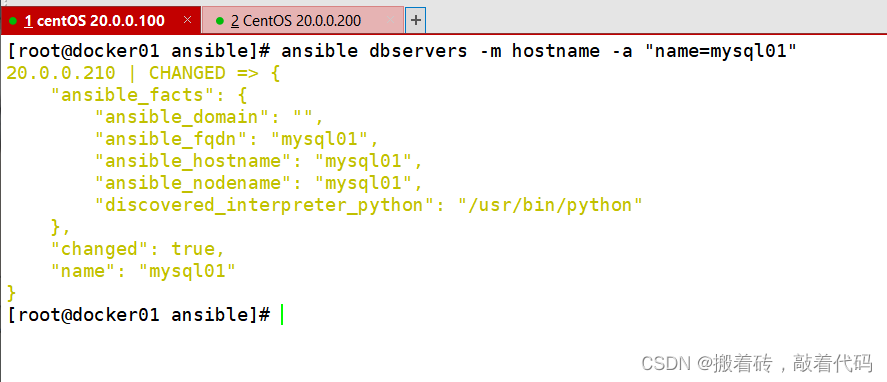
[root@docker01 ansible]# ansible dbservers -m hostname -a "name=mysql01"
20.0.0.210 | CHANGED => {
    "ansible_facts": {
        "ansible_domain": "",
        "ansible_fqdn": "mysql01",
        "ansible_hostname": "mysql01",
        "ansible_nodename": "mysql01",
        "discovered_interpreter_python": "/usr/bin/python"
    },
    "changed": true,
    "name": "mysql01"
}

## 设置主机名
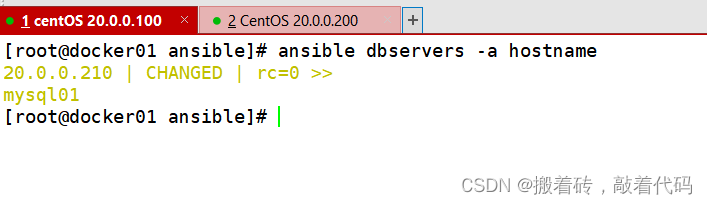
[root@docker01 ansible]# ansible dbservers -a hostname
20.0.0.210 | CHANGED | rc=0 >>
mysql01
## 查看主机名
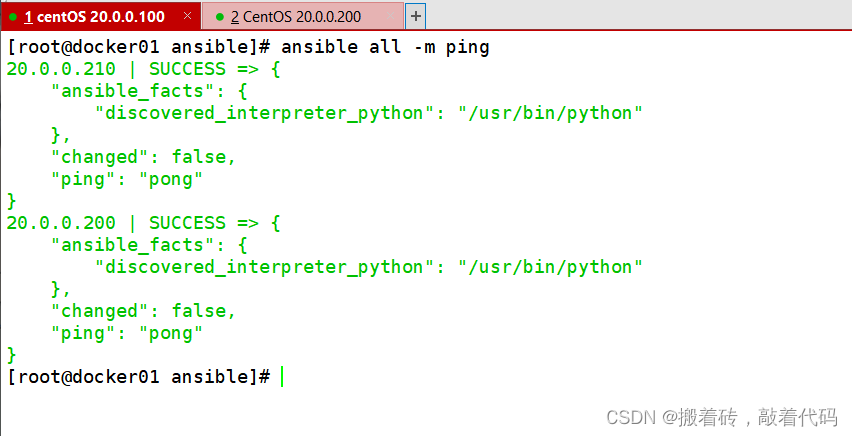
ping 模块
检测远程主机的连通性
[root@docker01 ansible]# ansible all -m ping
20.0.0.210 | SUCCESS => {
    "ansible_facts": {
        "discovered_interpreter_python": "/usr/bin/python"
    },
    "changed": false,
    "ping": "pong"
}
20.0.0.200 | SUCCESS => {
    "ansible_facts": {
        "discovered_interpreter_python": "/usr/bin/python"
    },
    "changed": false,
    "ping": "pong"
}
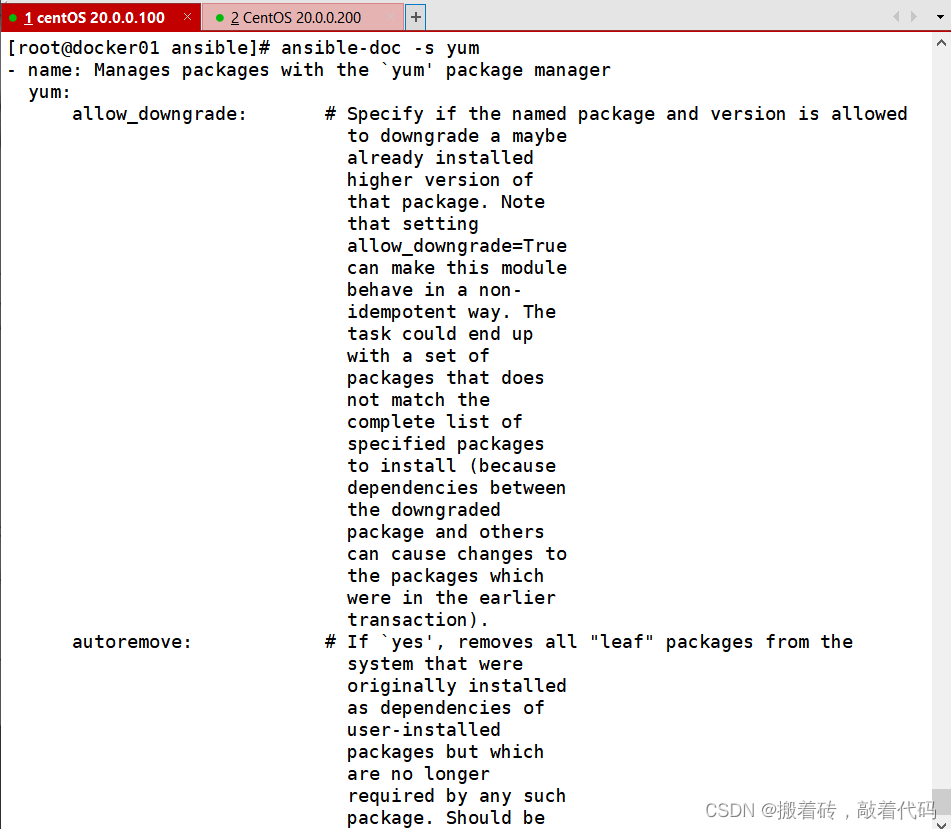
yum 模块
在远程主机上安装与卸载软件包
[root@docker01 ansible]# ansible-doc -s yum
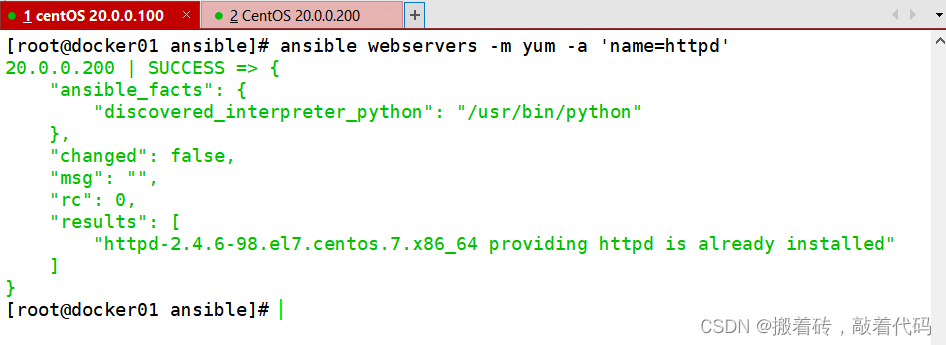
[root@docker01 ansible]# ansible webservers -m yum -a 'name=httpd'
20.0.0.200 | SUCCESS => {
    "ansible_facts": {
        "discovered_interpreter_python": "/usr/bin/python"
    },
    "changed": false,
    "msg": "",
    "rc": 0,
    "results": [
        "httpd-2.4.6-98.el7.centos.7.x86_64 providing httpd is already installed"
    ]
}

  #安装服务
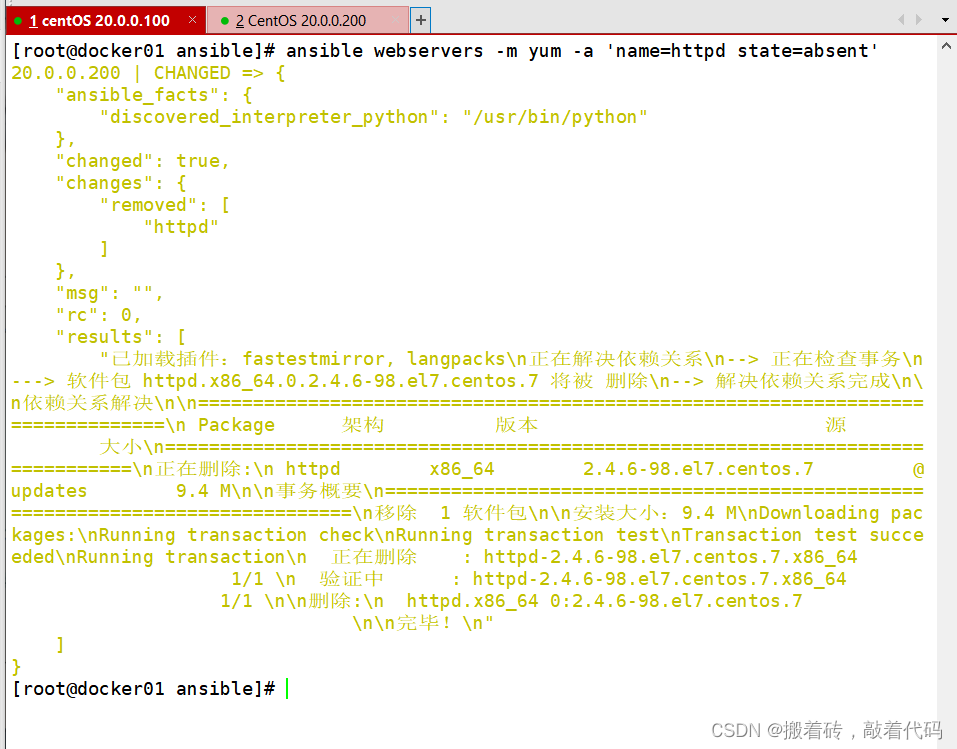
[root@docker01 ansible]# ansible webservers -m yum -a 'name=httpd state=absent'
 #卸载服务

20.0.0.200 | CHANGED => {
    "ansible_facts": {
        "discovered_interpreter_python": "/usr/bin/python"
    },
    "changed": true,
    "changes": {
        "removed": [
            "httpd"
        ]
    },
    "msg": "",
    "rc": 0,
    "results": [
        "已加载插件:fastestmirror, langpacks\n正在解决依赖关系\n--> 正在检查事务\n---> 软件包 httpd.x86_64.0.2.4.6-98.el7.centos.7 将被 删除\n--> 解决依赖关系完成\n\n依赖关系解决\n\n================================================================================\n Package      架构          版本                          源               大小\n================================================================================\n正在删除:\n httpd        x86_64        2.4.6-98.el7.centos.7         @updates        9.4 M\n\n事务概要\n================================================================================\n移除  1 软件包\n\n安装大小:9.4 M\nDownloading packages:\nRunning transaction check\nRunning transaction test\nTransaction test succeeded\nRunning transaction\n  正在删除    : httpd-2.4.6-98.el7.centos.7.x86_64                          1/1 \n  验证中      : httpd-2.4.6-98.el7.centos.7.x86_64                          1/1 \n\n删除:\n  httpd.x86_64 0:2.4.6-98.el7.centos.7                                          \n\n完毕!\n"
    ]
}
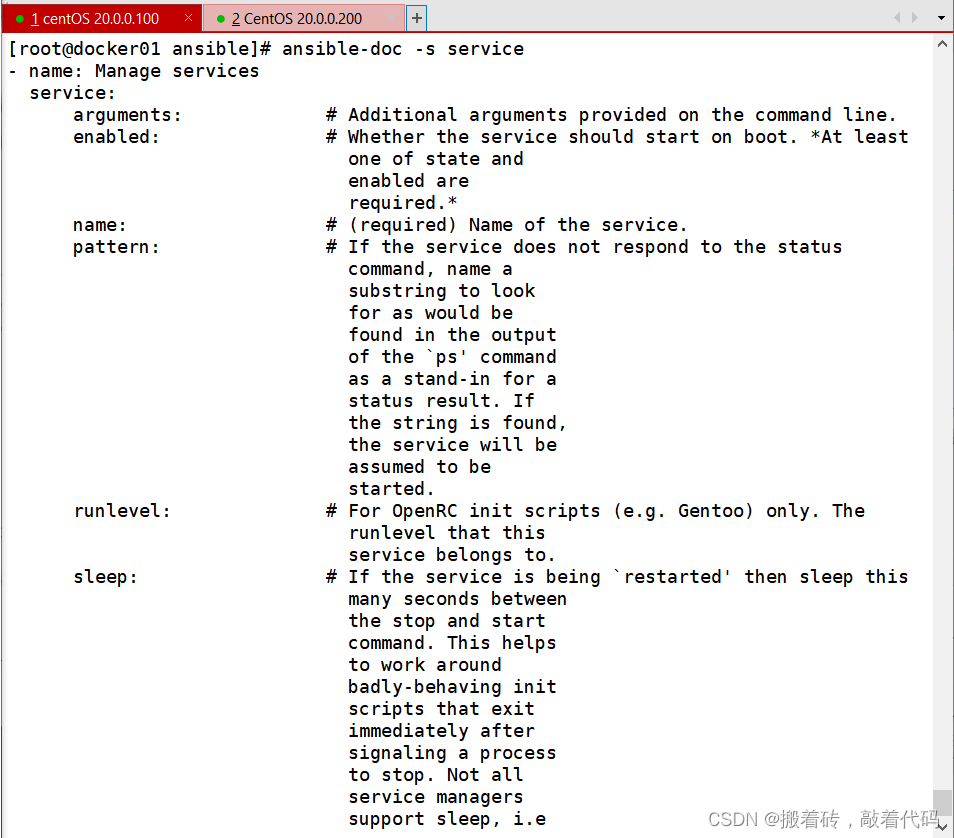
service/systemd 模块
用于管理远程主机上的管理服务的运行状态
ansible-doc -s service

//常用的参数:
name:被管理的服务名称
state=started|stopped|restarted:动作包含启动关闭或者重启
enabled=yes|no:表示是否设置该服务开机自启
runlevel:如果设定了enabled开机自启去,则要定义在哪些运行目标下自启动

ansible webservers -a 'systemctl status httpd'  #查看web服务器httpd运行状态
ansible webservers -m service -a 'enabled=true name=httpd state=started'    #启动httpd服务
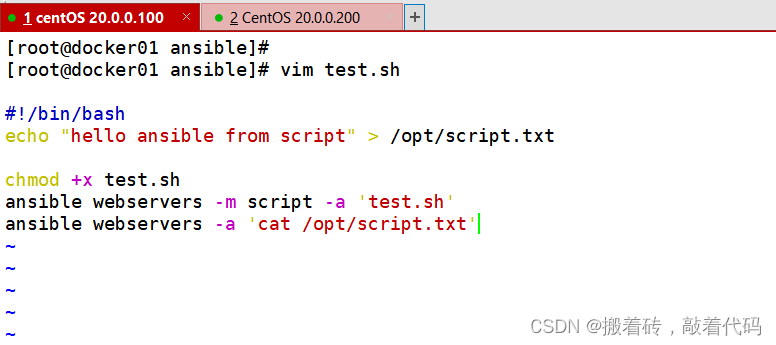
script 模块
实现远程批量运行本地的 shell 脚本
ansible-doc -s script

[root@docker01 ansible]# vim test.sh

#!/bin/bash
echo "hello ansible from script" > /opt/script.txt

chmod +x test.sh
ansible webservers -m script -a 'test.sh'
ansible webservers -a 'cat /opt/script.txt'
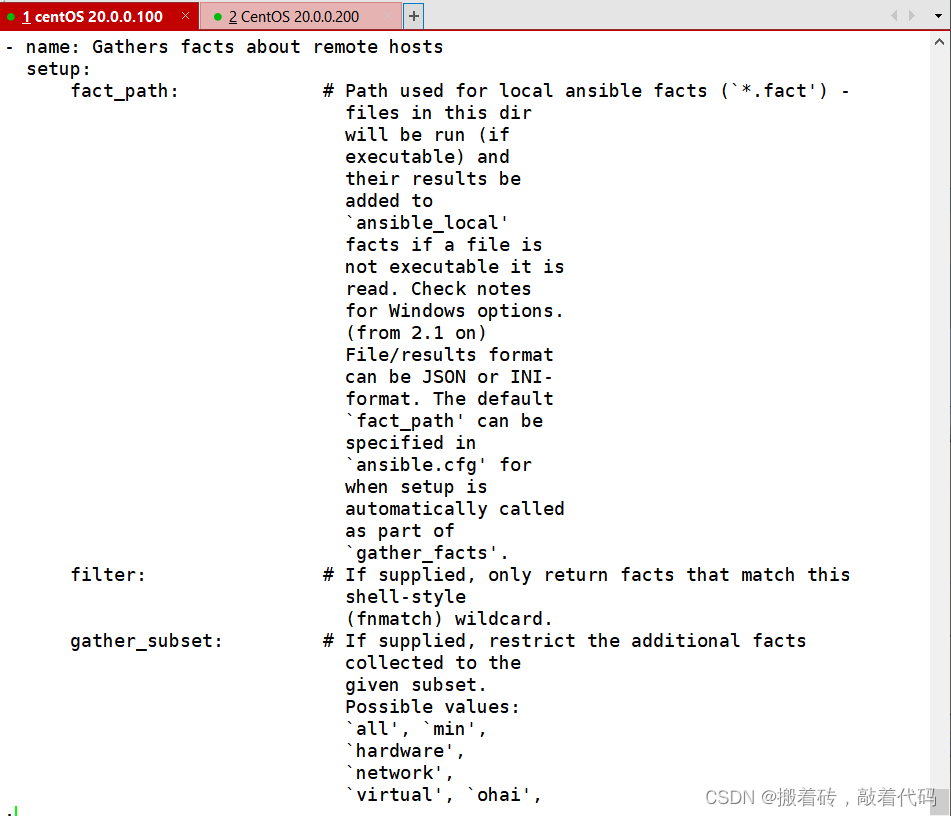
setup 模块
facts 组件是用来收集被管理节点信息的,使用 setup 模块可以获取这些信息
ansible-doc -s setup
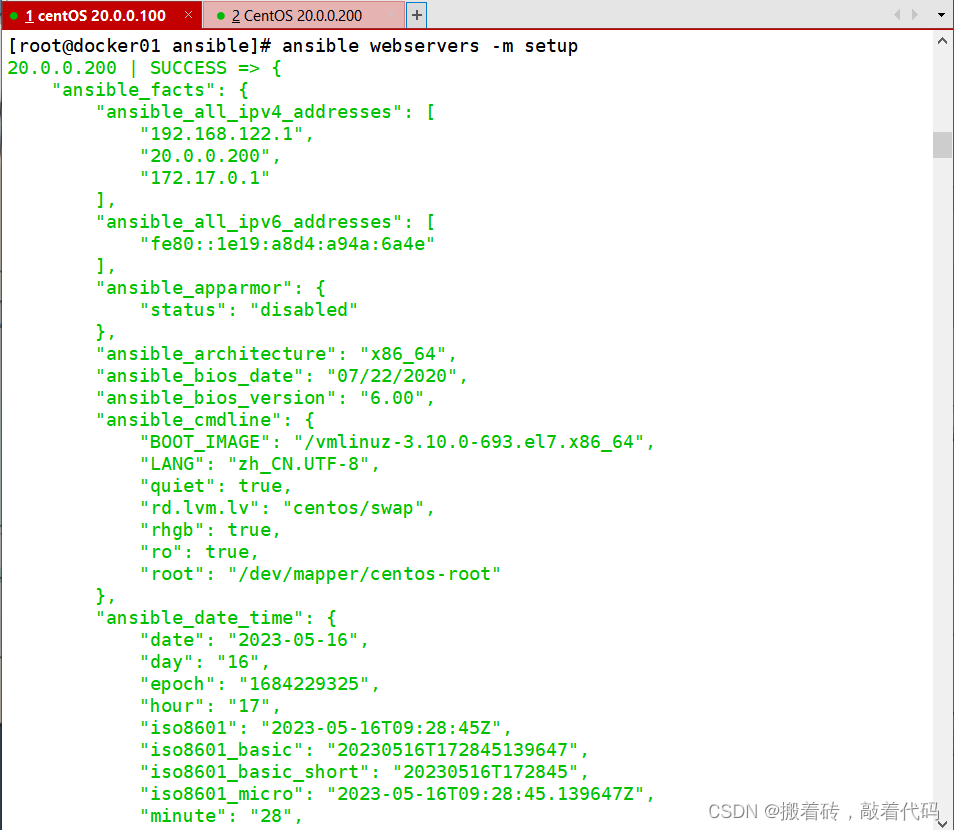
[root@docker01 ansible]# ansible webservers -m setup
20.0.0.200 | SUCCESS => {
    "ansible_facts": {
        "ansible_all_ipv4_addresses": [
            "192.168.122.1",
            "20.0.0.200",
            "172.17.0.1"
        ],
        "ansible_all_ipv6_addresses": [
            "fe80::1e19:a8d4:a94a:6a4e"
        ],
        "ansible_apparmor": {
            "status": "disabled"
        },
        "ansible_architecture": "x86_64",
        "ansible_bios_date": "07/22/2020",
        "ansible_bios_version": "6.00",
        "ansible_cmdline": {
            "BOOT_IMAGE": "/vmlinuz-3.10.0-693.el7.x86_64",
            "LANG": "zh_CN.UTF-8",
            "quiet": true,
            "rd.lvm.lv": "centos/swap",
            "rhgb": true,
            "ro": true,
            "root": "/dev/mapper/centos-root"
        },
....
 #获取mysql组主机的facts信息
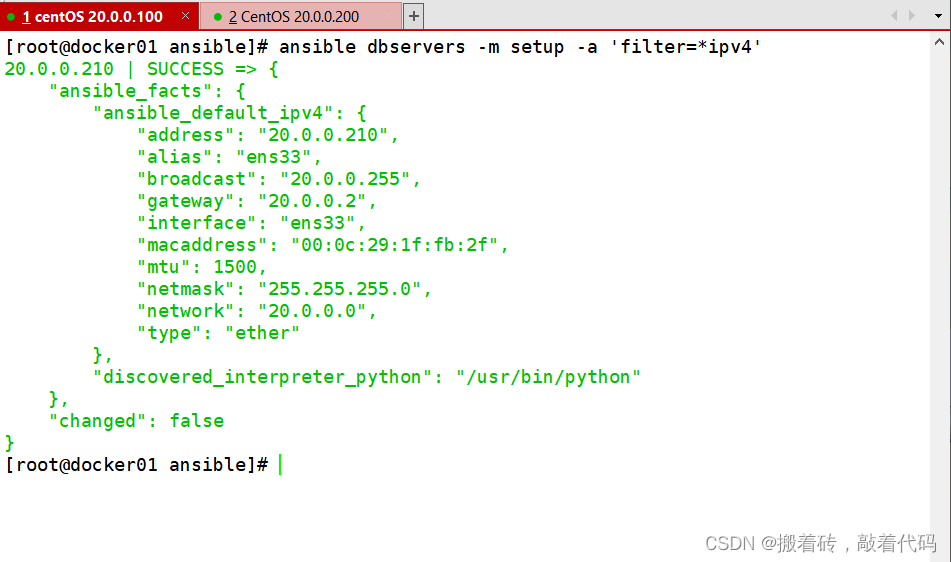
[root@docker01 ansible]# ansible dbservers -m setup -a 'filter=*ipv4'
20.0.0.210 | SUCCESS => {
    "ansible_facts": {
        "ansible_default_ipv4": {
            "address": "20.0.0.210",
            "alias": "ens33",
            "broadcast": "20.0.0.255",
            "gateway": "20.0.0.2",
            "interface": "ens33",
            "macaddress": "00:0c:29:1f:fb:2f",
            "mtu": 1500,
            "netmask": "255.255.255.0",
            "network": "20.0.0.0",
            "type": "ether"
        },
        "discovered_interpreter_python": "/usr/bin/python"
    },
    "changed": false
}
#使用filter可以筛选指定的facts信息
inventory 主机清单
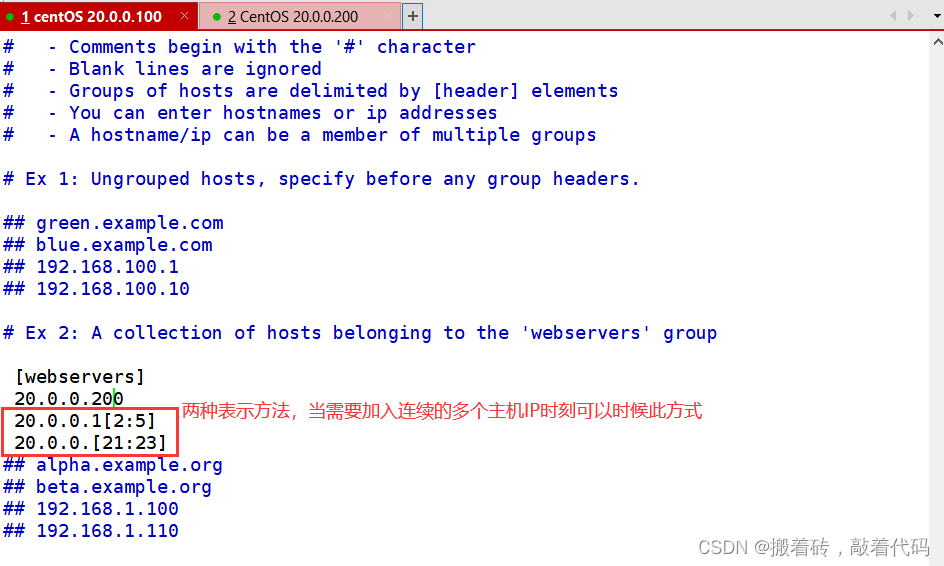
Inventory支持对主机进行分组,每个组内可以定义多个主机,每个主机都可以定义在任何一个或多个主机组内。
如果是名称类似的主机,可以使用列表的方式标识各个主机。
[root@docker01 ansible]# vim /etc/ansible/hosts

[webservers]
20.0.0.200:2222 #冒号后定义远程连接端口,默认是 ssh 的 22 端口
20.0.0.1[2:5]

[dbservers]
db-[a:f].example.org    #支持匹配 a~f
inventory 中的变量
| Inventory变量名 | 含义 |
|---|---|
| ansible_host ansible | 连接节点时的IP地址 |
| ansible_port | 连接对方的端口号,ssh连接时默认为22 |
| ansible_user | 连接对方主机时使用的主机名。不指定时,将使用执行ansible或ansible-playbook命令的用户 |
| ansible_password | 连接时的用户的ssh密码,仅在未使用密钥对验证的情况下有效 |
| ansible_ssh_private_key_file | 指定密钥认证ssh连接时的私钥文件 |
| ansible_ssh_common_args | 提供给ssh、sftp、scp命令的额外参数 |
| ansible_become | 允许进行权限提升 |
| ansible_become_method | 指定提升权限的方式,例如可使用sudo/su/runas等方式 |
| ansible_become_user | 提升为哪个用户的权限,默认提升为root |
| ansible_become_password | 提升为指定用户权限时的密码 |
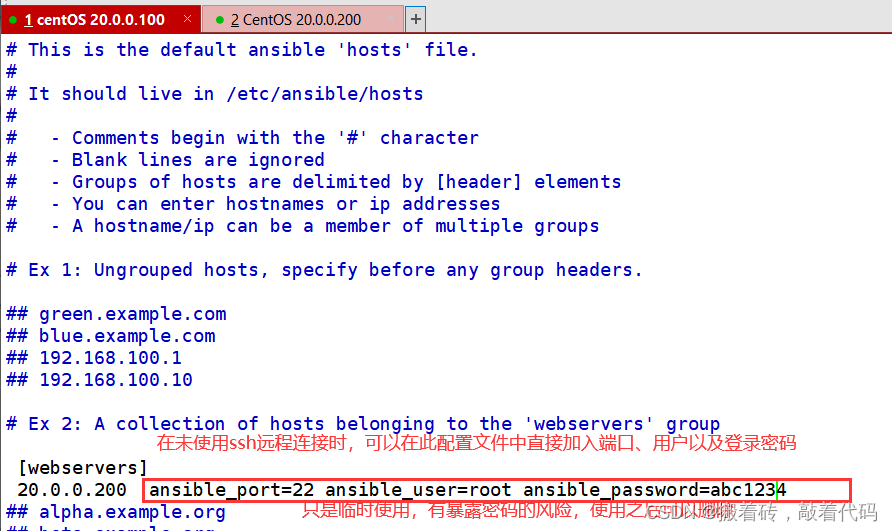
主机变量
[root@docker01 ansible]# vim /etc/ansible/hosts

[webservers]
20.0.0.200 ansible_port=22 ansible_user=root ansible_password=abc1234
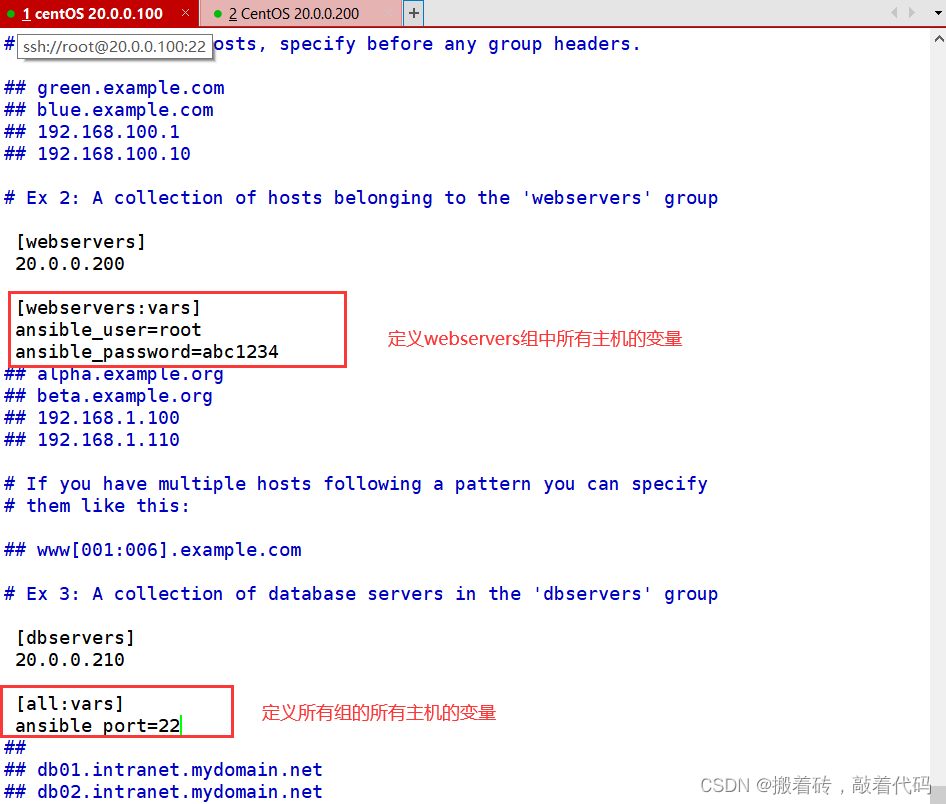
组变量
[webservers:vars]       #表示为 webservers 组内所有主机定义变量
ansible_user=root
ansible_password=abc1234

[all:vars]              #表示为所有组内的所有主机定义变量
ansible_port=22
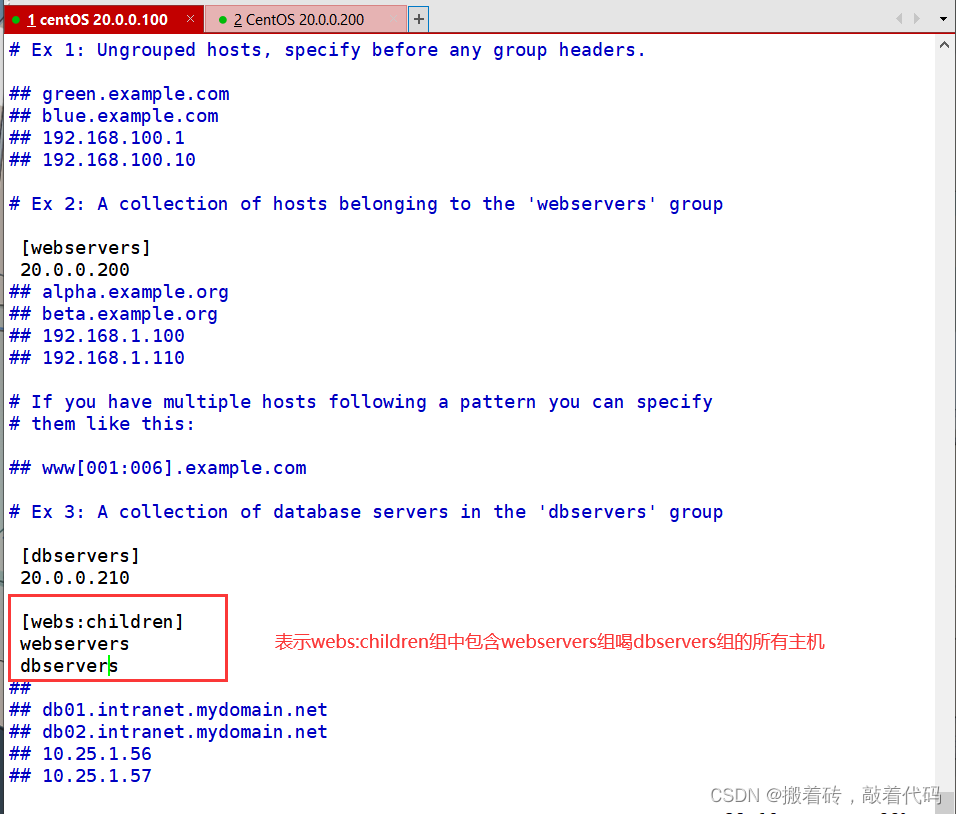
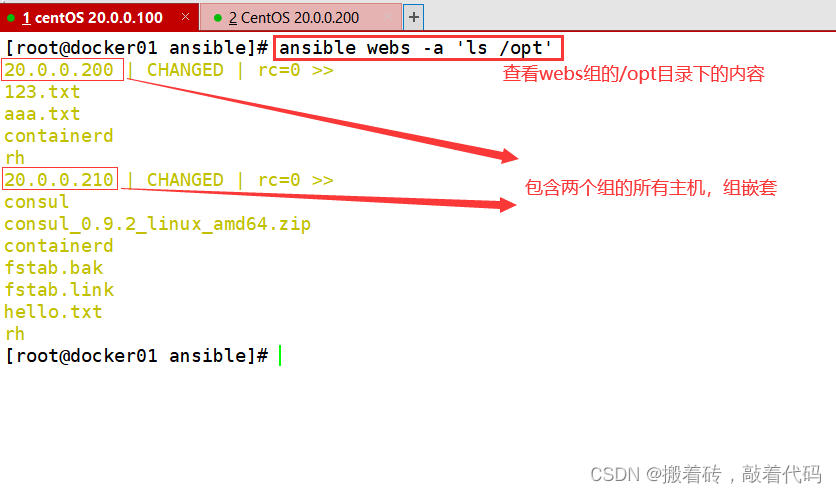
组嵌套
[nginx]
192.168.80.20
192.168.80.21
192.168.80.22

[apache]
192.168.80.3[0:3]

[webs:children] #表示为 webs 主机组中包含了 nginx 组和 apache 组内的所有主机
nginx
apache


 1576
1576


 被折叠的 条评论
为什么被折叠?
被折叠的 条评论
为什么被折叠?
 到【灌水乐园】发言


