


chapter1——起因
在近期项目中,因为团队在设计树莓派的IO底板,常有给树莓派cm4烧坏了的问题,手里只有代码,并没有系统备份,于是就得重新配环境,首次接触CM4新系统的时候,raspistill相关命令已经被抛弃,使用了作为替代的libcamera。不得不说这个CSI摄像头真的挺头疼。到后来的第二次、第三次仍然需要大半天,甚至更长时间。所以备份是好习惯,第三次后直接备份系统……
chapter2——cm4初始化流程以及配置摄像头
Ⅰ 系统烧录所需要的工具
硬件:读卡器(非EMMC版本用,并且还要用到SD卡),USB——microusb(有高速串口功能的,有一部分数据线只能供电),IO底板,cm4,一块屏幕,hdmi接线 ;
软件:ripboot(EMMC版本使用),SD Card Formatter,raspberry pi imager,VNC Viewer。
rpiboot下载安装:
https://www.waveshare.net/w/upload/f/f3/Rpiboot_setup.zip https://www.waveshare.net/w/upload/f/f3/Rpiboot_setup.zip
SD Card Formatter下载:
Download SD Card Formatter for Windows and Mac (UPDATED)Download SD Card Formatter v5.0.1 for Windows and Mac. SD Memory Card formatter does not format the protected area in SD/SDHC/SDXC Cards.https://www.sdcardformatter.com/download/raspberry pi imager下载:Raspberry Pi OS – Raspberry PiFrom industries large and small, to the kitchen table tinkerer, to the classroom coder, we make computing accessible and affordable for everybody.https://www.raspberrypi.com/software/VNC Viewer下载安装:Download VNC Viewer for Windows | VNC® ConnectControl VNC® enabled computers with VNC® Viewer.https://www.realvnc.com/en/connect/download/viewer/windows/
注:此篇以EMMC版本的CM4烧录系统及初始化,折腾摄像头部分大差不差。
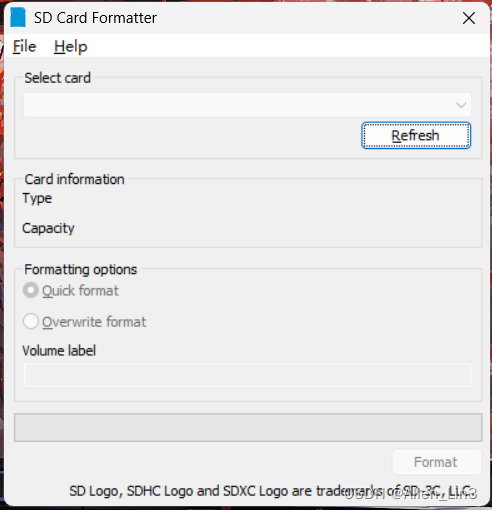
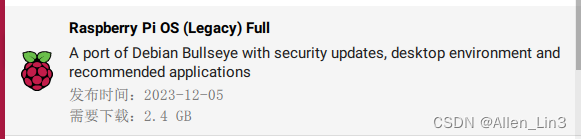
烧录流程:将底板调为boot模式,一般来说用跳线帽或拨码开关就行,接着用数据线连上IO底板和PC的USB后,先启动rpiboot.exe,随后等待电脑将cm4识别为u盘,下一步打开SD Card Formatter,在volume label中填入boot,点击Format,等待格式化结束,然后打开imager软件选择一个系统,这边选的是这个系统。
Ⅱ 接入屏幕、鼠标、键盘完成初始化VNC、SSH等选项
有很多博主整理地很好我就不再抄写了
Ⅲ 配置摄像头和型号驱动,以及解决vnc cannot currently show the desktop
以下为Terminal 缩进表示操作分类,我这里用到的就是一个500W像素的树莓派二代摄像头。重点之一是gpu_mem一定要设置128以上,另外一点是dtoverlay=ov5864,cam=0 后面这个cam=0,能够让libcamera相关命令知道是哪个摄像头。
解决屏幕无法显示:
sudo nano /boot/config.txt
取消 hdmi_force_hotplug=1 的注释
摄像头部分:
注意:用nano修改完文件快捷键可以是ctrl+s 然后按ctrl +x
sudo nano /boot/config.txt
删除或注释camera detect=1
添加 dtoverlay=ov5864,cam=0
gpu_mem=128或者256
start_x=1
sudo nano /etc/modules
#在最后面添加
bcm2835-v4l2
reboot


 2万+
2万+

 被折叠的 条评论
为什么被折叠?
被折叠的 条评论
为什么被折叠?
 到【灌水乐园】发言


