


 本文介绍了如何在Visual Studio中自定义代码段,通过快捷键【ctrl+shift+p】进入配置,以Vue为例展示了配置过程。详细解释了配置文件的结构,并给出了一段Vue模板的代码段配置示例,帮助开发者提高编码效率。
Visual Studio中自定义代码段!
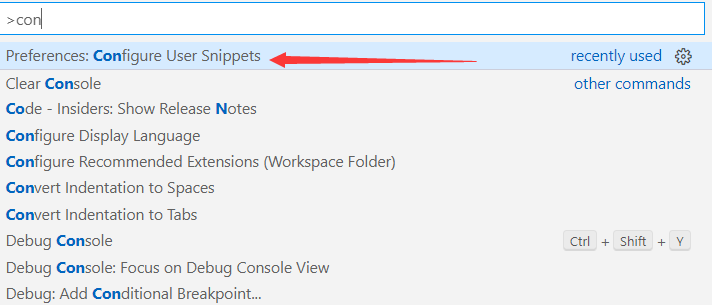
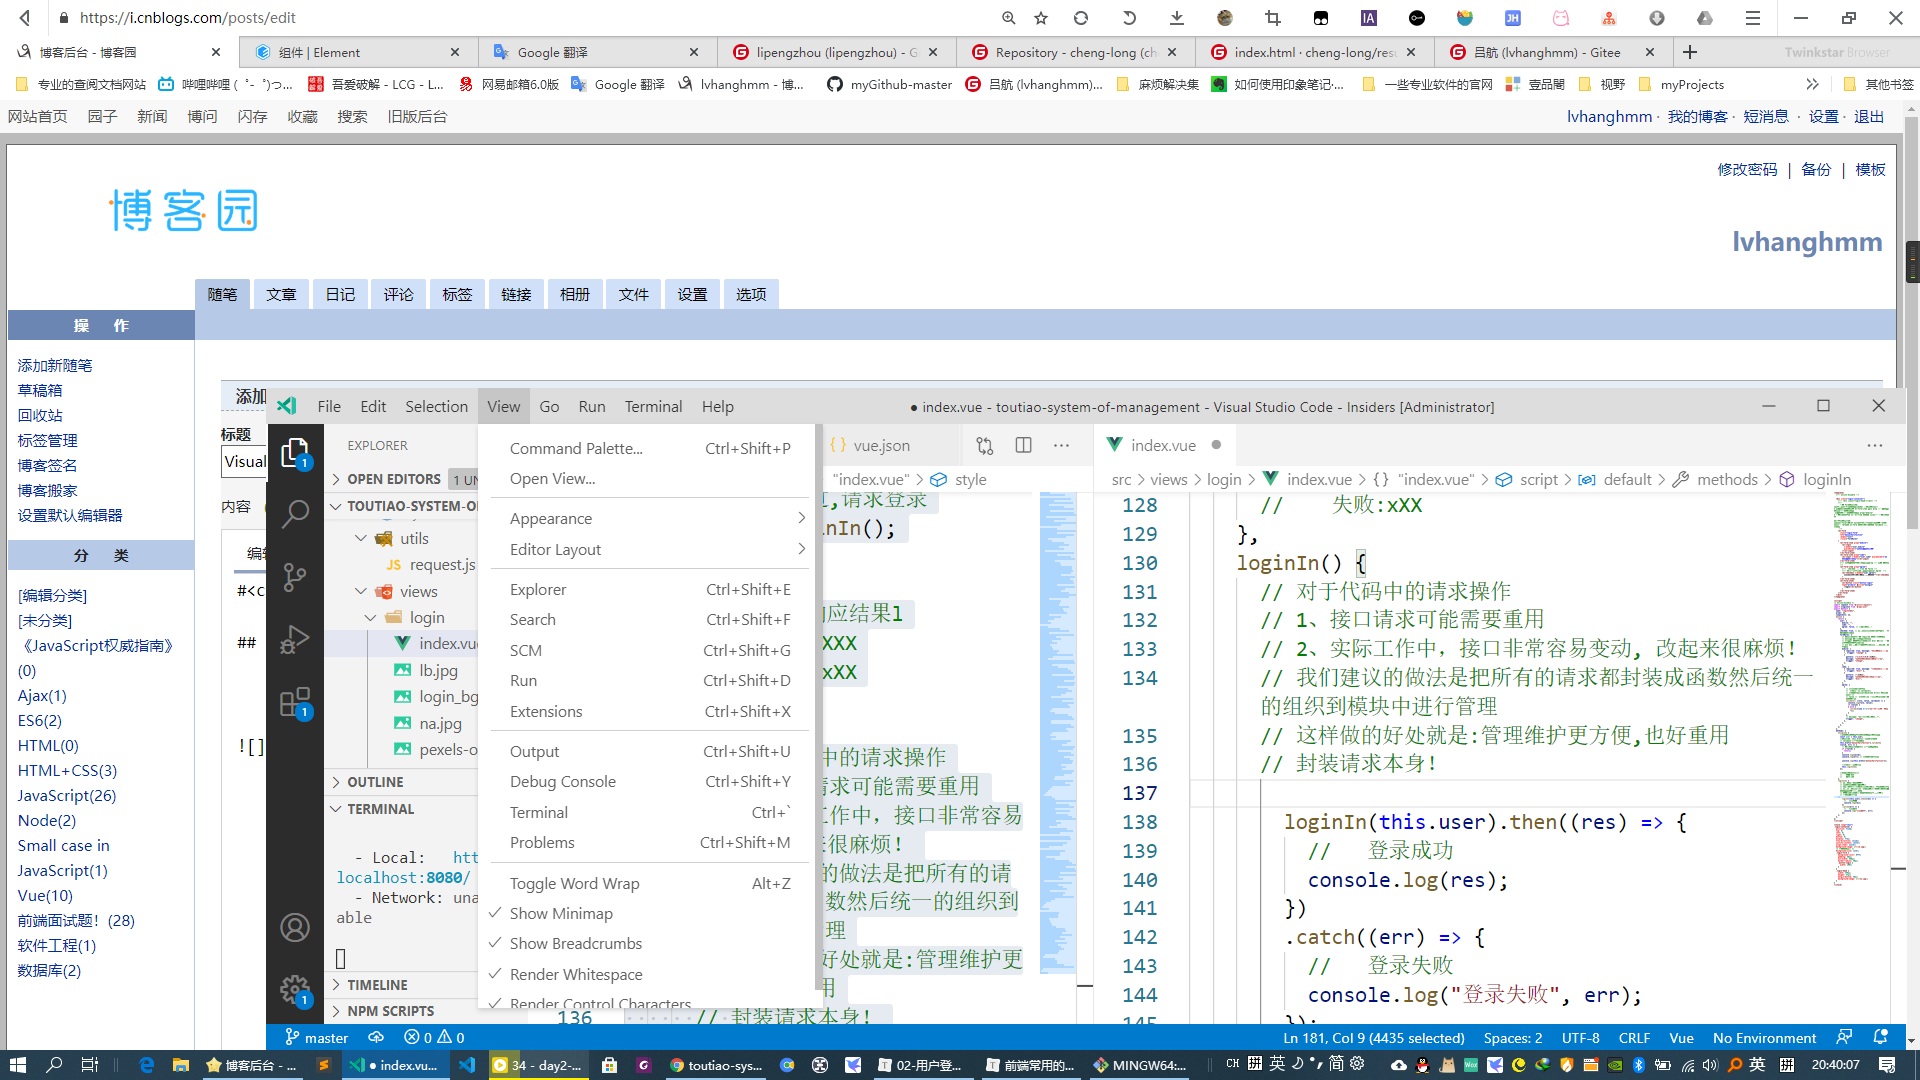
第一步:在编辑器中进行快捷键的输入【ctrl + shift + p】 或者 点击 查看 第一个选项就是!请看下图
第二步:选择你要配置代码段的语言, 这里我会以Vue为例!
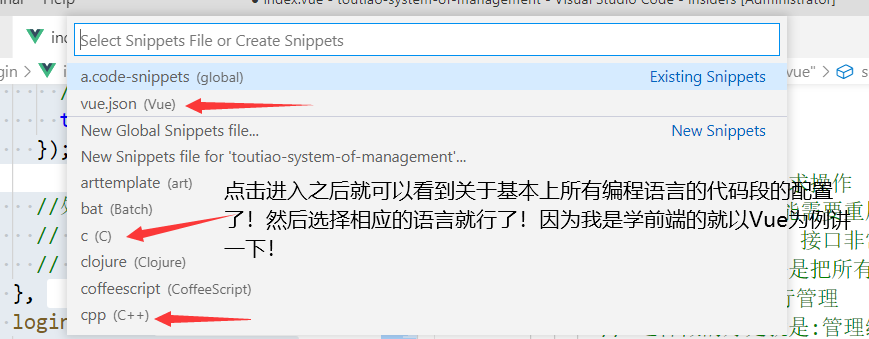
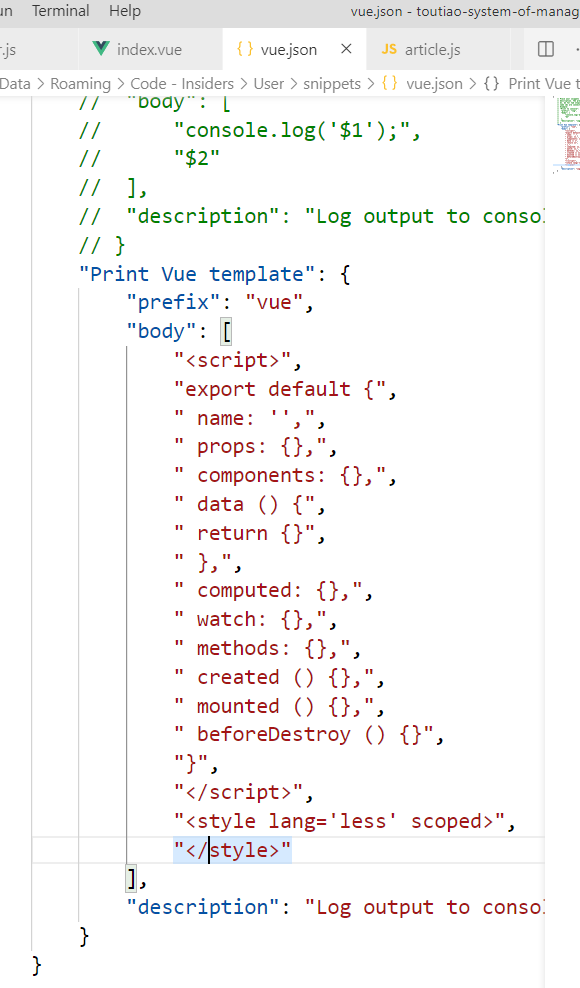
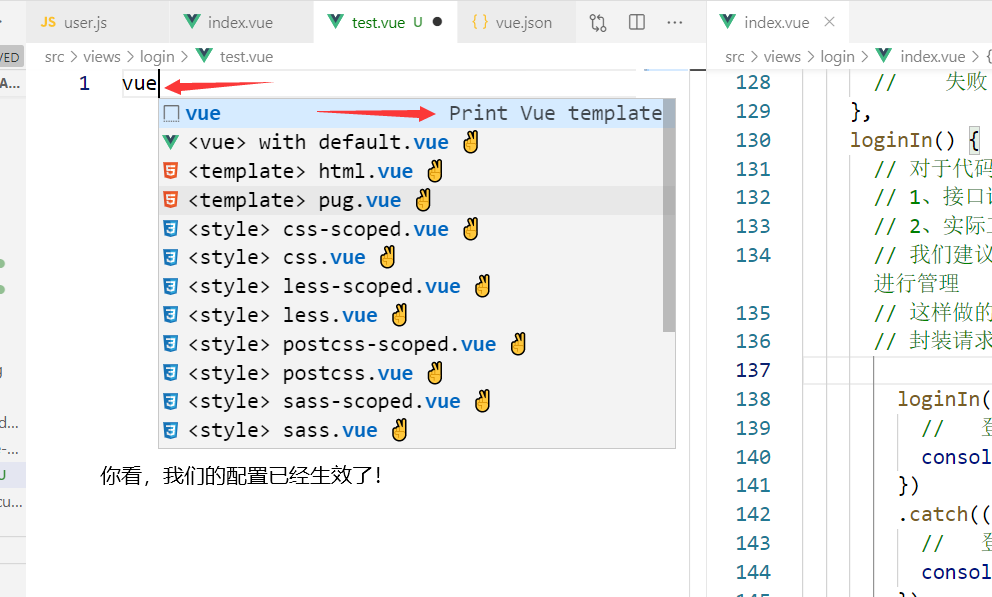
点击vue.json(vue)之后 可以看到如下东西!我已经配置好了!其实他也经有提示你怎么样去配置了!
这是我的配置文件!
{
// Place your snippets for vue here. Each snippet is defined under a snippet name and has a prefix, body and
// description. The prefix is what is used to trigger the snippet and the body will be expanded and inserted. Possible variables are:
// $1, $2 for tab stops, $0 for the final cursor position, and ${1:label}, ${2:another} for placeholders. Placeholders with the
// same ids are connected.
// Example:
// 属性名:代码片段提示消息
// 属性值:配置对象
// "Print to console": {
// prefix 出发代码片段的前缀!
// "prefix": "log",
// 代码片段!
// 一个数组, 每个元素占一行!
// $1就是光标的第一个位置!以此类推!
// ${2:thisisselfdata}可以自定义提示信息!
// "body": [
// "console.log('$1');",
// "$2"
// ],
// "description": "Log output to console"
// }
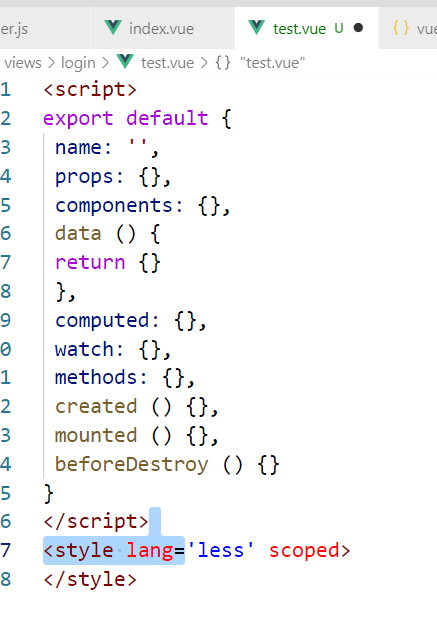
"Print Vue template": {
"prefix": "vue",
"body": [
"<template>",
"<div class=\"$1\">",
"</div>",
"</template>",
"<script>",
"export default {",
" name: '',",
" props: {},",
" components: {},",
" data () {",
" return {}",
" },",
" computed: {},",
" watch: {},",
" methods: {},",
" created () {},",
" mounted () {},",
" beforeDestroy () {}",
"}",
"</script>",
"<style lang='less' scoped>",
"</style>"
],
"description": "Log output to console"
}
}
博客园是面向开发者的知识分享社区,不允许发布任何推广、广告、政治方面的内容。
博客园首页(即网站首页)只能发布原创的、高质量的、能让读者从中学到东西的内容。
如果博文质量不符合首页要求,会被工作人员移出首页,望理解。


 950
950

 被折叠的 条评论
为什么被折叠?
被折叠的 条评论
为什么被折叠?
 到【灌水乐园】发言


