一. 下载和解压PHP5.6.9
wget http://cn2.php.net/distributions/php-5.6.9.tar.gz
tar -zxvf  php-5.6.9.tar.gz
cd php-5.6.9
二. 编译PHP5.6.9
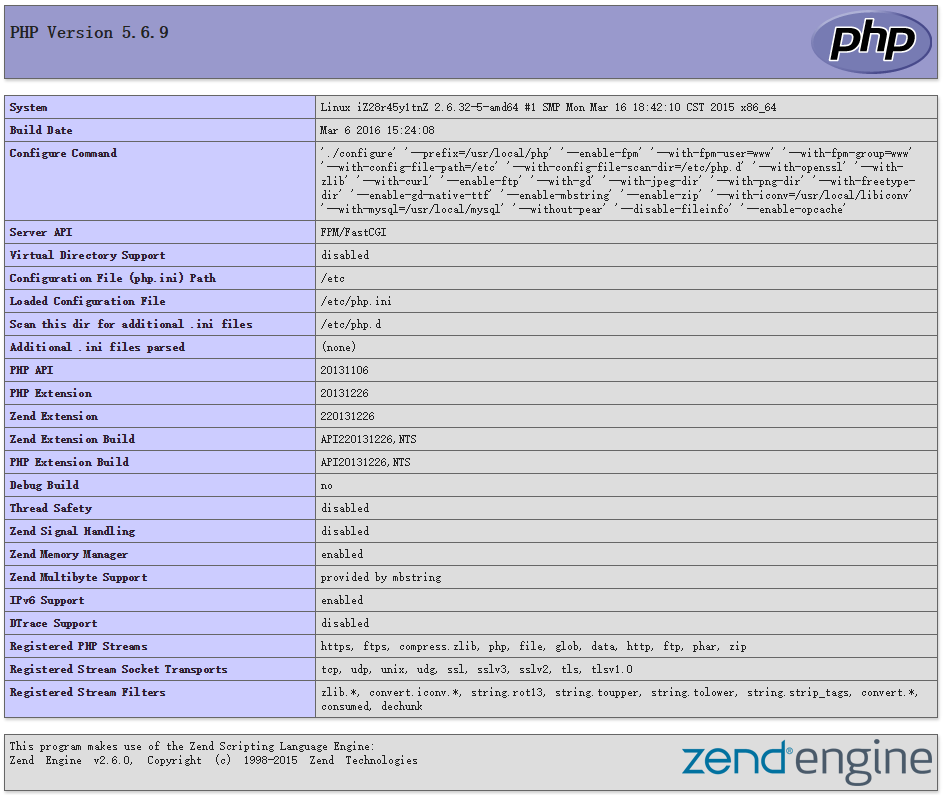
编译部署(直接将上面的编译脚本丢到当前SSH中执行编译。)
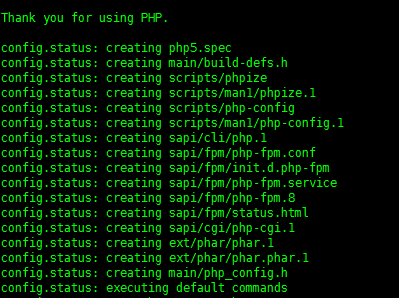
./configure --prefix=/usr/local/php --enable-fpm --with-fpm-user=www --with-fpm-group=www --with-config-file-path=/etc --with-config-file-scan-dir=/etc/php.d --with-openssl --with-zlib --with-curl --enable-ftp --with-gd --with-jpeg-dir --with-png-dir --with-freetype-dir --enable-gd-native-ttf --enable-mbstring --enable-zip --with-iconv=/usr/local/libiconv --with-mysql=/usr/local/mysql --without-pear --disable-fileinfo --enable-opcache执行编译(过程比较久,需要耐心等待)
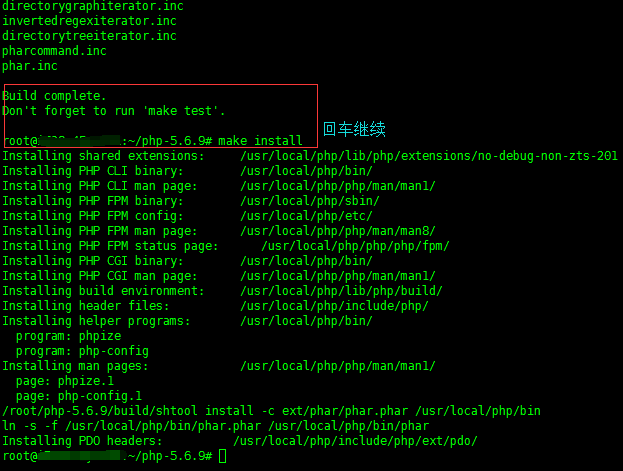
make
make install
三. 修改PHP配置文件
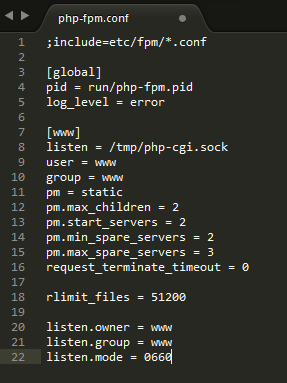
- 修改/usr/local/php/etc/php-fpm.conf
添加脚本授权
listen.owner = www
listen.group = www
listen.mode = 0660- 修改/usr/local/php/etc/php-fpm-template.conf
添加脚本授权
listen.owner = www
listen.group = www
listen.mode = 0660- 如果已有站点
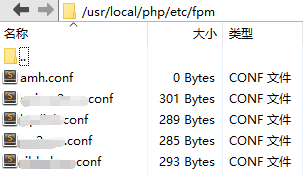
如果在AMH面板环境中存在站点,还需要将/usr/local/php/etc/fpm目录中,有站点域名标示的.conf文件进行添加上面的3行脚本。如果没有站点就不需要,因为模板我们添加了,添加的新站点会自动添加。
listen.owner = www
listen.group = www
listen.mode = 0660
四. 重启AMH以及解决问题
升级成功后有一个瑕疵,如果我们重启VPS之后,Nginx是没有生效的,我们需要单独在重启一次AMH或者重启NGINX才可以生效。
/etc/init.d/amh-start
amh nginx restart





 3351
3351

 被折叠的 条评论
为什么被折叠?


