


include标签可以很好的解决布局复用的问题, 用起来也很简单.
public class MainActivity extends AppCompatActivity {

    @Override
    protected void onCreate(Bundle savedInstanceState) {
        super.onCreate(savedInstanceState);
        setContentView(R.layout.activity_main);
    }
}
activity_main.xml
<?xml version="1.0" encoding="utf-8"?>
<RelativeLayout xmlns:android="http://schemas.android.com/apk/res/android"
    android:layout_width="match_parent"
    android:layout_height="match_parent">

    <include layout="@layout/head_layout" />

</RelativeLayout>
head_layout.xml
<?xml version="1.0" encoding="utf-8"?>
<Button xmlns:android="http://schemas.android.com/apk/res/android"
    xmlns:tools="http://schemas.android.com/tools"
    android:id="@+id/head_text"
    android:layout_width="match_parent"
    android:layout_height="wrap_content"
    android:layout_centerVertical="true"
    android:background="@color/colorAccent"
    android:text="Hello World!"
    tools:showIn="@layout/activity_main" />
就可以达到如图效果
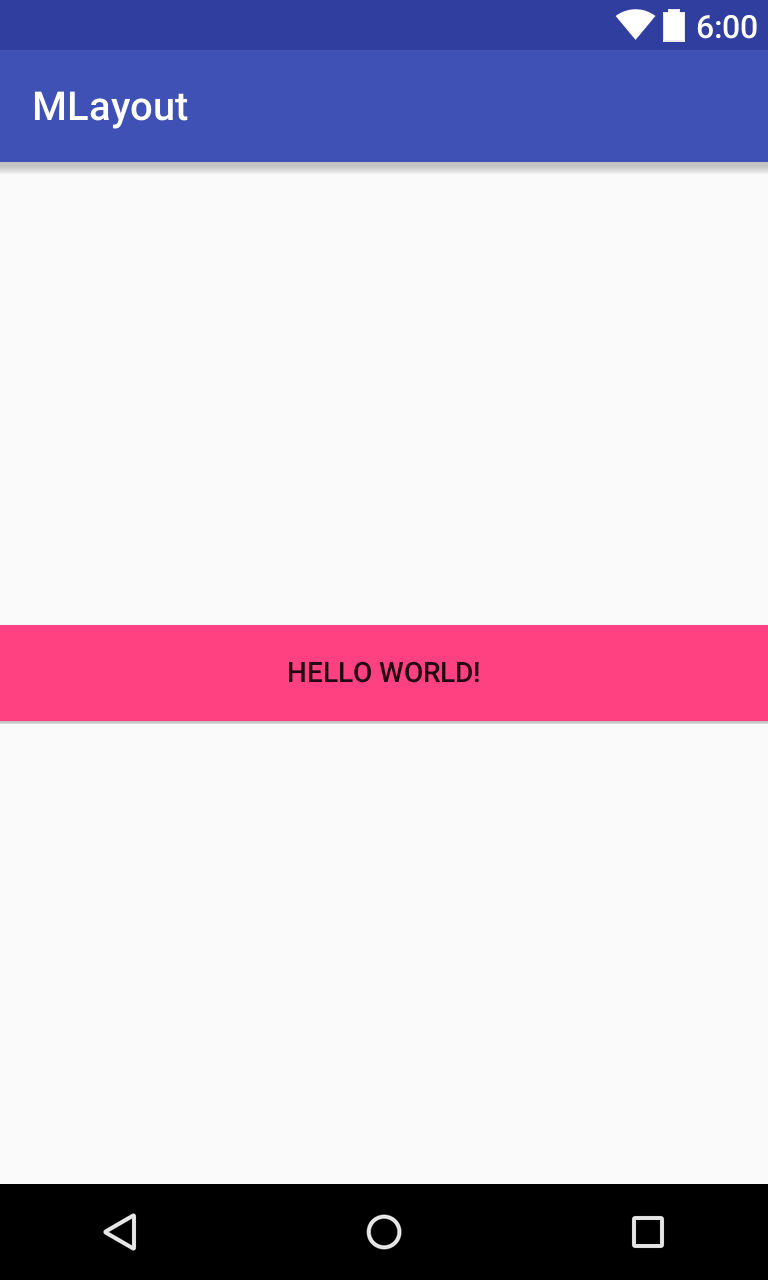
接着看
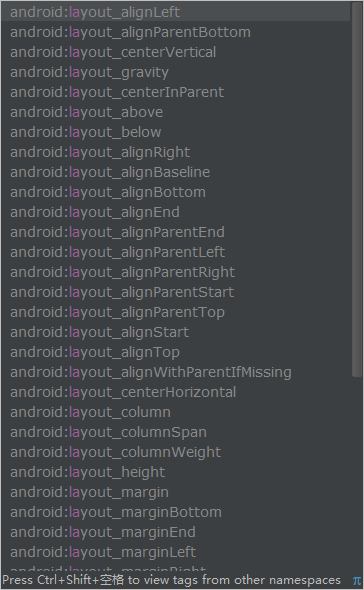
include标签里面可以指定很多layout属性, 用起来有一些需要注意的地方.
修改activity_main.xml
<?xml version="1.0" encoding="utf-8"?>
<RelativeLayout xmlns:android="http://schemas.android.com/apk/res/android"
    android:layout_width="match_parent"
    android:layout_height="match_parent">

    <include layout="@layout/head_layout" />

    <Button
        android:id="@+id/btn"
        android:layout_width="match_parent"
        android:layout_height="wrap_content"
        android:layout_below="@+id/head_text"
        android:background="@color/colorPrimary" />

</RelativeLayout>
可以发现, include标签里面的id可以直接在activity_main.xml中使用
现在给include标签加一个id
<?xml version="1.0" encoding="utf-8"?>
<RelativeLayout xmlns:android="http://schemas.android.com/apk/res/android"
    android:layout_width="match_parent"
    android:layout_height="match_parent">

    <include
        android:id="@+id/head"
        layout="@layout/head_layout" />

    <Button
        android:id="@+id/btn"
        android:layout_width="match_parent"
        android:layout_height="wrap_content"
        android:layout_below="@+id/head"
        android:background="@color/colorPrimary" />

</RelativeLayout>
可以发现android:layout_below=”@+id/head”也生效了, 直接使用include里面的标签也可以的.
这里给include加上id后, 还要说一个东西放到后面说
现在我们在include里面加上一句android:layout_alignParentBottom=”true”
<include
        android:id="@+id/head"
        layout="@layout/head_layout"
        android:layout_alignParentBottom="true" />
结果发现Android studio报错了.
Layout parameter layout_alignParentBottom ignored unless both layout_width and layout_height are also specified on tag
大意是如果不指定layout_width and layout_height, layout_alignParentBottom 属性将被忽略
加上
android:layout_width=”match_parent”
android:layout_height=”wrap_content”
<include
        android:id="@+id/head"
        layout="@layout/head_layout"
        android:layout_width="match_parent"
        android:layout_height="wrap_content"
        android:layout_alignParentBottom="true" />
可以发现加上android:layout_width android:layout_height
android:layout_alignParentBottom=”true”才会生效
如果在include 标签中覆盖被包含布局所指定的 android:layout_***
属性,同时指定 android:layout_width 和 android:layout_height才会生效
刚刚在include 里面 加上了 android:id=”@+id/head”
下面在MainActivity里面添加代码
public class MainActivity extends AppCompatActivity {
    private Button mHeadText;

    @Override
    protected void onCreate(Bundle savedInstanceState) {
        super.onCreate(savedInstanceState);
        setContentView(R.layout.activity_main);
        mHeadText = (Button) findViewById(R.id.head_text);
        mHeadText.setBackgroundColor(Color.RED);
    }
}
发现抛出了一个异常:
java.lang.NullPointerException: Attempt to invoke virtual method 'void android.widget.Button.setBackgroundColor(int)' on a null object reference(~ o ~)~zZ
include 里面 没加 android:id=”@+id/head” 的时候上述代码是可以正常运行并生效的.
这个时候我们需要先得到布局文件填充的View, 在通过View.findViewById来找到head_text
public class MainActivity extends AppCompatActivity {
    private Button mHeadText;

    @Override
    protected void onCreate(Bundle savedInstanceState) {
        super.onCreate(savedInstanceState);
        setContentView(R.layout.activity_main);
        View view = getLayoutInflater().inflate(R.layout.head_layout, null);
        mHeadText = (Button) view.findViewById(R.id.head_text);
        mHeadText.setBackgroundColor(Color.RED);
    }
}


 837
837

 被折叠的 条评论
为什么被折叠?
被折叠的 条评论
为什么被折叠?
 到【灌水乐园】发言


