


- 攻略说明:eclipse的版本是氧气版本(Oxygen)
-
1 File ->new->Maven Project

2.设置工程的所在空间(create...勾选项目建议勾掉,本攻略演示未勾选的状态,勾选则快速创建方法)

3.选择类别(Maven-archetype-quickStart进行创建)

4.maven项目信息维护(组织Id/项目唯一标识id),维护好后,点击Finish完成创建

5.配置加载完成后项目就建立好了

6.配置spring-boot项目基本环境(需要的jar包)
<!-- spring boot基本环境 -->
<parent>
<groupId>org.springframework.boot</groupId>
<artifactId>spring-boot-starter-parent</artifactId>
<version>1.5.6.RELEASE</version>
</parent>
<!--web应用基本环境配置 -->
<!-- spring boot web基本环境配置 -->
<dependency>
<groupId>org.springframework.boot</groupId>
<artifactId>spring-boot-starter-web</artifactId>
</dependency>
<dependency>
<groupId>junit</groupId>
<artifactId>junit</artifactId>
<version>3.8.1</version>
<scope>test</scope>
</dependency>
<!--pom.xml中添加编译插件-->
<build>
<plugins>
<!-- spring-boot-maven-plugin插件就是打包spring boot应用的 -->
<plugin>
<groupId>org.springframework.boot</groupId>
<artifactId>spring-boot-maven-plugin</artifactId>
</plugin>
</plugins
</build>


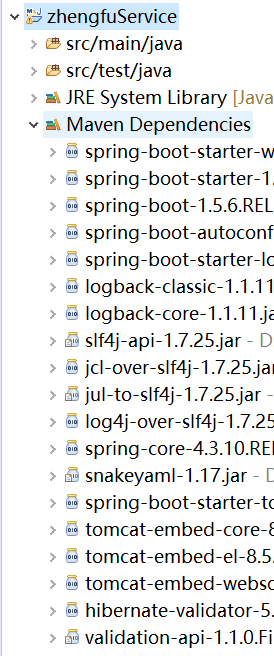
7.install后,配置如下(部分截图)这些包都加载到项目中了
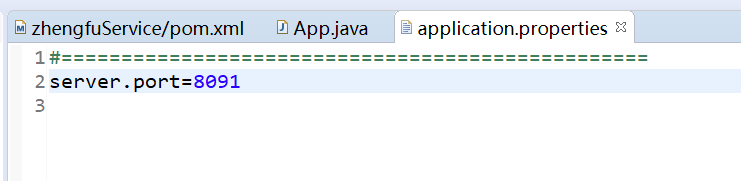
8.在文件夹resources下配置属性(没有新建resources)


9.配置App.class主线程入口

package com.baidu.zhengfuService;
import org.springframework.boot.SpringApplication;
import org.springframework.boot.autoconfigure.EnableAutoConfiguration;
import org.springframework.boot.autoconfigure.SpringBootApplication;
import org.springframework.context.annotation.Configuration;
/**
* Hello world!
*
*/
@Configuration
@EnableAutoConfiguration
@SpringBootApplication
public class App
{
public static void main( String[] args )
{
System.out.println( "Hello World!" );
SpringApplication.run(App.class, args);
}
}
10.写访问入口controller

package com.baidu.zhengfuService.module.controller;
/*import org.springframework.stereotype.Controller;*/
import org.springframework.web.bind.annotation.RequestMapping;
import org.springframework.web.bind.annotation.RestController;
@RestController
/*@Controller*/
public class HelloController {
@RequestMapping("/hello")
public String hello() {
return "helloworld2";
}
}
11.大功告成执行访问


12.页面访问

如果对你有用,请留下一个赞,谢谢


 177
177


 被折叠的 条评论
为什么被折叠?
被折叠的 条评论
为什么被折叠?
 到【灌水乐园】发言


