


准备三台服务器:
192.168.58.149 web-server
192.168.58.150 webserver01
192.168.58.151 webserver02
三台均hosts配置:
[root@web-server ~]# cat /etc/hosts
127.0.0.1   localhost localhost.localdomain localhost4 localhost4.localdomain4
::1         localhost localhost.localdomain localhost6 localhost6.localdomain6
10.36.192.100 package.qf.com
192.168.58.149 web-server
192.168.58.150 webserver01
192.168.58.151 webserver02
给web_server安装ansible:
[root@web-server ~]# yum install epel-release -y
[root@web-server ~]# yum install ansible –y
修改配置文件:
[root@web-server ~]# vim /etc/ansible/ansible.cfg
host_key_checking = False
配置私钥:
#1.生成私钥
[root@web-server ~]# ssh-keygen
#2.向主机分发私钥
[root@web-server ~]# ssh-copy-id root@192.168.58.150
[root@web-server ~]# ssh-copy-id root@192.168.58.151
这样就可以实现无密码登录,我们的实验过程也会顺畅很多。
注意,如果出现了一下报错: -bash: ssh-copy-id: command not found
则需要安装一下包:
[root@web-server ~]# yum -y install openssh-clients编写给webserver01要部署的软件服务(nginx,php等):
[root@web-server ~]# vim nginx_php_word.yaml
---
- hosts: webserver01
  remote_user: root
  vars:
    - nginx_user: nginx
    - nginx_forks: auto
    - nginx_port: 80
  tasks:
    - name: 下载yum源
      shell: curl -o /opt/yum-server.sh http://10.36.192.100/yum-server.sh

    - name: 安装yum源
      shell: sh /opt/yum-server.sh

    - name: 安装nginx
      yum: name=nginx state=present

    - name: nginx配置文件
      template: src=/root/nginx.conf dest=/etc/nginx/

    - name: 启动Nginx
      service: name=nginx state=started enabled=true

    - name: 安装PHP
      yum: name=php80-php-xsl,php80-php,php80-php-cli,php80-php-devel,php80-php-gd,php80-php-pdo,php80-php-mysql,php80-php-fpm state=present

    - name: 启动PHP
      service: name=php80-php-fpm state=started enabled=true

    - name: 拷贝wordpress源代码
      unarchive: src=/root/wordpress-6.4.1-zh_CN.tar.gz dest=/usr/share/nginx/html
编写给webserver02要部署的软件服务(mariadb),mysql也可以:
[root@web-server ~]# vim mariadb.yaml
---
- hosts: webserver02
  remote_user: root
  vars:
    - db_passwd: 'Xioalizi@123'
    - db_name: 'wordpress'
  tasks:
    - name: 下载yum源
      shell: curl -o /opt/yum-server.sh http://10.36.192.100/yum-server.sh

    - name: 安装yum源
      shell: sh /opt/yum-server.sh

    - name: 安装数据库
      yum: name=mariadb-server,mariadb state=present disablerepo=mysql-5.7-community

    - name: 启动数据库
      service: name=mariadb state=started enabled=true

    - name: 配置数据库
      shell: mysql -e "create database { { db_name }}; grant all on wordpress.* to 'wordpress'@'%' identified by '{{ db_passwd }}'; flush privileges"
准备nginx.conf的文件,并将原有的文件中的server部分换成以下内容:
# nginx 配置文件设置
server {
        listen      80;
        server_name www.itnzs.top;
        location / {
			root /usr/share/nginx/html/wordpress;
			index index.php;
		}
        location ~ \.php$ {
            root          /usr/share/nginx/html/wordpress;  #指定网站目录
            fastcgi_pass   127.0.0.1:9000;    #指定访问地址
            fastcgi_index  index.php;		#指定默认文件
            fastcgi_param  SCRIPT_FILENAME  $document_root$fastcgi_script_name; #站点根目录,取决于root配置项
            include        fastcgi_params;  #包含nginx常量定义
        		}
        }
检查并运行上述剧本:
[root@web-server ~]# ansible-playbook nginx_php_word.yaml --syntax-check   #检查错误

[root@web-server ~]# ansible-playbook nginx_php_word.yaml --list-task  #列出所有任务

[root@web-server ~]# ansible-playbook nginx_php_word.yaml --list-hosts   #列出在那些机器执行

[root@web-server ~]# ansible-playbook nginx_php_word.yaml  #执行
[root@web-server ~]# ansible-playbook mysql.yaml --syntax-check
[root@web-server ~]# ansible-playbook mysql.yaml --list-task
[root@web-server ~]# ansible-playbook mysql.yaml --list-hosts
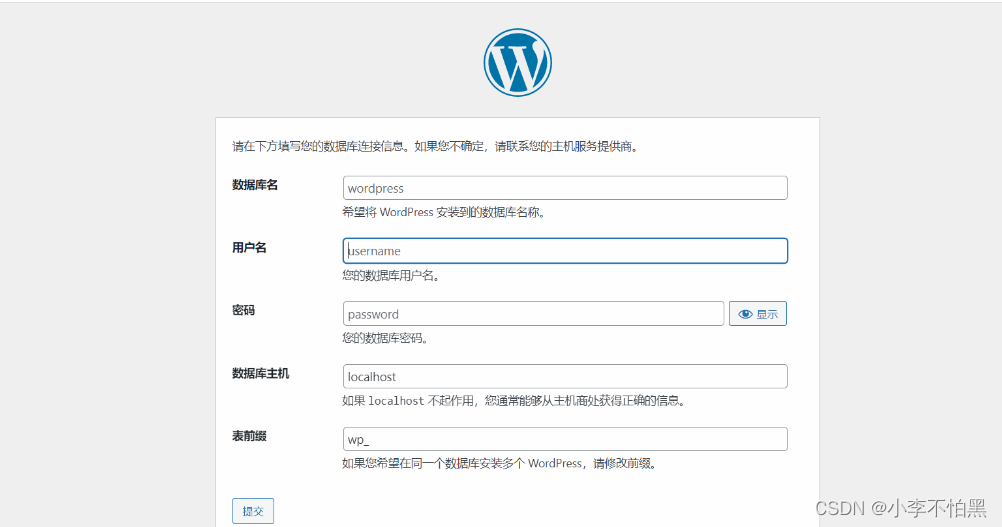
[root@web-server ~]# ansible-playbook mysql.yaml浏览器访问192.168.58.150

 至此完毕!
至此完毕!


 1316
1316


 被折叠的 条评论
为什么被折叠?
被折叠的 条评论
为什么被折叠?
 到【灌水乐园】发言


