


本次学习内容是pytorch各组件和基础实战-----时装分类
还是先列下遇到的问题
module not found error
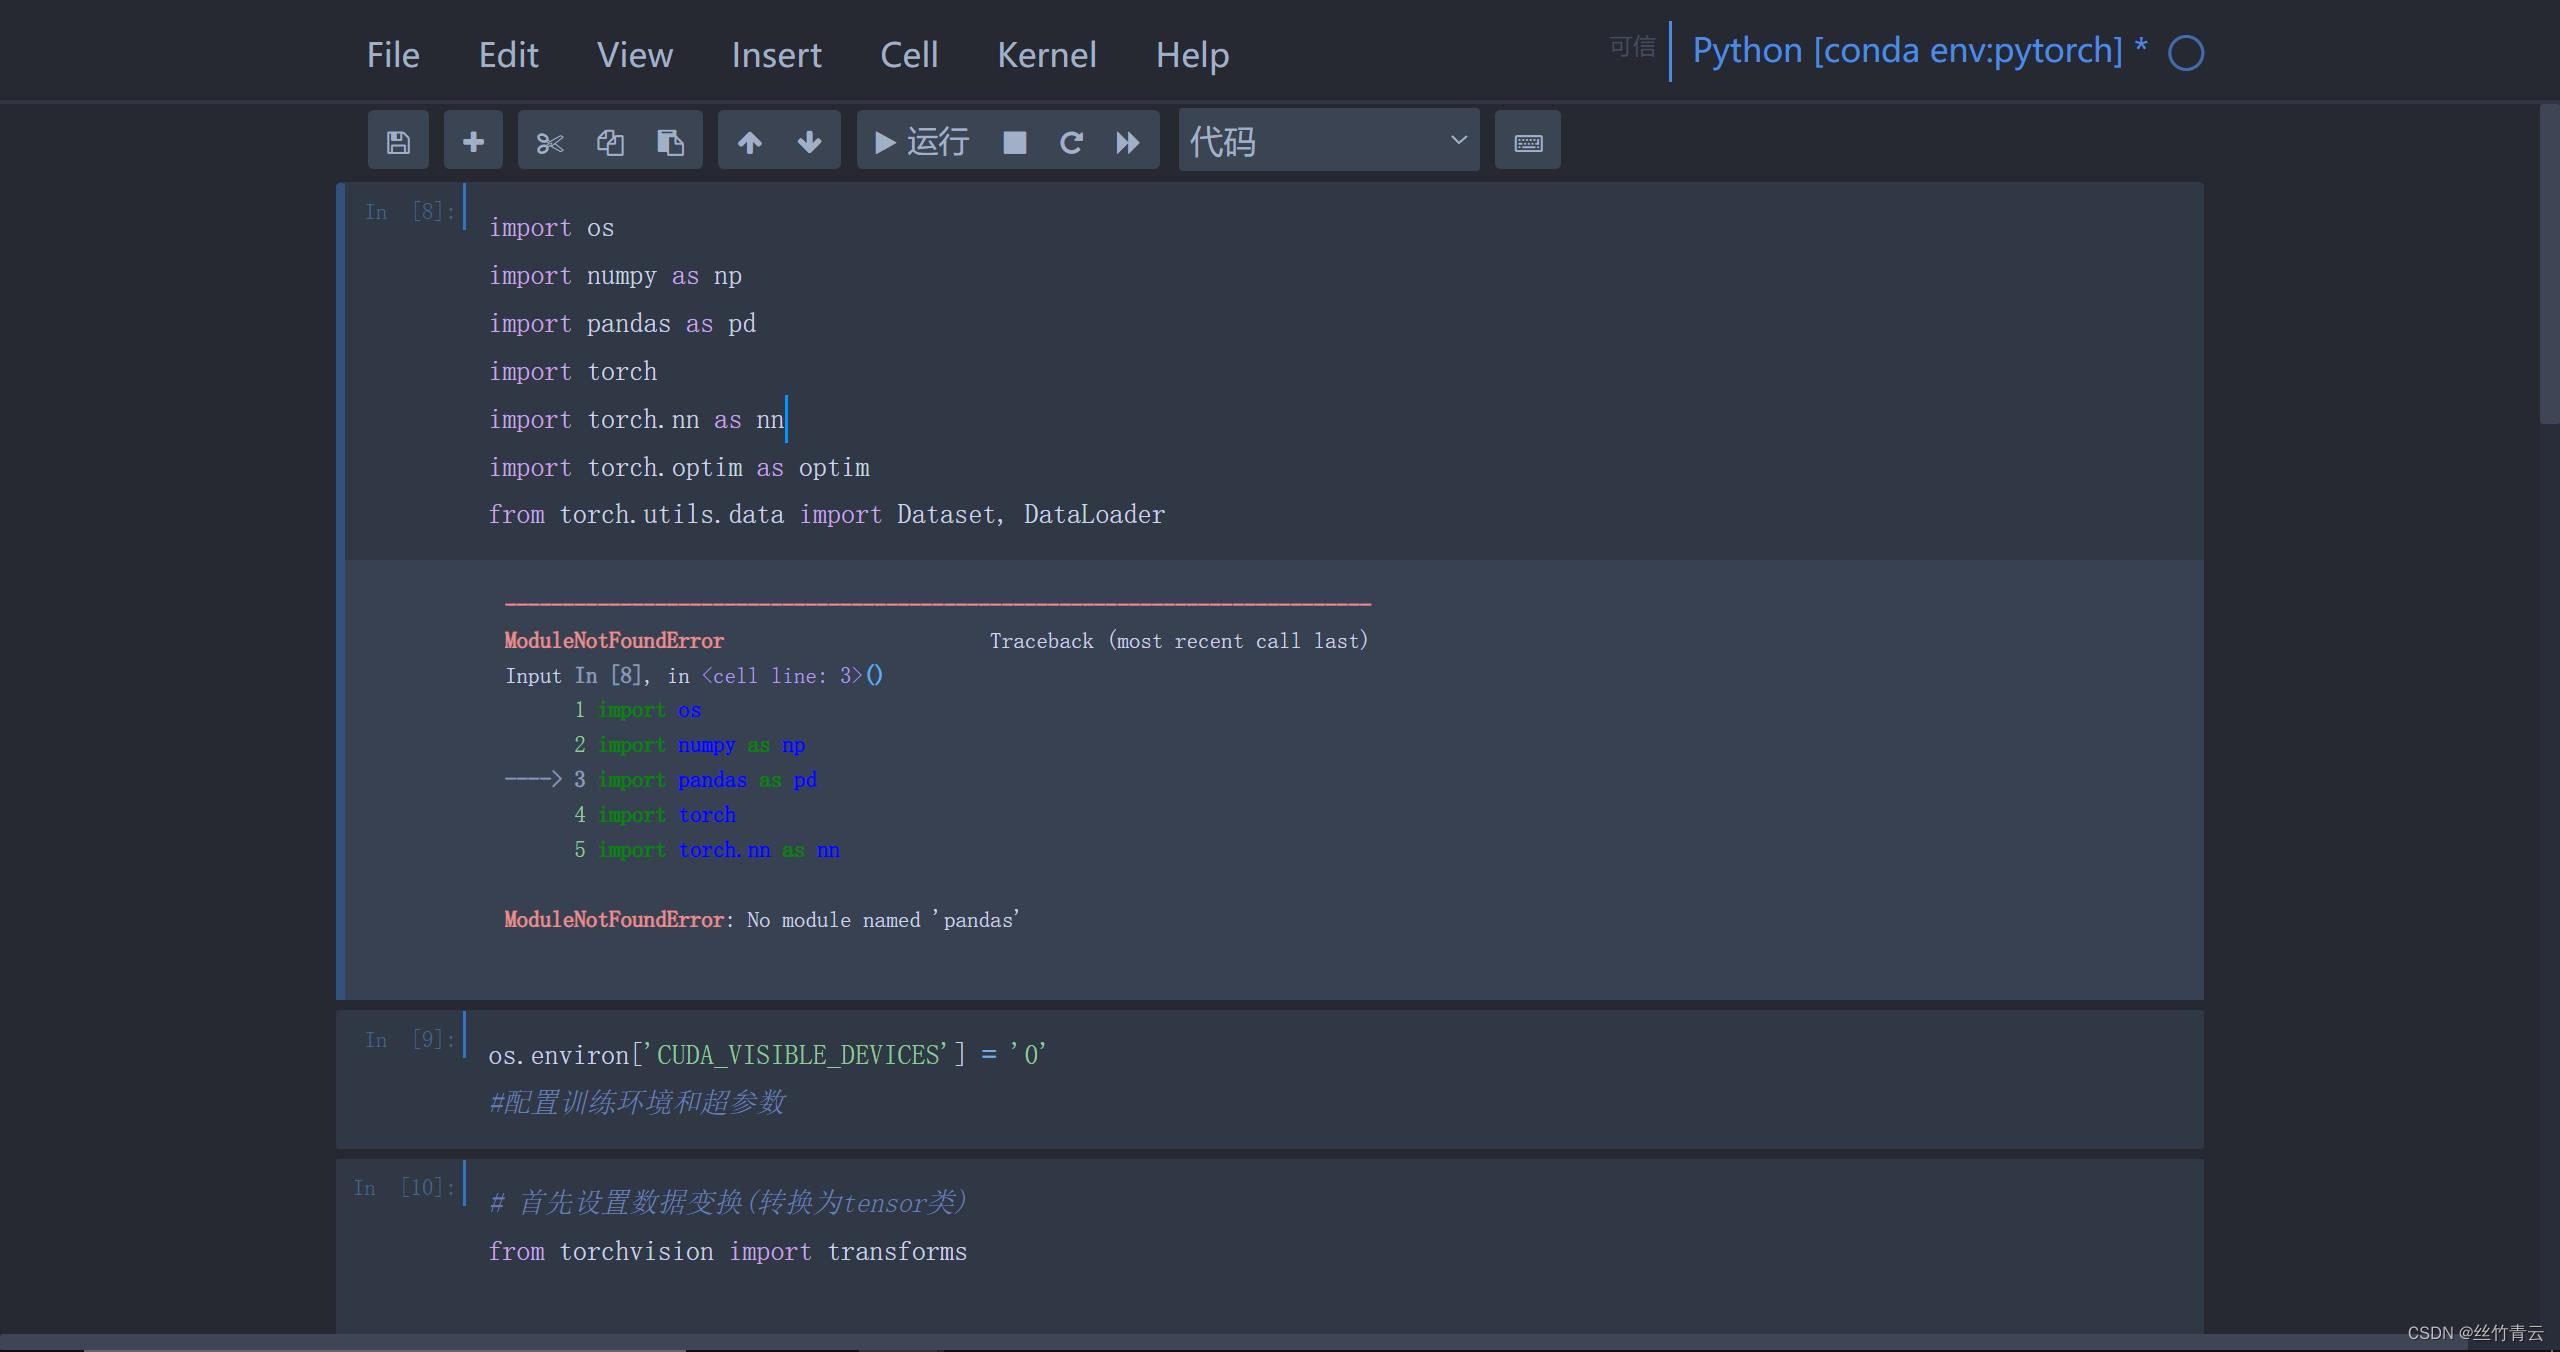
在复现代码的过程中遇到了module not found error
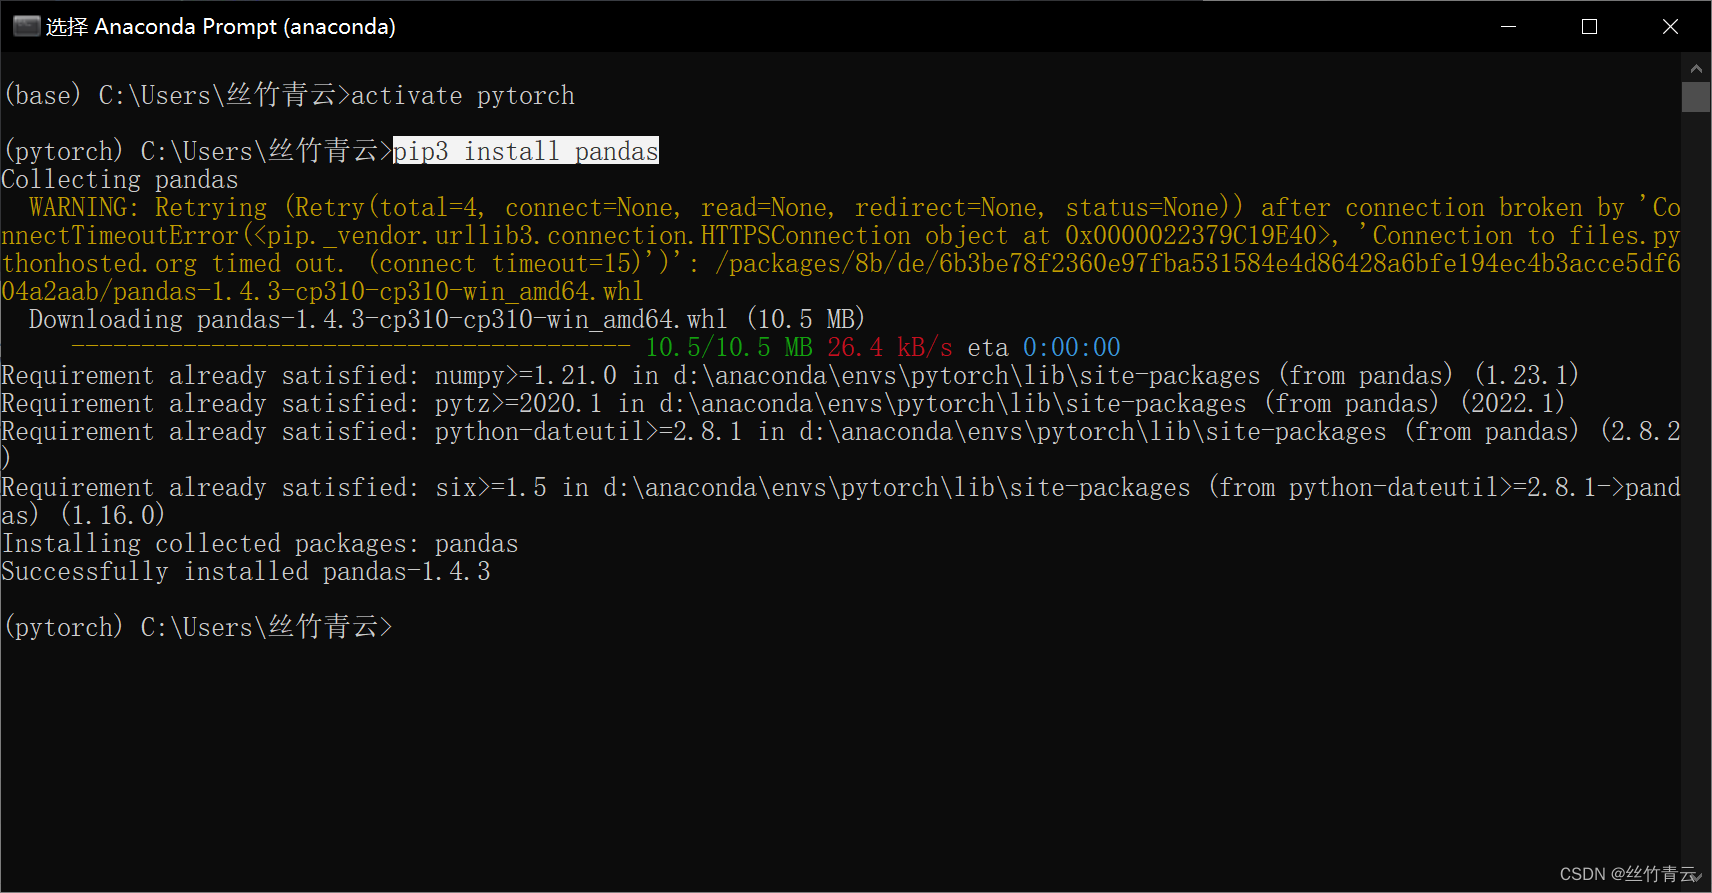
在anaconda环境中pip list显示安装了pandas库 但运行时仍报错 在jupyter notebook中pip install pandas仍没反应 之后查了许多教程最终激活pytorch环境 pip3 install pandas安装成功.
关键在于意识到jupyter notebook中python库并不是原本anaconda中安装的,仍需在pytorch环境中重新安装(也可能是我个人问题)
File not found module
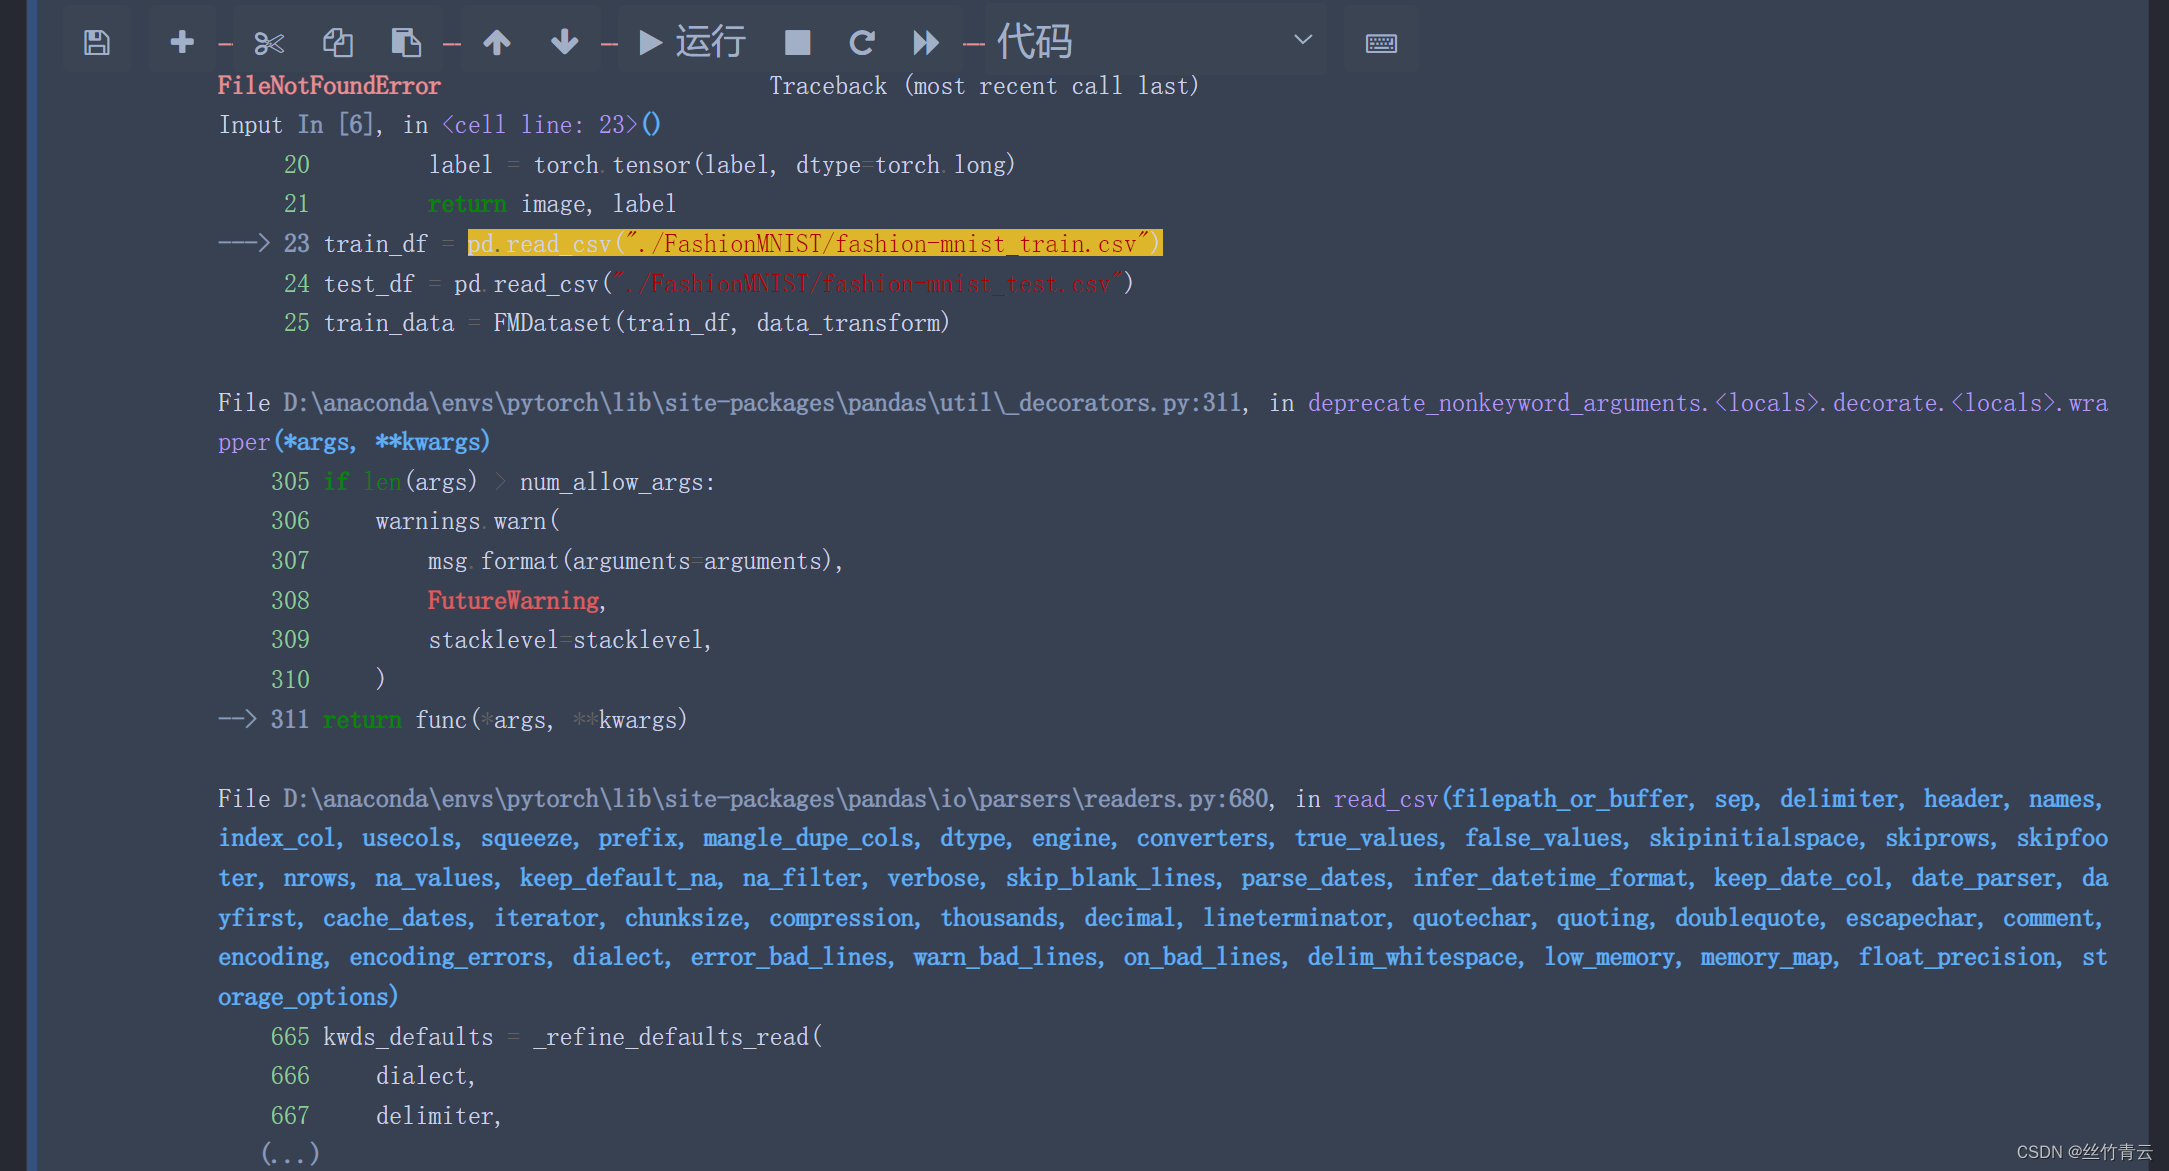
(该问题暂时还没有解决......)
深度学习流程
首先导入必要的包
import os
import numpy as np
import pandas as pd
import torch
import torch.nn as nn
import torch.optim as optim
from torch.utils.data import Dataset, DataLoader
配置环境和超参数
os.environ['CUDA_VISIBLE_DEVICES'] = '0'
数据读入和加载
从网站下载以csv格式存储的数据,读入并转成预期的格式(转为tensor类)
# 首先设置数据变换 目的是将csv形式的数据转换为可视化的像素元素
from torchvision import transforms

image_size = 28
data_transform = transforms.Compose([
    transforms.ToPILImage(),
    transforms.Resize(image_size),
    transforms.ToTensor()
])
读取方式:读入csv格式的数据,自行构建Dataset类
class FMDataset(Dataset):
    def __init__(self, df, transform=None):
        self.df = df
        self.transform = transform
        self.images = df.iloc[:,1:].values.astype(np.uint8)
        self.labels = df.iloc[:, 0].values

    def __len__(self):
        return len(self.images)

    def __getitem__(self, idx):
        image = self.images[idx].reshape(28,28,1)
        label = int(self.labels[idx])
        if self.transform is not None:
            image = self.transform(image)
        else:
            image = torch.tensor(image/255., dtype=torch.float)
        label = torch.tensor(label, dtype=torch.long)
        return image, label

train_df = pd.read_csv("./FashionMNIST/fashion-mnist_train.csv")
test_df = pd.read_csv("./FashionMNIST/fashion-mnist_test.csv")
train_data = FMDataset(train_df, data_transform)
test_data = FMDataset(test_df, data_transform)
(在读取文件的过程中出现错误,努力解决ing....)
在构建训练和测试数据集完成后,需要定义DataLoader类,以便在训练和测试时加载数据
train_loader = DataLoader(train_data, batch_size=batch_size, shuffle=True, num_workers=num_workers, drop_last=True)
test_loader = DataLoader(test_data, batch_size=batch_size, shuffle=False, num_workers=num_workers)
之后利用matplotlib进行可视化操作以验证读入数据是否正确
import matplotlib.pyplot as plt
image, label = next(iter(train_loader))
print(image.shape, label.shape)
plt.imshow(image[0][0], cmap="gray")
torch.Size([256, 1, 28, 28])
torch.Size([256])
<matplotlib.image.AxesImage at 0x7f19a043cc10>m
模型设计
手搭CNN模型,构建完成后放到GPU上直接进行训练
class Net(nn.Module):
    def __init__(self):
        super(Net, self).__init__()
        self.conv = nn.Sequential(
            nn.Conv2d(1, 32, 5),
            nn.ReLU(),
            nn.MaxPool2d(2, stride=2),
            nn.Dropout(0.3),
            nn.Conv2d(32, 64, 5),
            nn.ReLU(),
            nn.MaxPool2d(2, stride=2),
            nn.Dropout(0.3)
        )
        self.fc = nn.Sequential(
            nn.Linear(64*4*4, 512),
            nn.ReLU(),
            nn.Linear(512, 10)
        )

    def forward(self, x):
        x = self.conv(x)
        x = x.view(-1, 64*4*4)
        x = self.fc(x)
        # x = nn.functional.normalize(x)
        return x

model = Net()
model = model.cuda()


 176
176


 被折叠的 条评论
为什么被折叠?
被折叠的 条评论
为什么被折叠?
 到【灌水乐园】发言


